By Molly Hart
A needlework book opens its table-mat chapter by arguing against crochet, then gives the whole method for weaving mats on a frame instead. Both halves are reproduced here.
Don't lose this article. Enter your email below, and I'll send it to you right now. Plus a little crochet inspiration from me, straight to your inbox.
The case against the crocheted mat
Woven table mats are much newer and even more practical than the crocheted mats which have been popular for so many years. Crocheted mats always required an asbestos mat underneath, but when these woven mats are made with No. 3 Pearl Cotton or a very coarse mercerized thread it would be an exceptionally hot dish that would require an asbestos pad as well.
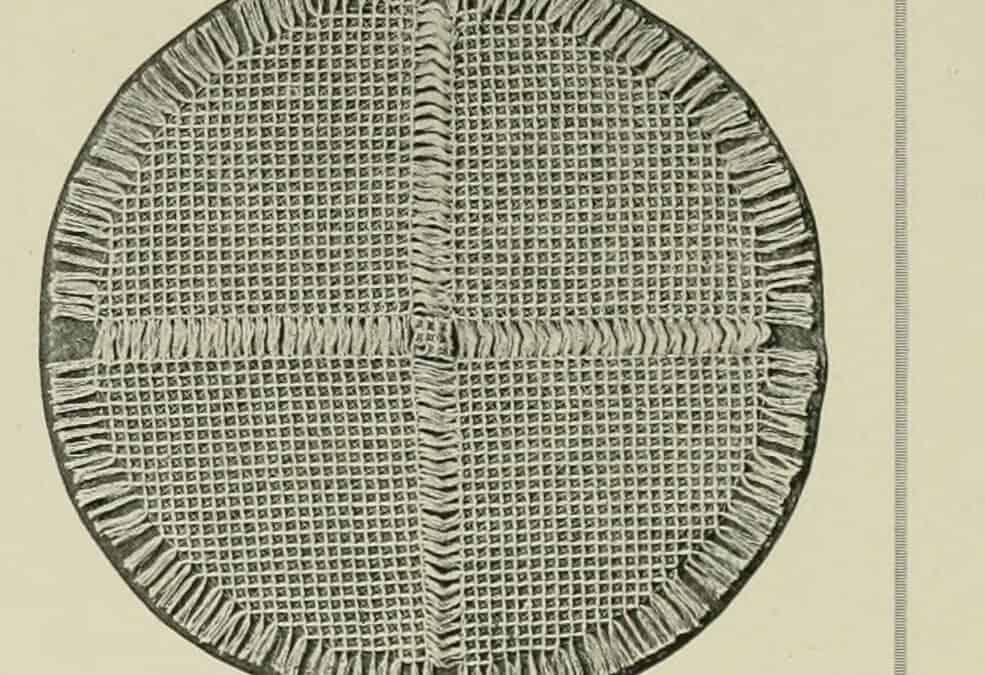
I Although the frame will not make a piece of weaving larger than fifteen inches square, it is possible to make a centerpiece twenty-one or even twenty-seven inches in diameter by simply weaving it in four sections, joining them after the work is completed. Such a centerpiece is shown on page 91, this one being twenty-seven inches in diameter.
For a piece of this size four large mats, made with the frame set 15 x 15, will be needed and one small 5×5 mat for the center. Use white or cream Pearl Cotton No. 5 or Spool Cotton No. 8, in either twelve, sixteen or twenty-four strands. Join the large mats together by their square sides ; cut off all the fringe on the small mat except four threads at each corner, which may be used to tie this mat in the center hole of the large mat. Trim the fringe to the same length all around.
Woven table mats are much newer and even more practical than the crocheted mats which have been popular for so many years.
| Finished piece | Frame setting | Thread | Notes |
|---|---|---|---|
| Square mat | as assembled | Pearl Cotton No. 3 or coarse mercerized | the easiest to make |
| 21-inch centrepiece | 15 × 15, four sections | Pearl Cotton No. 5 or Spool Cotton No. 8 | joined after weaving |
| 27-inch centrepiece | 15 × 15, four large mats + one 5 × 5 | Pearl Cotton No. 5 or Spool Cotton No. 8, 12/16/24 strands | small mat ties into the centre hole |
Setting up the frame
Directions for putting the frame together or assembling the parts, as it is called, come with every frame that is sold so that there is no need for repeating them here, but it may be as well to give the foundation or groundwork for some of the more simple mats. A square mat is, of course, the easiest to make, so we will begin with that.
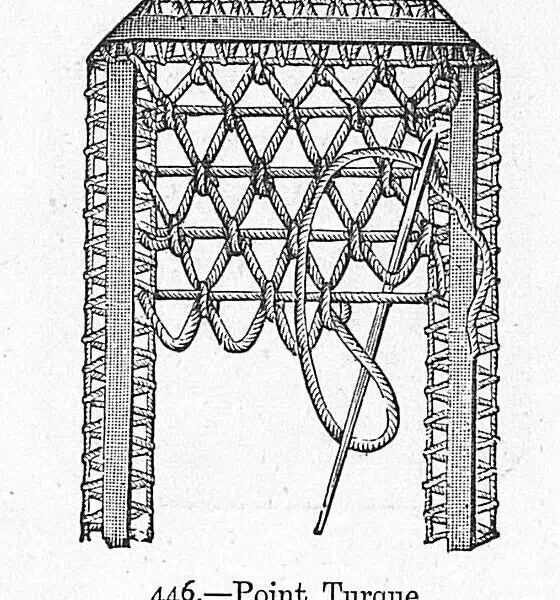
After the frame has been put together, start at one corner by tying the strand of thread in the first outside slot next to the metal connector or corner. Then run the strand through the first slot in the same section, to the right of the metal cor- ner, then across to the corresponding slot in the opposite section ; wind it around the outside of the dental in that direction, return through second slot in that section across the frame again through the corresponding slot and wind around the outside of the dental to point of starting.
Repeat this operation eight times in the same slots, until there are eight strands across the frame from each slot. Then pass on to the next two slots and wind eight strands and continue winding in this way until all the slots have eight strands across the frame. Now pass the cord underneath the corner and run across the frame in directly opposite way, putting eight strands into each slot, same as on first side ; then return to the first slots at right angles again, going completely across the frame three times each way until there are twenty-four strands in every slot.
The laid threads are now ready to be tied and this is done with a piece of the same thread put through the eye of a bodkin, coarse darning or tape needle. Begin at any corner, and pass the thread diagonally around the interwoven strands at first intersection; draw tight and knot on underside of mat ; pass on diagonally to next intersection, again draw tight and knot on lower side or bottom of mat and continue in this way until all the strands have been tied one way.
Don't lose this article. Enter your email below, and I'll send it to you right now. Plus a little crochet inspiration from me, straight to your inbox.
Then begin at corner marked B and work in the same way, and when this second row of diagonal threads has been tied, the mat is finished. To remove the mat from the frame push the latter apart at the corners and then slip the mat off the frame. Lighter weight and less expensive articles may be woven by making the mat of only eight or sixteen strands thickness.
In order to make round, oval or octagon shape mats the weaving is done just as if a square mat was to be made, but when the knotting is begun the edge must be “stepped,” some of the tying being done between the intersections. In anything but a square mat the outline is tied first, and afterward all the intersections, diagonally, both ways, within the outline.
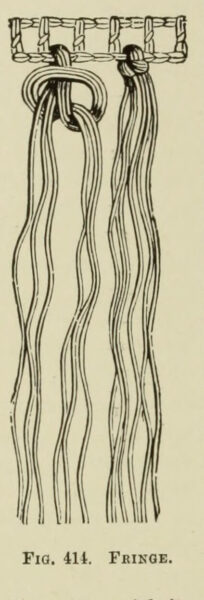
When larger articles, such as soft pillows, dresser scarfs or bed- spreads, are to be made, it is necessary to join the squares together until the desired size is obtained. This joining is done by tying the uncut fringe loops of the mats together. Take, for instance, the centerpiece shown on this page. This is made of four mats fifteen inches square and one mat five inches square.
When the mats were completed, two were laid, right side up, so that the fringe loops of one mat overlapped, or laid on top of, the loops of the other mat. Then the loops of the one mat were tied firmly to the edge or border of the other, by running a single thread of the same material through the loop and around the edge, tying firmlv.
When the one side was finished the mats were turned over and the other loops and edge tied together, afterward joining the third and fourth mats together and then the other two by the same method. After the large mats were joined the small center was inserted in the same way and the outer fringe cut and trimmed to an even length.
For many years Clark’s O. N. T. Spool Cotton has been synonymous with “The best cotton thread.” The ever-increasing world wide use ot these threads, wliich are now made to suit every rec^uirement for sewing, crocheting, embroidery, smocking, darning, tatting, and knitting, must be accepted as an eloquent tribute to their steadfast quality and merit.
Source
Clark’s O.N.T. Book of Needlework. Public domain. Internet Archive clarksontbookofn00clar.
Reproduced verbatim from the original. Obvious scanning errors have been mechanically corrected; wording, spelling and punctuation are otherwise as printed.