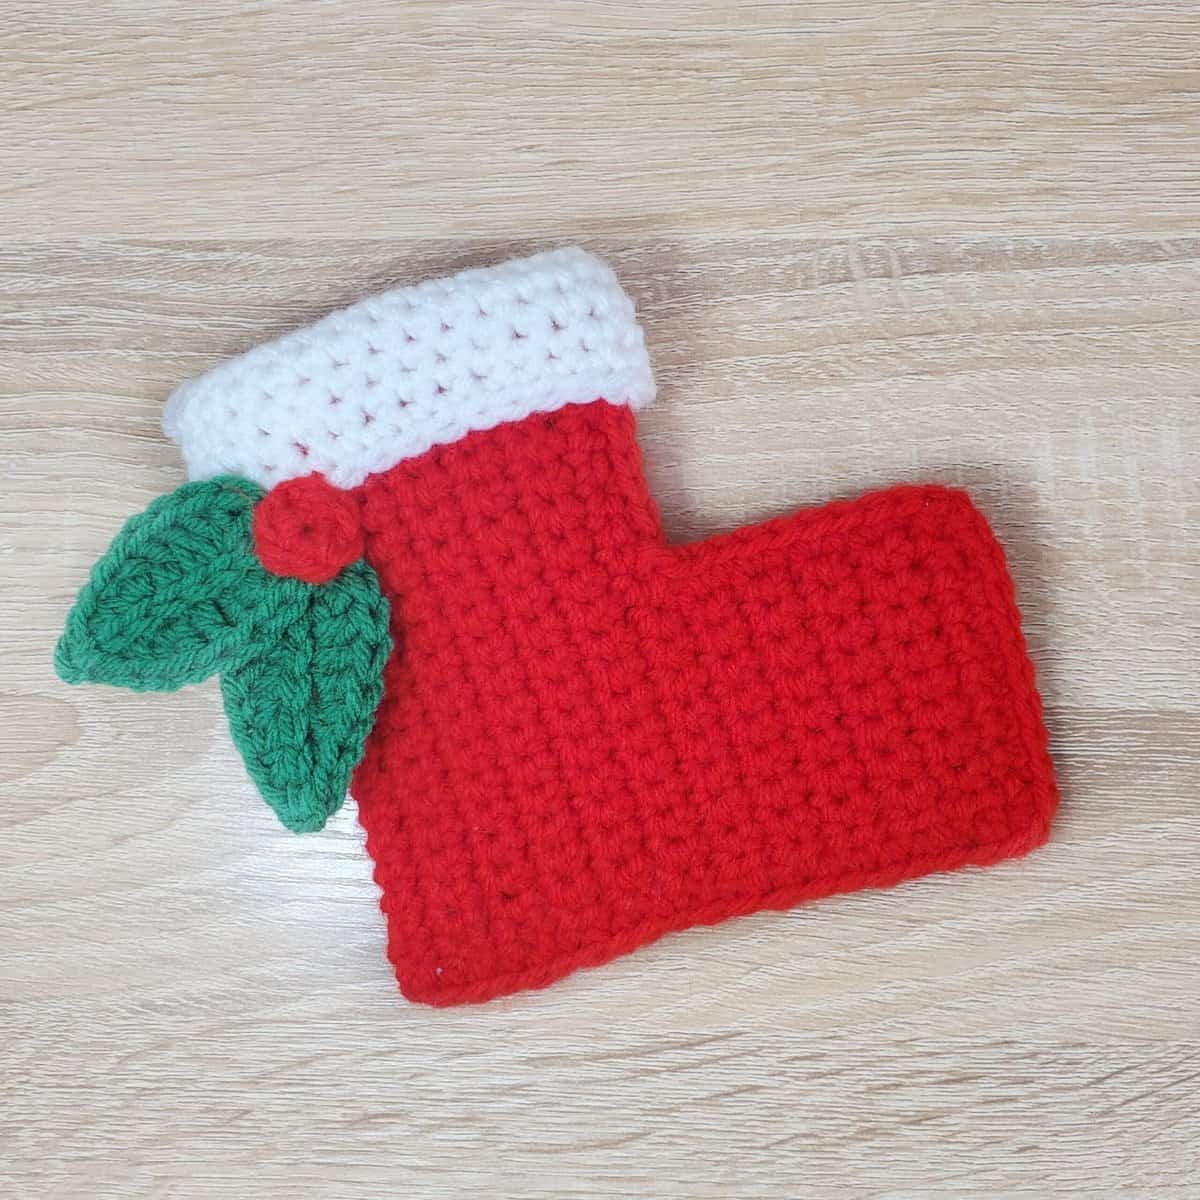
We’ve made it to Day Eleven of our Twelve Days of Christmas Crochet countdown.
Today’s make is perfect for gift giving as you can fill it full of goodies – it’s a mini stocking!

Materials Needed
Here are all of the materials required to make this project – feel free to make substitutions to the yarn colors, weight, and even the hook size.
My project ended up measuring about 5 inches tall. Remember, using a larger hook and yarn of a different weight will affect the finished size of your project!
Today’s make only takes a 4.25mm crochet hook, a tapestry needle for weaving in ends, and red and white worsted weight yarn.
If you wish, you can also use the Mistletoe and Holly applique that we made on Day Seven of our Twelve Days of Christmas countdown – I highly recommend it, as it looks wonderfully festive attached to the trim of your mini stocking!
Abbreviations
Here are all of my standard abbreviations. Note: Some of these may not be used in the pattern – these are the stitches that I use most frequently! If you see an abbreviation that you are unfamiliar with, please refer back to this chart.
| ML | magic loop |
| R | row/round |
| st | stitch |
| slp st | slip stitch |
| ch | chain |
| sc | single crochet |
| hdc | half double crochet |
| dc | double crochet |
| tr | treble crochet |
| FLOsc | front loop only single crochet |
| FLOscdec | front loop only single crochet decrease |
| BLOsc | back loop only single crochet |
| BLOscdec | back loop only single crochet decrease |
| inc | increase |
| dec | decrease |
| dc | double crochet |
| ** | repeat |
| () | number of sts in row |
Mini Stocking Body
Ch 10 + 1 to turn
R1 – R10: sc in each stitch (10 sts in each row)

At the end of R10, chain another 10 sts +1 to turn.

R11: Turn your work, being careful which side of the chain you’re working on when you turn! Place one single crochet stitch in each stitch of the chain.

Continue working down the stitches of R10 until the end – 20 stitches total.
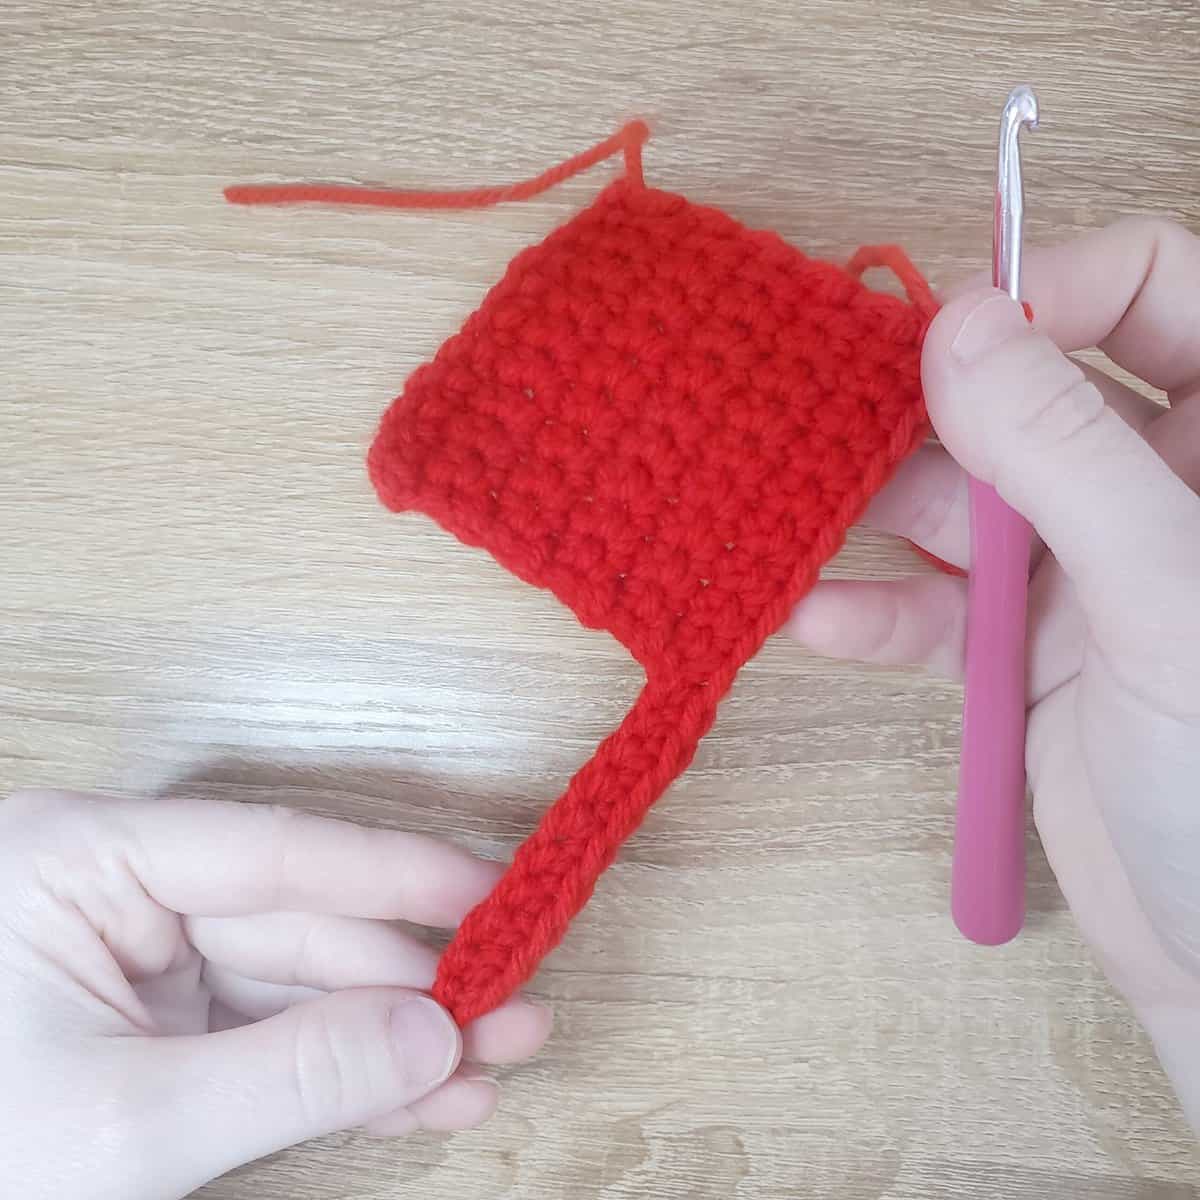
R12 – R35: sc in each stitch (23 rows total)

R36: Now we’ll make the other side of the “toe” part of the sock. Like all rows before, chain one to turn, then work 10 stitches total (including your chain one turn).

R37 – 45: sc in each st (10 rows total)

Fasten off, and weave in your tail ends.
Stocking Assembly
Fold the stocking in half, and attach your main color yarn (I chose red) to the bottom corner, right where the folded side is. We’ll be using single crochet to seal the stocking closed!

Working through both sides of the fabric, fasten on and pull up one loop to get started. Then, place a single crochet in each row where the chain 1 we used to turn our work is.
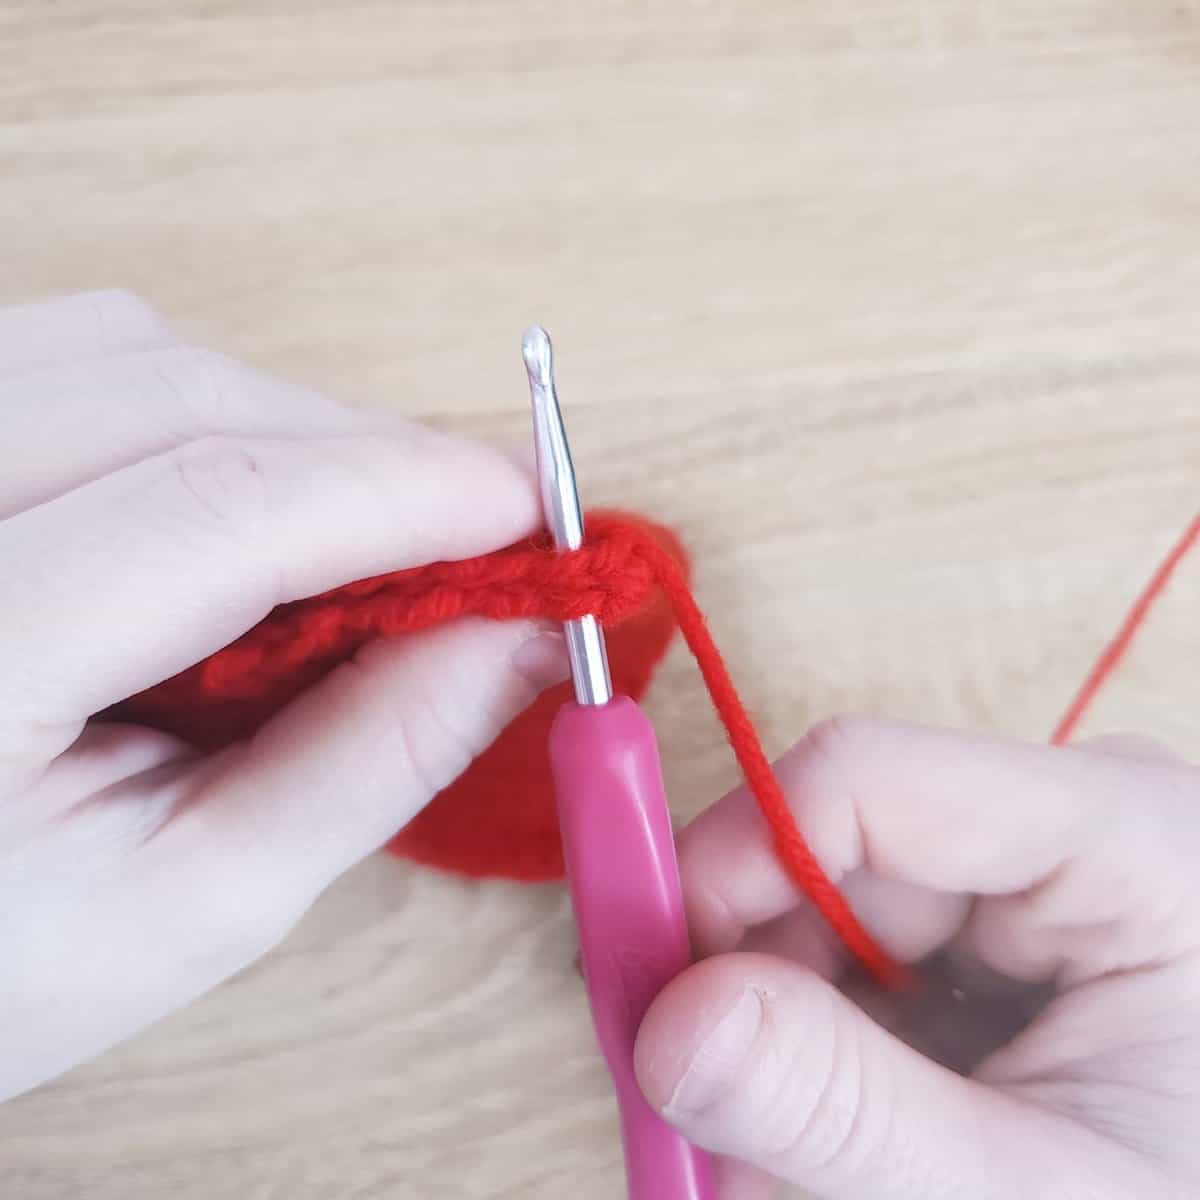

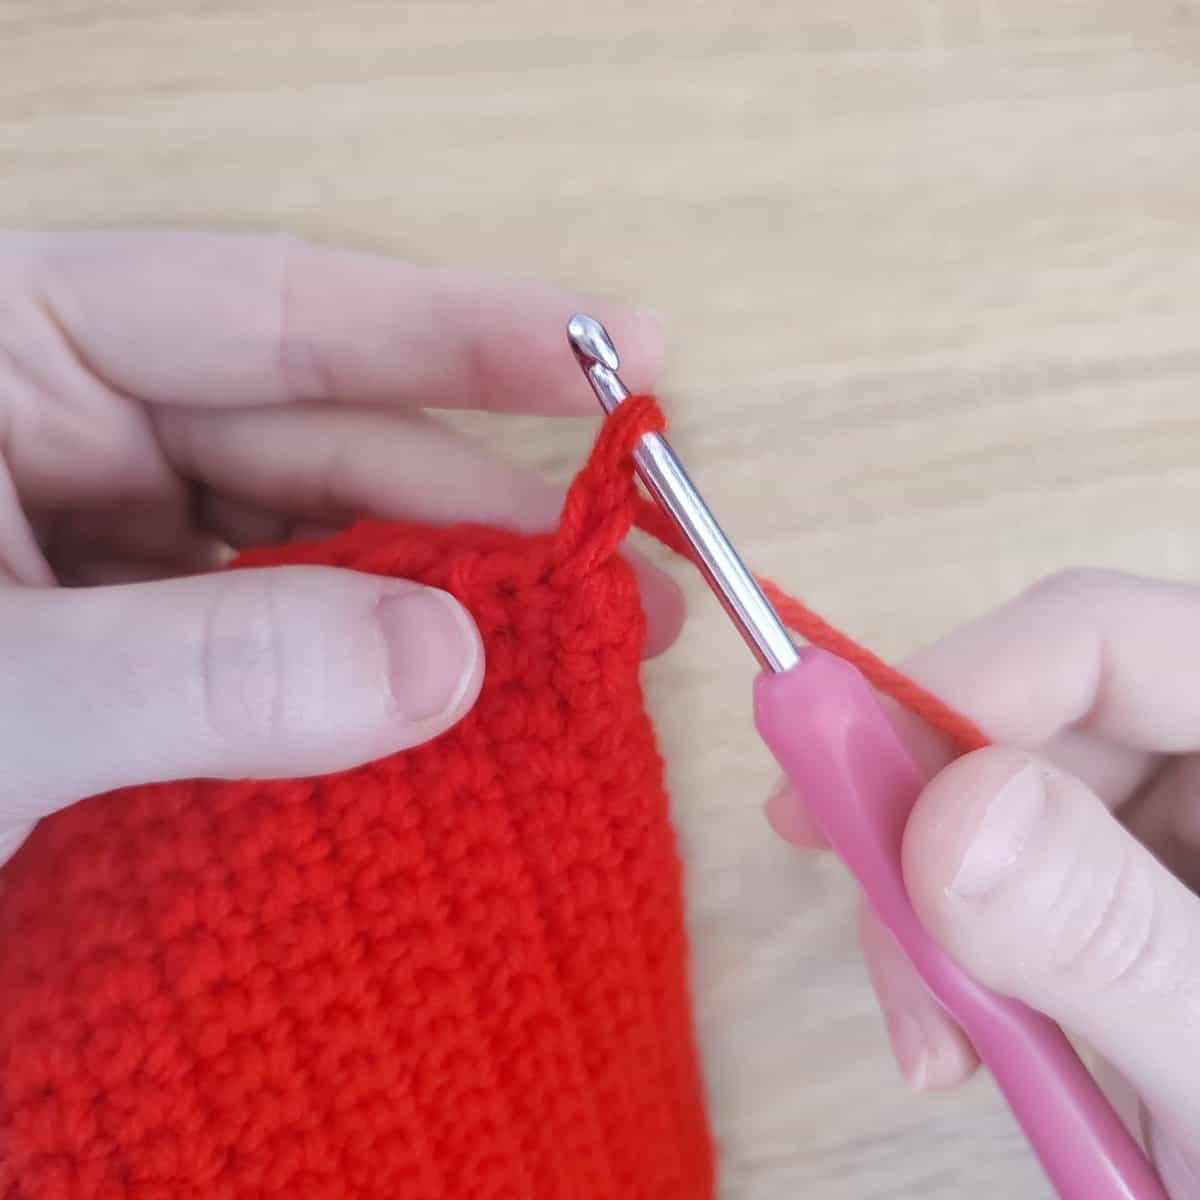
Continue crocheting both sides of the work together, working along the bottom of the sock until you reach the toe.
When you reach the toe of the stocking, chain 1 and place another single crochet in the same chain one space your last single crochet is in. This chain 1 helps us turn the work so we can continue working along the front of the toe.
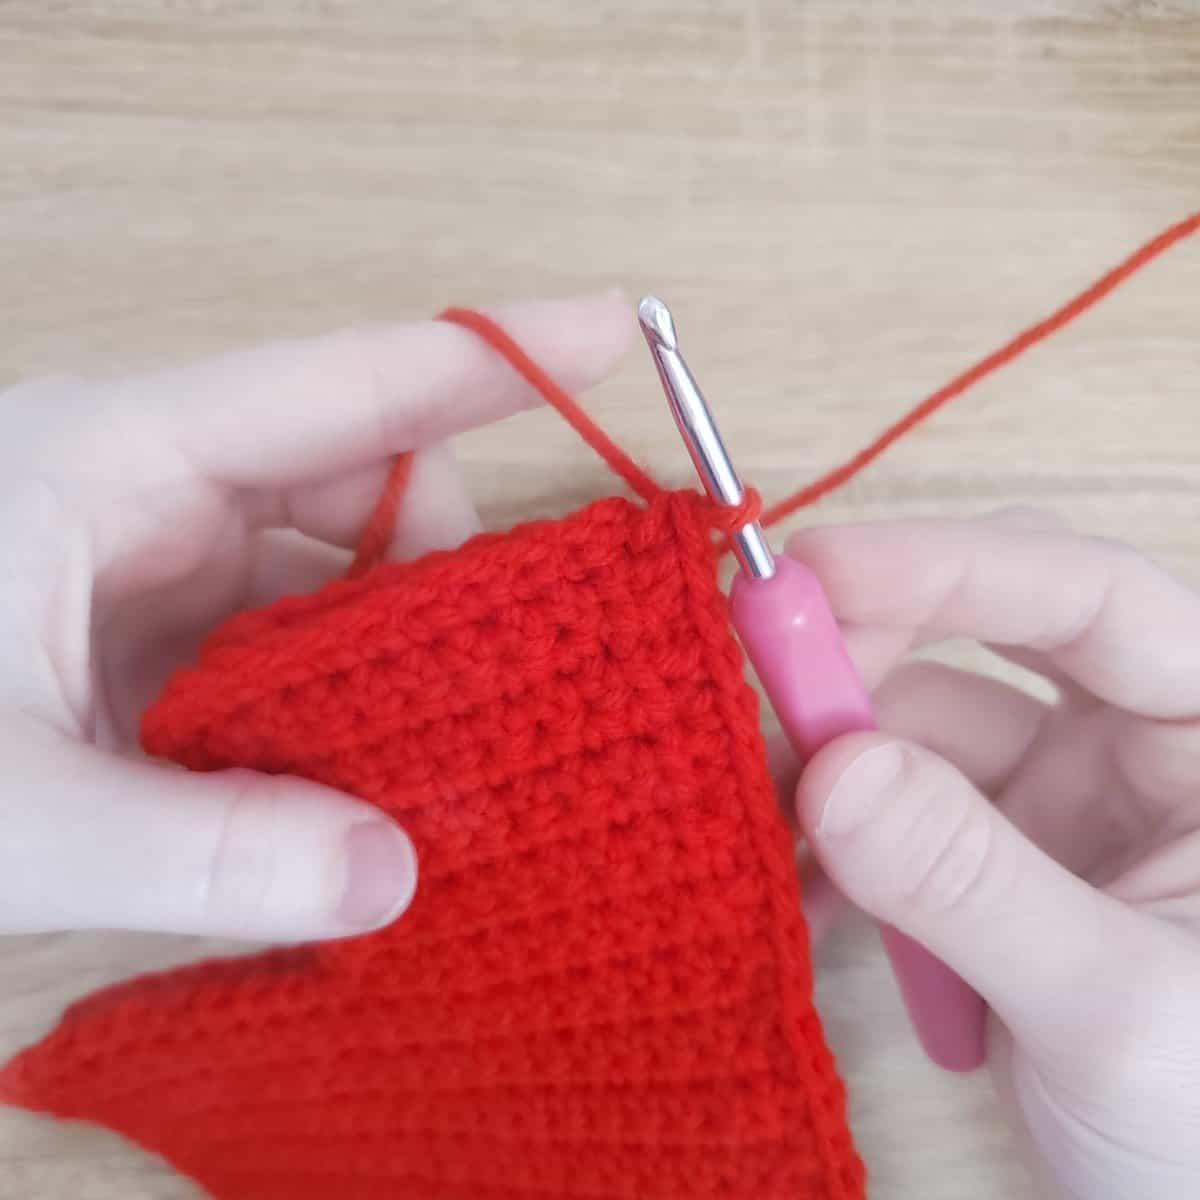

Continue single crocheting both sides of the work together. When you reach the top of the toe, chain 1 and place another single crochet in the same stitch as your last one, just like we did when we first turned our work.


Continue single crocheting the stocking together along the top of the toe!

To turn the work to work up the top of the stocking, slip stitch to where the toe meets the stocking (the angle part of the “L” shape) then chain one.

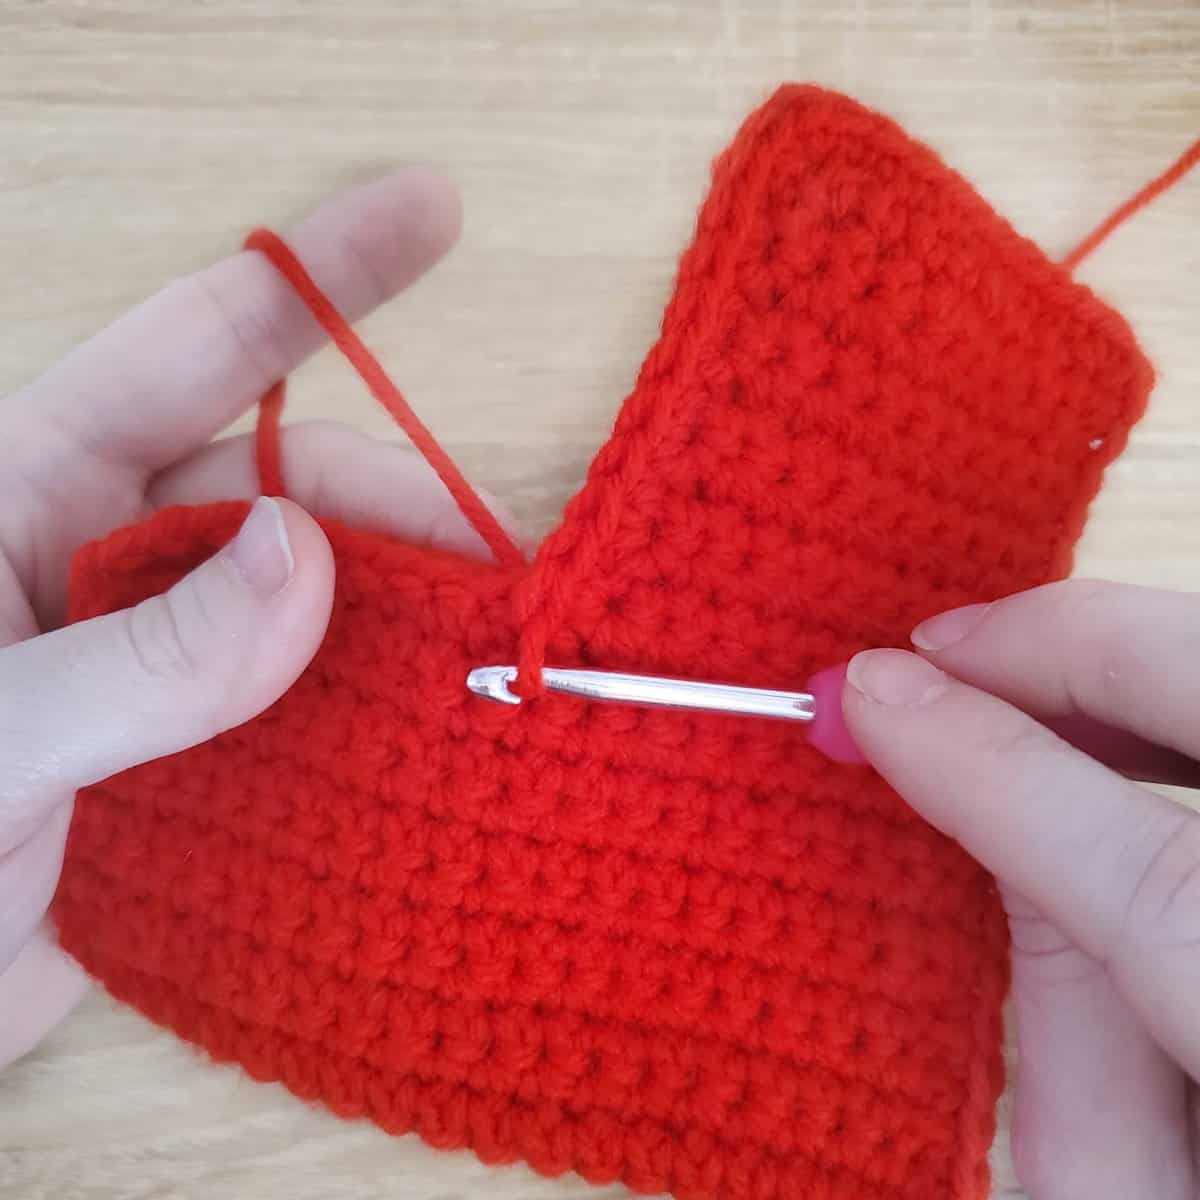

Continue single crocheting the stocking together until you reach the very top of the stocking!

Fasten off, then weave in your tail end.
Stocking Trim
Use a contrasting color of yarn for this section. I used white!
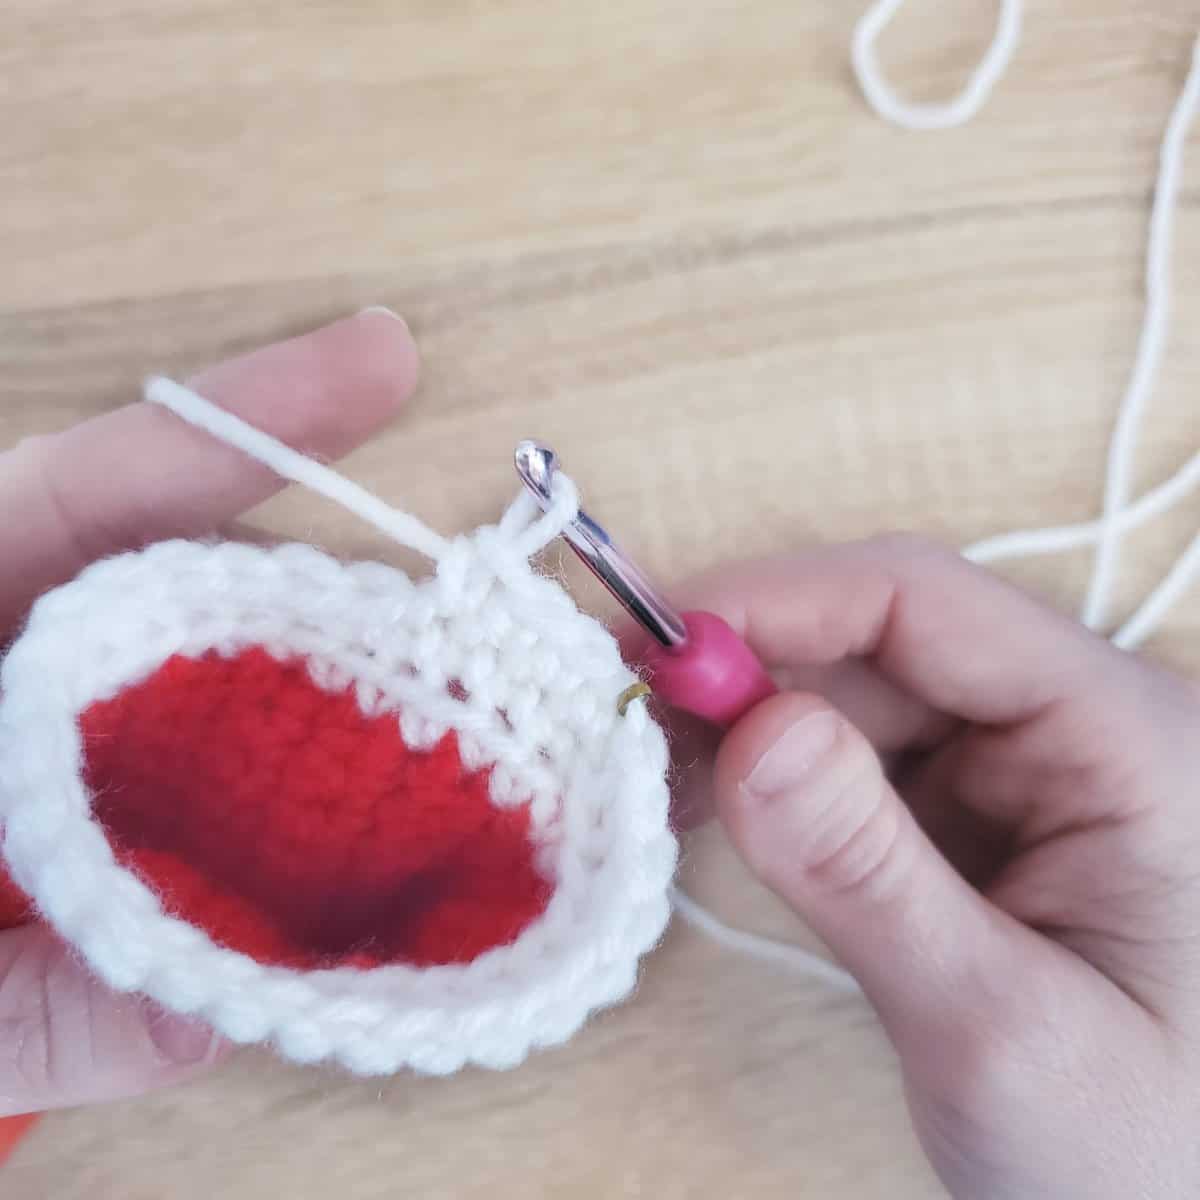
We’ll be working counter-clockwise – this is important because we want the right side of the work to be towards the inside of the stocking. We’ll be flipping this row over on top of the outside of the stocking, so double-check that you’ve fastened on the correct direction!
Fasten on and pull up a loop to get started. Place a single crochet in each of the turning chains made on the stocking body.
Work all the way around the top of the stocking, carefully placing single crochet stitches in the spots where you’ve joined with single crochet – I find these tend to be a little fiddly if you’re not careful!
I ended up with 28 stitches all the way around the top of the stocking, but this is a less-precise number. You may have slightly more or less, and that’s okay!
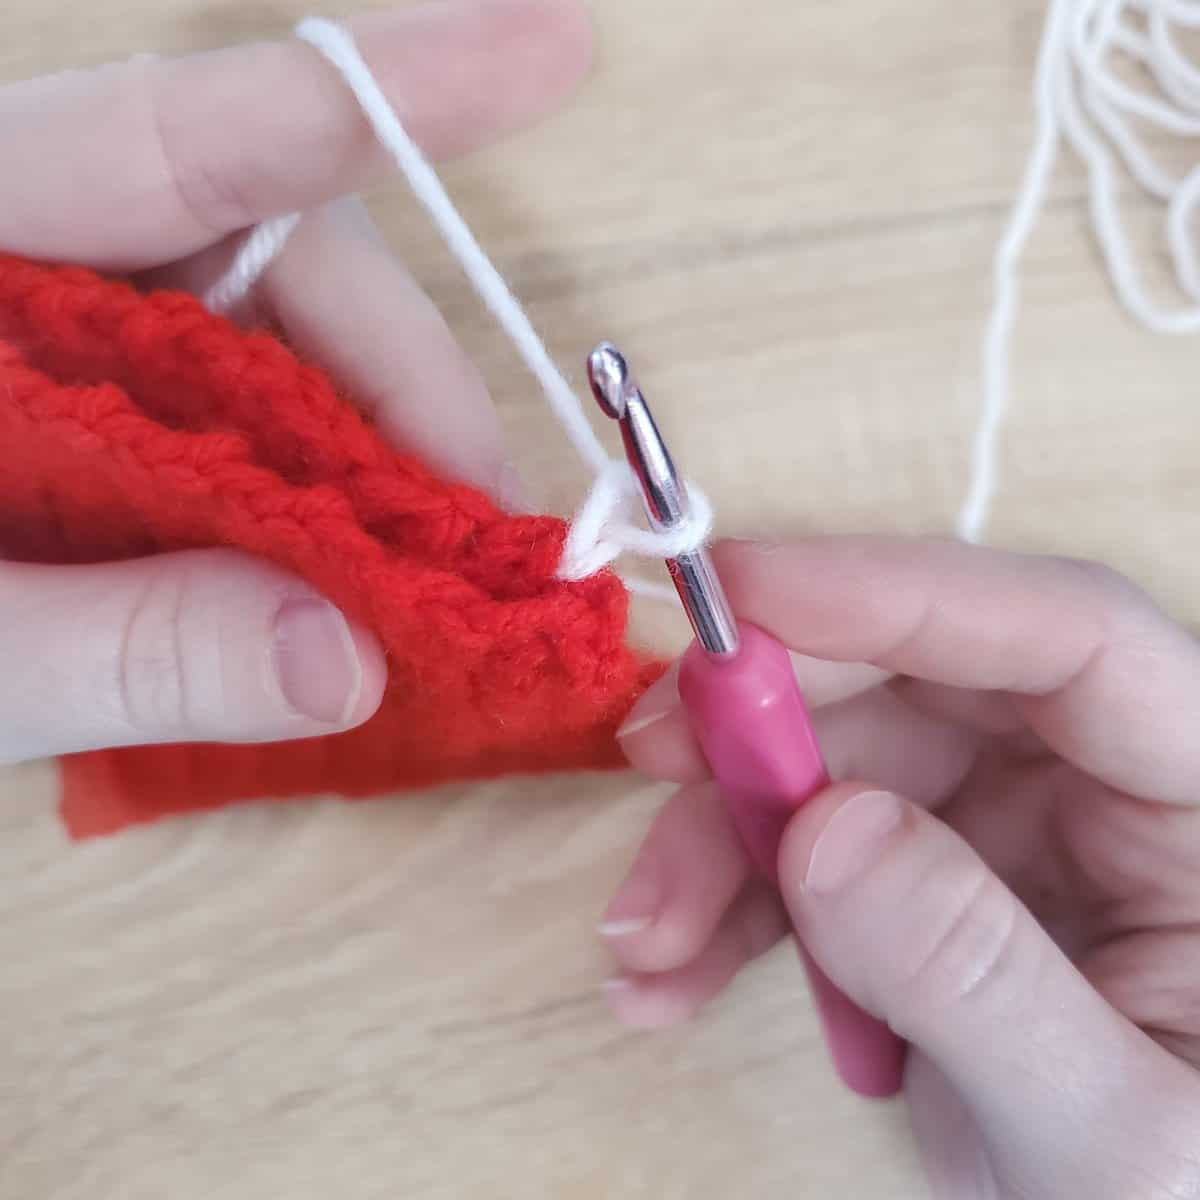

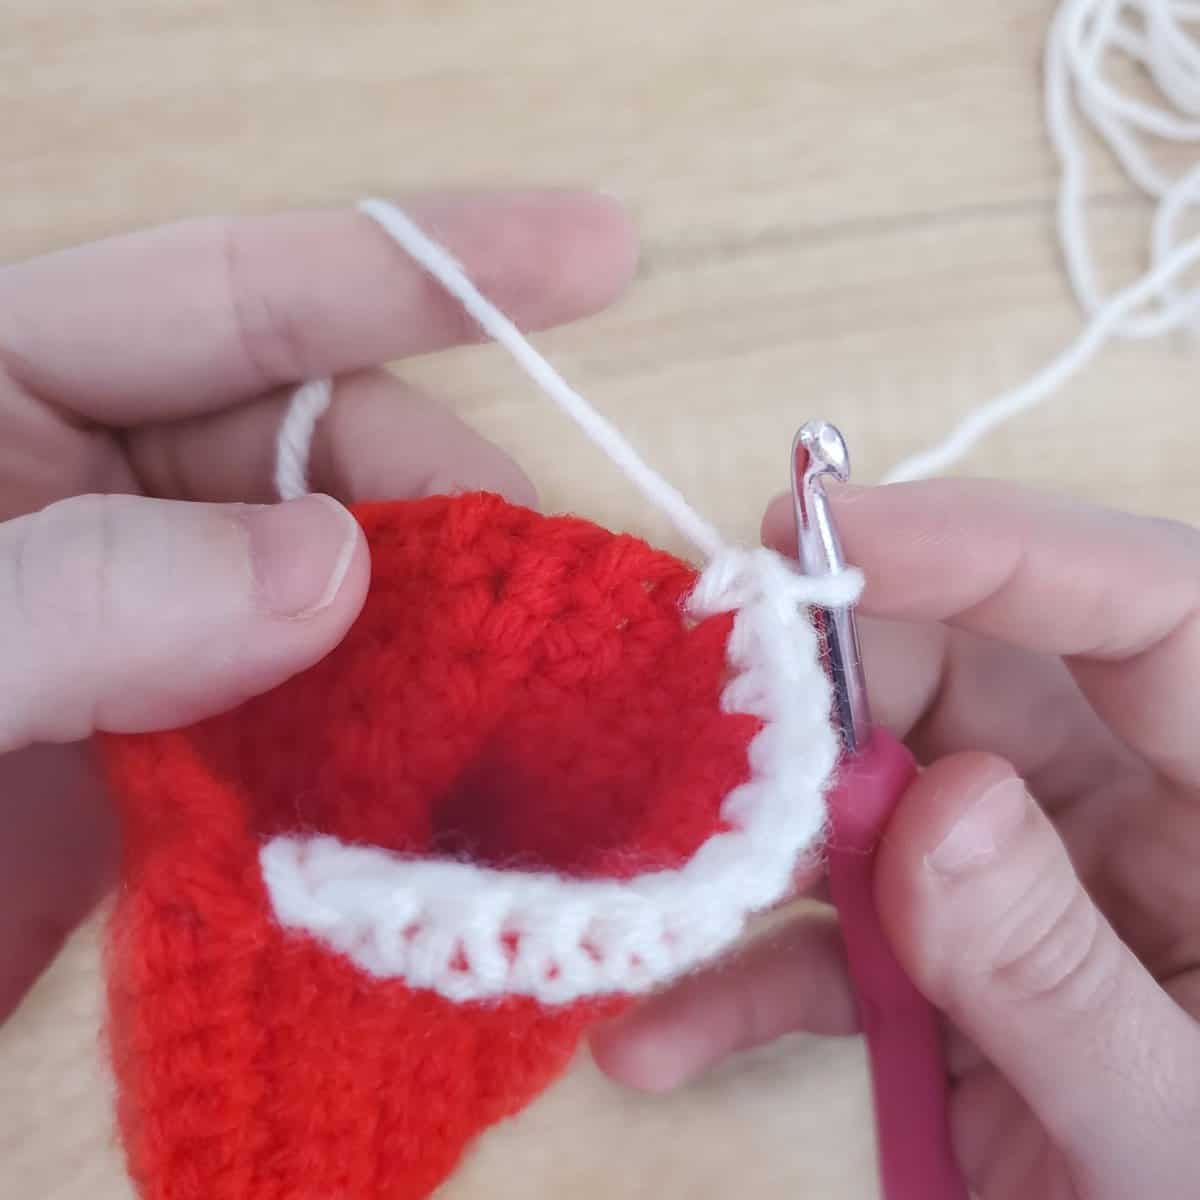

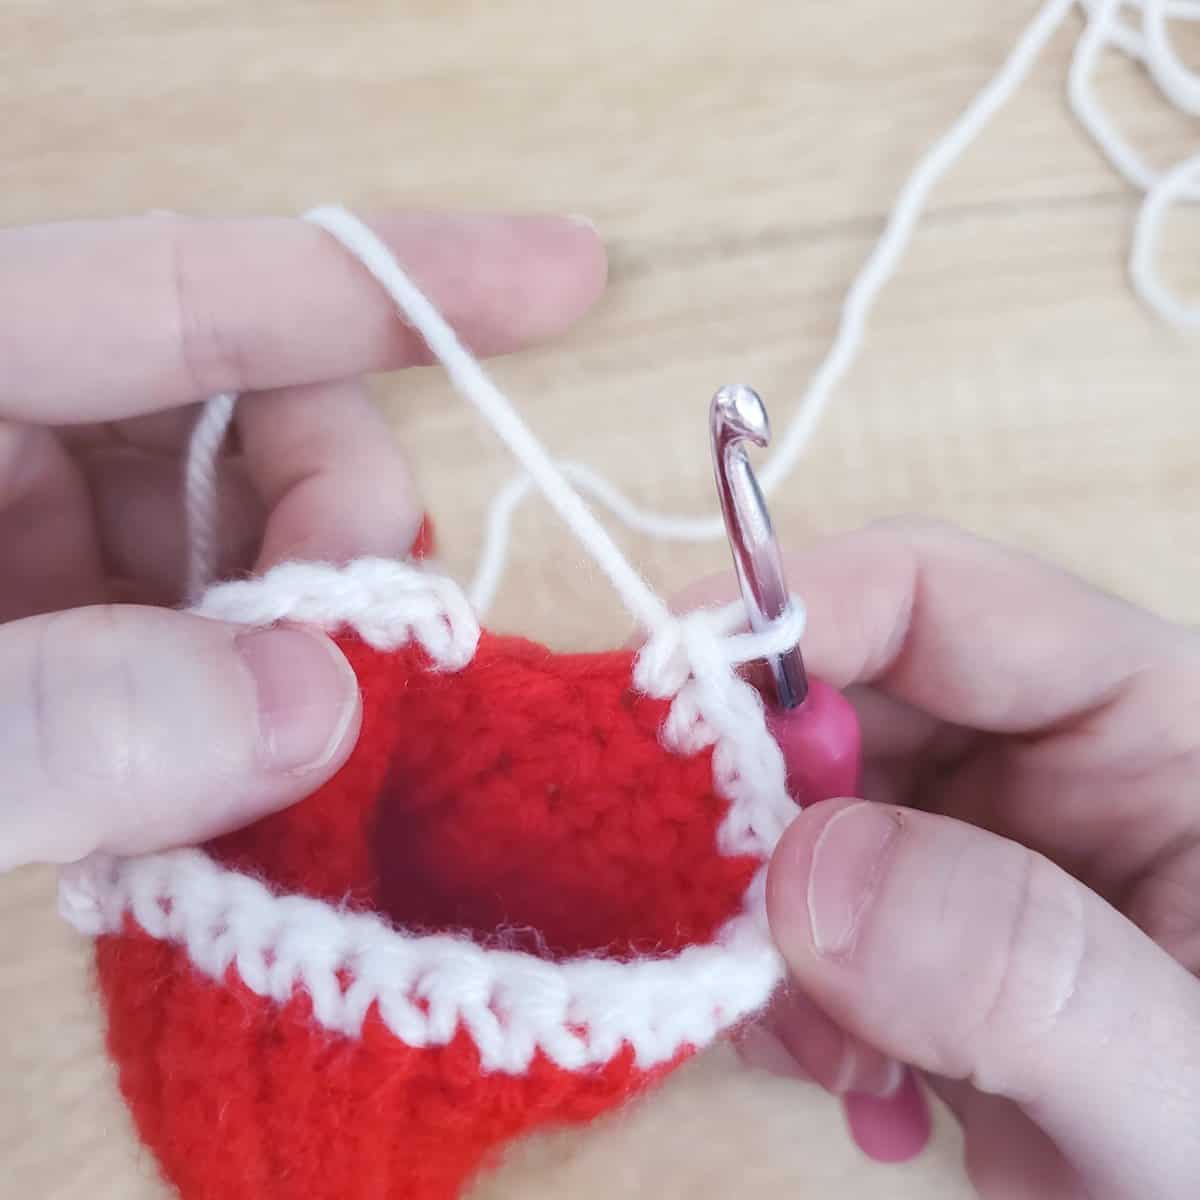
Slip stitch to the top of the fasten on loop you made for round one to start rounds two:

For the second pass around the top of the stocking, work all of your single crochet in the back loop only of the first row. This will help the trim flip over the top of the sock cleanly!
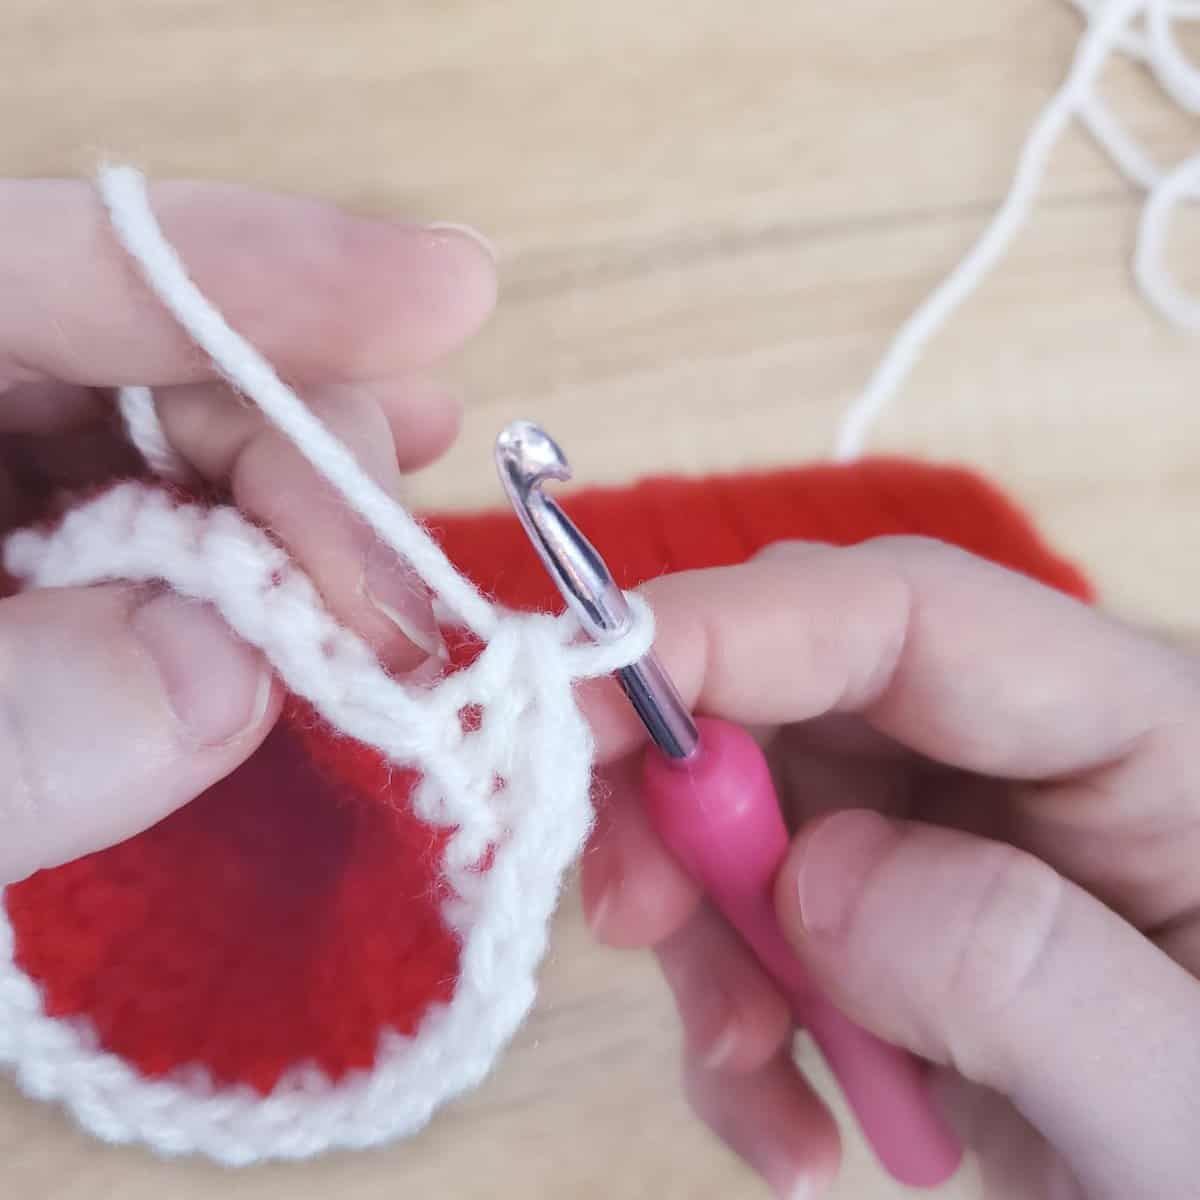
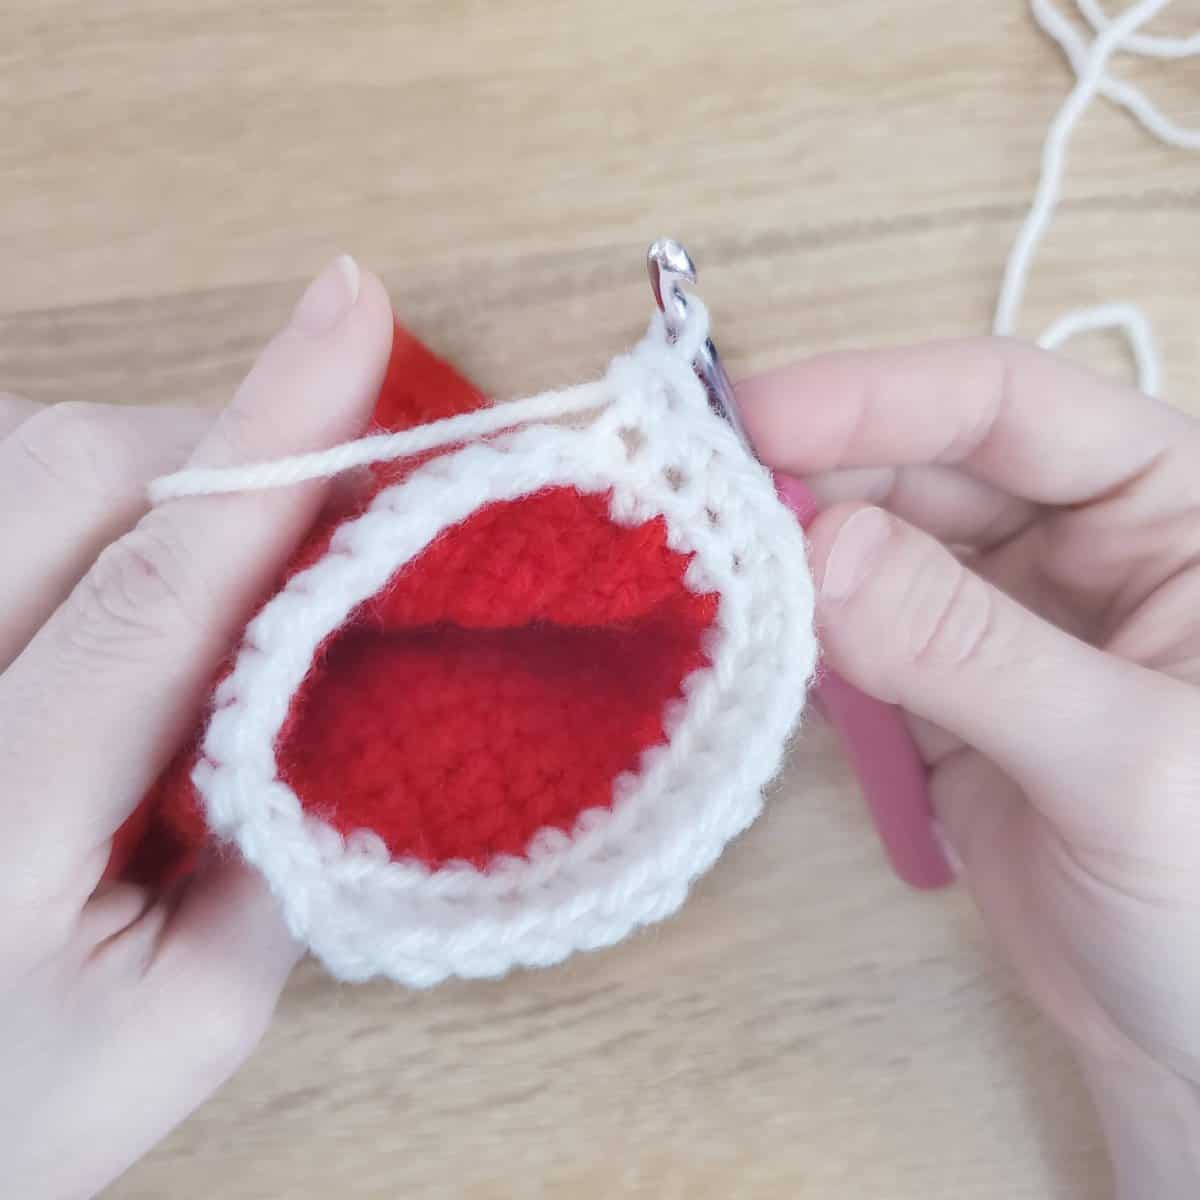
The rest of the trim is worked as a spiral, so no need to slip stitch to continue to the next round.
To finish off the trim, continue working around another 4 rounds (or if you wish, more, if you’d like the trim to be longer!).
On the last stitch of the last round, slip stitch to close. Weave in this tail end!
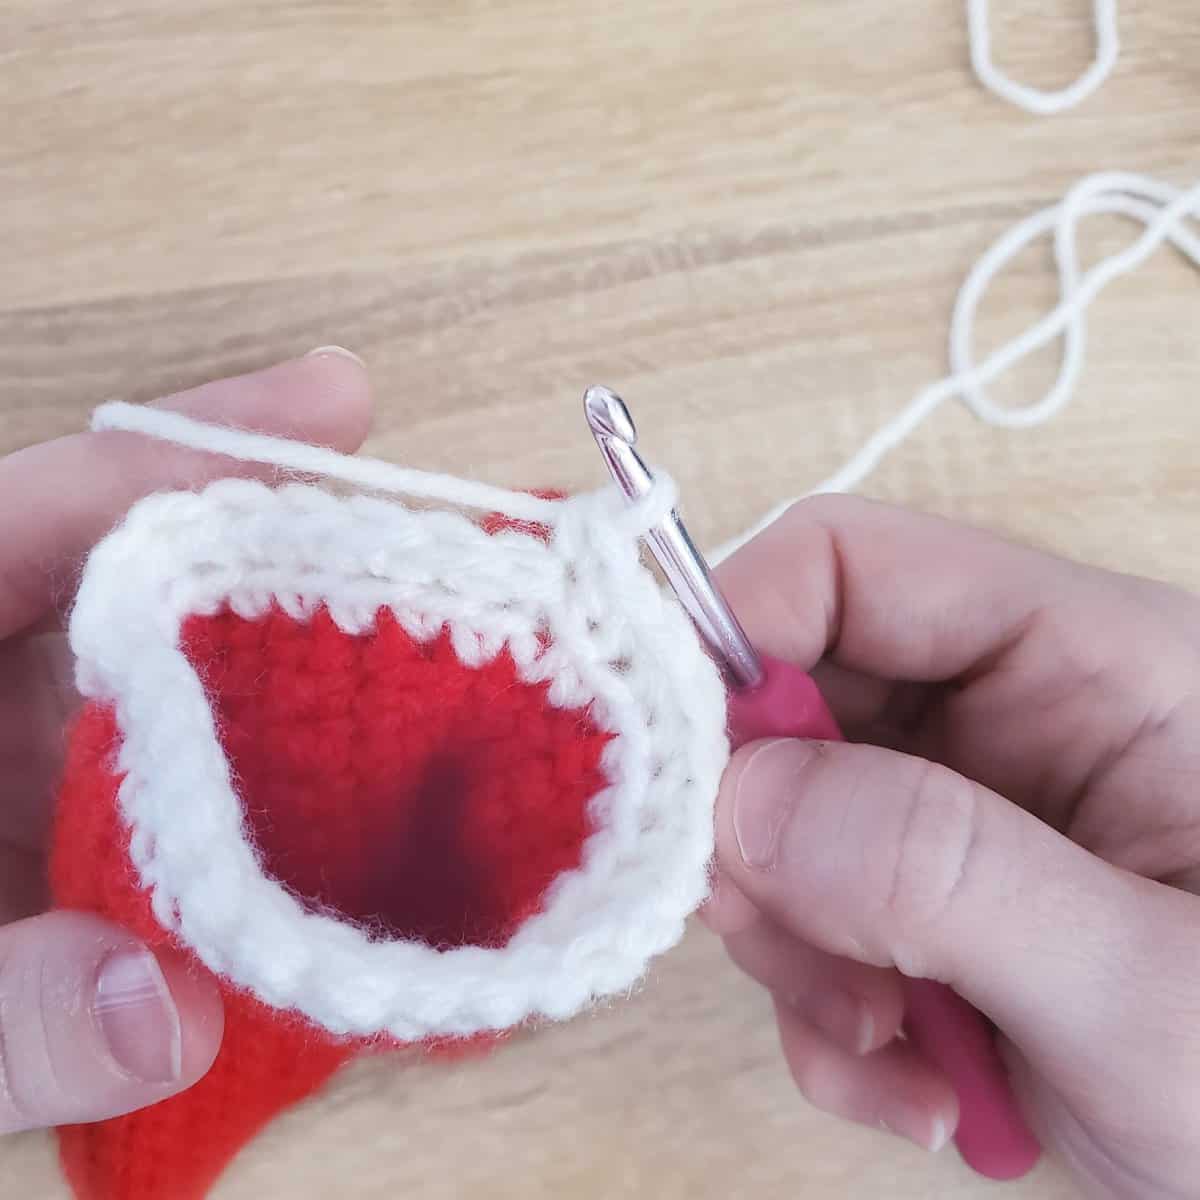
Once you’ve reached the desired trim length, flip the trim out so that it sits on top of the body of the stocking.
The BLO single crochet row should help it fold a little easier, like so:
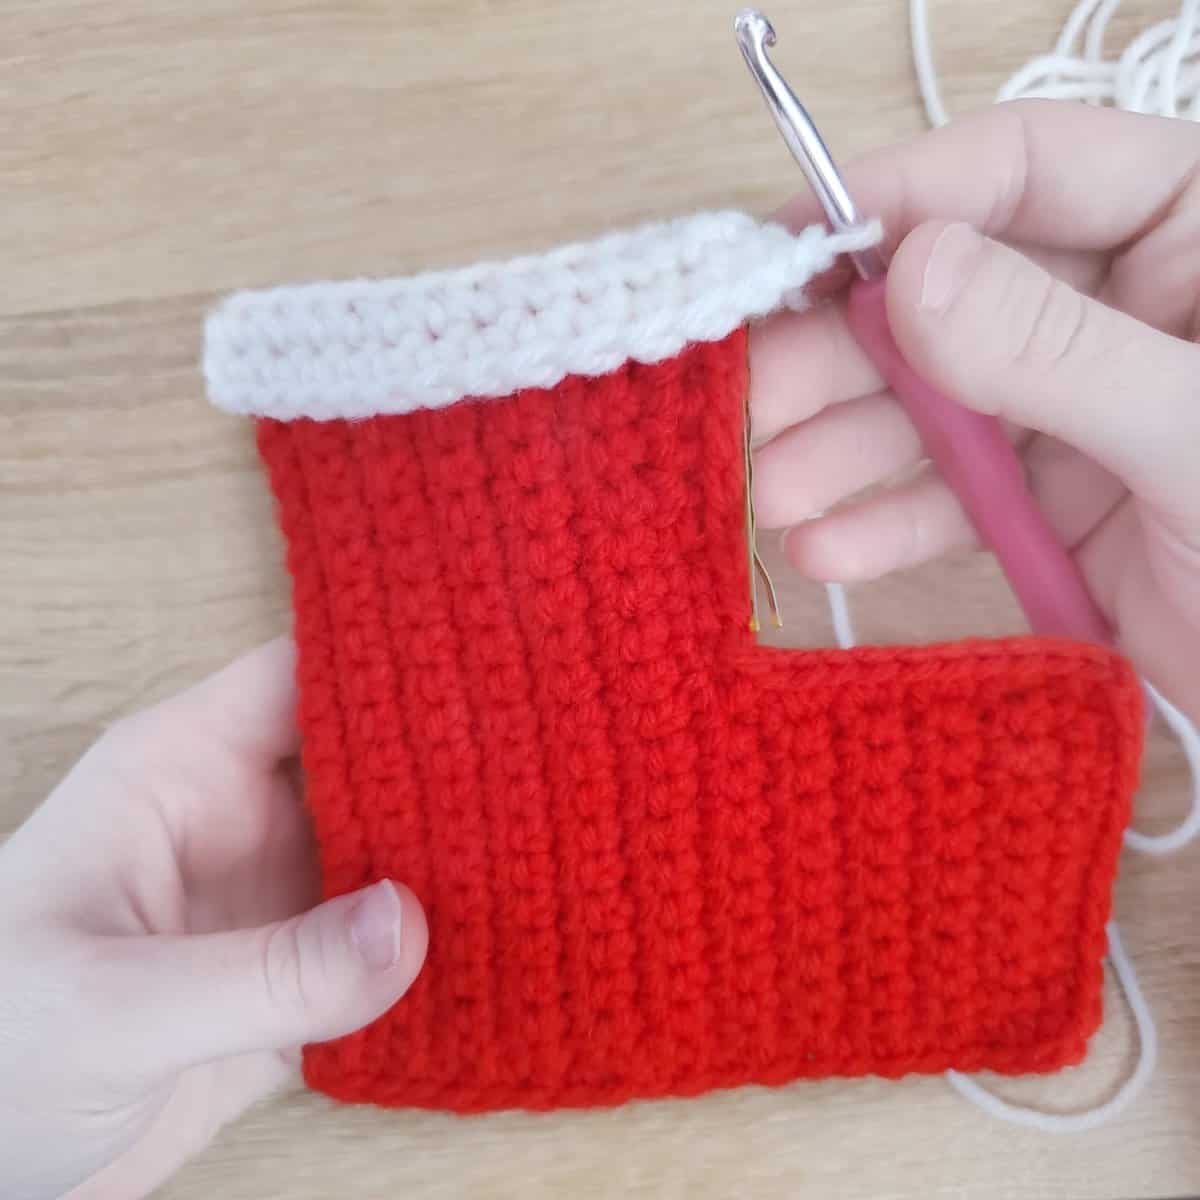
With a bit of white string, add a loop to the outside of the stocking, so you can hang it up!


Adding Some Decorations
I also used Day Seven’s “Mistletoe and Holly Applique” to dress up my stocking – check out the post if you’d like to also add an applique to yours!
I used a bit of red string and sewed through the holly berry and into the first layer of the stocking to attach mine.
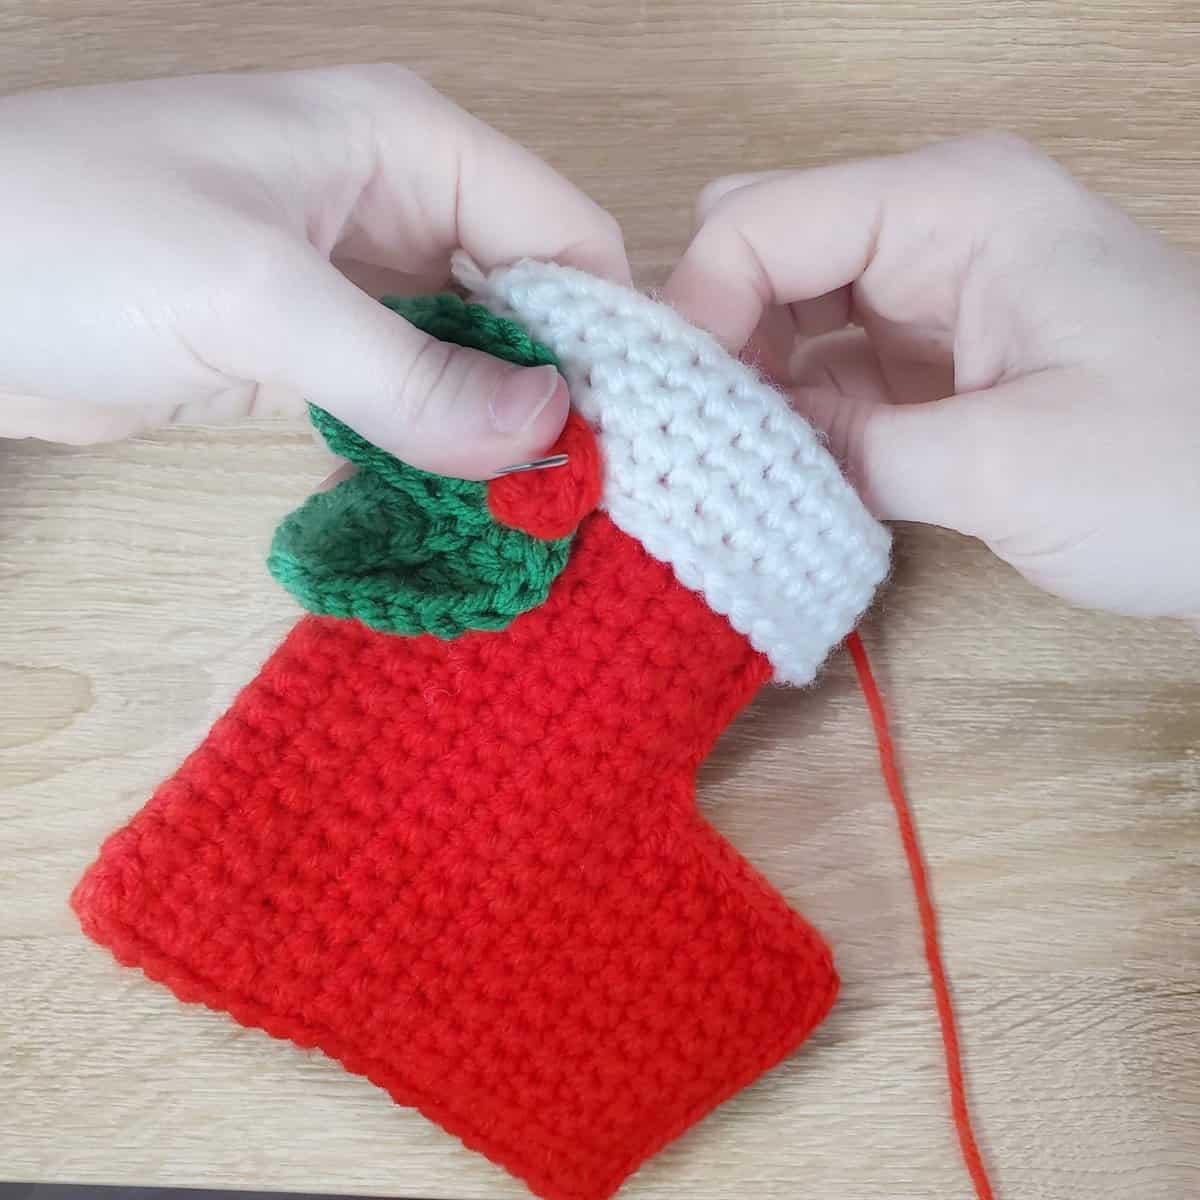


Complete! Be sure to fill it full of treats!
