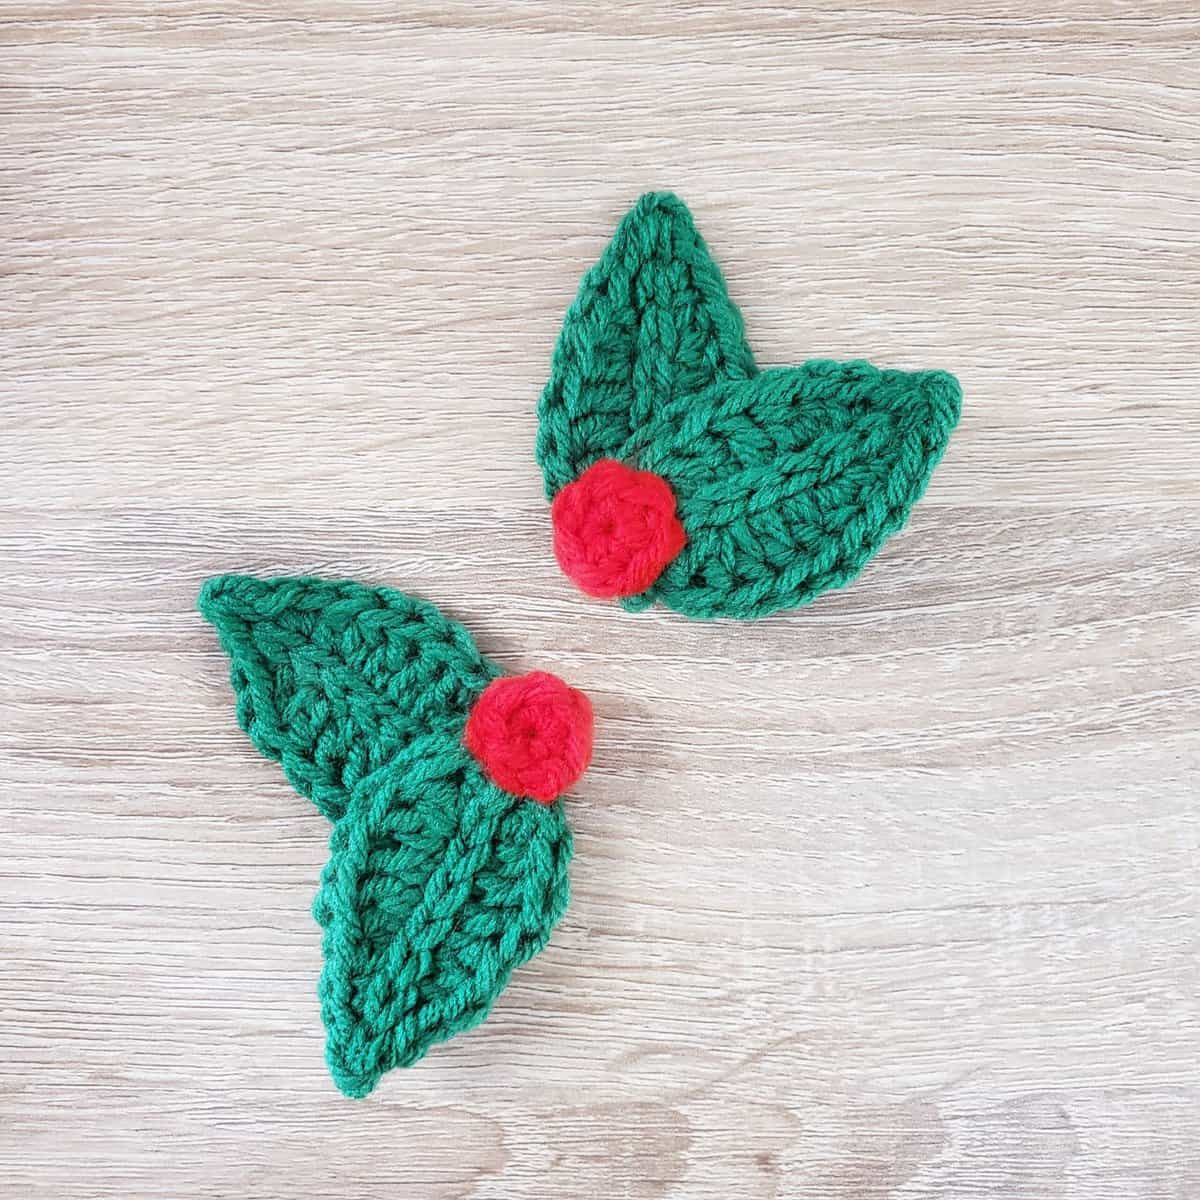
Here we are on Day Seven of our Twelve Days of Christmas Crochet countdown – today’s make is a mistletoe and holly applique!
It looks fantastic as a decoration on top of a gift, attached to a cardigan or headband, or on another crochet project (as you’ll see for tomorrow’s make!).
Materials
All you’ll need for today’s project is red and green worsted-weight yarn, a 4.25mm crochet hook, and a tapestry needle for sewing!
Mistletoe Leaves
You’ll need to make two of these! Using your green yarn and crochet hook, chain 7.
We’ll be working down the chain, around the bottom, and then back around the other side for the leaves!
Start by slip stitching to the second stitch of your chain (remember, the loop on your hook never counts, and we’re using the first stitch to “turn” our work).
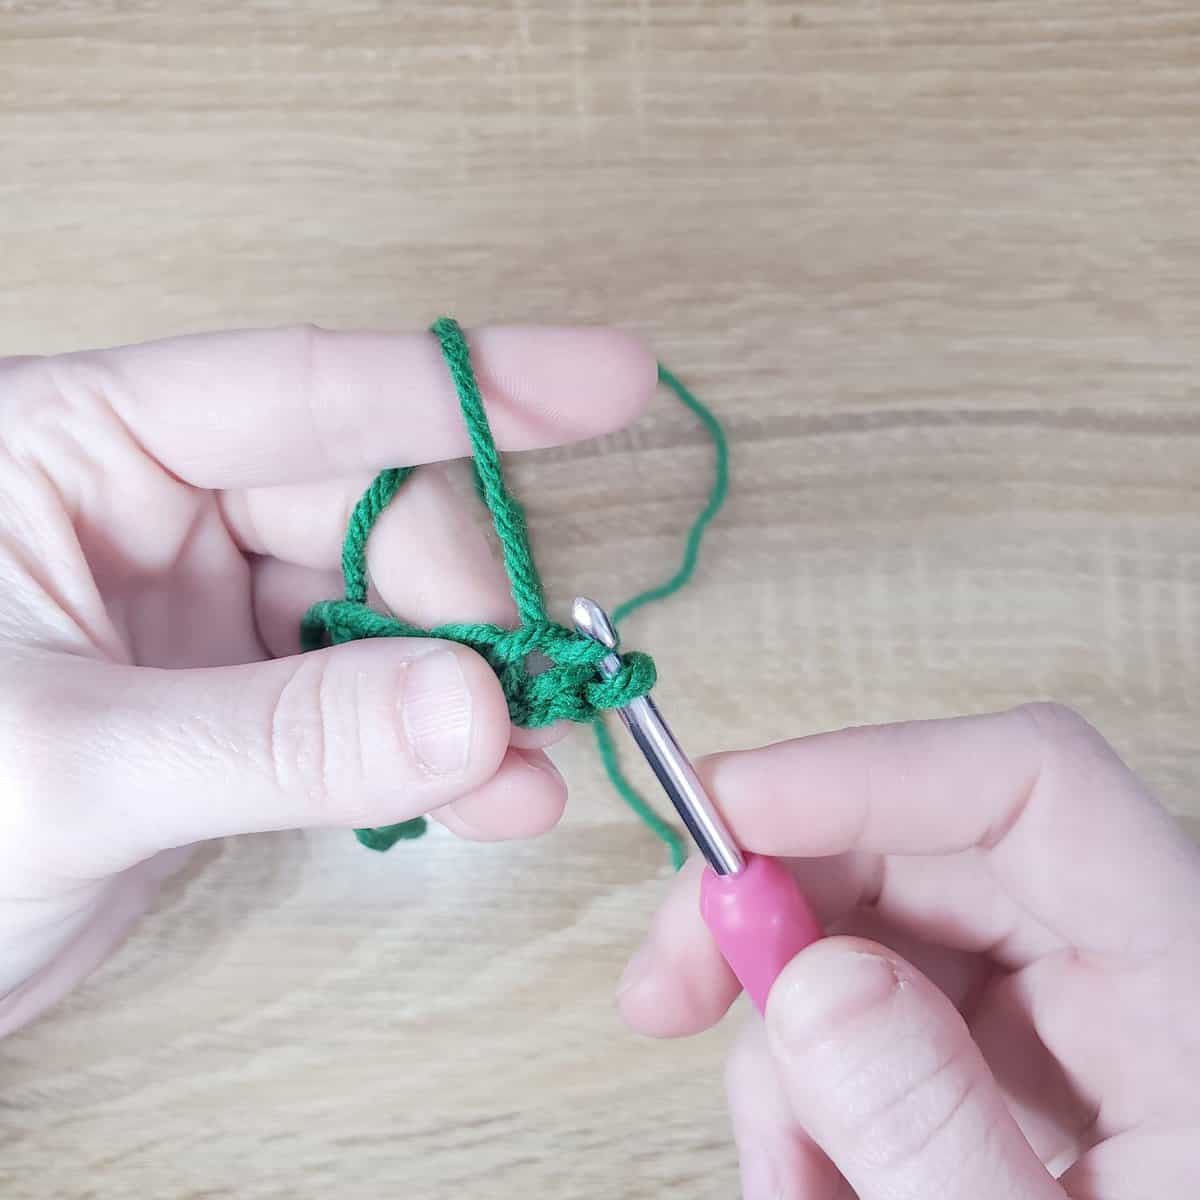
In the next stitch, single crochet. Then, place two half-double crochet stitches in the next stitch.
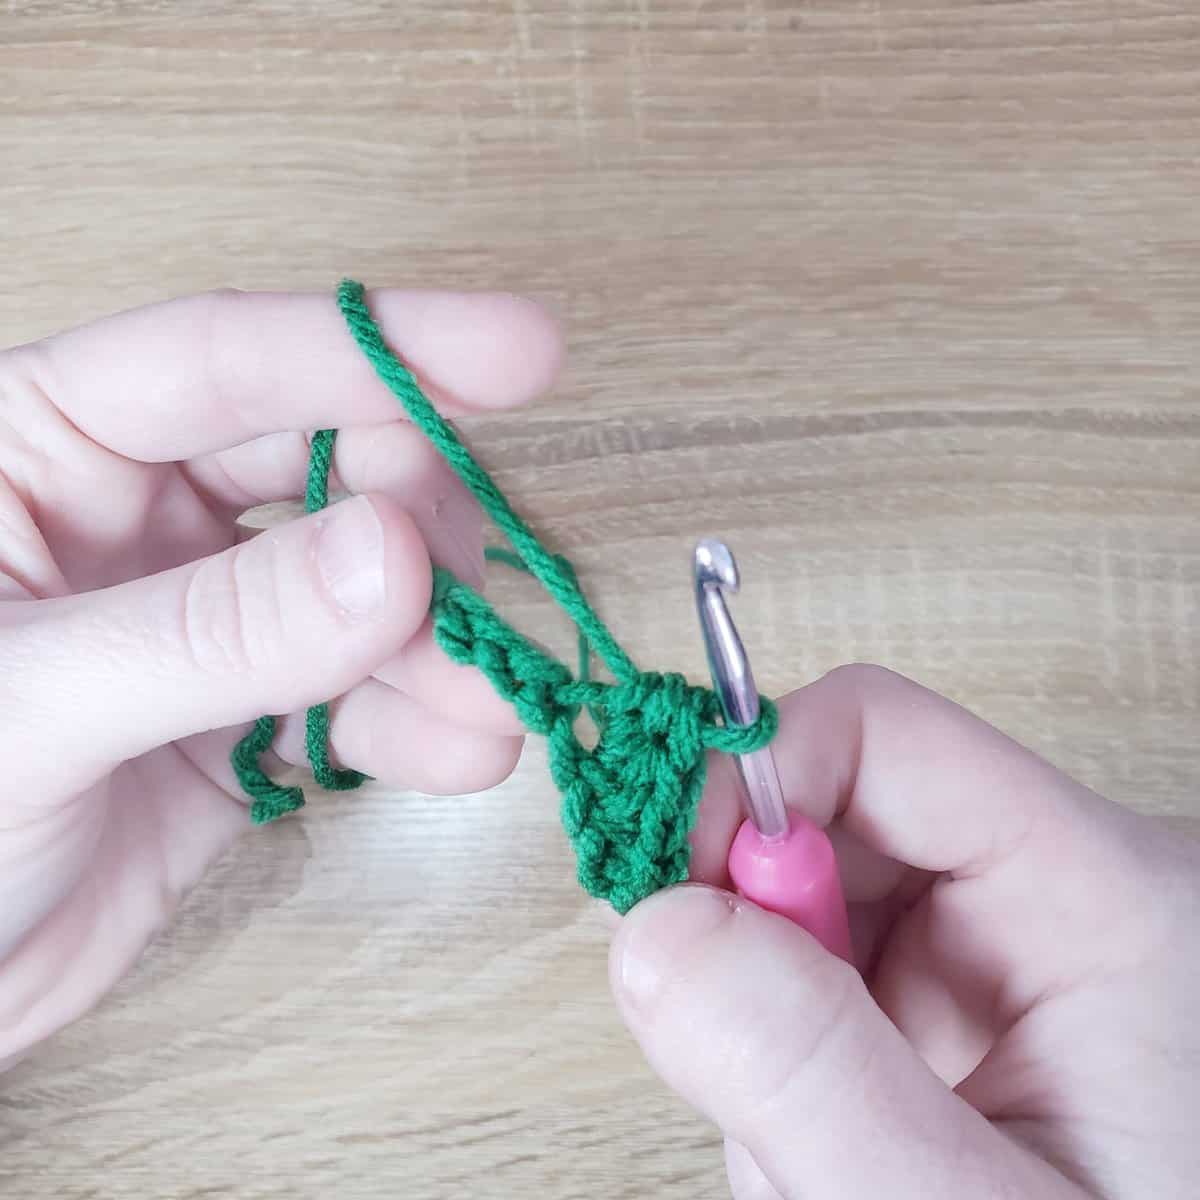
Then, place one double crochet in the next two stitches. This should take you to the very last stitch of the chain on this side!
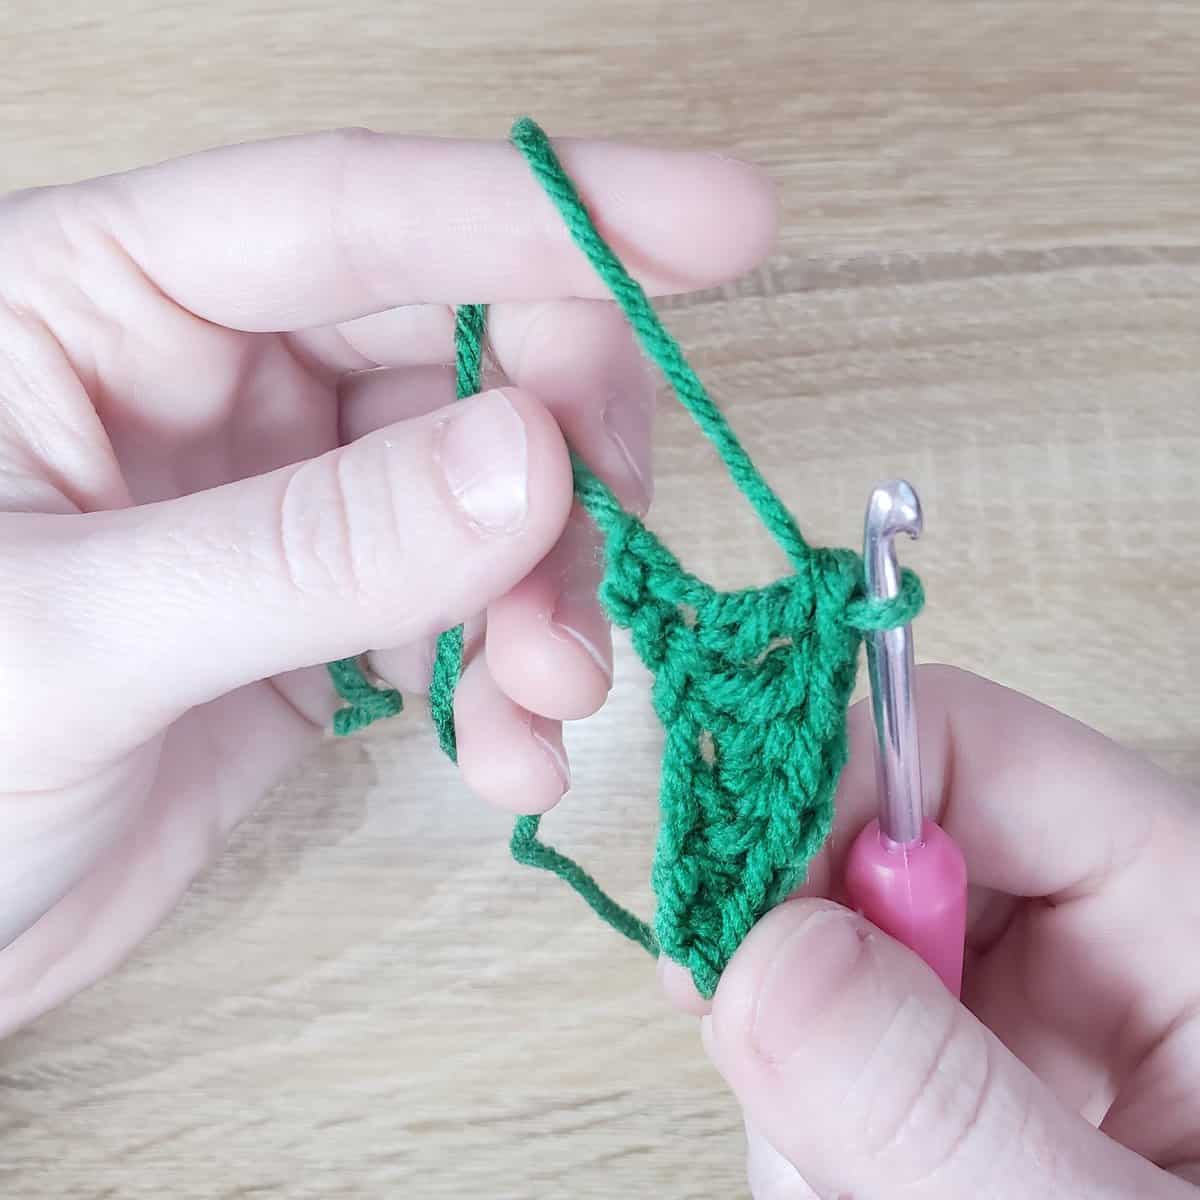
Now we’re going to swing around the bottom stitch of the chain so we can work back up the other side. We’ll do this by placing 5 double crochet stitches in the last stitch of the chain. Place the first two, then rotate your work as you continue placing the remaining stitches, like so:
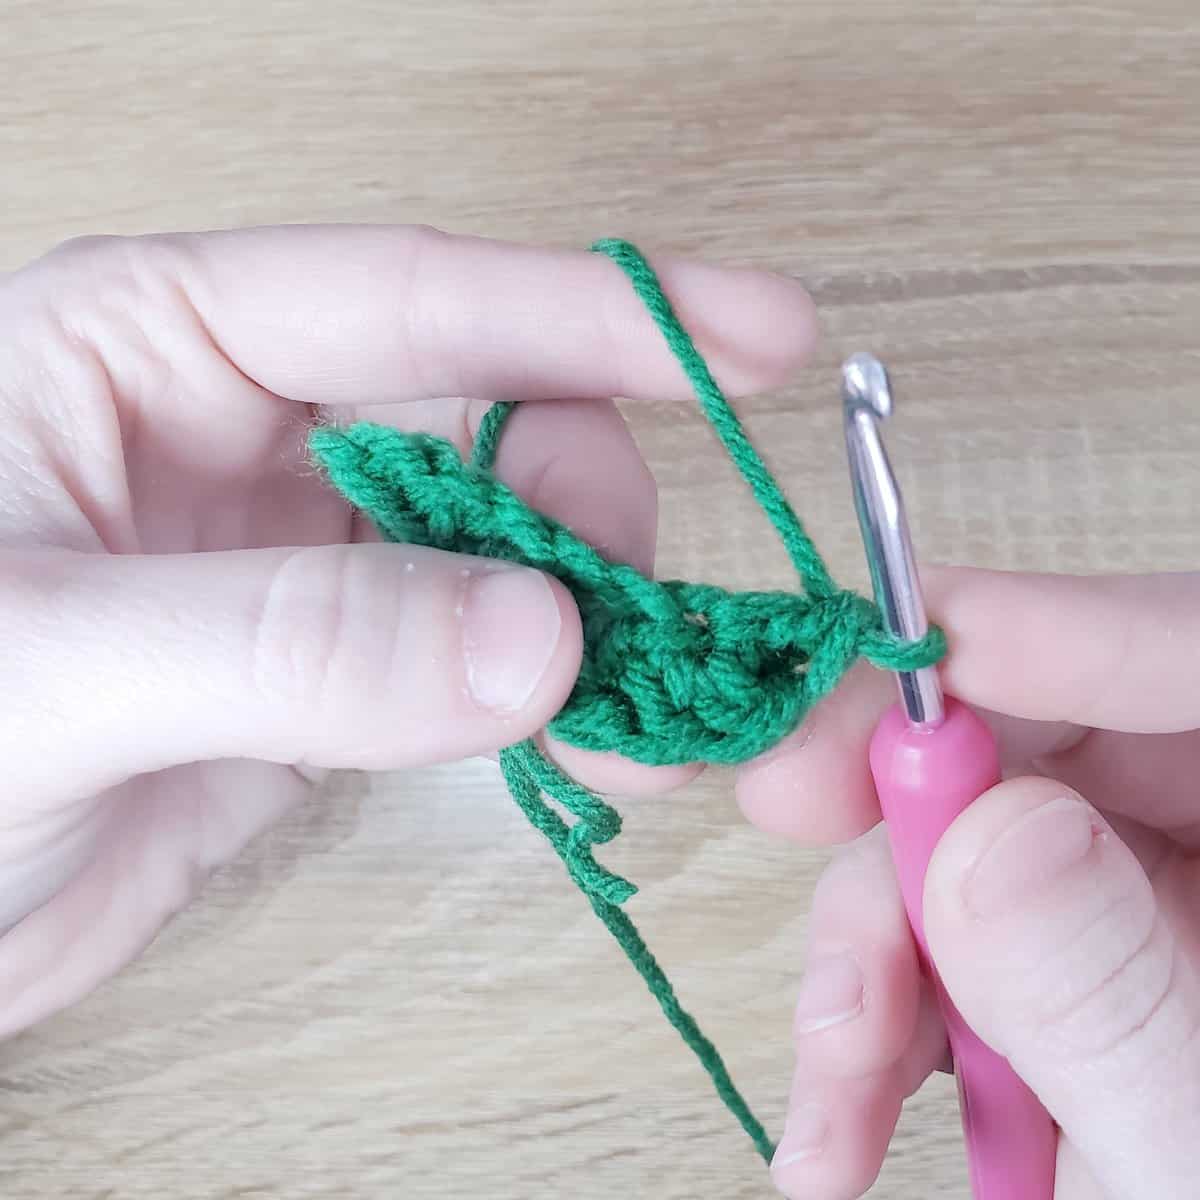
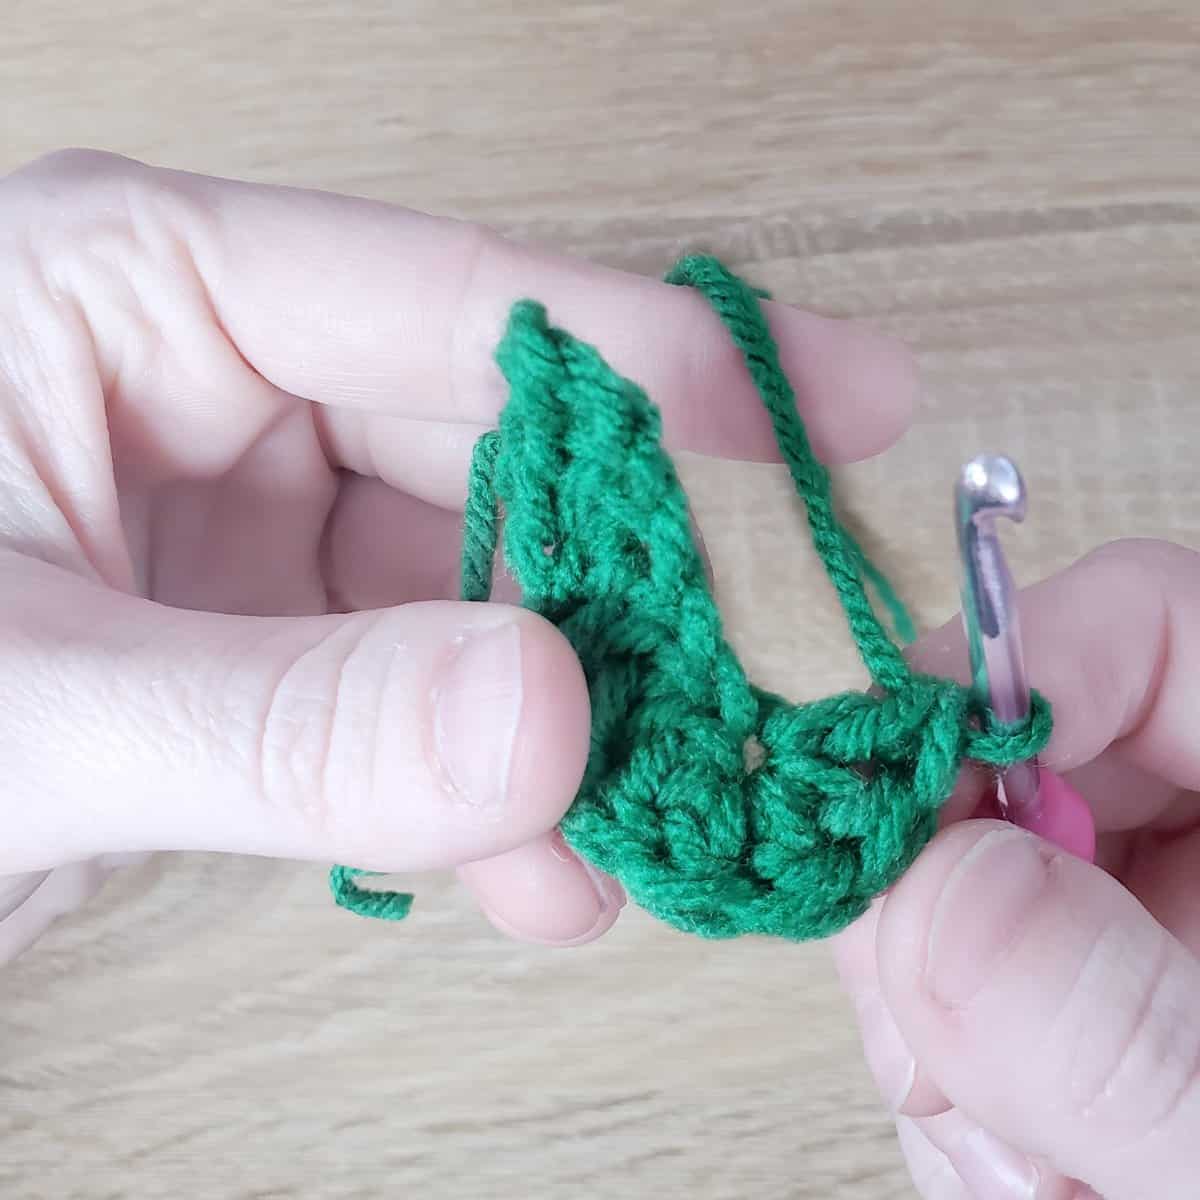
Now that we’ve flipped around the bottom of the chain, we’ll work back up by placing one double crochet in the next two stitches.
Then, place two half double crochet in the next stitch, followed by one single crochet in the next stitch and a slip stitch in the last stitch.
This side mirrors the first side of the chain! This should take you to the last stitch of this side of the chain.
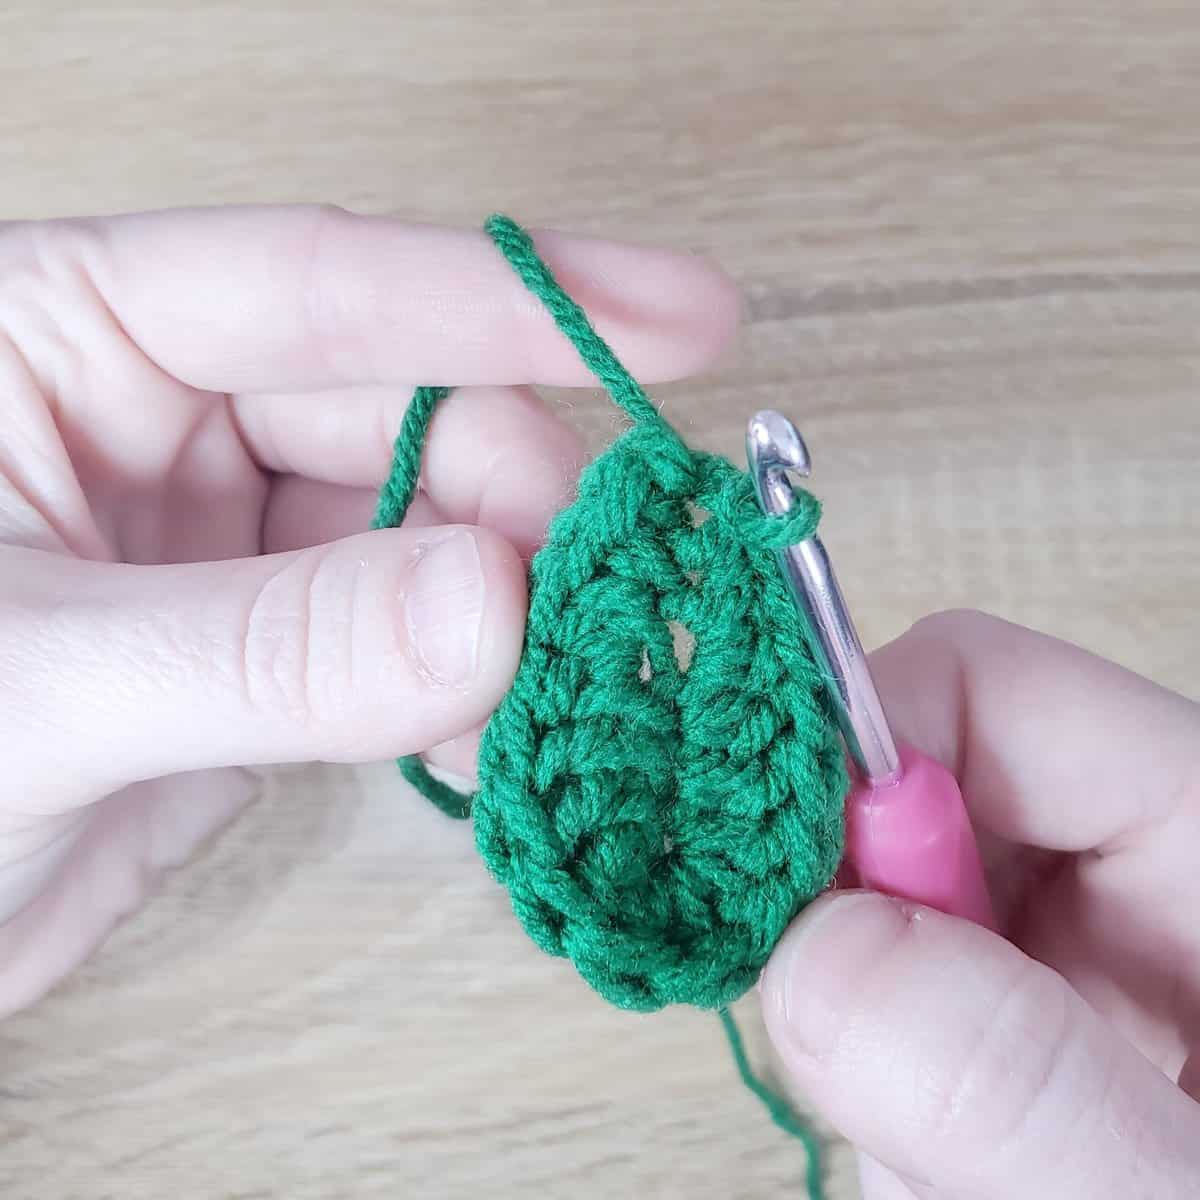
To close off the top of the leaf, we’ll create a single crochet stitch by slipping through the other side of the chain’s slip stitch that we made and forming a single crochet:
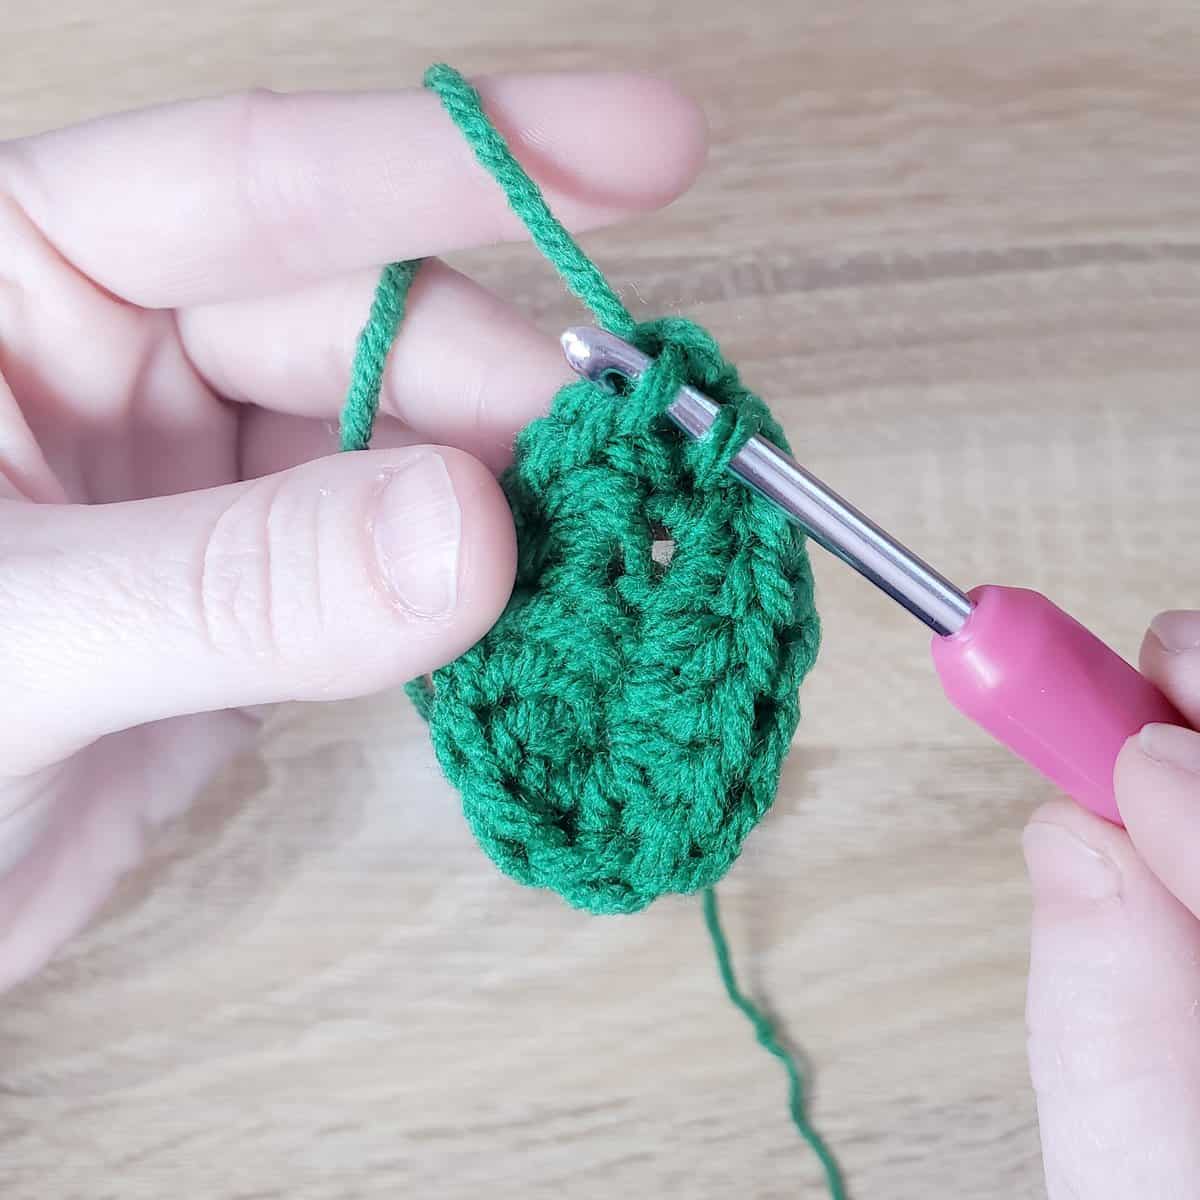
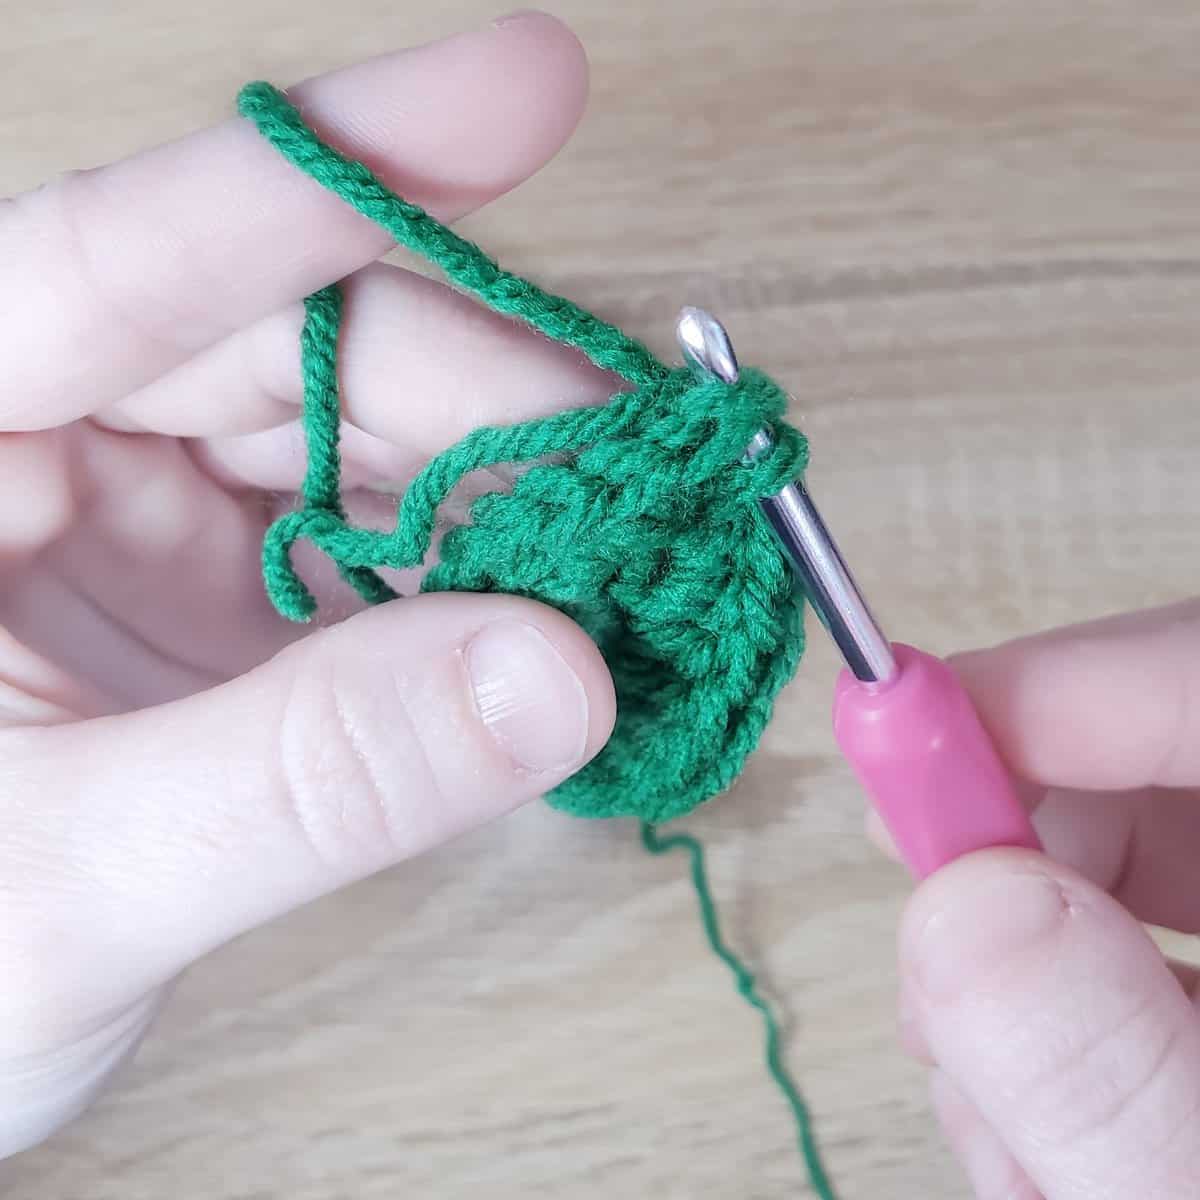
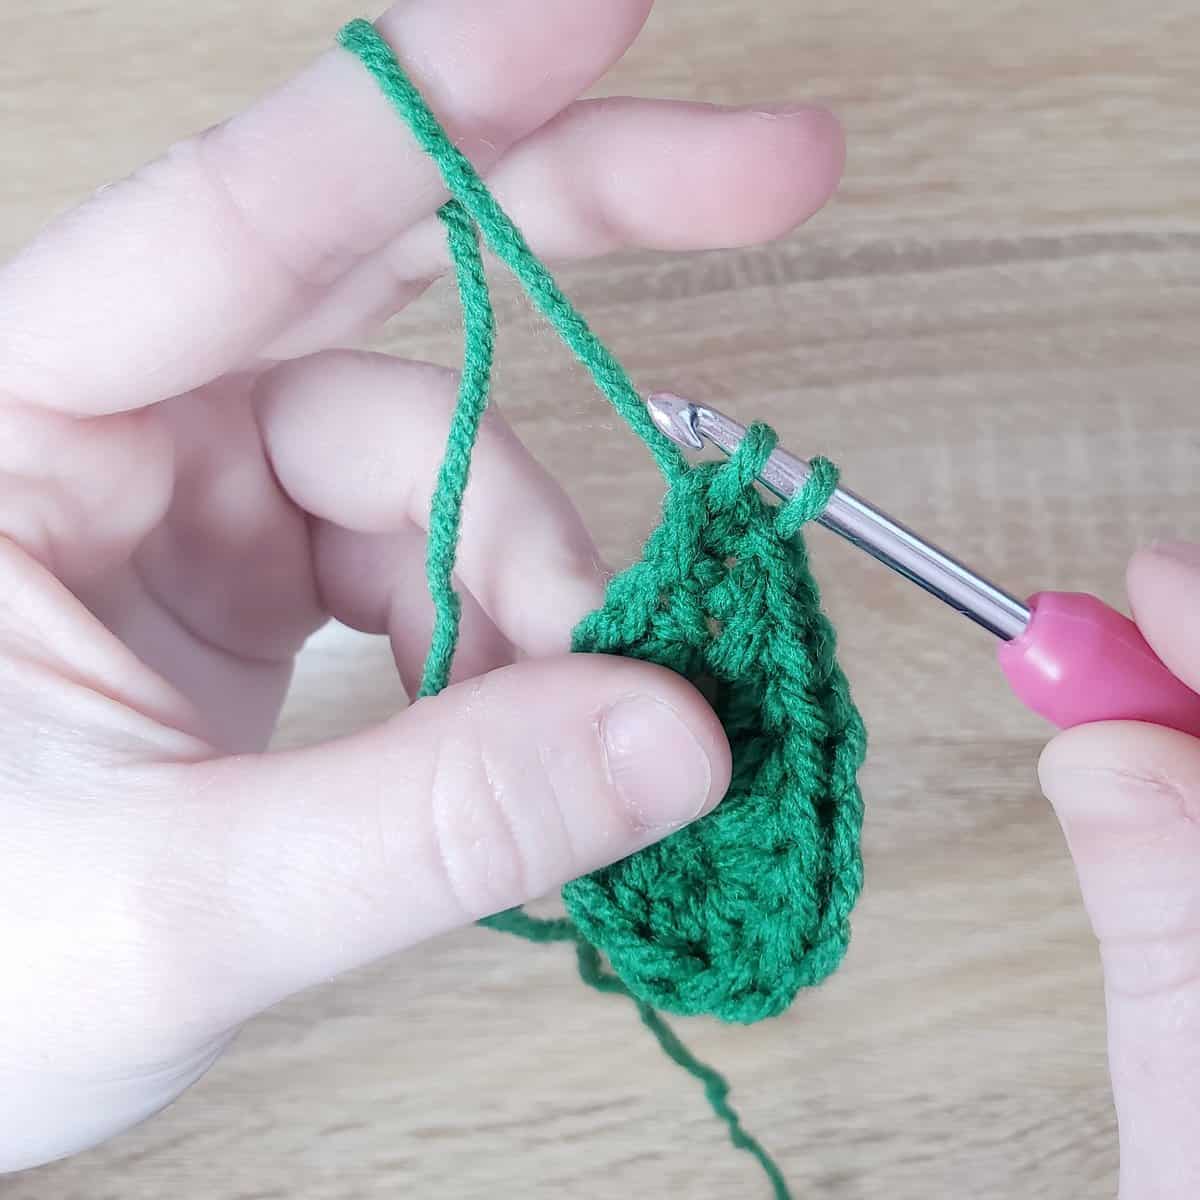
Now that we’ve closed off the leaf, we’ll slip stitch down the center of the original chain to add the vein of the leaf!
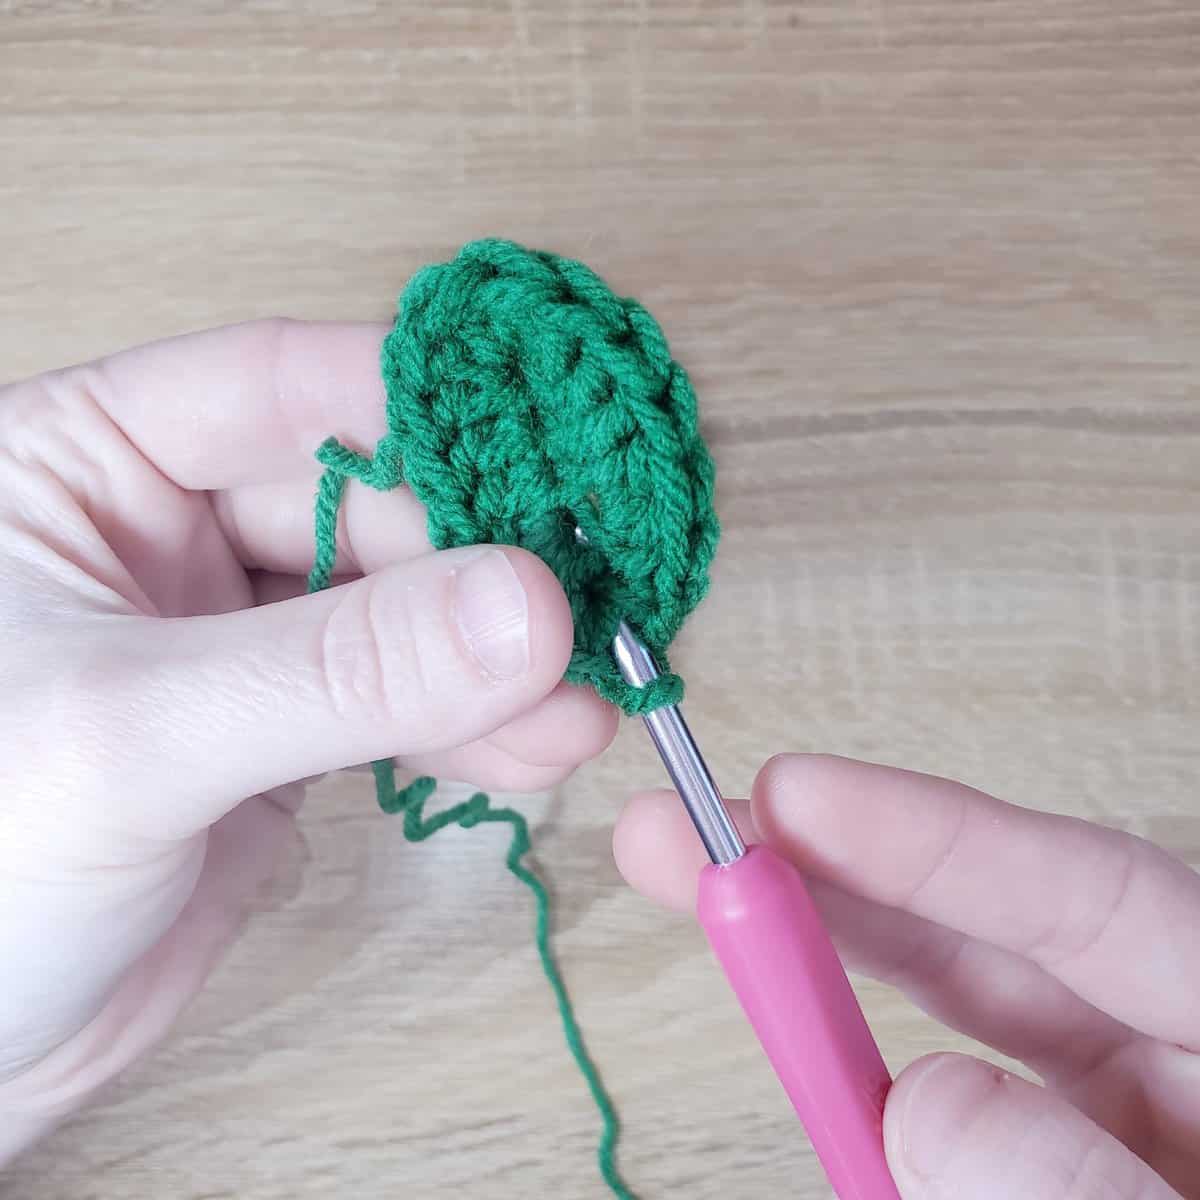
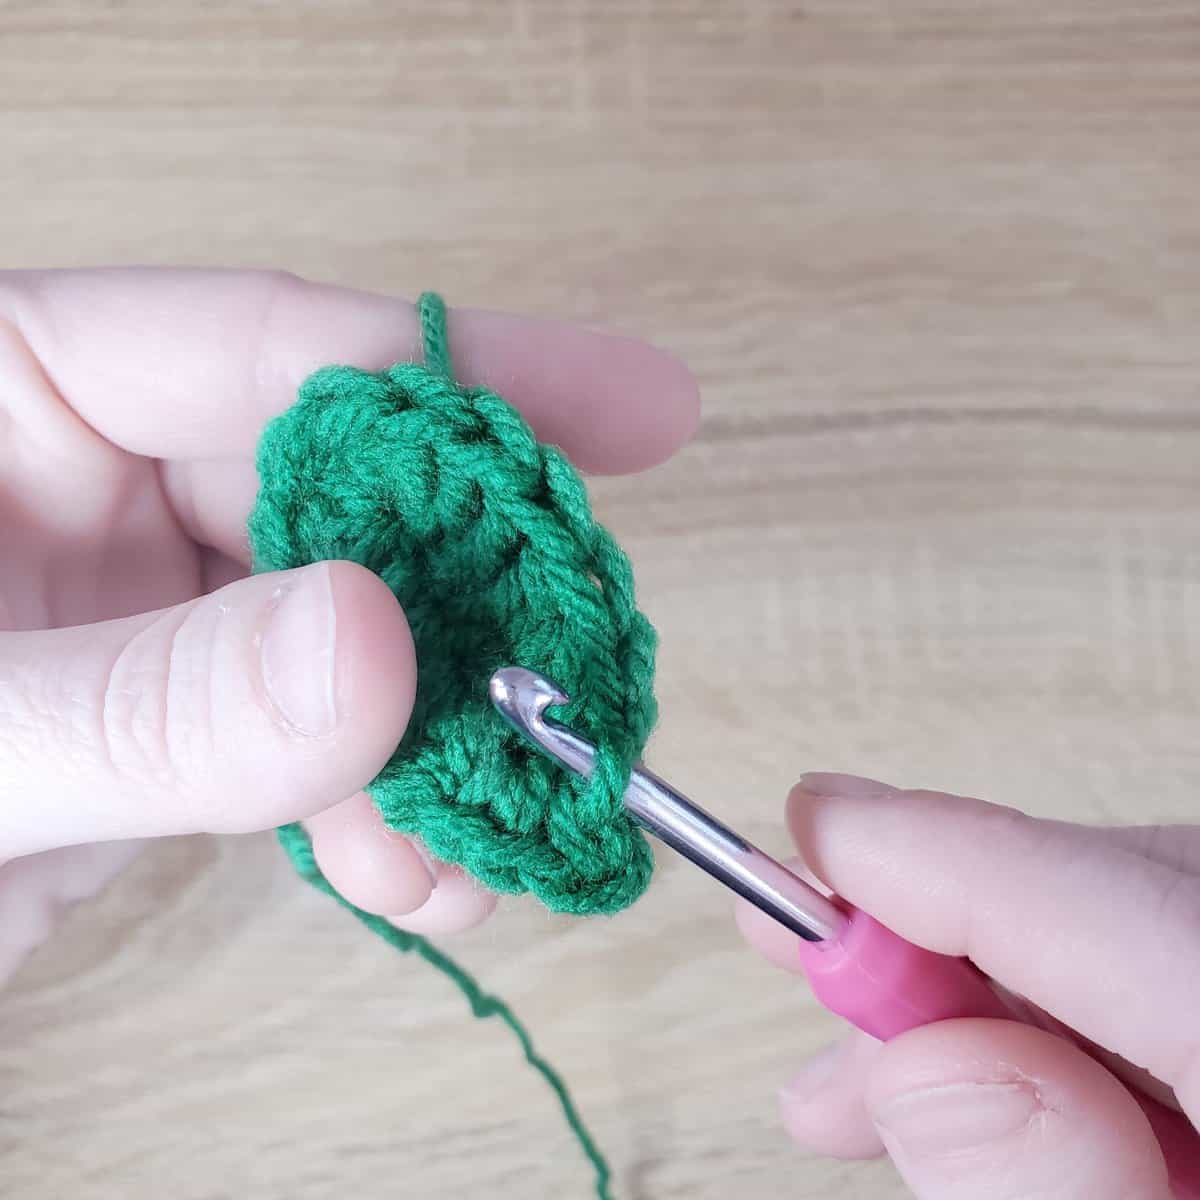
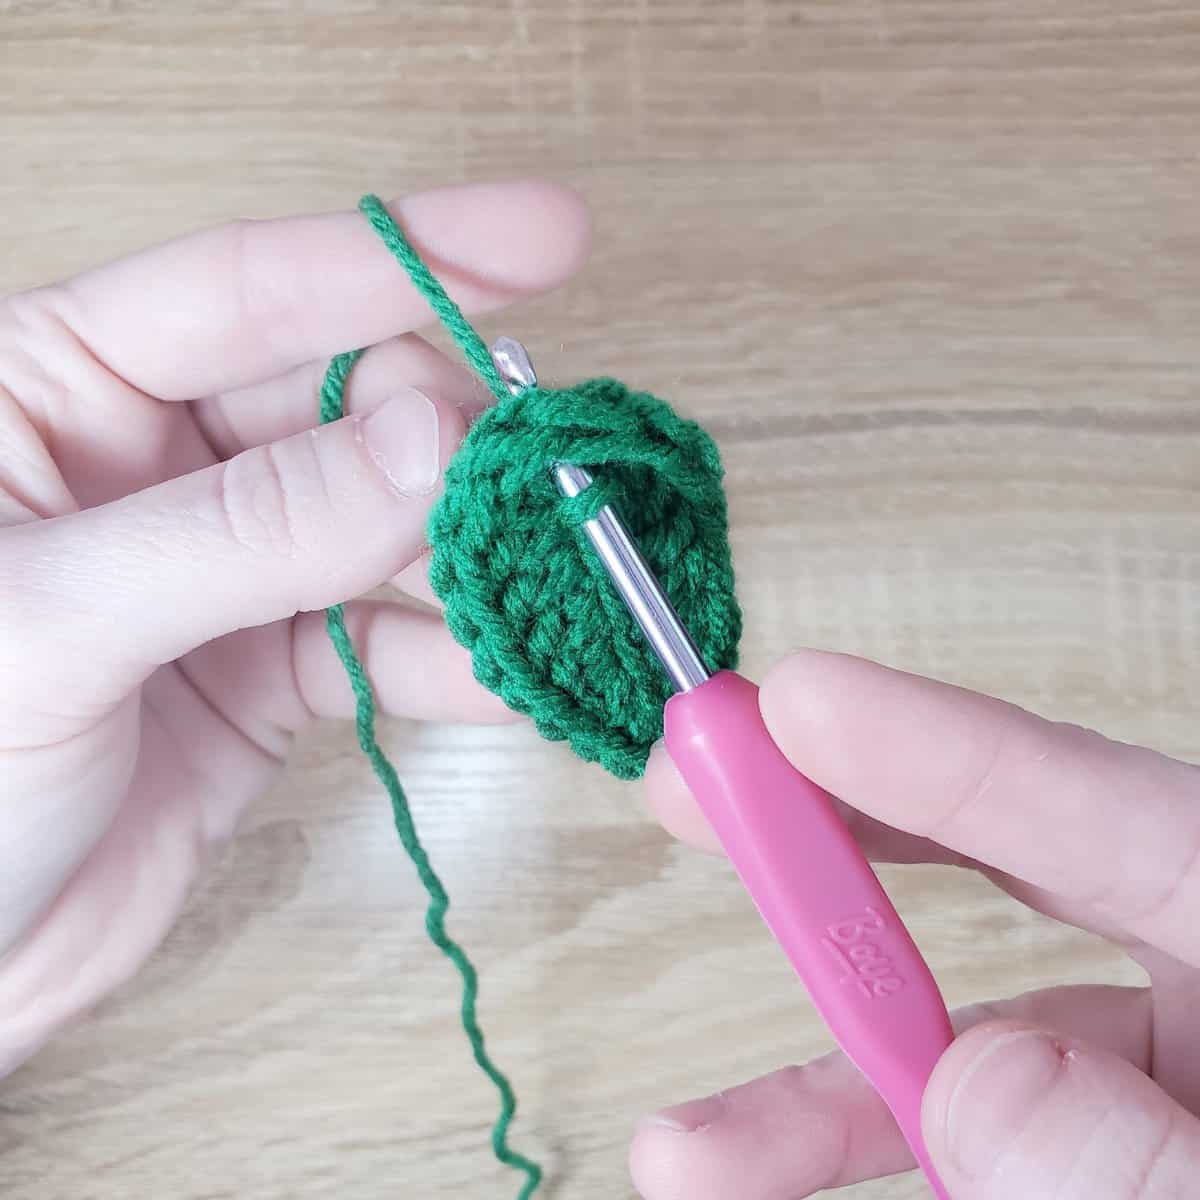
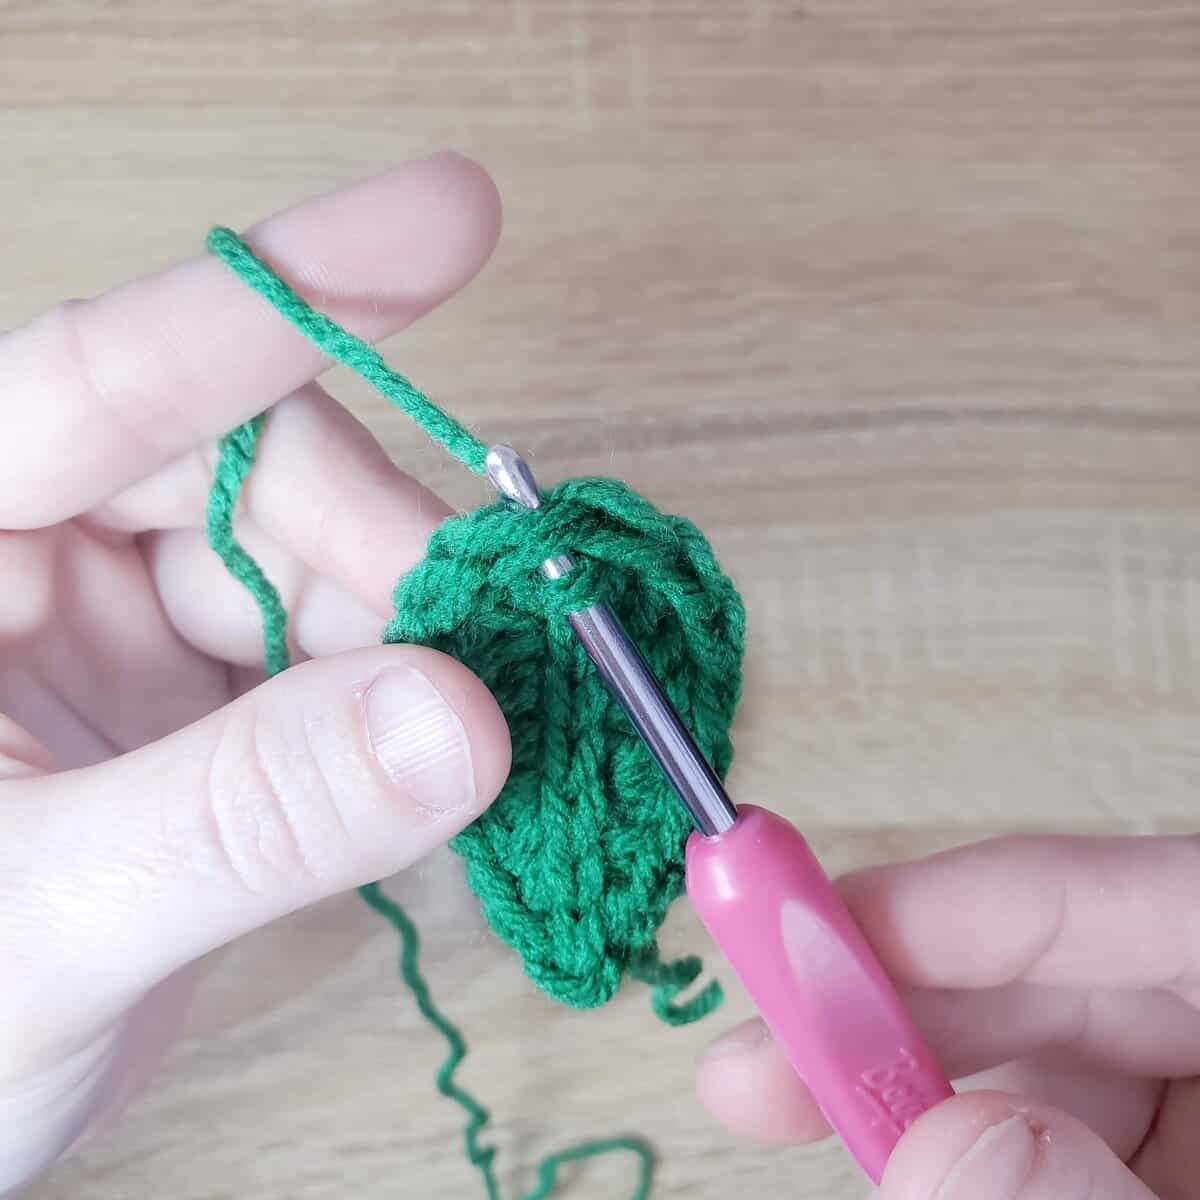
Once you reach the bottom of the leaf with slip stitches, fasten off by cutting a medium-length tail and pulling the yarn through your last slip stitch.
Holly Berry
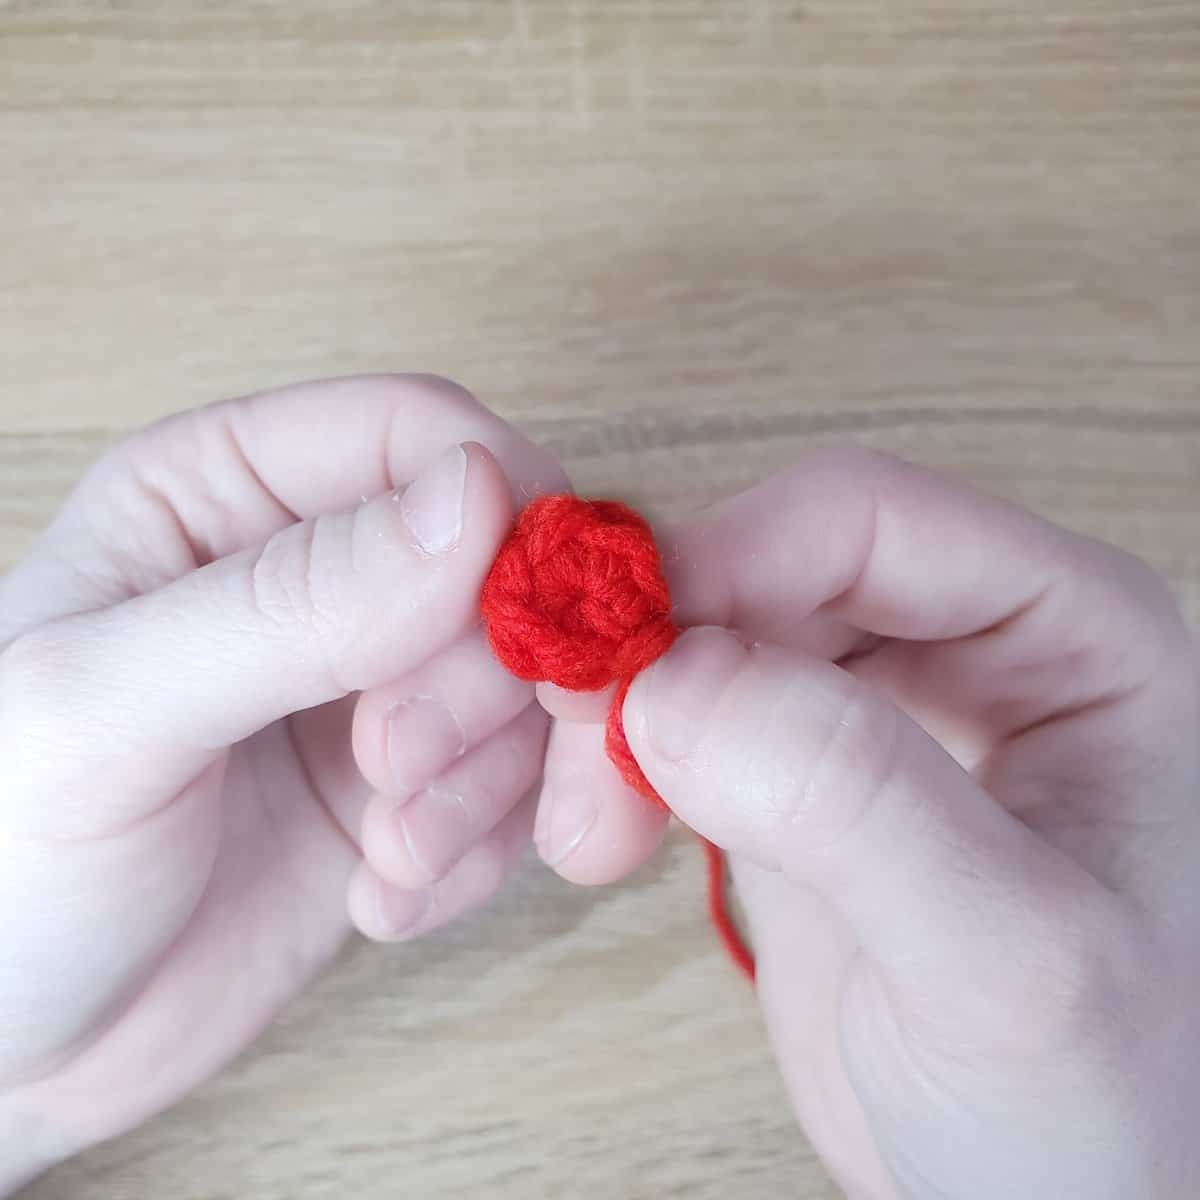
In red yarn, Magic Loop 6 single crochet, then slip stitch to close off the round. Cut a medium-length tail, as we’ll use this to attach the berry to the leaves!
Assembly
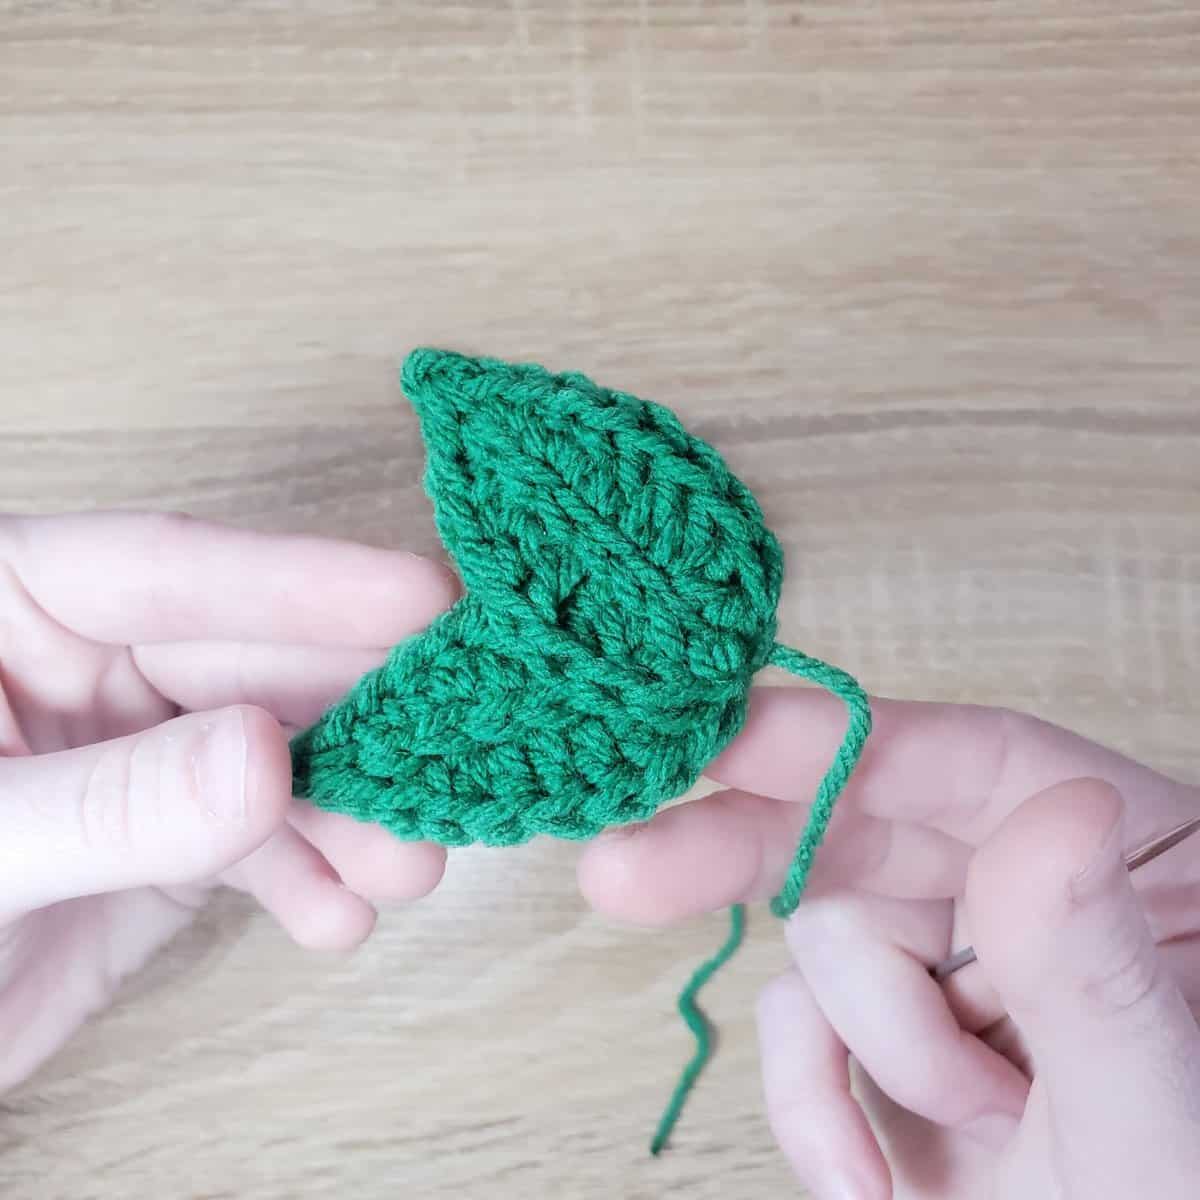
Once you’ve made both leaves and the berry, it’s time to assemble your applique! Place the leaves with one on top of the other, like so:
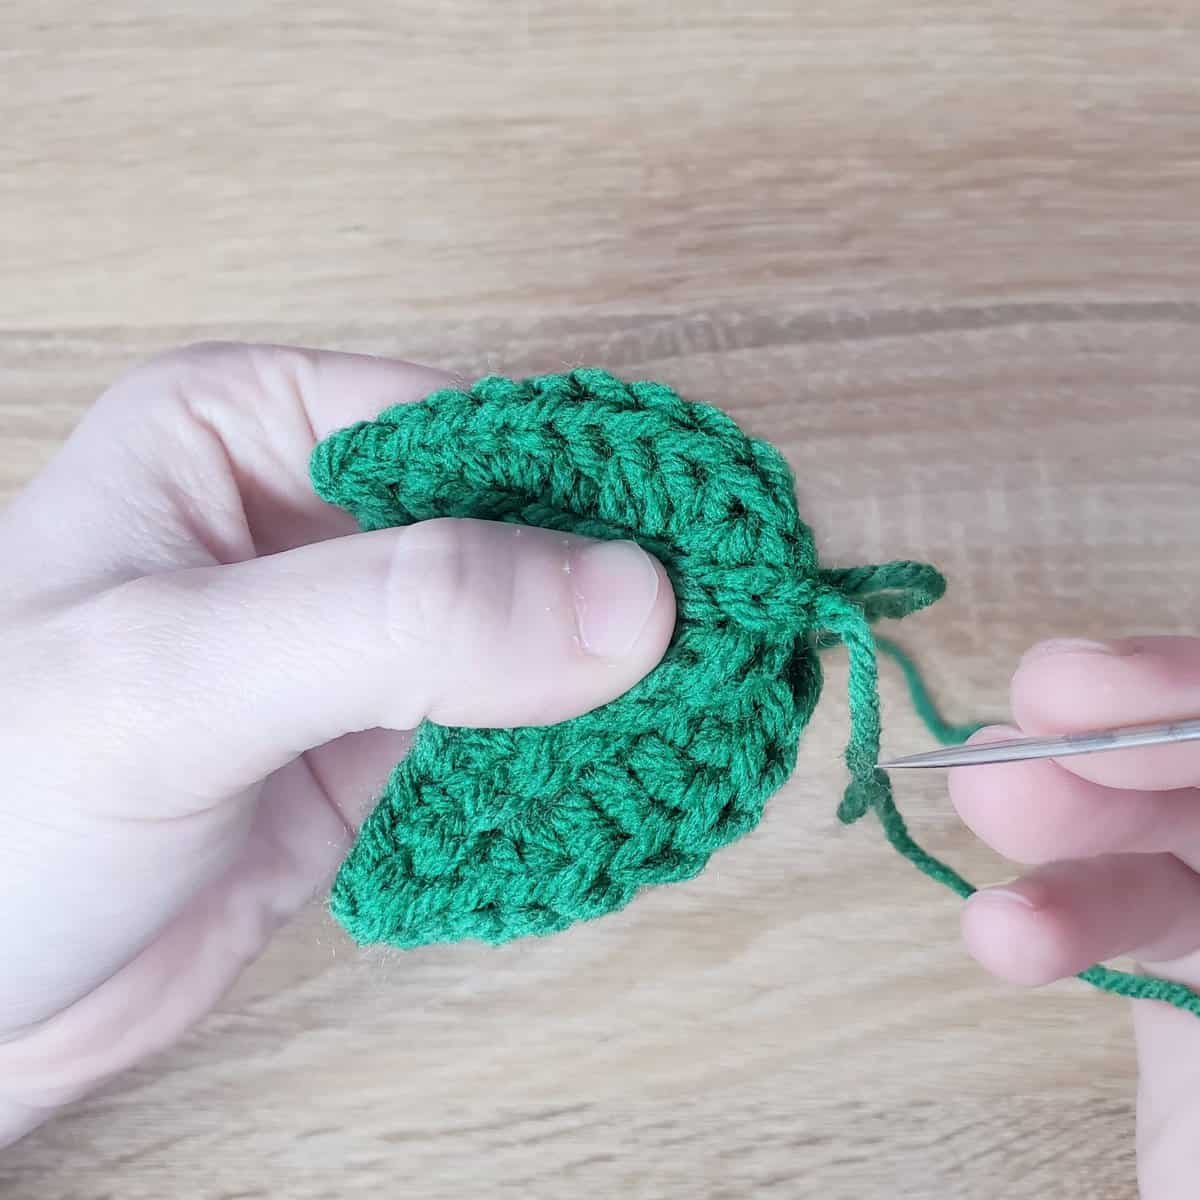
Using a tail leftover from one of your leaves, sew the two leaves together using a few straight stitches. Once finished, weave in the tail ends of both leaves to finish off – or leave one green tail if you plan to sew your applique to something! (I left one, as I have plans for this applique!)
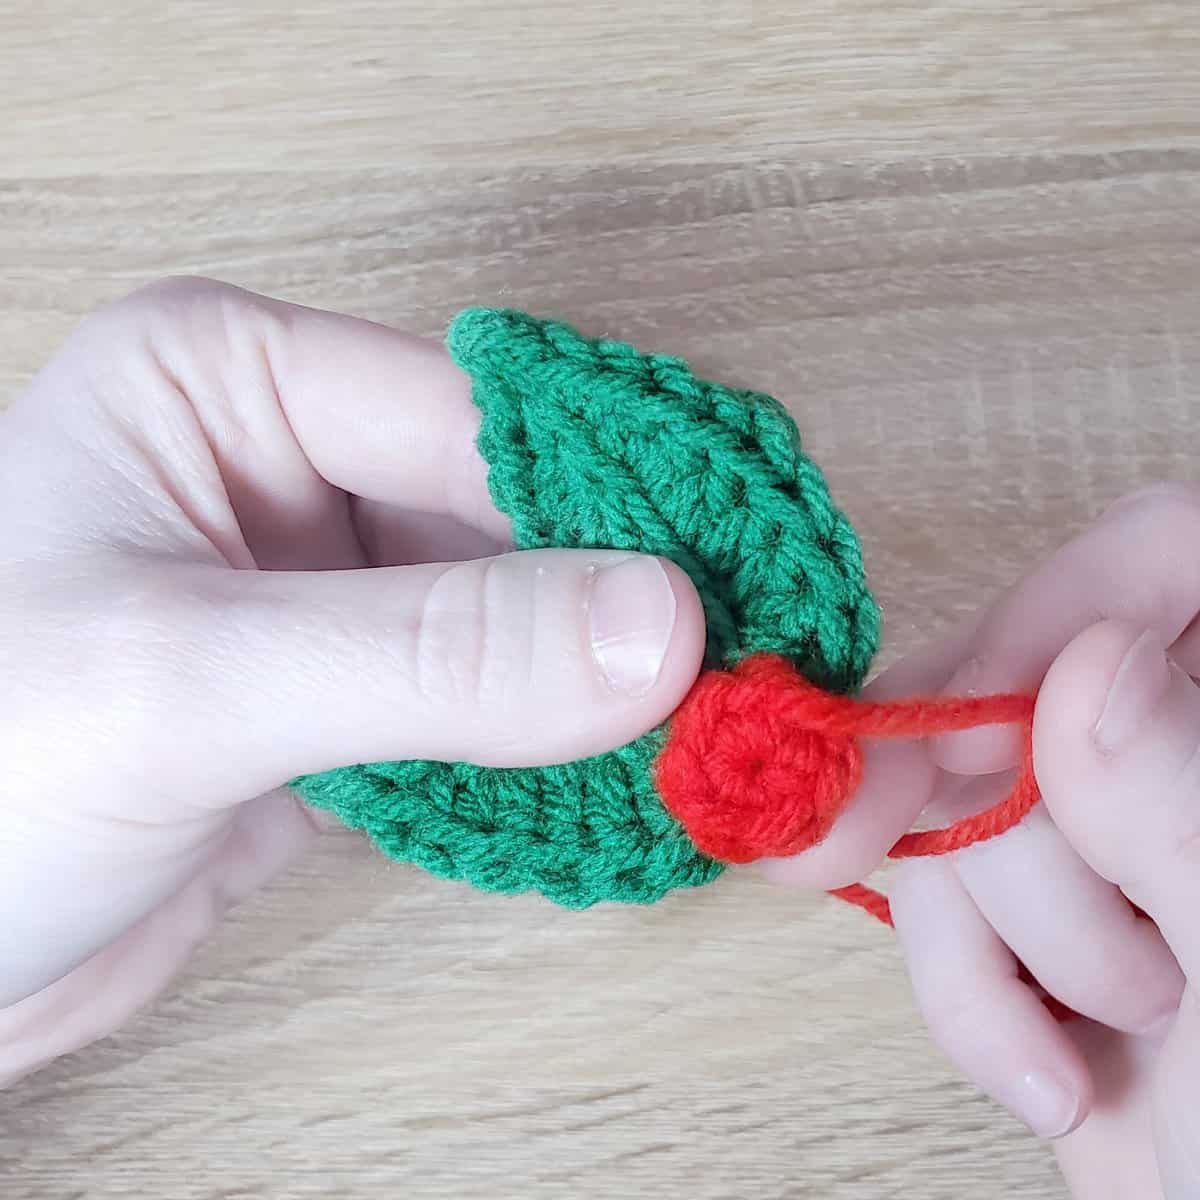
Now we’ll attach the holly berry. Using the red yarn tail left over from the berry, sew the berry to the place where the leaves both meet up. I like to have a little bit of the berry hang over the edges of the leaves, like so:
Complete!
