Welcome to the tenth day of our Twelve Days of Christmas Crochet countdown – if you haven’t already, check out our first two makes, and be sure to stick around for the rest of our countdown!
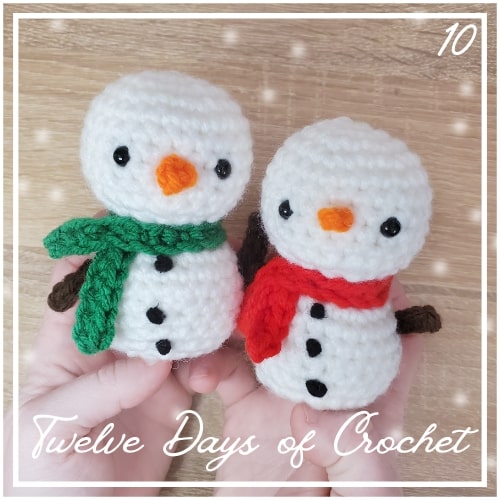
Today’s make is a mini snowman amigurumi. He’s a perfect addition to your tree, as a stocking stuffer, or as a part of your holiday display!
Materials Required
Today’s pattern is an amigurumi pattern, which means you’ll be working in a continuous spiral of single crochet stitches. I recommend using a stitch marker to help you keep track of your rounds.
Here are all of the materials required to make this project – feel free to make substitutions to the yarn colors, weight, and even the hook size.
My project ended up measuring about 4 inches tall. Remember, using a larger hook and yarn of a different weight will affect the finished size of your project!
| 4.25mm crochet hook |
| worsted weight yarn in brown, red/green, orange, and white (you can also use whatever colors (you’d like!) |
| tapestry needle |
| poly-fil stuffing |
| 6mm safety eyes |
| black embroidery thread |
Abbreviations
Here are all of my standard abbreviations.
Note: Some of these may not be used in the pattern – these are the stitches that I use most frequently! If you see an abbreviation that you are unfamiliar with, please refer back to this chart.
Note: For this project, increases and decreases are single crochet increases/ decreases unless otherwise specified! (This is generally the standard in amigurumi projects.)
| ML | magic loop |
| R | row/round |
| st | stitch |
| slp st | slip stitch |
| ch | chain |
| sc | single crochet |
| hdc | half double crochet |
| dc | double crochet |
| tr | treble crochet |
| FLOsc | front loop only single crochet |
| FLOscdec | front loop only single crochet |
| BLOsc | back loop only single crochet |
| BLOscdec | back loop only single crochet decrease |
| inc | increase |
| dec | decrease |
| dc | double crochet |
| ** | repeat |
| () | number of sts in row |
Snowman Body
Use white yarn (or whatever color you’re using to make your snowman)
R1: ML 6sc (6)
R2: inc in each st around (12)
R3: *1sc, inc* around (18)
R4: *2sc, inc* around (24)
R5 – R9: sc in each st (5 rounds total)
R10: *2sc, dec* around (18)
R11: *sc, dec* around (12)
We’ll add our safety eyes and stuff the head here! The eyes go between R7 & R8, about 4 stitches apart. Add a bit of fluff to your snowman’s head, but be careful not to over stuff.
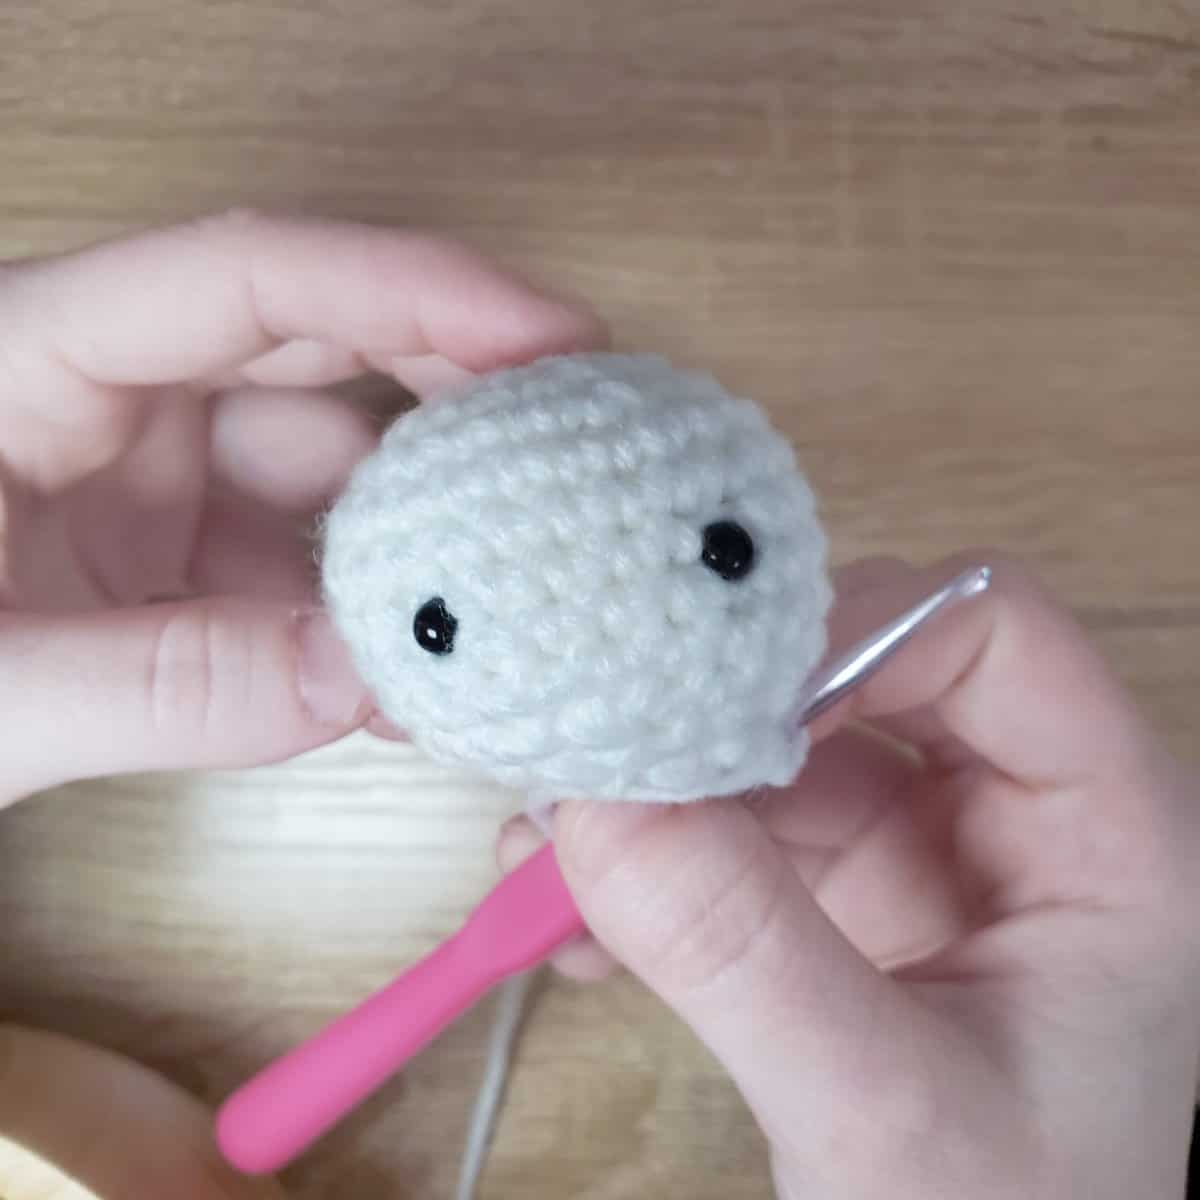
R12: dec in each st around (6)
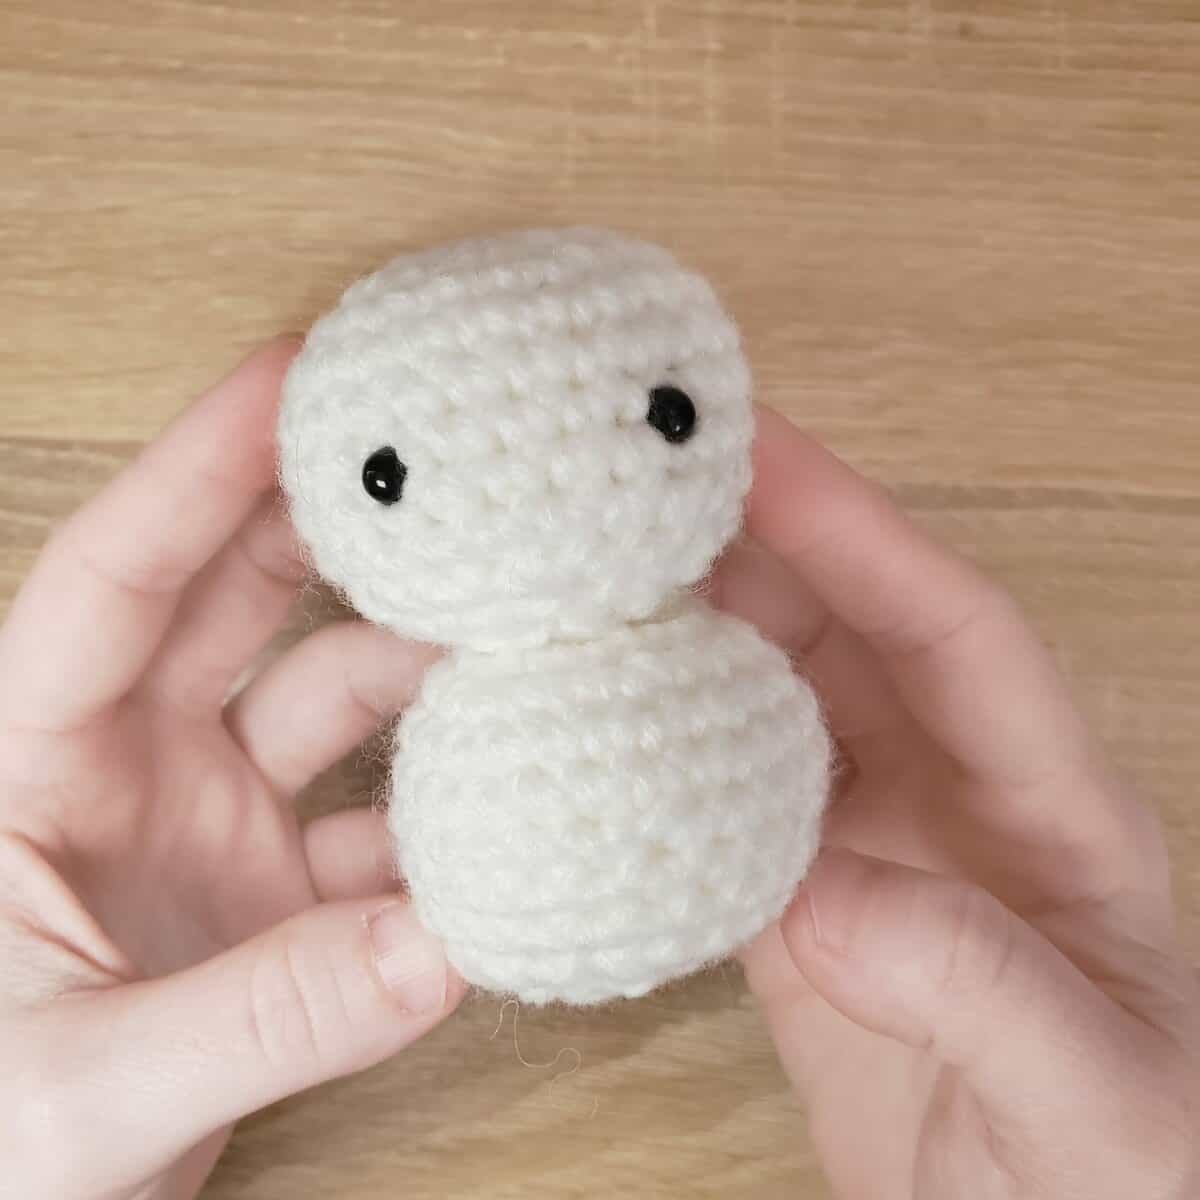
We’ll continue working, as the body is all made in one piece for this pattern!
R13: 3FLOsc in each st around (18)
Note on using FLOsc: I find using FLO stitches helps direction changes. We’re basically skipping a row of normal increases by placing three single crochet stitches in each stitch, which will help round off the snowman’s body without giving him a long neck.
R14: *2sc, inc* around (24)
R15 – R19: sc around (5 rounds total)
R20: *2sc, dec* around (18)
R21: *1sc, dec* around (12)
Stuff the lower half of the snowman here!
R22: dec in each st (6)
Slip stitch, cut a long tail, and fasten off. Use this tail to sew through each of the remaining 6 stitches and pull tight to cinch the snowman’s body closed.
Arms
We need to make two of these! Use brown yarn.
R1: ch 4
R2: slp st down the chain
Cut a long tail. We’ll use this to sew the arm onto the snowman’s body – thread the tail through your tapestry needle, then whip stitch the arm onto the side of the body.
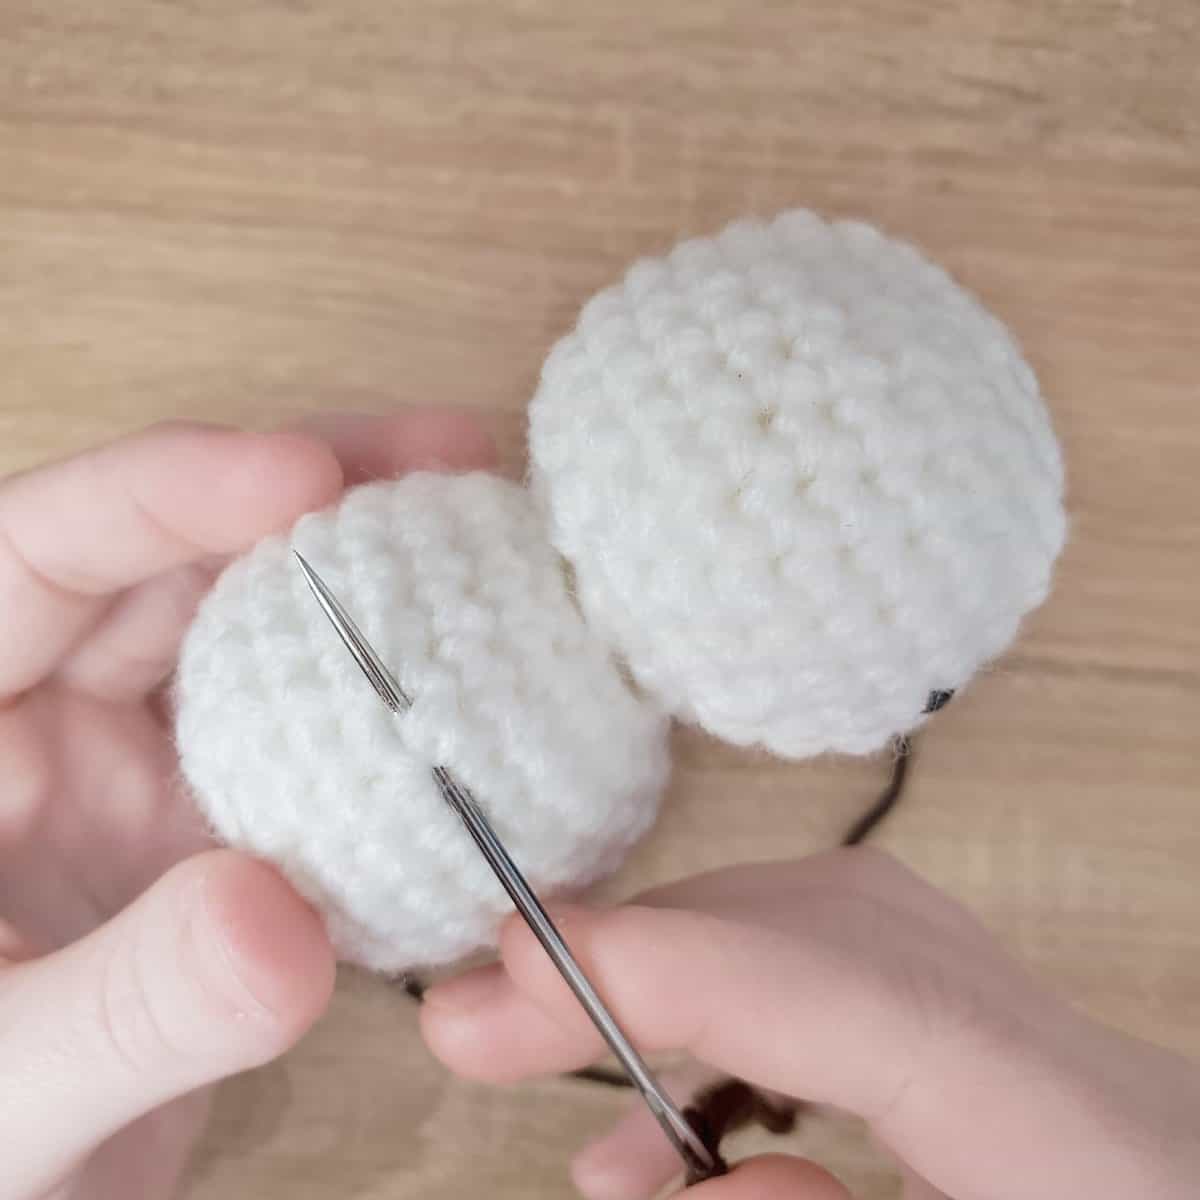
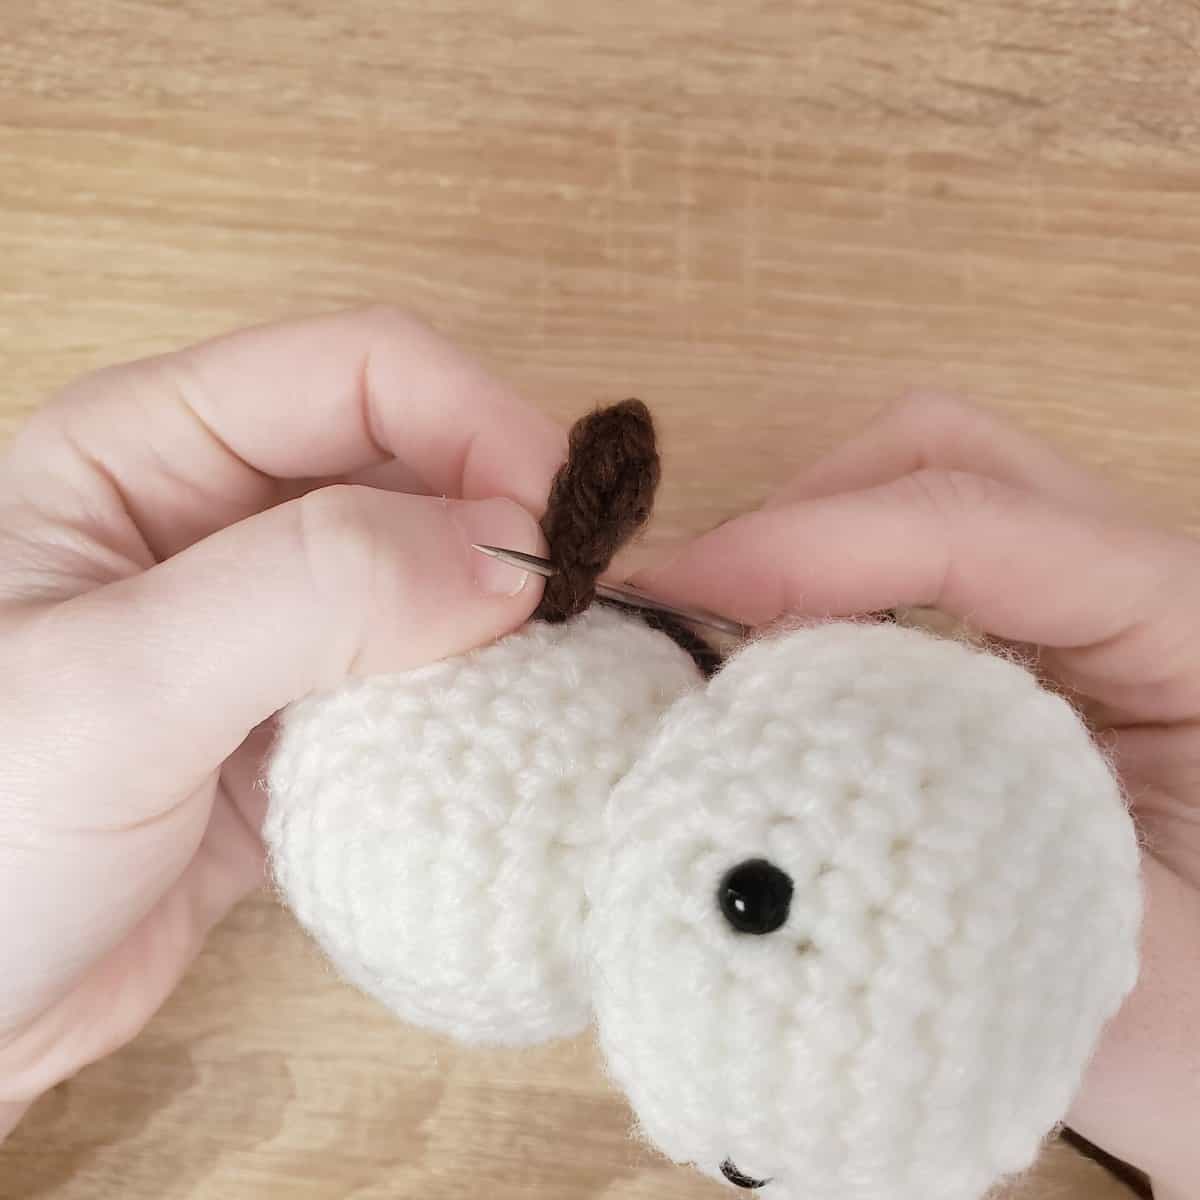
Repeat on the other side to finish off the arms.
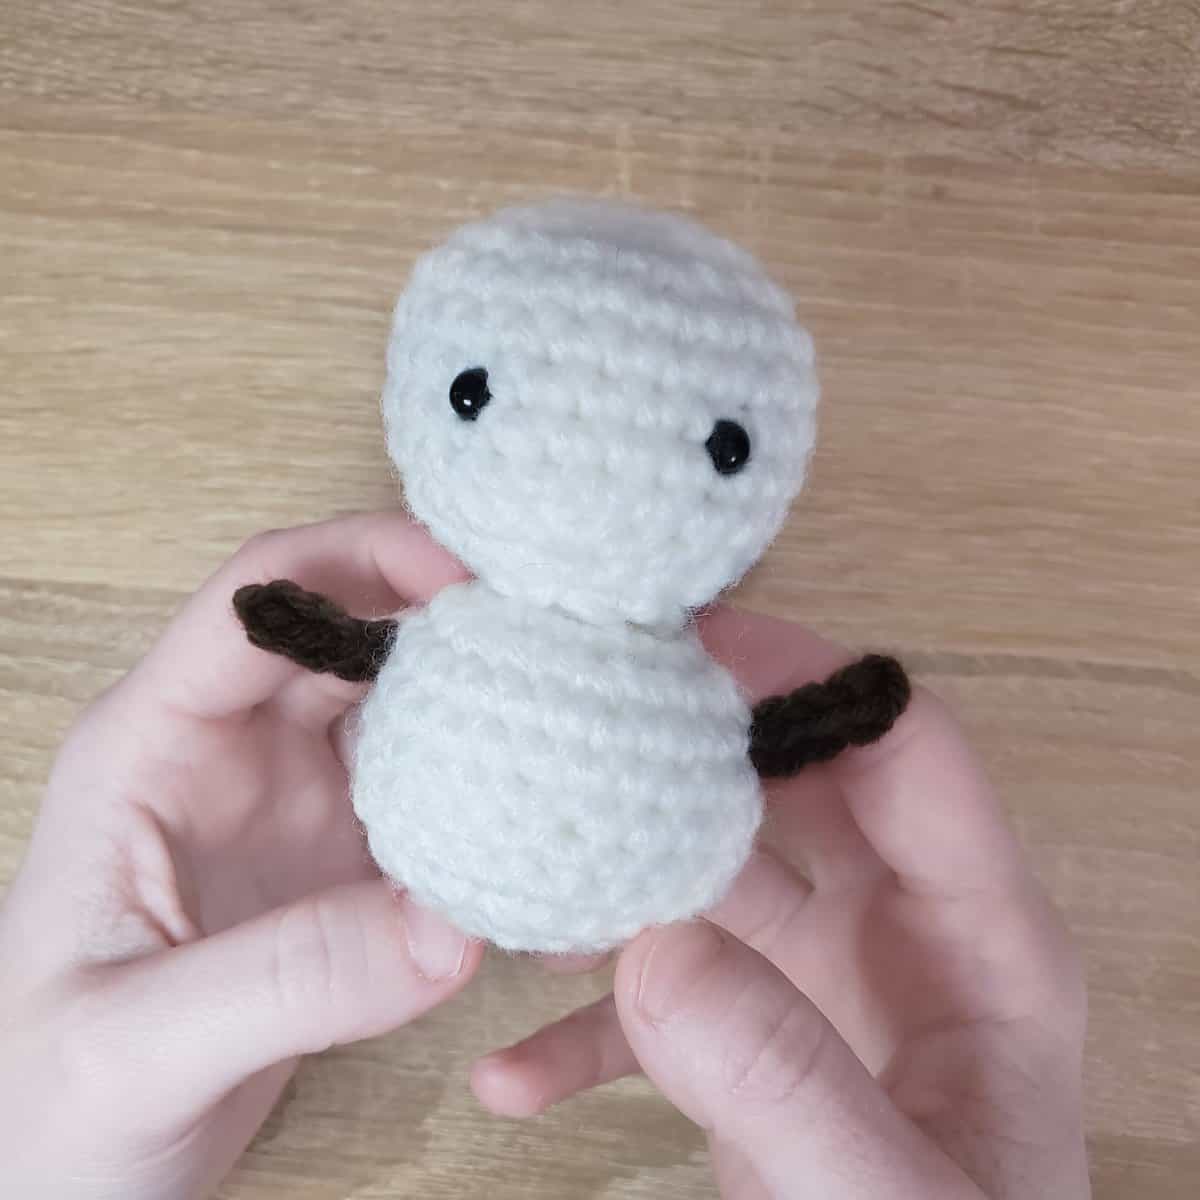
Note: I hid all of the knots from the arms, buttons, and nose inside the snowman’s neck. We’ll cover this up with a scarf at the very end, so it’s the perfect place to hide the stitches!
Nose
Use orange yarn to make the nose.
R1: ch 3
R2: slp st down the chain
Cut a long tail, as we’ll use that to attach the nose to the face.
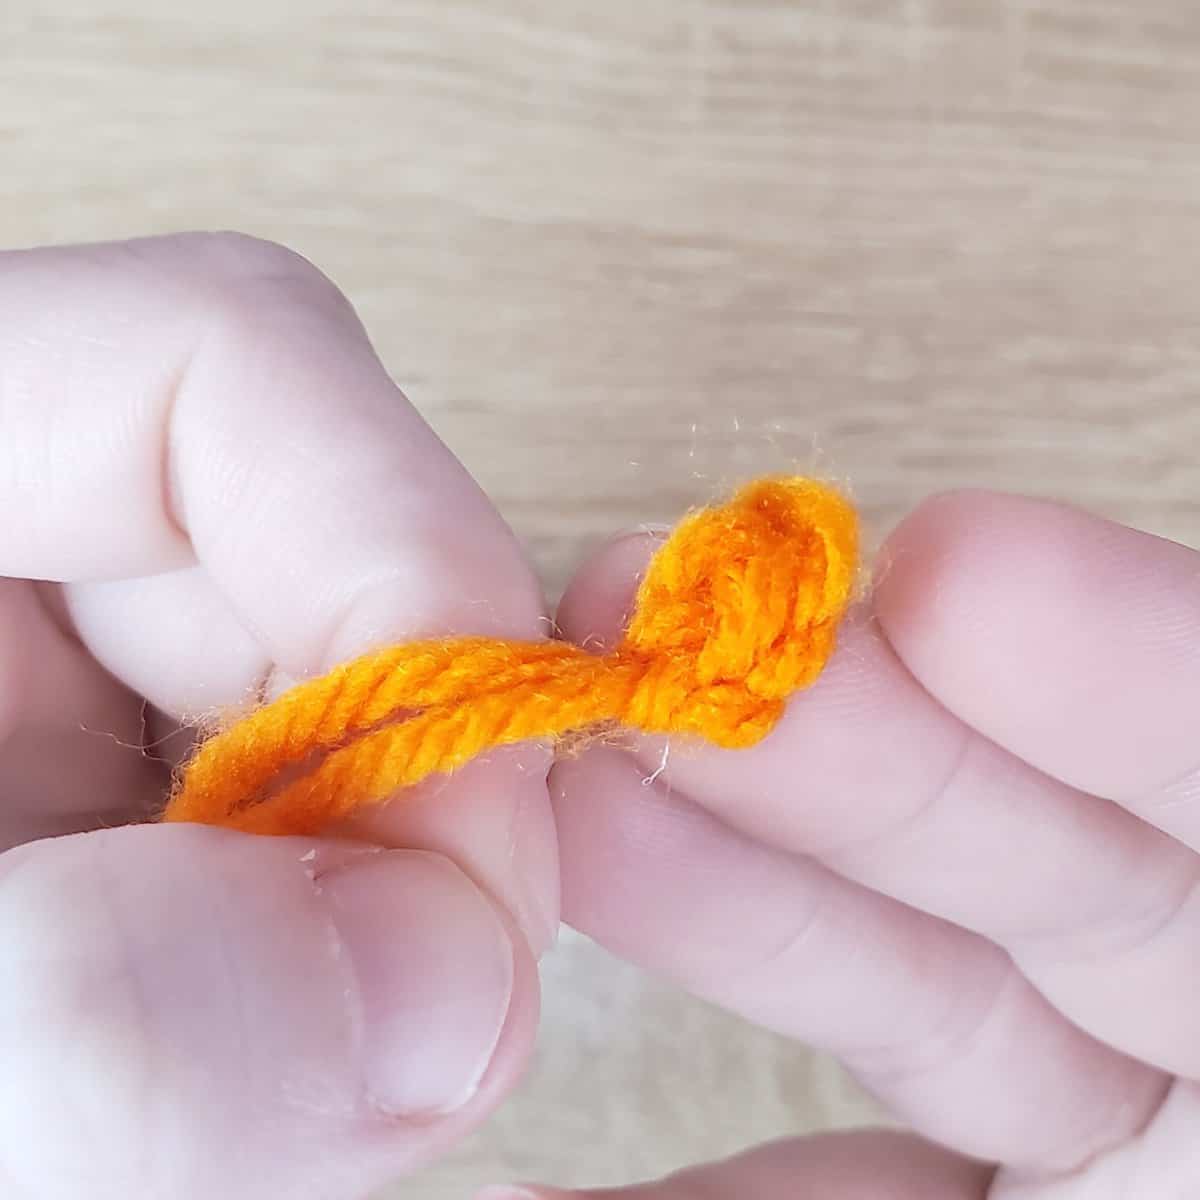
Sew straight through the snowman’s face, right in between the eyes.
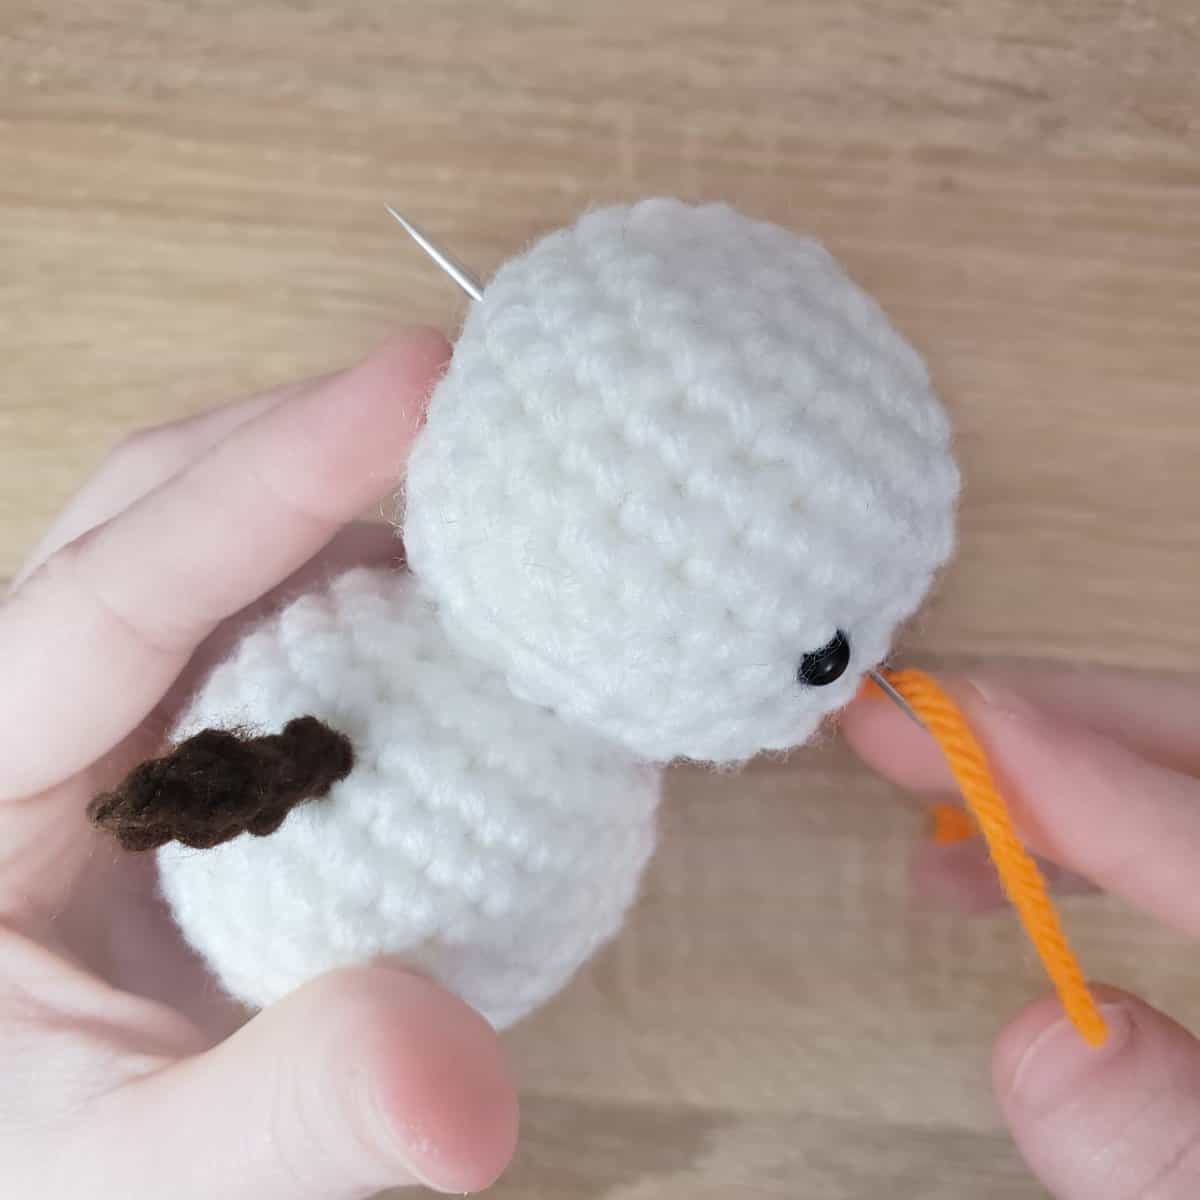
Sew directly back through the same stitch you came out of on the back of the snowman’s head.
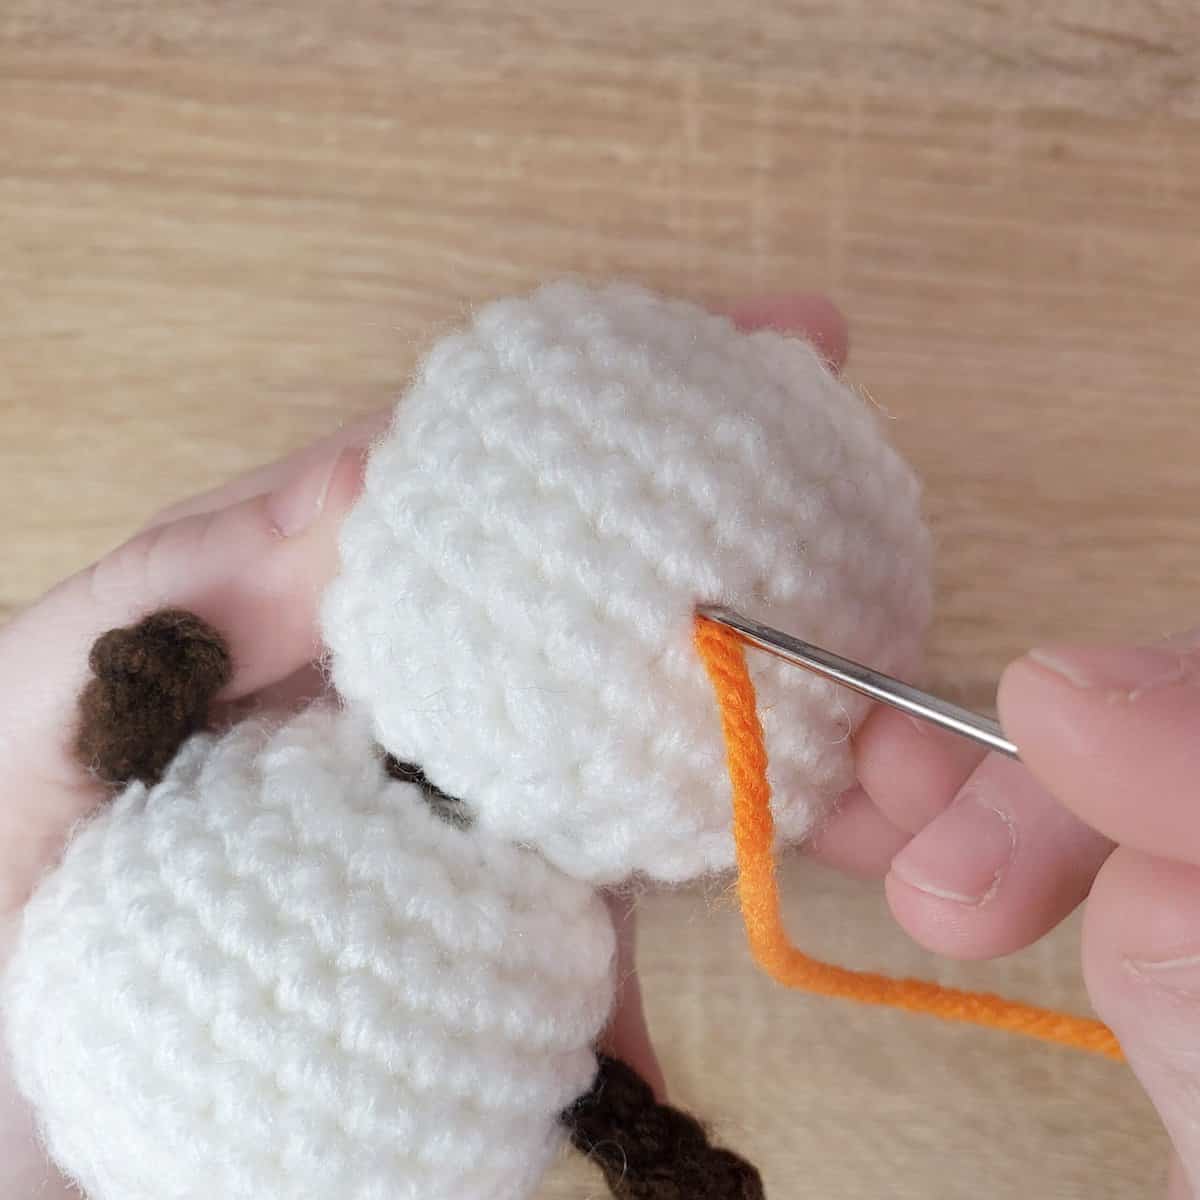
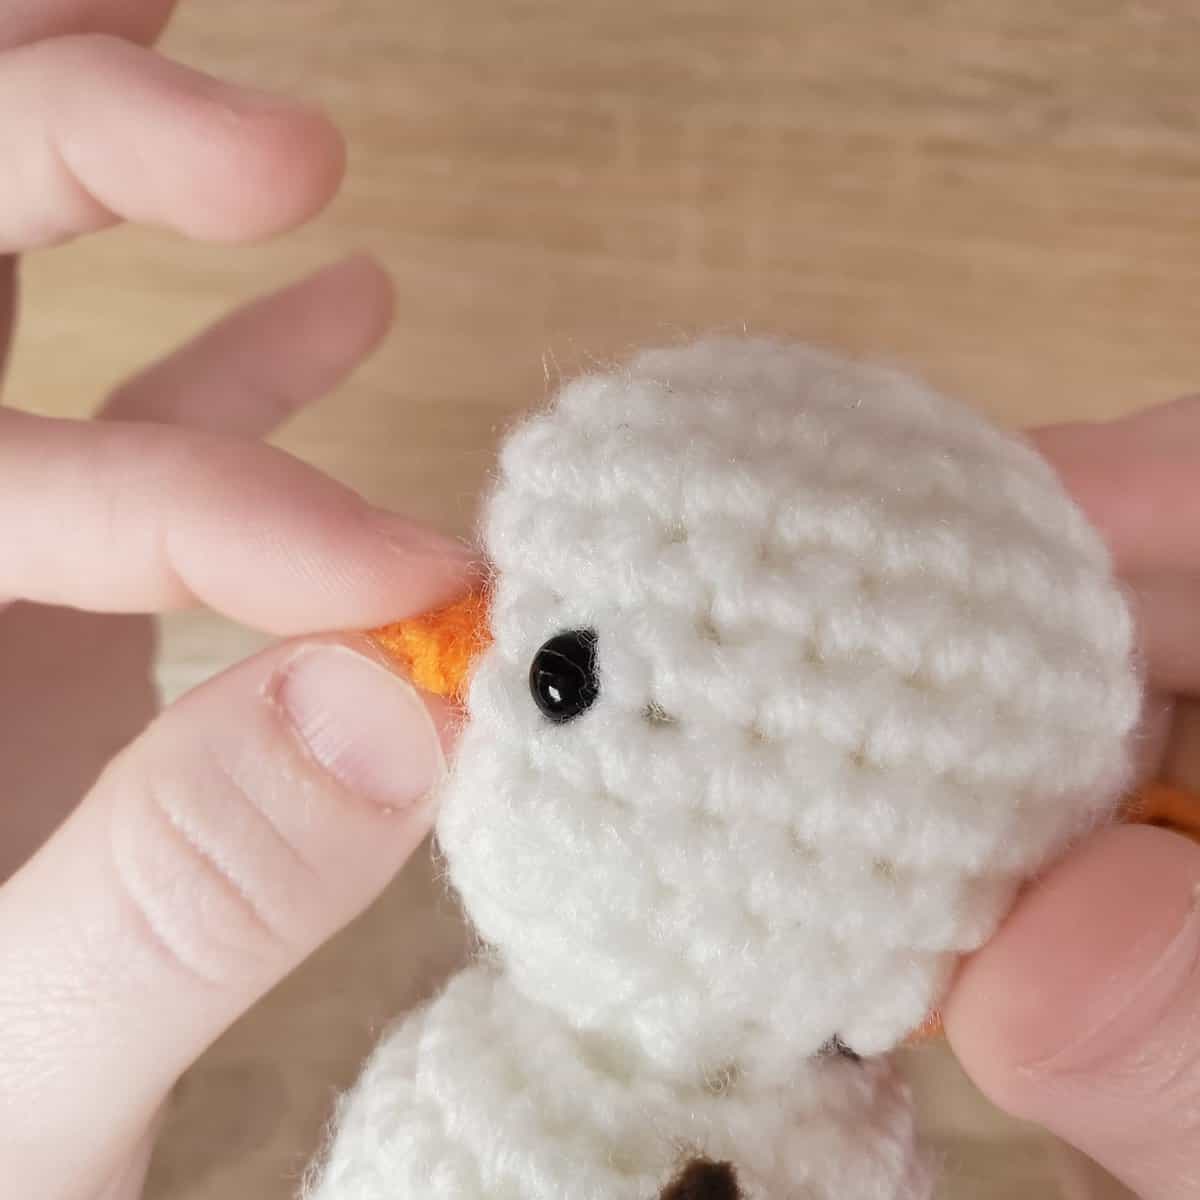
Sew through the part of the nose sticking away from the snowman’s head – we need to tack it down with a stitch, like so:
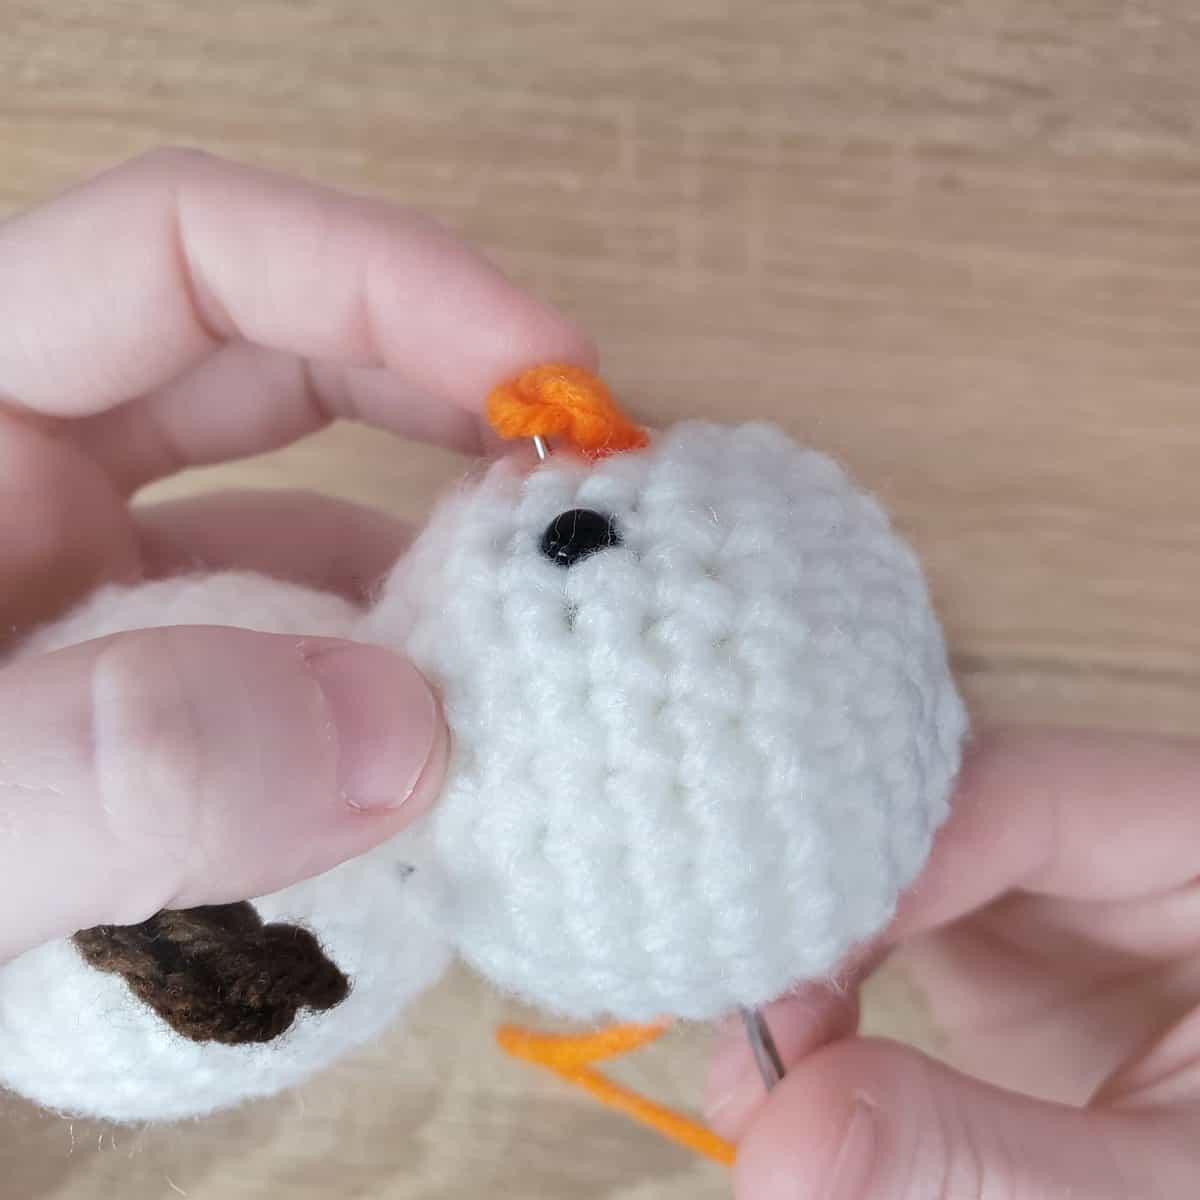
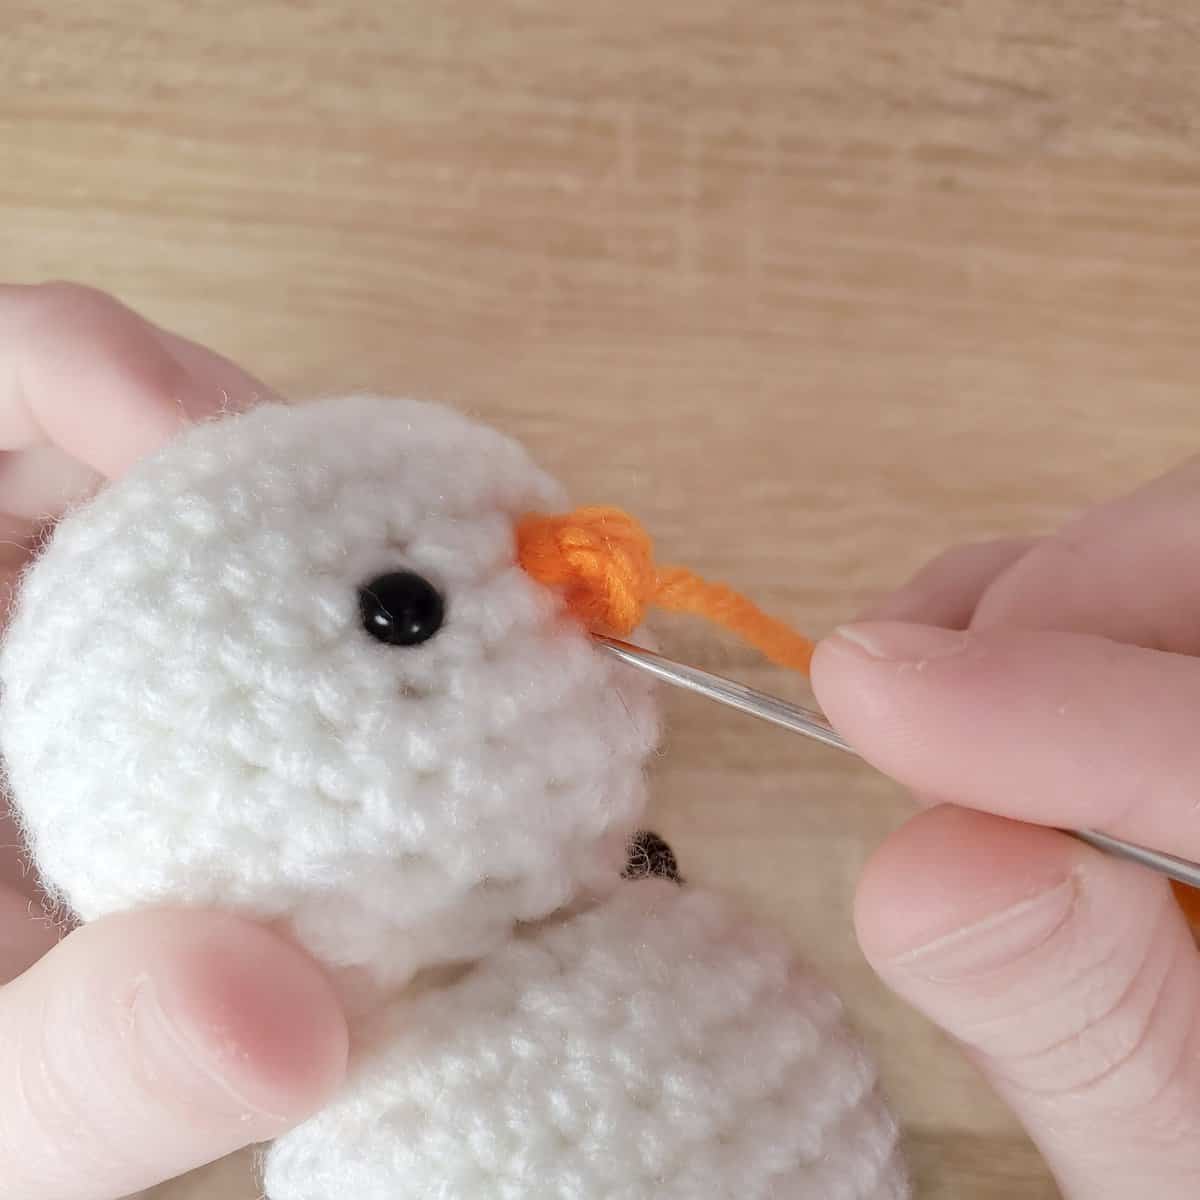
I like to pinch the nose to help it form a triangular shape!
Buttons
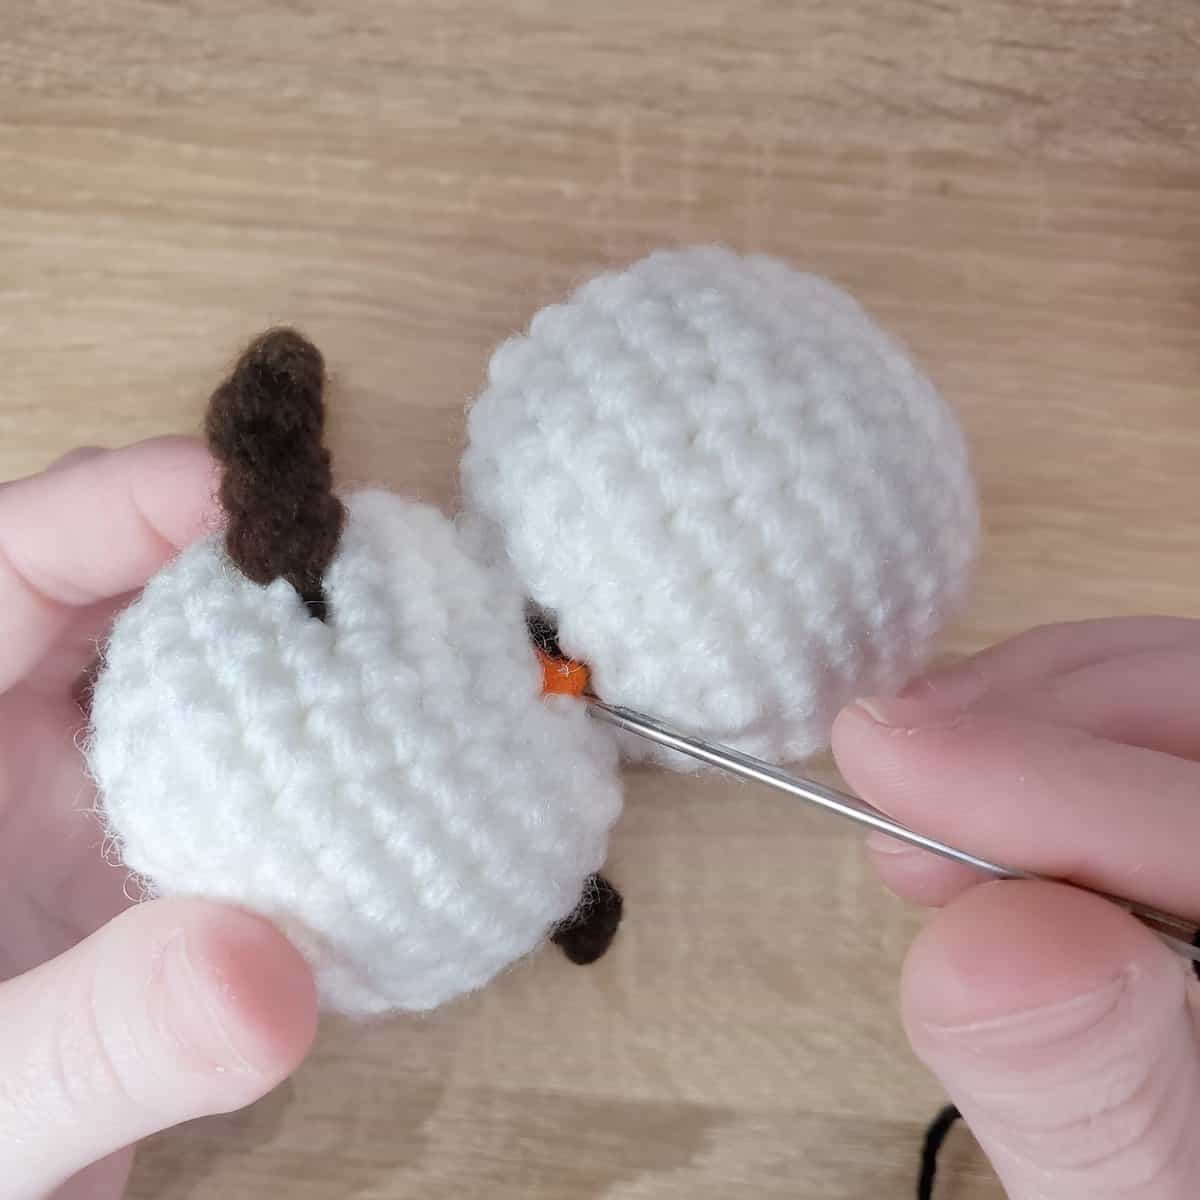
Using black yarn, we’ll tie some French knots to form the snowman’s buttons. Like with the nose and the arms, we’ll hide the knot in the snowman’s neck.
Sew from the neck to the front top of the snowman’s body.
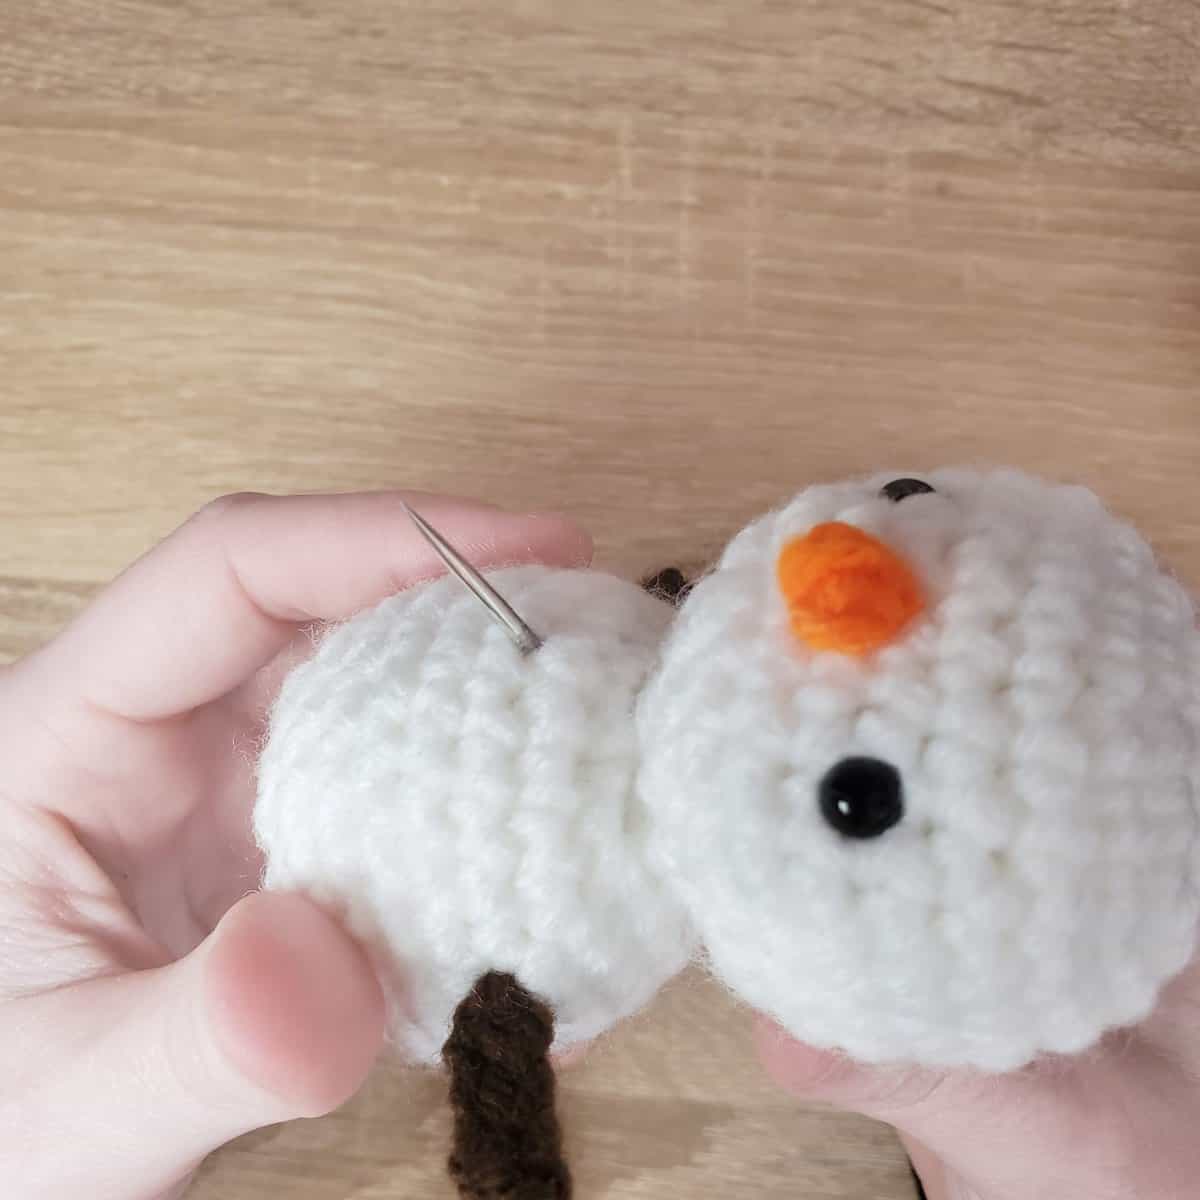
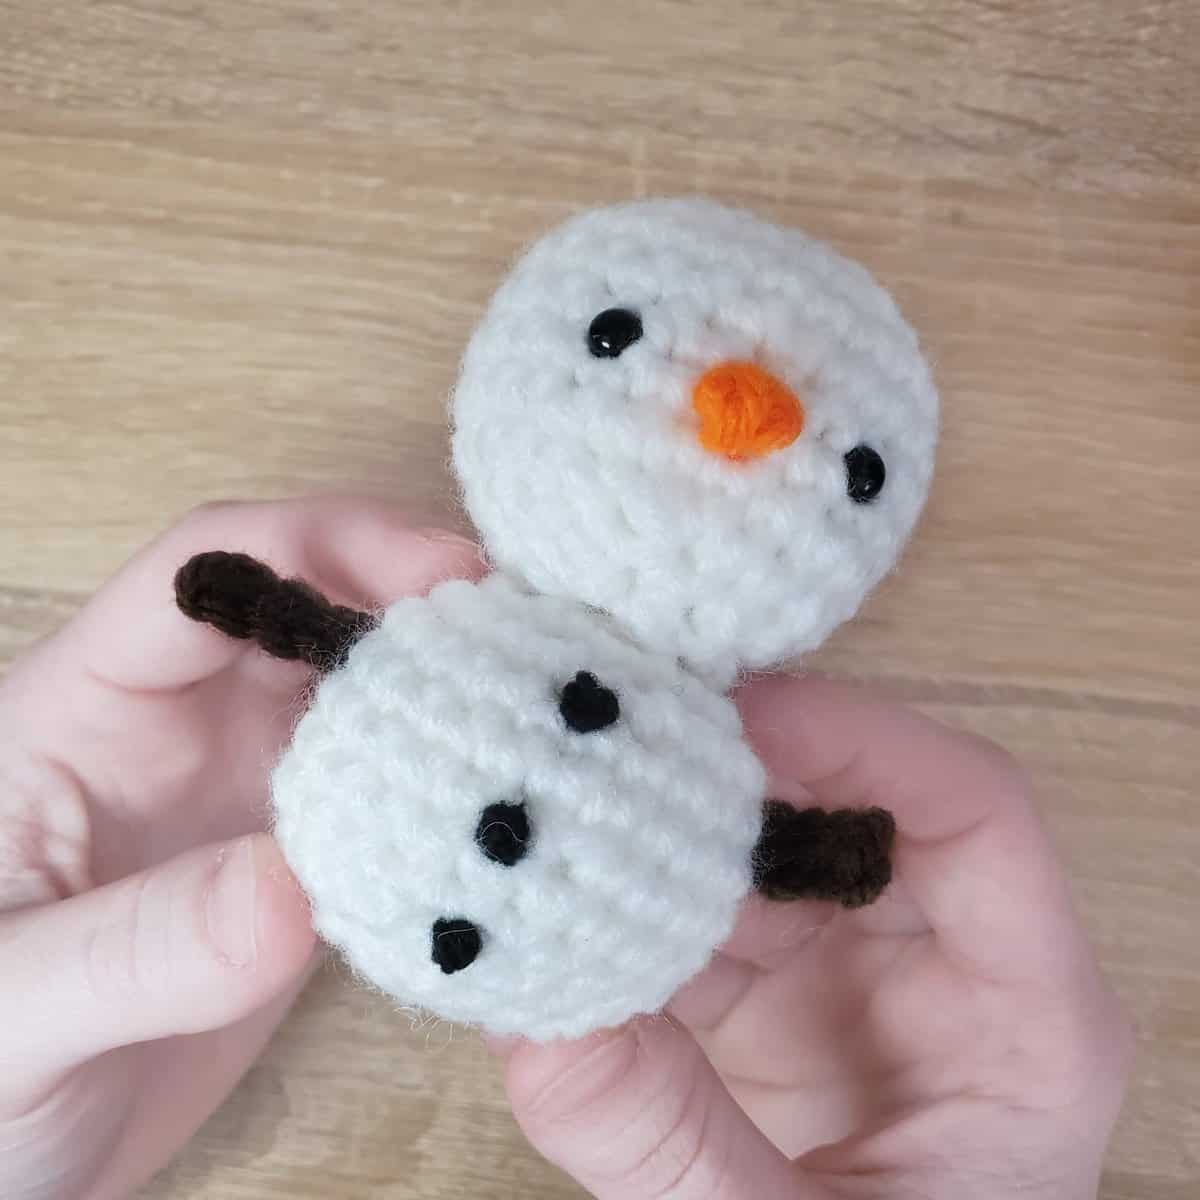
Tie a French knot, then send the yarn below to form the second button.
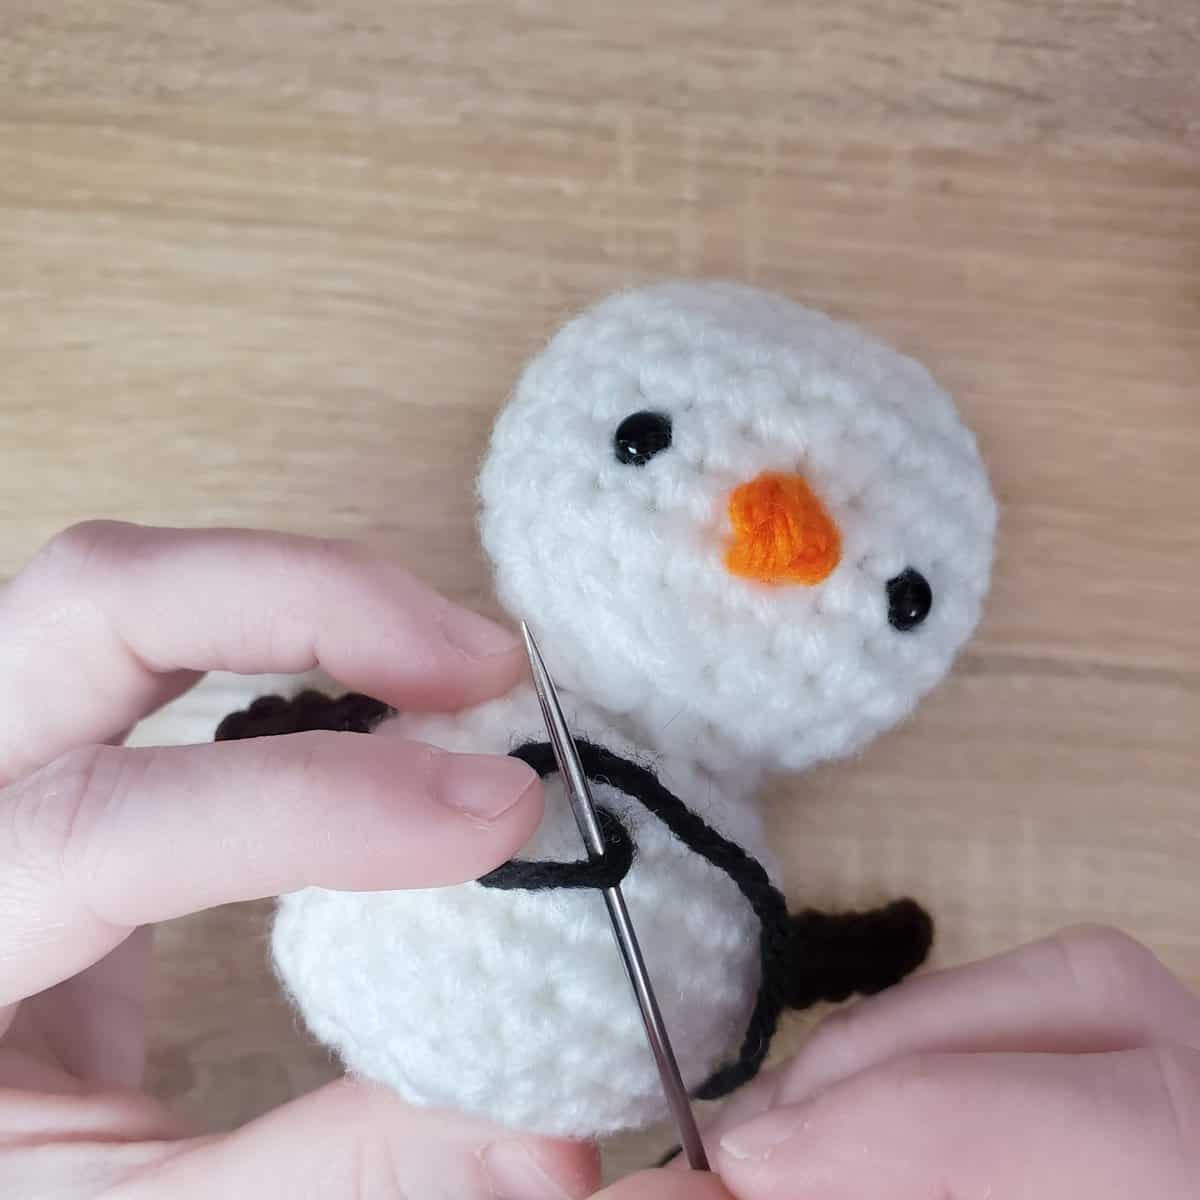
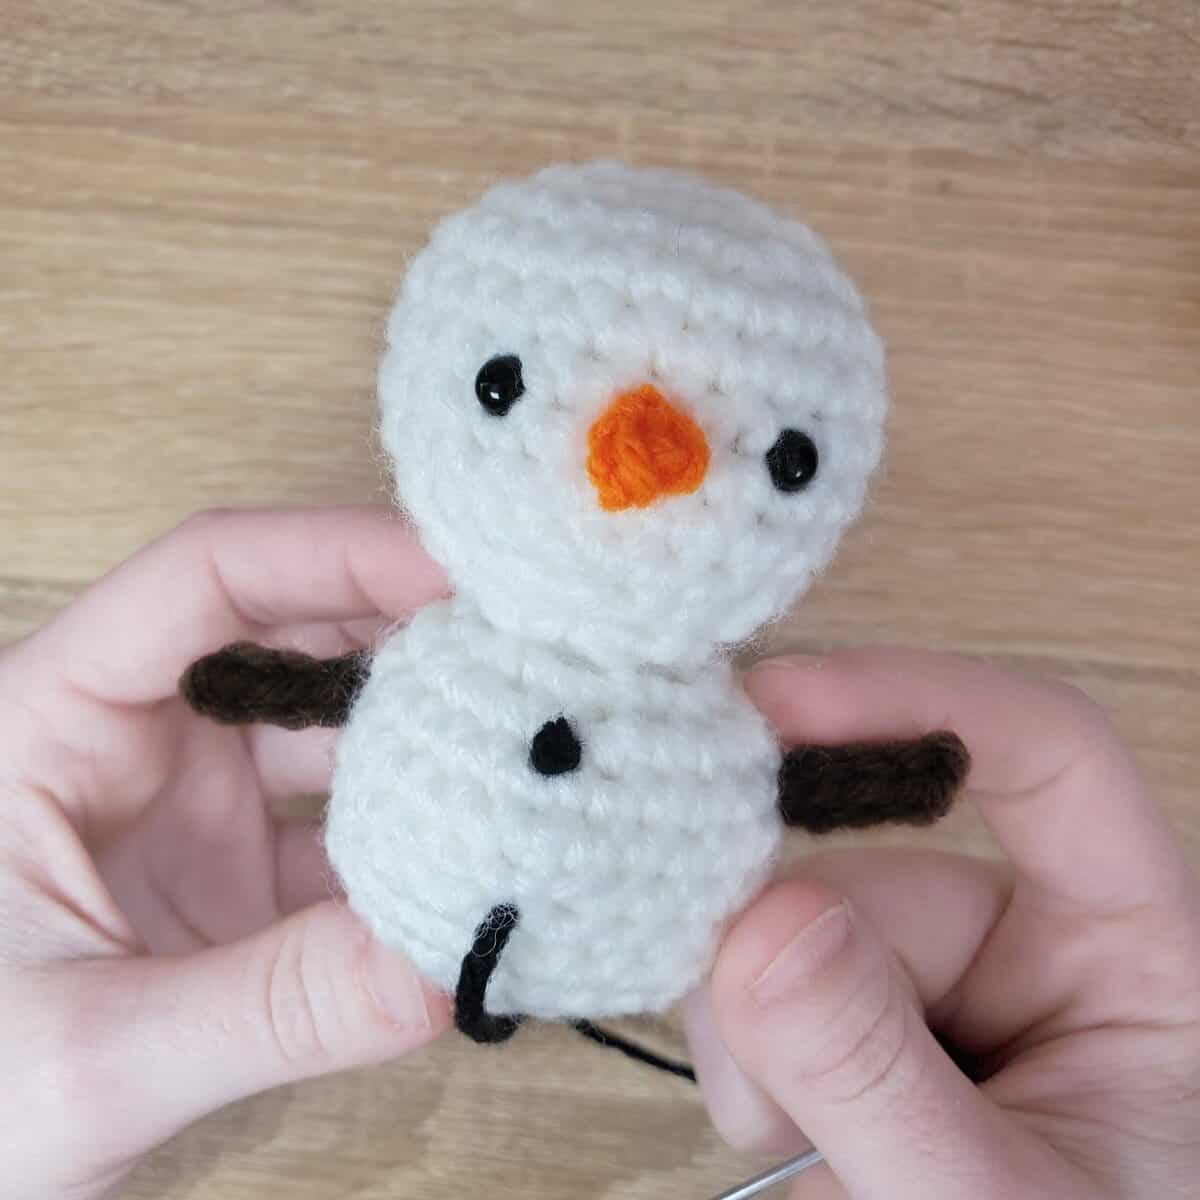
Sew the remaining two French knots, then weave any remaining tail in.
Scarf
Using green yarn (or whatever color you want your scarf to be), chain 26 sts.
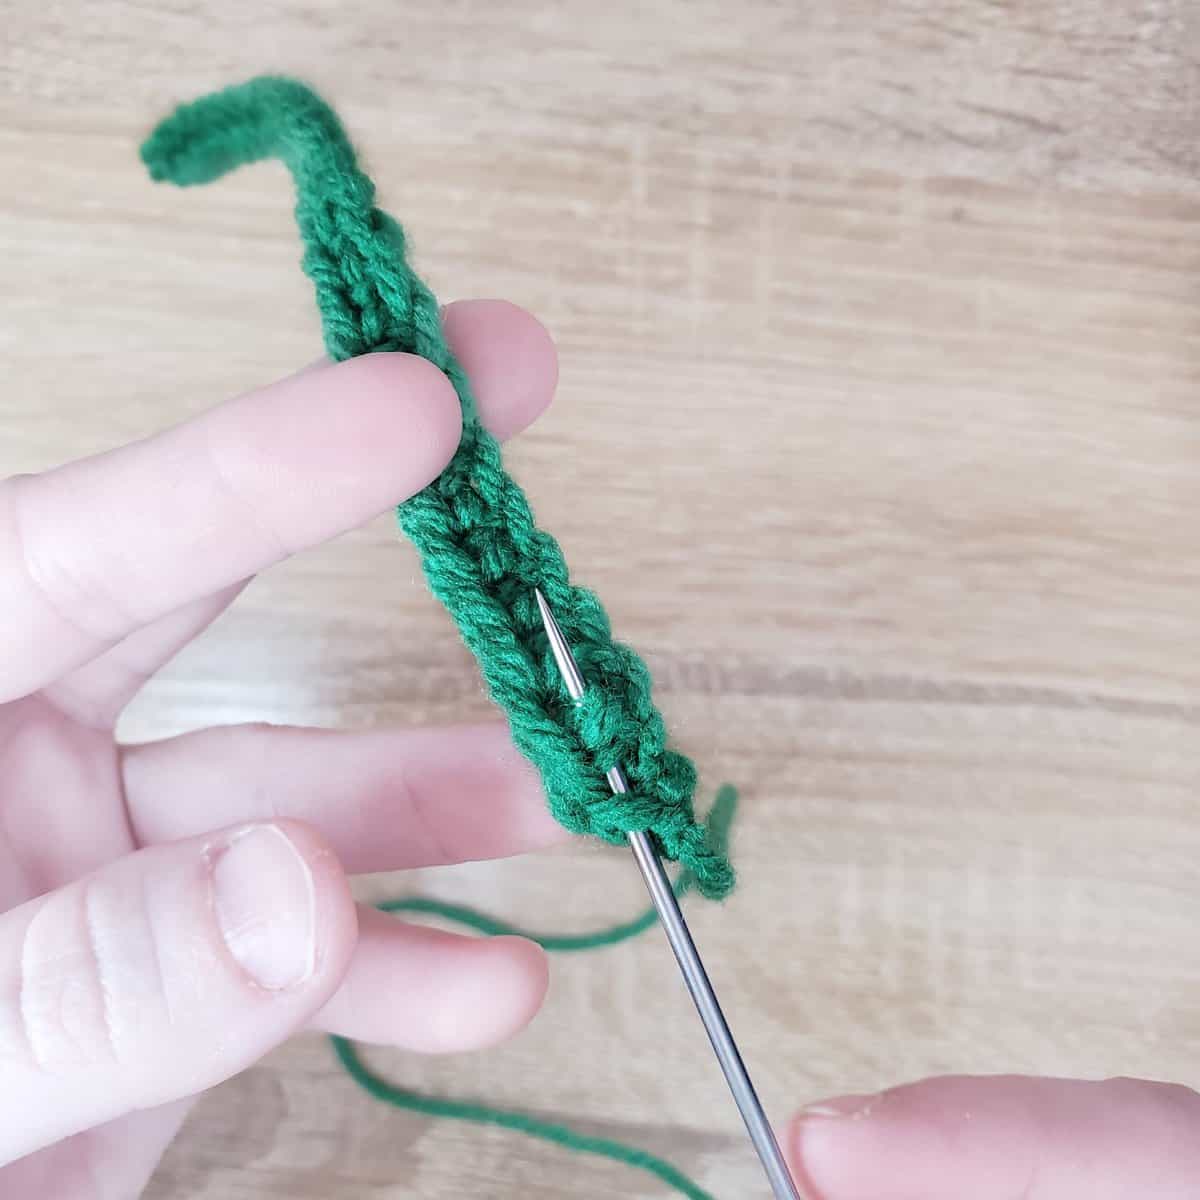
Single crochet down this chain to form the scarf. Cut a long tail, as we’ll be using it to sew the scarf to the snowman. Weave the tail end in about a third of the way along the scarf.
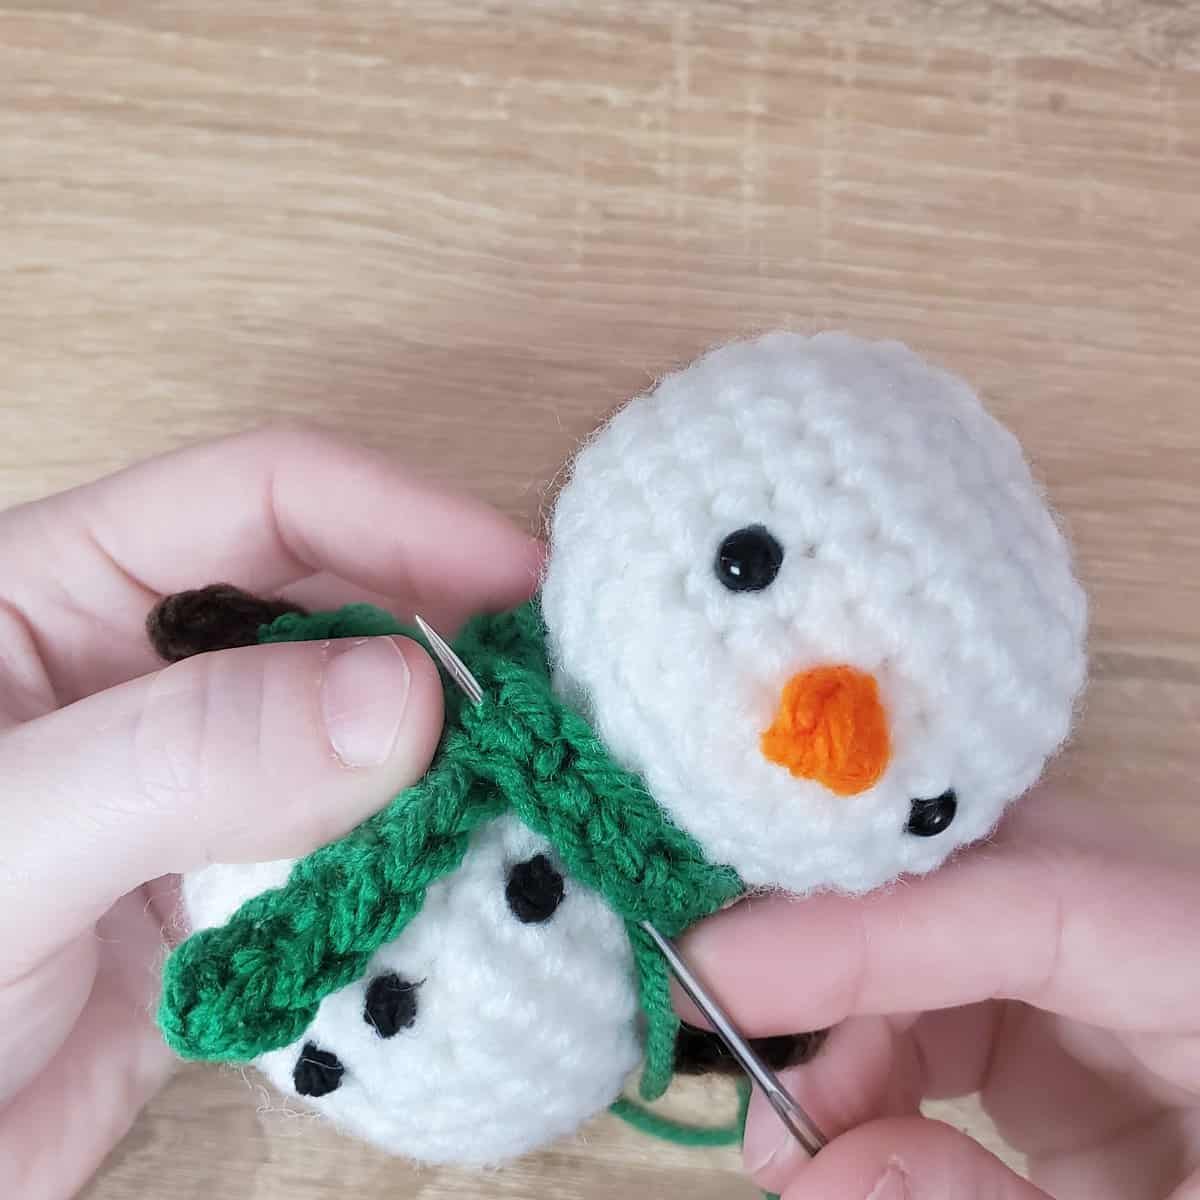
Wrap the scarf around the snowman’s neck, crossing the two ends of the scarf over one another to the left of the row of buttons.
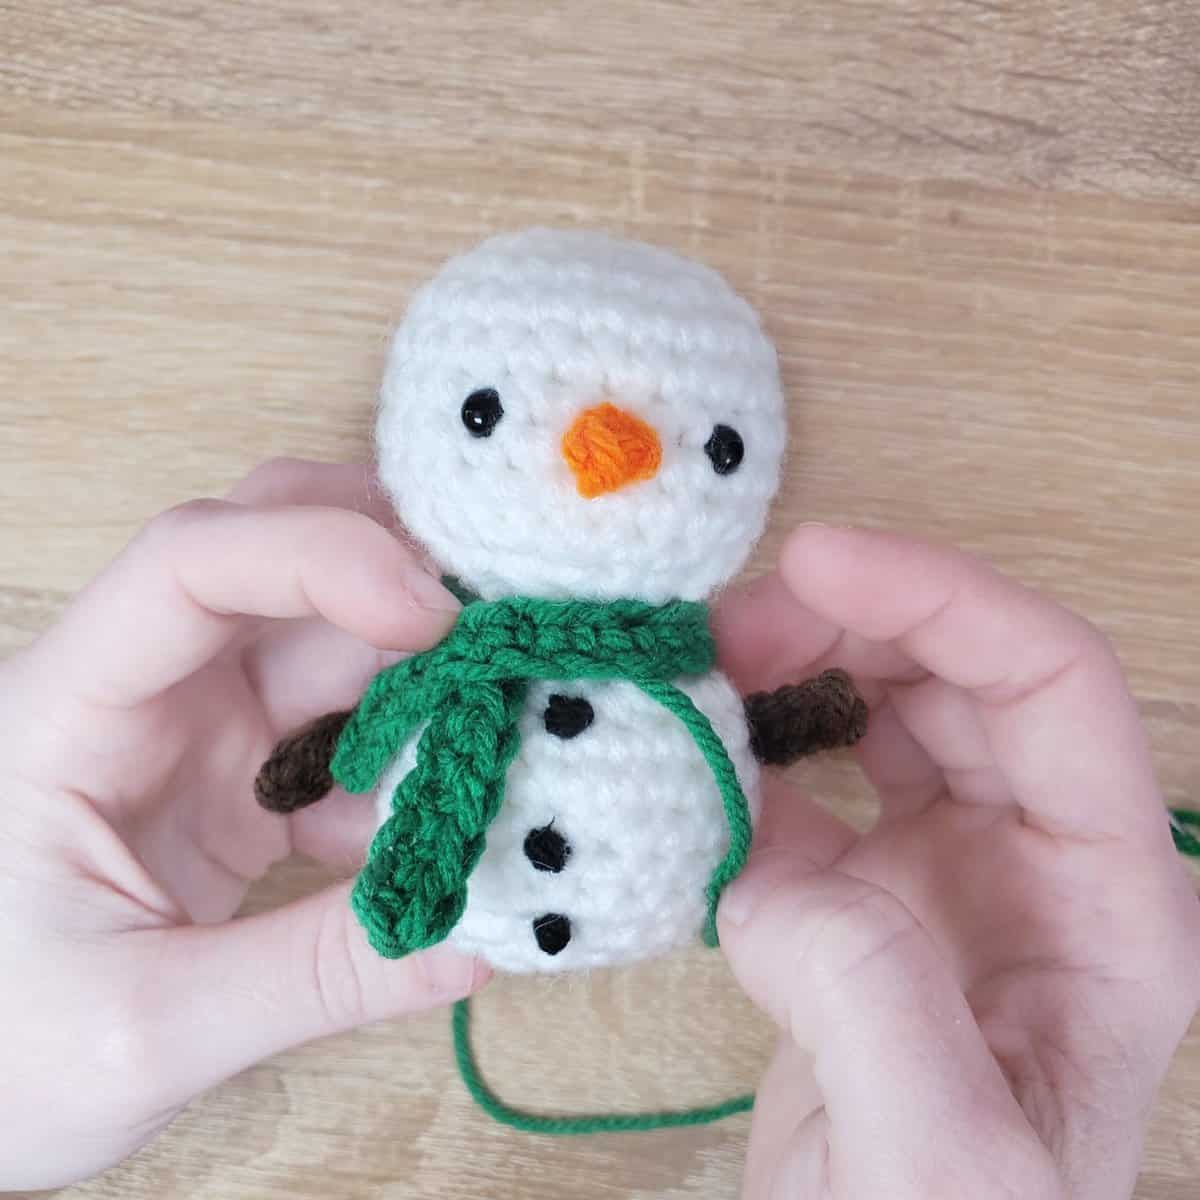
Using the tail end of the scarf, sew the two ends together, then sew the scarf to the snowman’s neck all the way around.
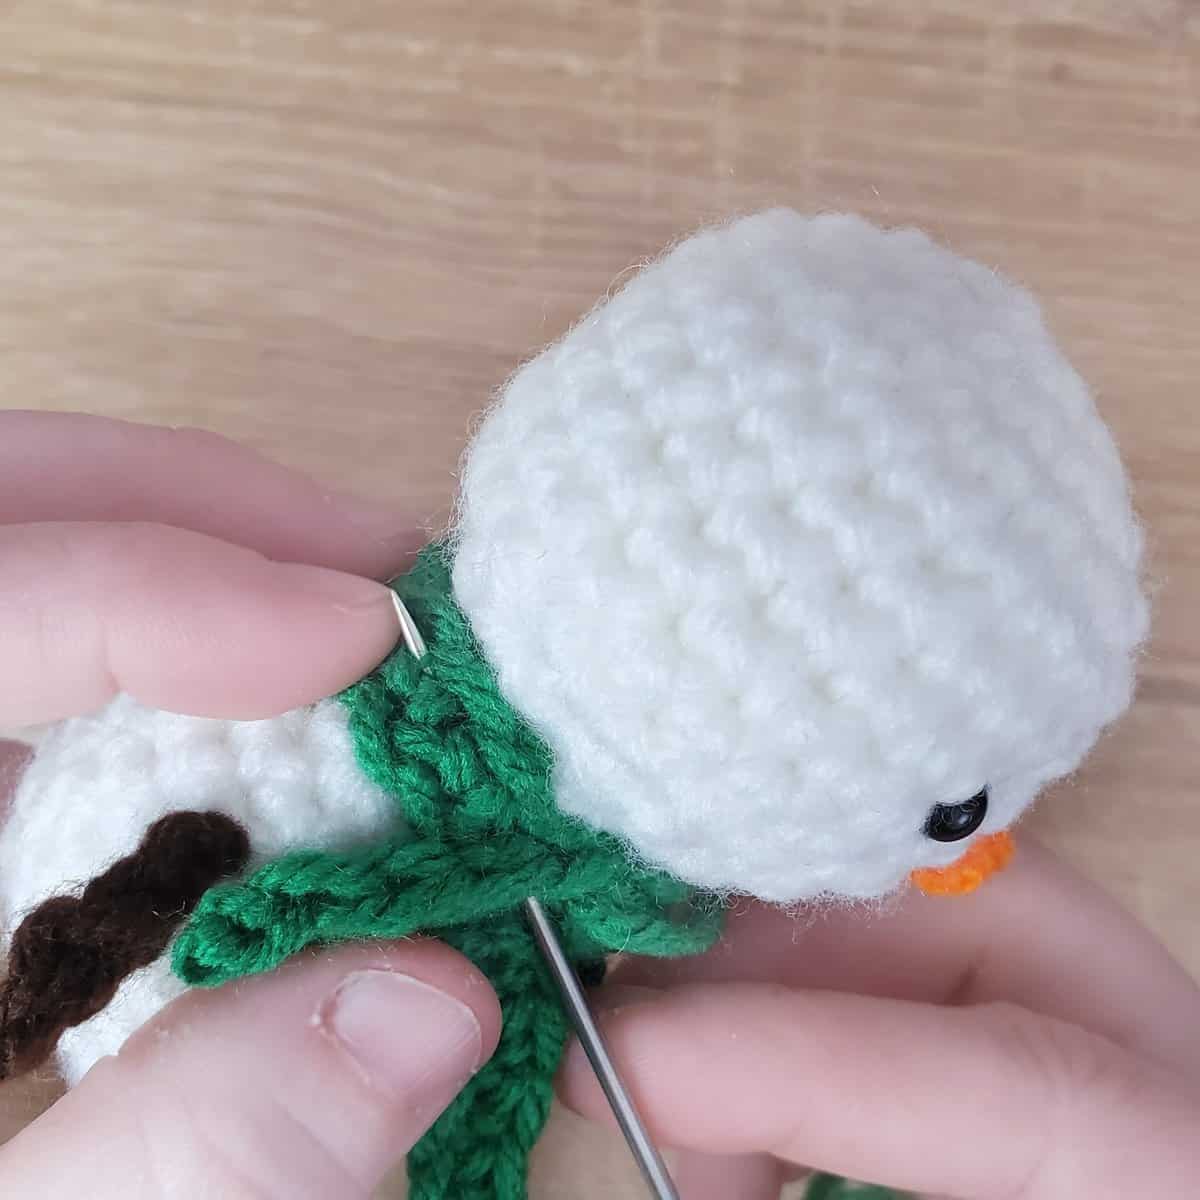
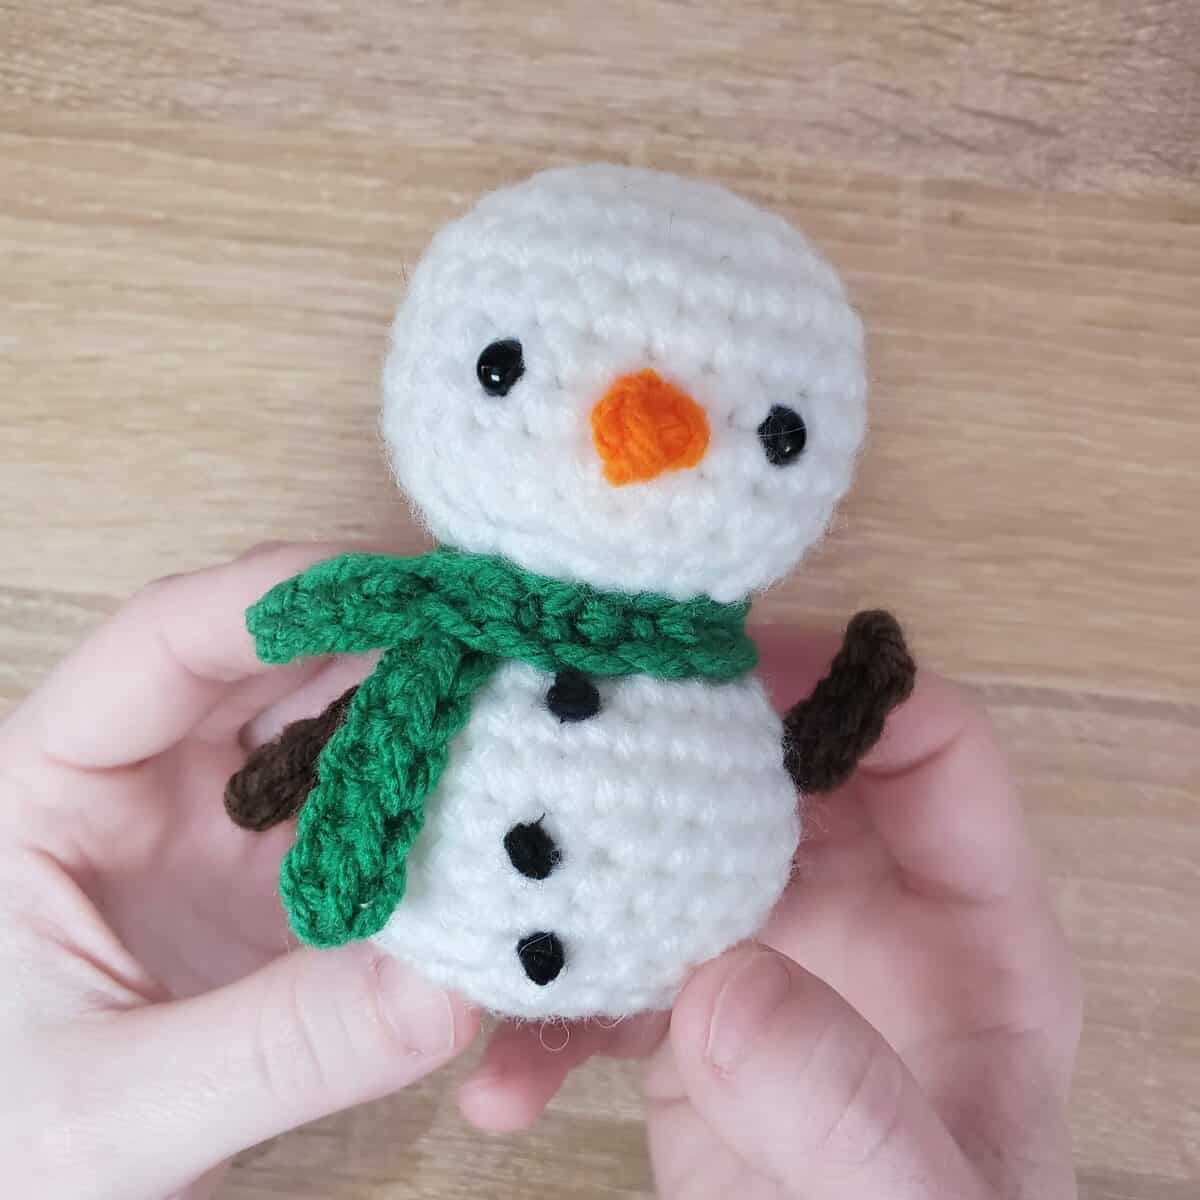
Weave in any leftover tail, and you’re done!
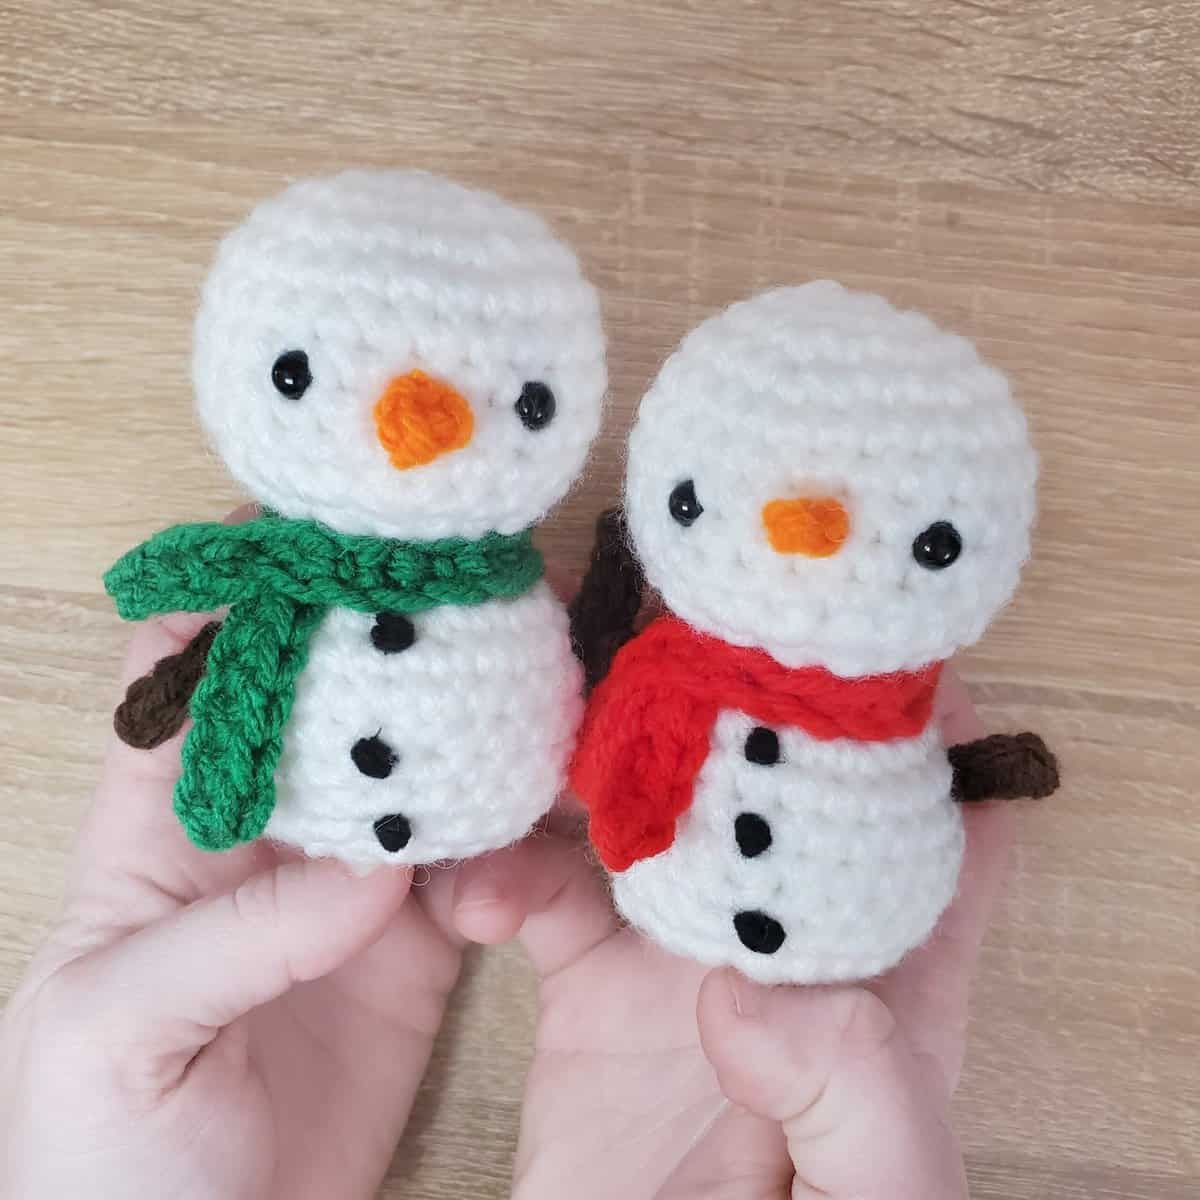
That wraps up day 10! Be sure to tune in tomorrow for another festive make!

