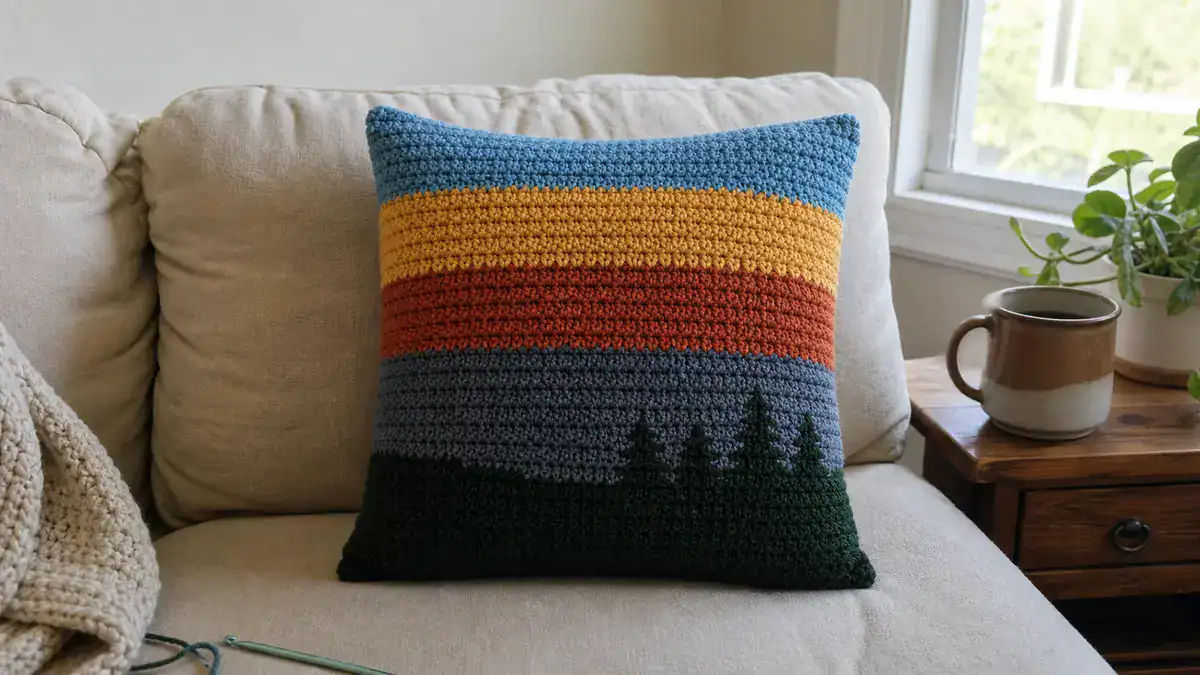
It really is something special to see a sunset over a mountain range and this National Park Sunset Pillow Cover helps bring that beauty straight to your home! The soft colors of sunset, the greens of the forest, and the grey slate of the mountains are all present in this cover. Their yarn creates a stunning 3D effect!
Don't lose this article. Enter your email below, and I'll send it to you right now. Plus a little crochet inspiration from me, straight to your inbox.
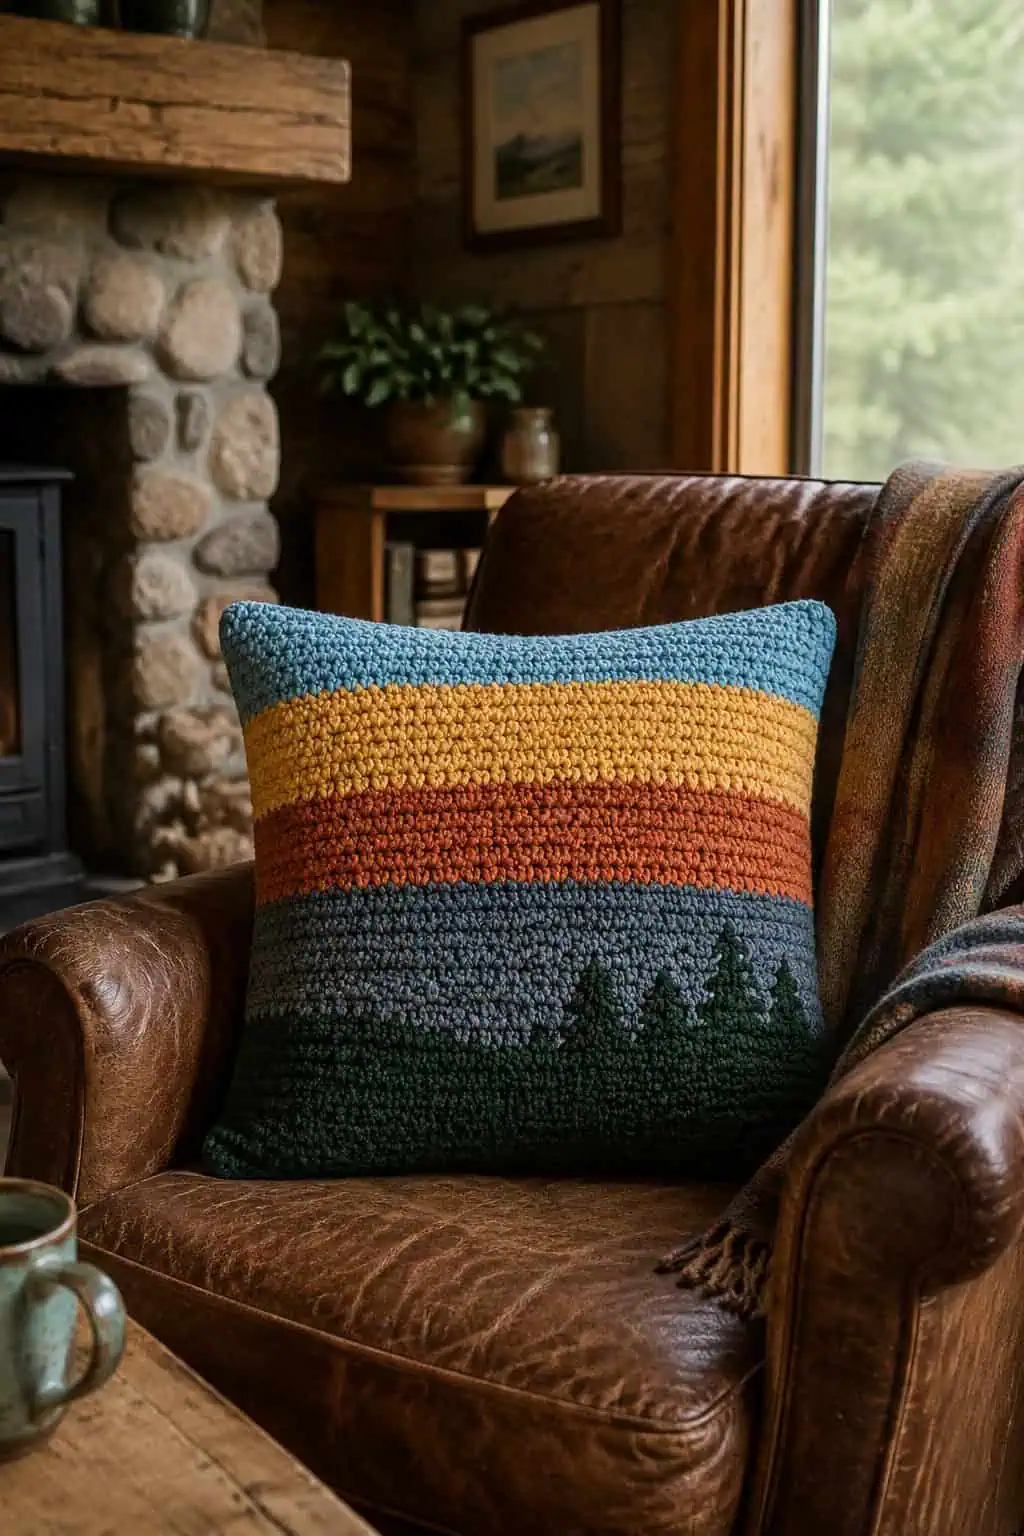
This is a great pattern for confident beginners. It uses only moss stitch (this is sometimes called linen or granite stitch). Creating a dense woven fabric, it beautifully handles color changes. You do this by alternating single crochets with chain spaces. For the perfect touch of outdoorsy charm around your home, this will work up quickly and can be used on any sofa or armchair.
Tips Before You Start
- Gauge check: While gauge isn’t as critical here as it is for a sweater, matching it ensures your cover will fit a standard 16-inch pillow insert snugly.
- Color transitions: Always change to your new color on the final “yarn over and pull through” of the last stitch in the row.
- Weaving ends: Because of the color blocks, you will have a few ends to weave in. Do this before sewing the panels together to save yourself a headache later!
What You’ll Need
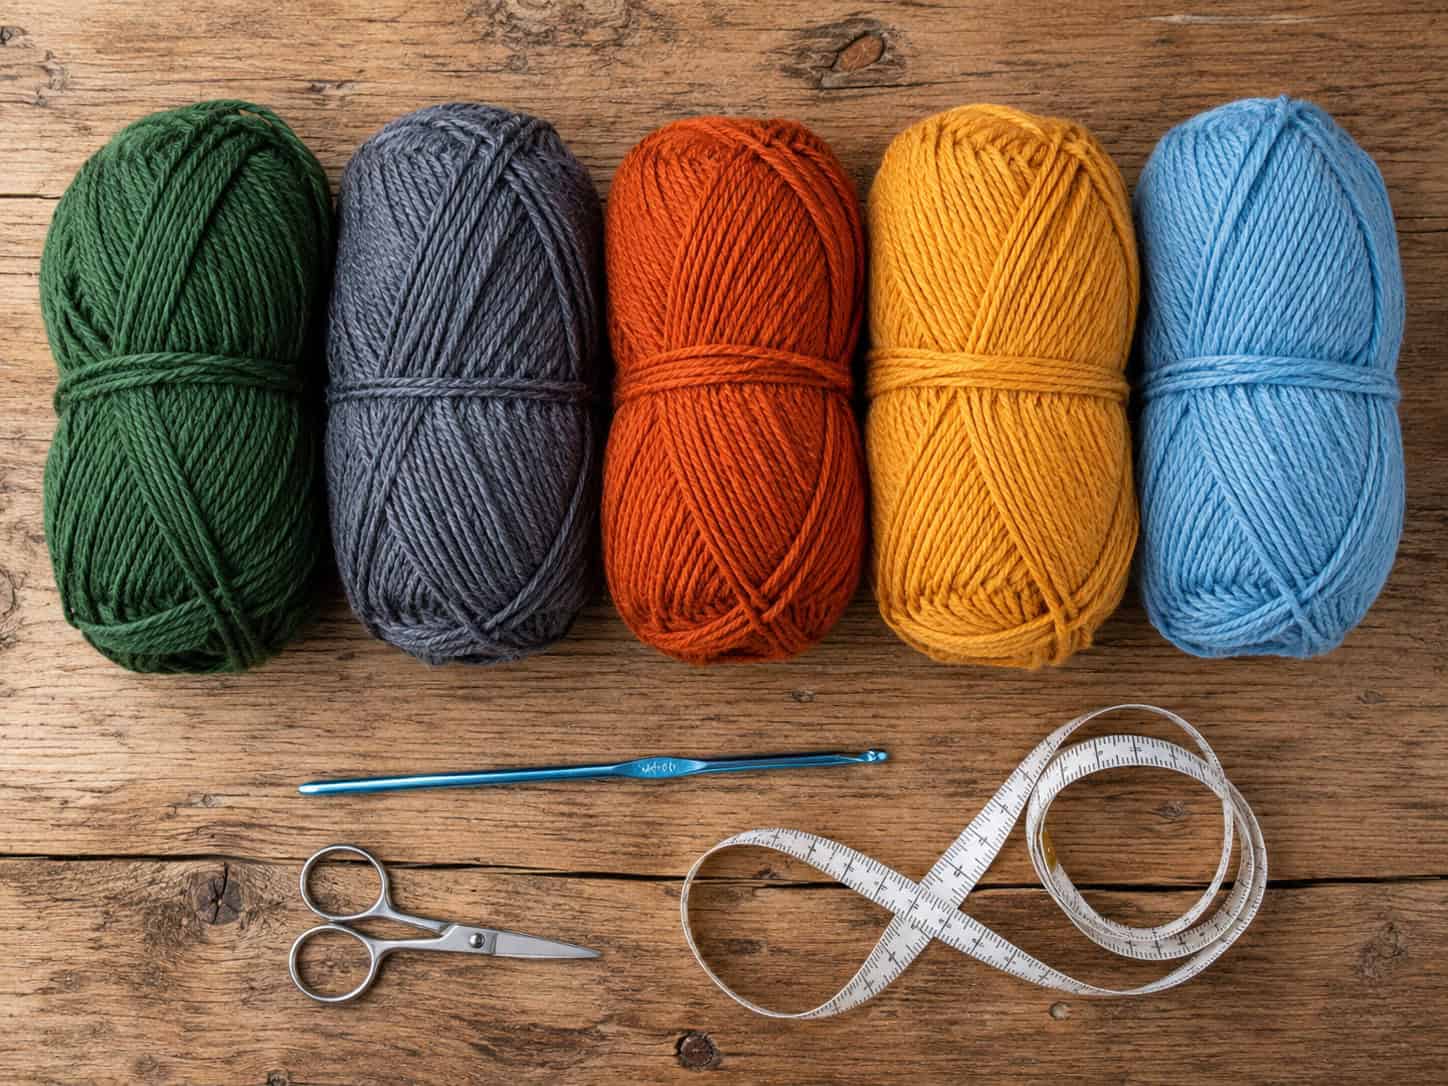
- Yarn: Worsted (4) weight yarn in 5 colors — approximately 640 yards total.
- Color A (Deep Forest Green): 350 yards
- Color B (Slate Grey): 80 yards
- Color C (Terracotta Orange): 80 yards
- Color D (Golden Yellow): 70 yards
- Color E (Sky Blue): 60 yards
Hook: US H/8 (5.0 mm) Crochet Hook
Scissors, stitch markers, and yarn needles, in addition to a set of 16×16 inch pillow inserts and some stitch markers.
Gauge
In moss stitch pattern, there are 16 stitches and 16 rows per 4 inches (10 cm).
Abbreviations
- ch: chain
- sc: single crochet
- sk: skip
- sp: space
- st(s): stitch(es)
- RS: right side
- WS: wrong side
Special Stitches
Moss Stitch: A pattern made by single crocheting and making chain-1 spaces alternately. On the following rows, you will place single crochets into the chain-1 spaces from the row before.
Pattern Notes
- The pattern is worked flat in two separate panels (Front and Back), which are then seamed together around a pillow insert.
- Ch 1 at the beginning of a row does NOT count as a stitch.
- Stitch counts are given at the end of each row in bold parentheses.
Pattern Instructions
Front Panel
With Color A, ch 66.
Row 1 (RS): Work 1 sc into the 2nd ch from the hook, *1 ch and skip 1 ch, then 1 sc in the next ch; repeat from * to the end. (65 sts)
Row 2 (WS): Ch 1, turn. Sc in first sc, sc in next ch-1 space, *ch 1, skip next sc, sc in the next ch-1 space; repeat from * to the last sc, sc in the last sc. (65 sts)
Row 3: Ch 1, turn. Sc in first sc, ch 1, skip next sc, *sc in next ch-1 space, ch 1, skip next sc; repeat from * to the last sc, sc in last sc. (65 sts)
Rows 4-14: For these rows, you will do the same as you did for rows 2-3, but finish with a repeat of row 2. When you finish row 14, switch to Color B. (65 sts)
Don't lose this article. Enter your email below, and I'll send it to you right now. Plus a little crochet inspiration from me, straight to your inbox.
Rows 15 to 28: Use Color B to repeat Rows 3 and 2 alternately. When you get to the end of Row 28, switch to Color C. (65 sts)
Rows 29 to 42: Using Color C, repeat Rows 3 and 2 in alternation. Upon finishing Row 42, switch to Color D. (65 sts)
For Rows 43-54: Using Color D, make a repeat of Rows 3 and 2 alternately. When you get to the end of Row 54, switch to Color E. (65 sts)
Rows 55-64: Using Color E, repeat Rows 3 and 2 back and forth. Cut and secure Color E. (65 sts)
Back Panel
With Color A, ch 66.
Row 1 (RS): Sc in the 2nd ch from the hook. *Ch 1, skip 1 ch, sc in the next ch. Repeat from the asterisk to the end of the row (across). (65 sts)
Rows 2-64: Repeat Rows 2-3 of Front Panel alternatingly. Tie off Color A. (65 sts)
Finishing & Assembly
- Weave in all ends on both panels.
- Block both panels to 16 × 16 inches (40.5 × 40.5 cm).
- Hold Front and Back panels together with RS facing out.
- Join Color A in any corner, working through both thicknesses.
- Sc evenly around three sides, placing 3 sc in each corner.
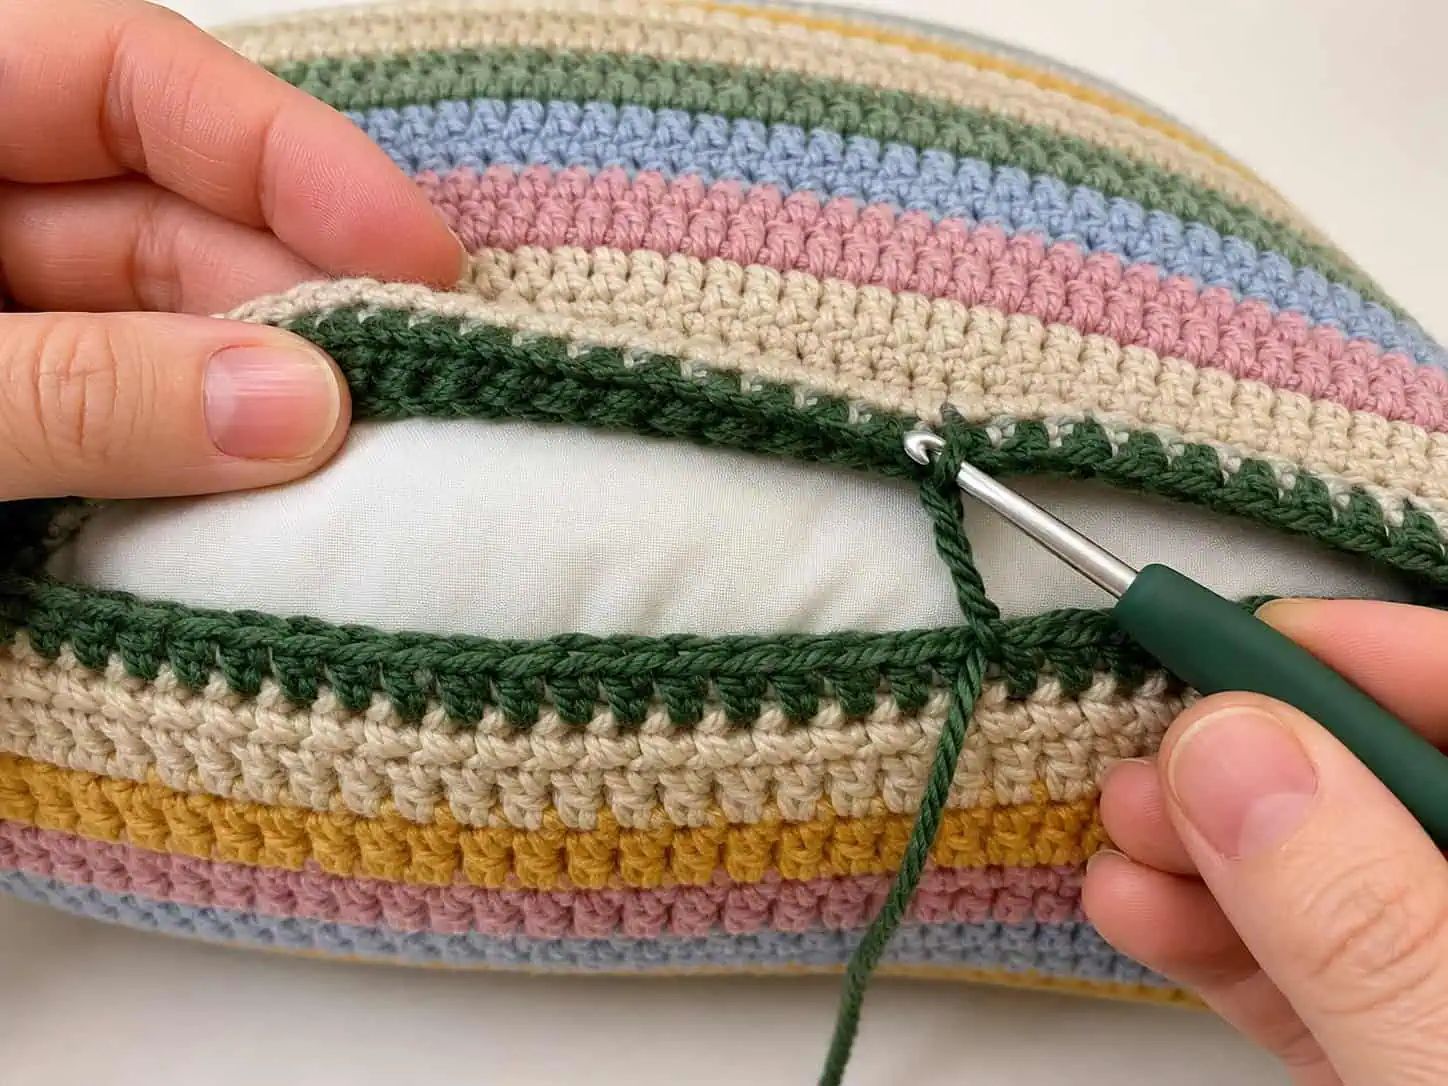
- Insert the 16×16 pillow form.
- Continue to sc across the fourth side to close the pillow, placing 3 sc in the final corner. Sl st to first sc to join.
- Fasten off and weave in remaining ends.
Frequently Asked Questions
Can I make this pillow cover in a different size?
Of course! If you want to change the width, just add an even amount of stitches until you get to the width you want. If you want to change the height, you can add or remove rows from the color blocks proportional to how long you want it to be.
Do I have to use a pillow insert?
Although a standard 16 x 16 inch pillow form gives the best structure and allows for the cover to be removable (if you decide to add buttons instead of sewing it shut), you can certainly use polyester fiberfill instead to stuff the pillow.
Is this pattern suitable for a beginner?
Absolutely! You can make this pillow as long as you know how to do chains and single crochet. Plus, the moss stitch is very forgiving and a great way to work on keeping your edges straight!