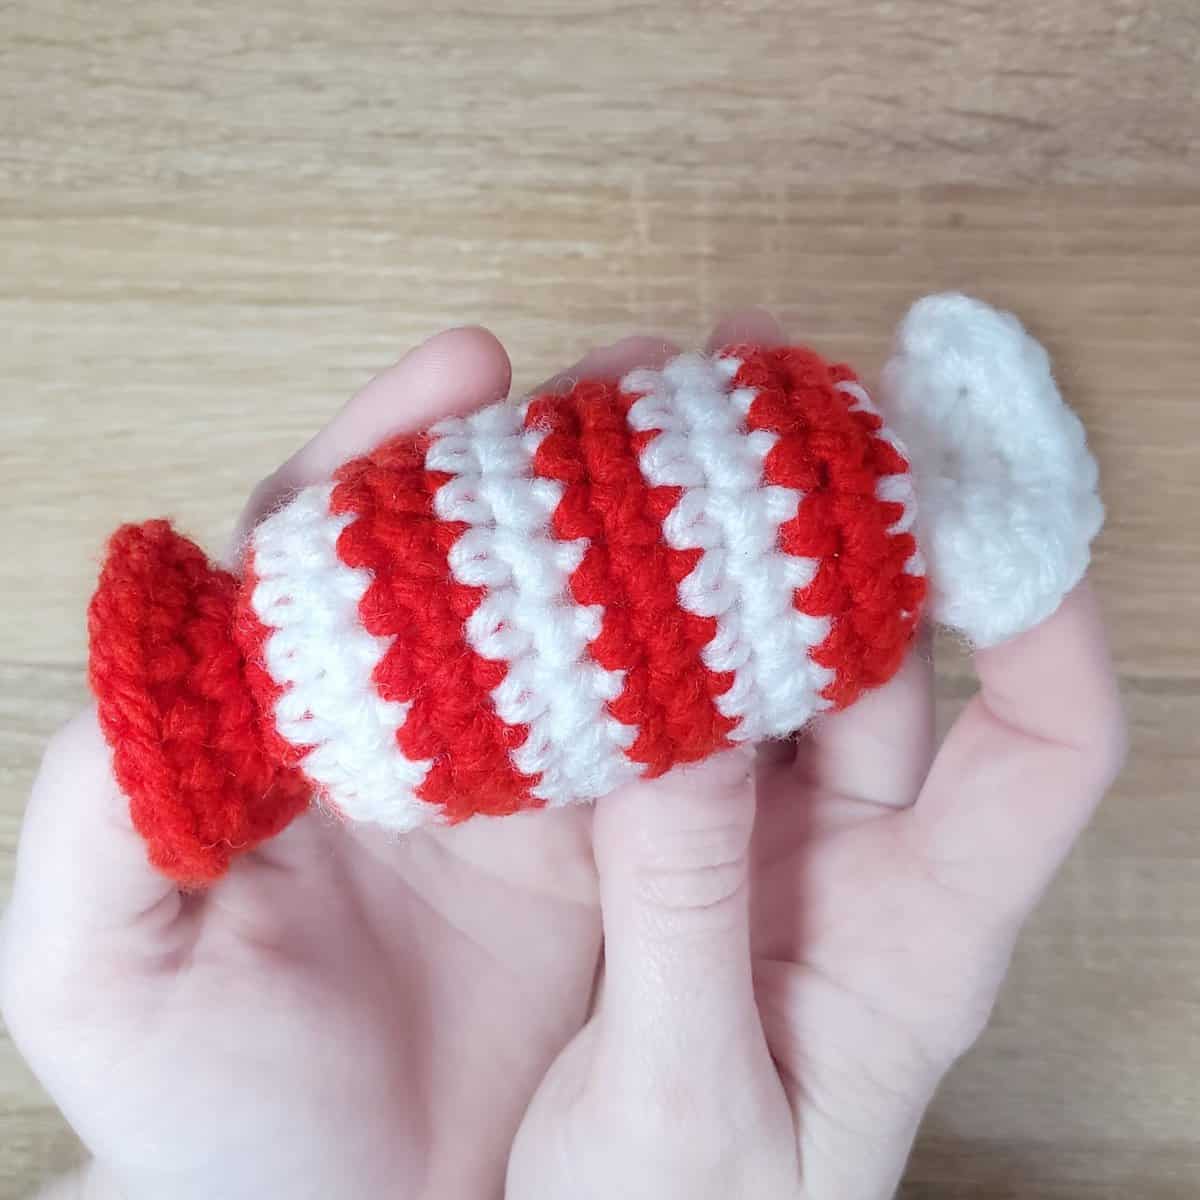
Hello all, and welcome to Day Five of our Twelve Days of Christmas Crochet countdown!
Today, we have a Christmas peppermint candy ornament crochet pattern – these work up quickly and can be made in various colors!
Materials Required
Today’s pattern is an amigurumi pattern, which means you’ll be working in a continuous spiral of single crochet stitches.
I recommend using a stitch marker to help you keep track of your rounds. It also involves some simple color changes.
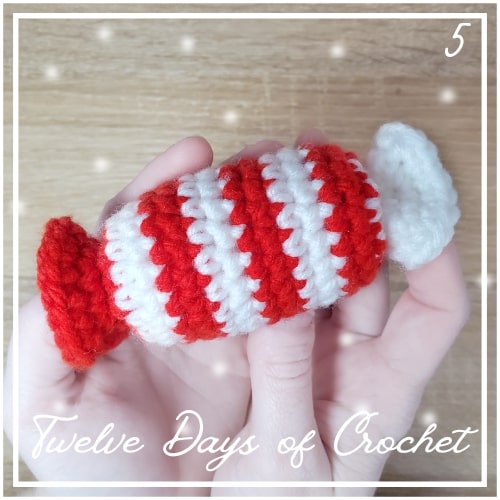
Here are all of the materials required to make this project – feel free to make substitutions to the yarn colors, weight, and even the hook size. My project ended up measuring about 4 inches tall.
Remember, using a larger hook and yarn of a different weight will affect the finished size of your project!
| 4.25mm crochet hook |
| worsted weight yarn in red and white (you can also use whatever colors you’d like!) |
| tapestry needle |
| poly-fil stuffing |
Abbreviations
Here are all of my standard abbreviations. Note: Some of these may not be used in the pattern – these are the stitches that I use most frequently! If you see an abbreviation that you are unfamiliar with, please refer back to this chart.
Note: For this project, increases and decreases are single crochet increases/ decreases unless otherwise specified! (This is generally the standard in amigurumi projects.)
| ML | magic loop |
| R | row/round |
| st | stitch |
| slp st | slip stitch |
| ch | chain |
| sc | single crochet |
| hdc | half double crochet |
| dc | double crochet |
| tr | treble crochet |
| FLOsc | front loop only single crochet |
| FLOscdec | front loop only single crochet decrease |
| BLOsc | back loop only single crochet |
| BLOscdec | back loop only single crochet decrease |
| inc | increase |
| dec | decrease |
| dc | double crochet |
| ** | repeat |
| () | number of sts in row |
Main Body
Start with red yarn (or whatever color you chose as your primary color)
R1: ML6
R2: inc in each st (12)
R3: *BLOsc, BLOscinc* around (18)
Note on BLO: If you’ve been following along, you may have noticed I tend to use this stitch fairly often! We’ll be coming back to this row of loops later to add the candy wrapper embellishments.
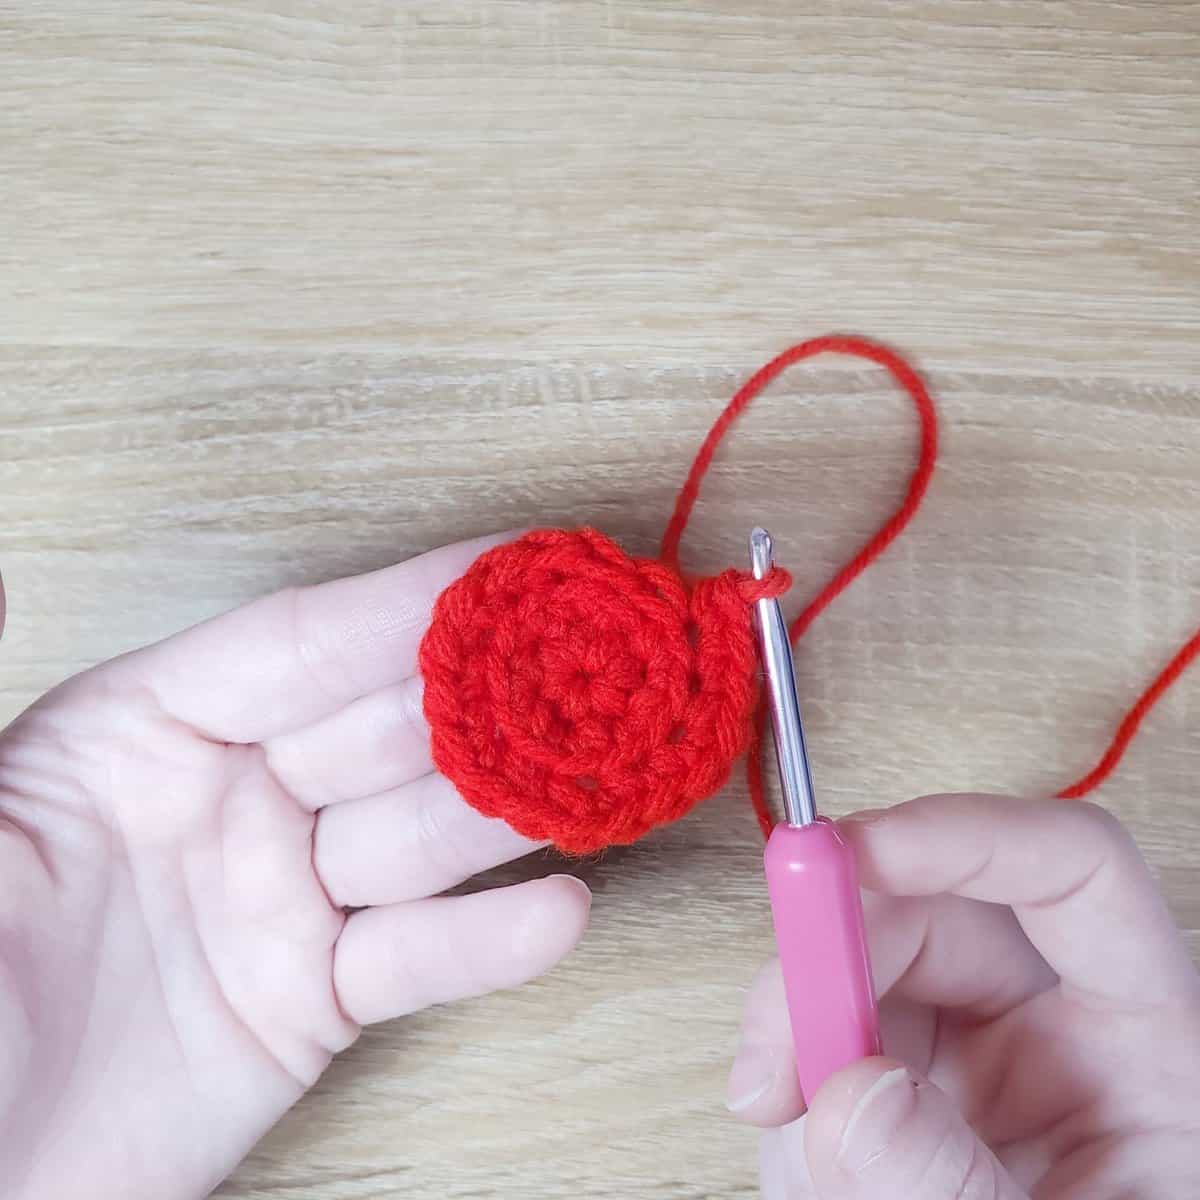
R4-R5: switch to white yarn (or whatever color you chose as your secondary color) – sc around (2 rounds total)
R6-R7: switch back to red yarn – sc around (2 rounds total)
We’ll be switching back and forth between colors every 2 rows!
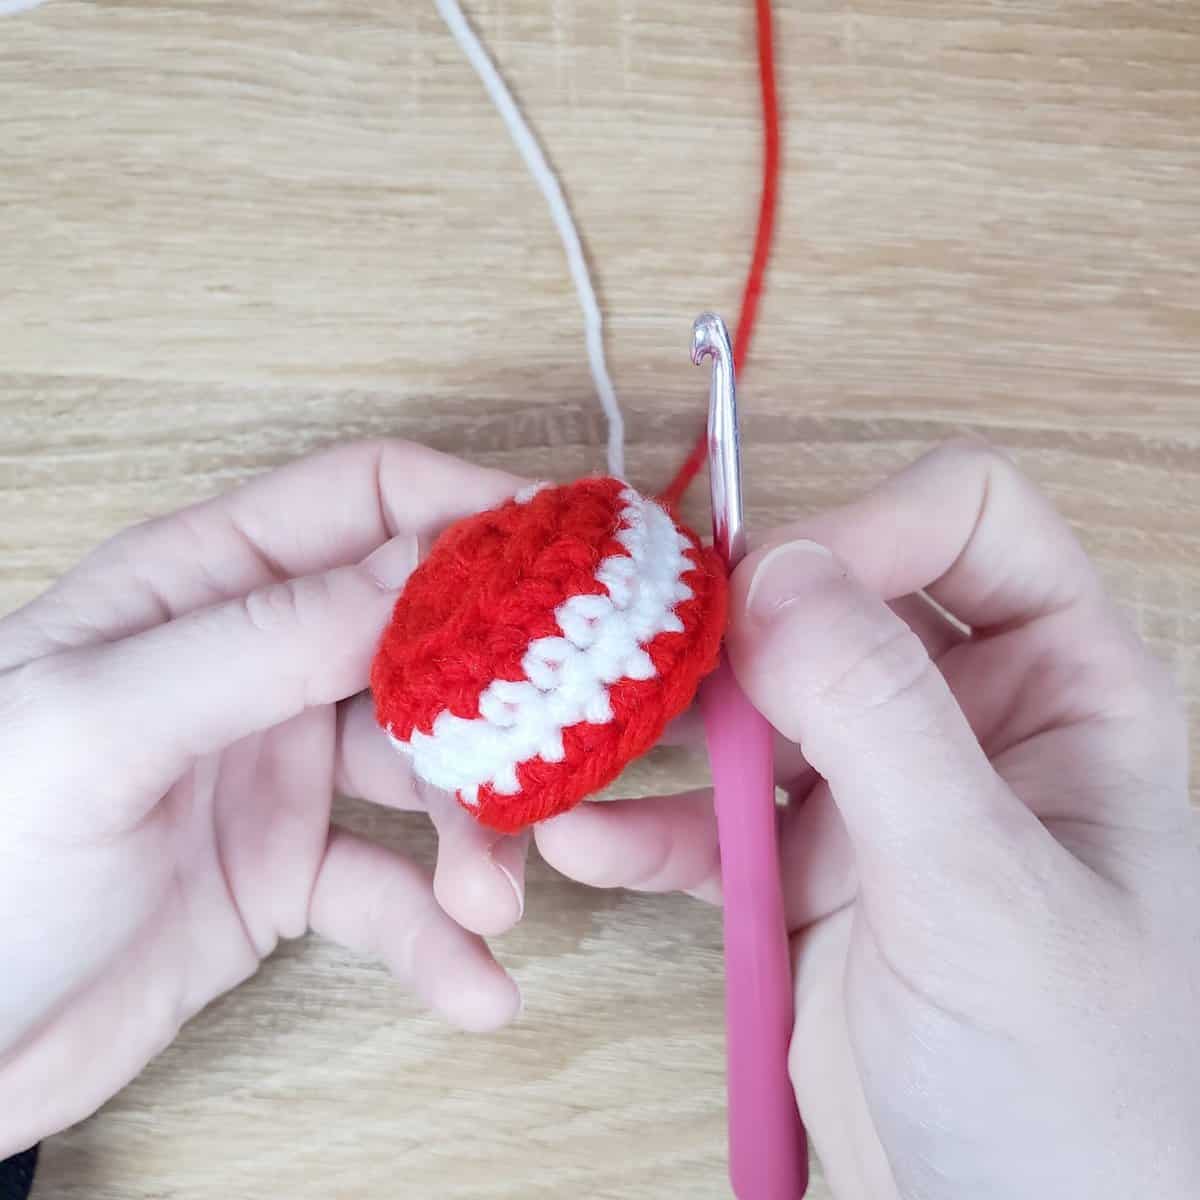
R8-R9: in white, sc around (2 rounds total)
R10-R11: in red, sc around (2 rounds total)
R12-R13: in white, sc around (2 rounds total)
R14-R15: in red, sc around (2 rounds total)
Cut red yarn and weave in tail end as you work your next row!
R16: in white, *sc, dec* around (12)
Stuff your candy here!
R17: BLOscdec in each stitch (6)
Candy Wrapper
Starting on the red side (R1 of the main body), attach your red yarn to the outermost loop of the BLO stitches we made in R3.
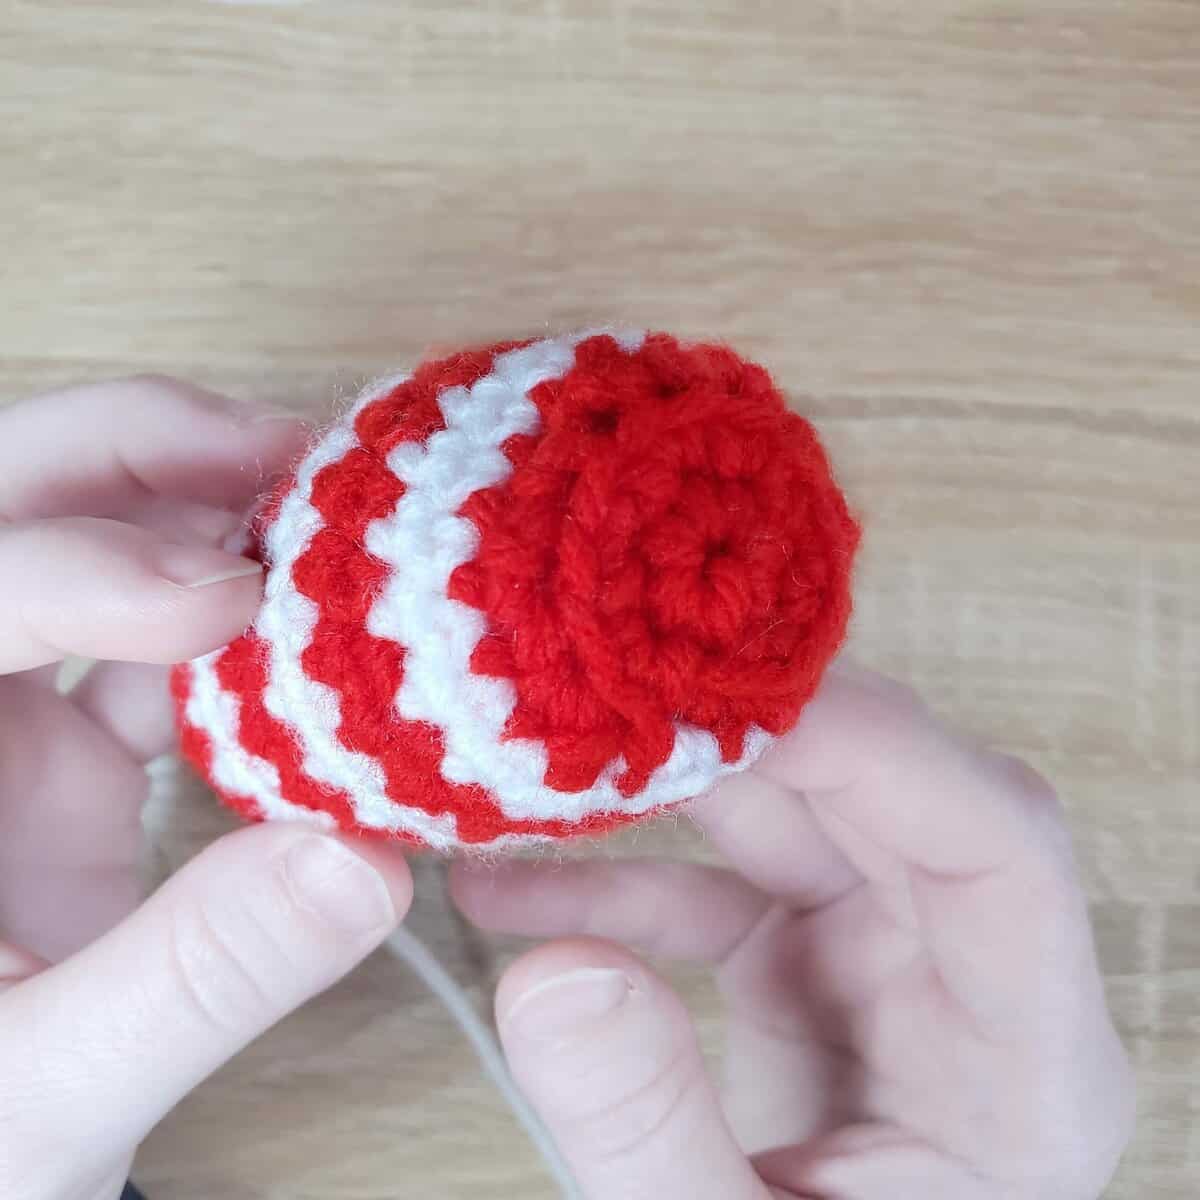
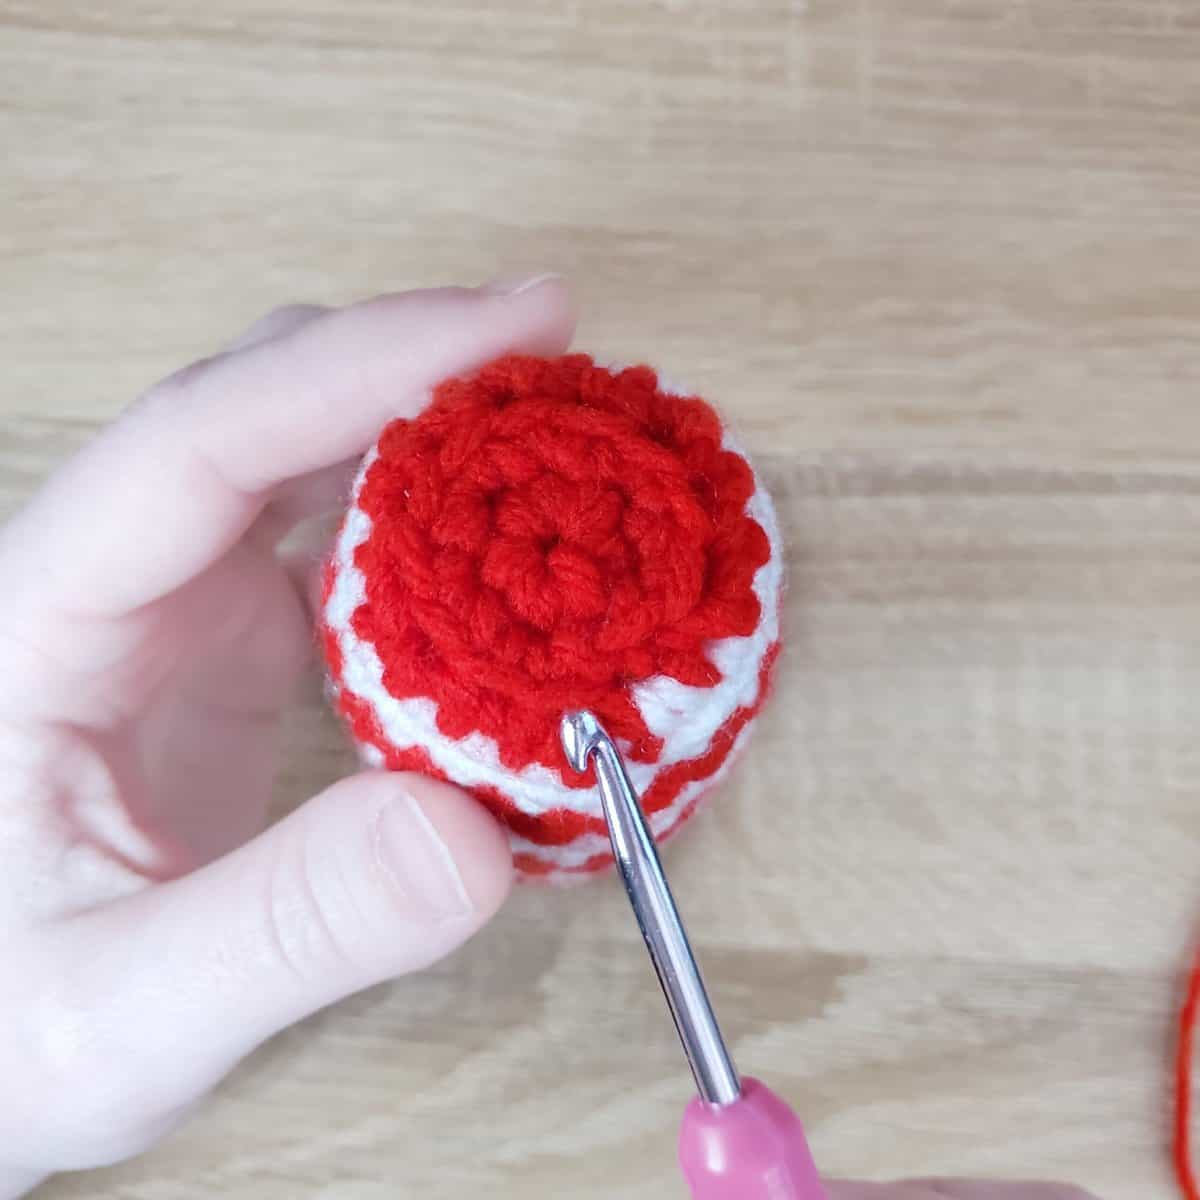
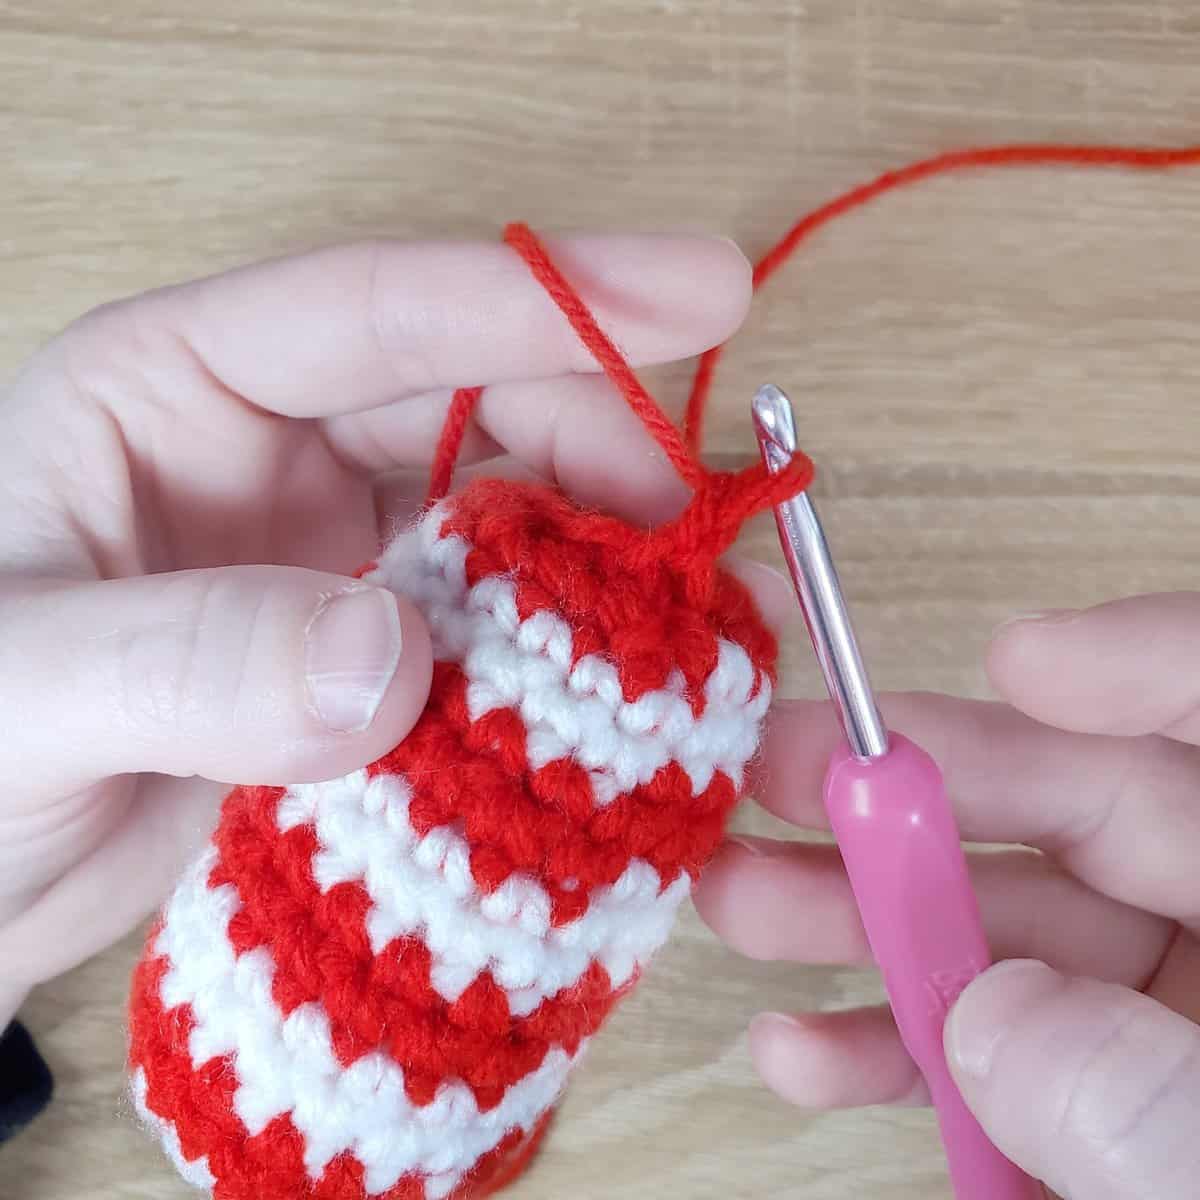
R1: sc in each BLO loop around (12)
R2: *sc, inc* around (18)
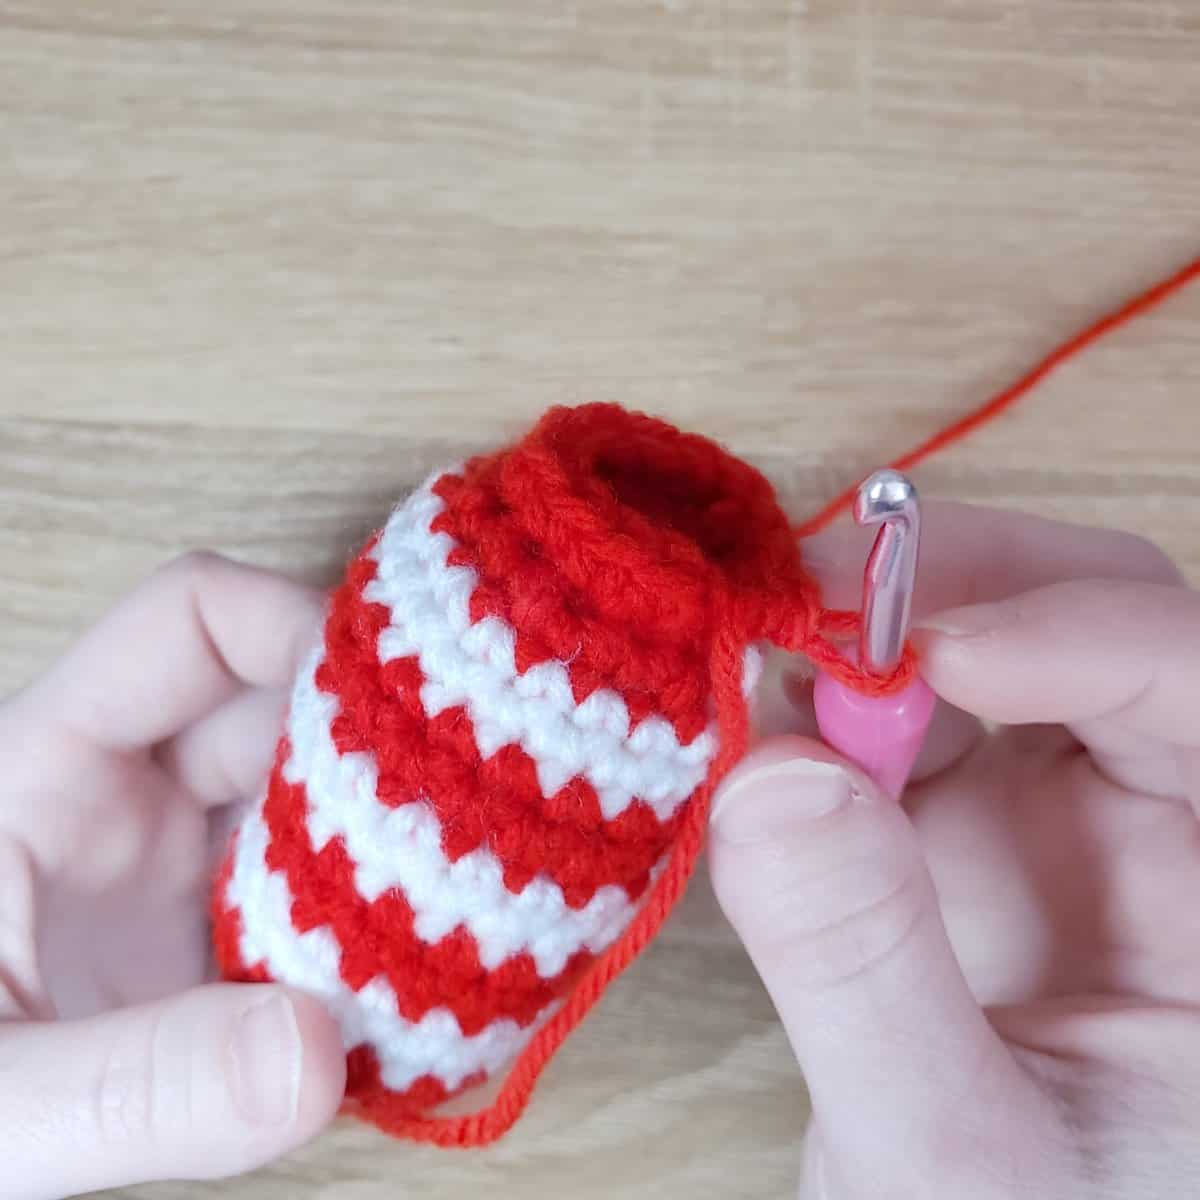
R3: *2sc, inc* around (24)
Slip stitch to the next stitch and fasten off. Weave in the tail, then cut a little bit of the same color of yarn. Tie the yarn around the base of the candy wrapper, then pull a very tight knot. Double knot this, and cut the yarn close to the body of the work to cinch this side of the wrapper closed.

Repeat R1-R3 on the other side, but use white yarn and attach to the white BLO loops.
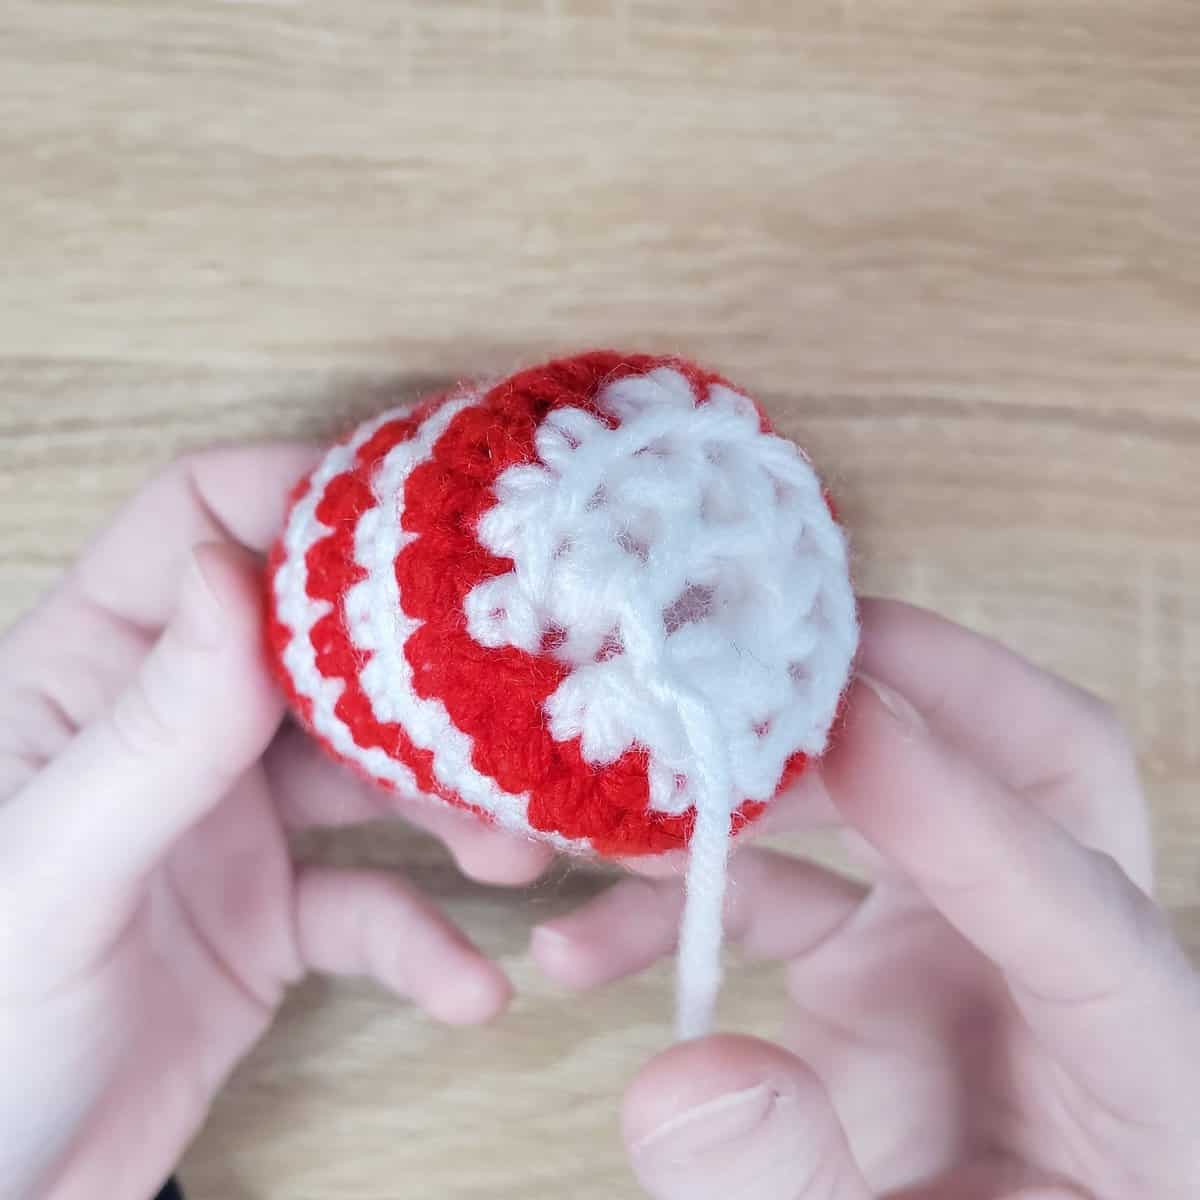
I also like to pinch and slightly ruffle each side of the candy wrapper, like so:
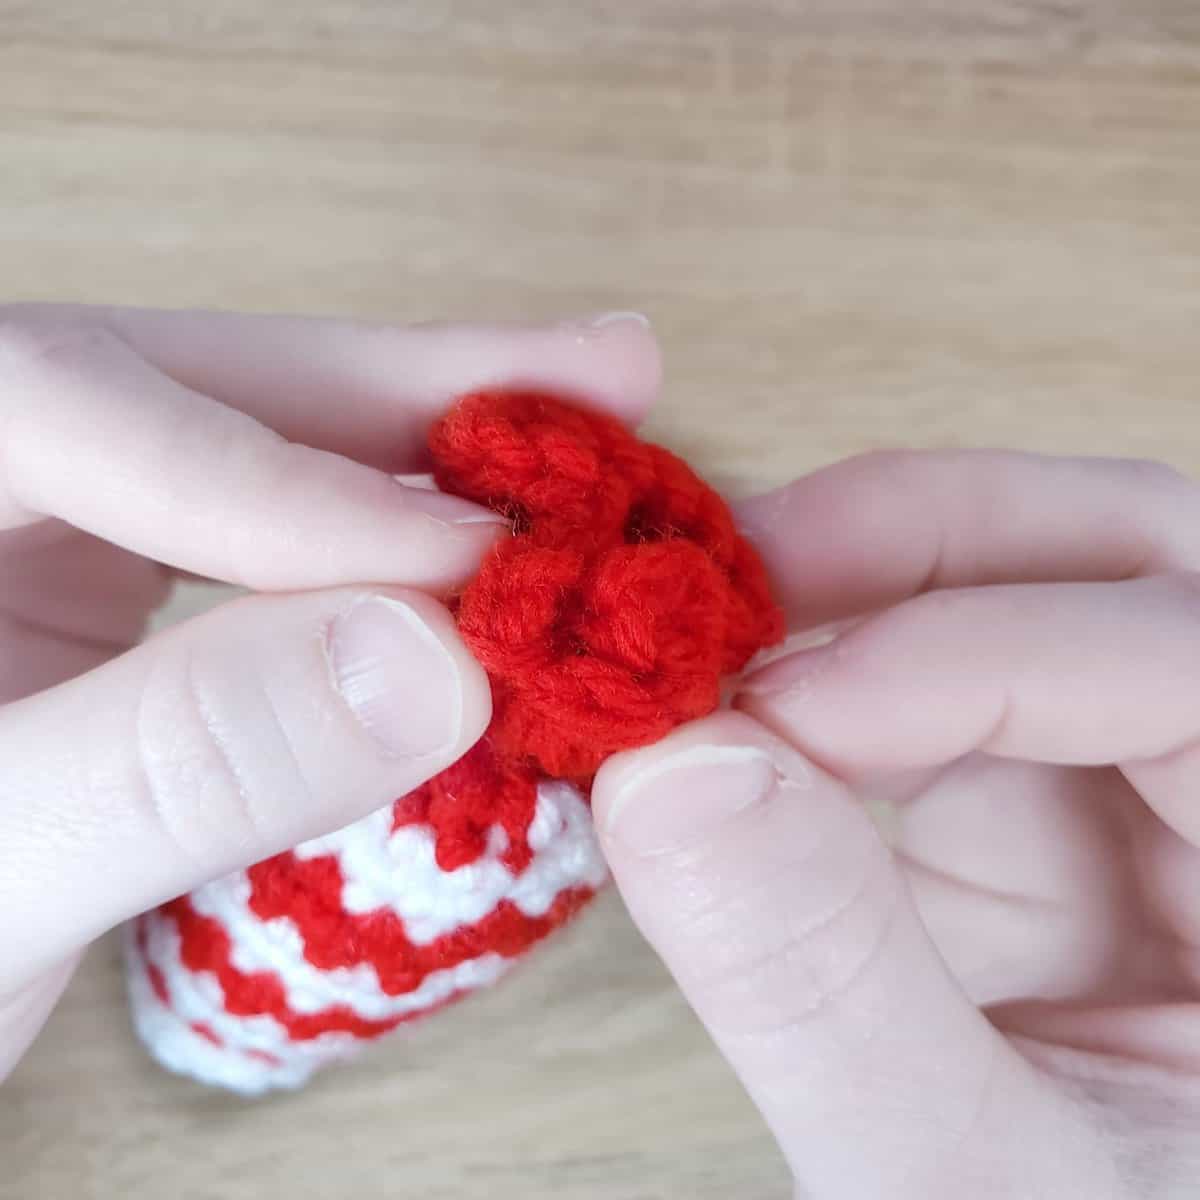
That completes your peppermint ornament!
