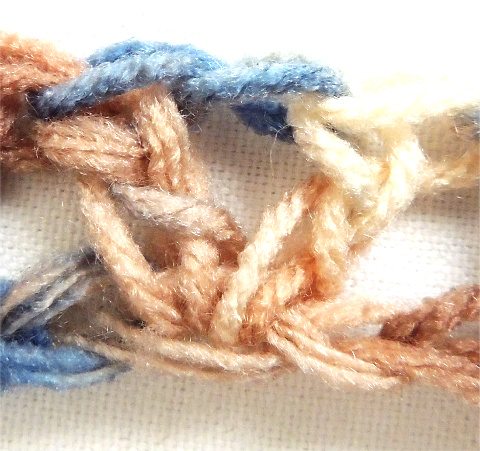
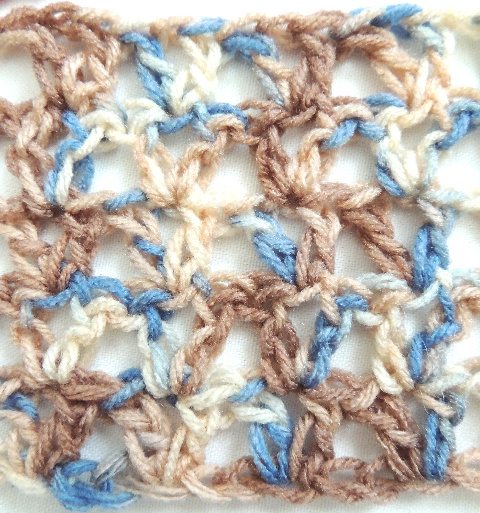
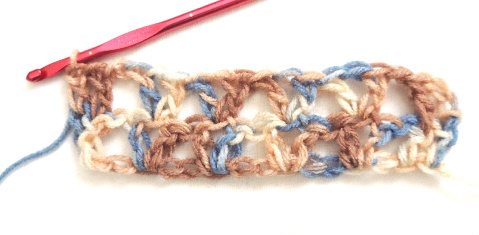
The V-Stitch is a simple crochet stitch that is created by working two double crochet stitches into the same stitch and separating them with a chain space. This creates a lovely open design that works up quickly and can be used to make a variety of different projects from scarves to blankets.
Basic Crochet V-Stitch
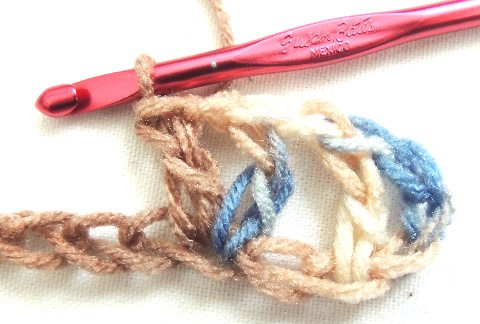
The single V-Stitch is worked with the following three steps:
Step One: DC into stitch
Step Two: Ch 1
Step Three: DC into same stitch
This creates one V-stitch.
V-Stitch Rows
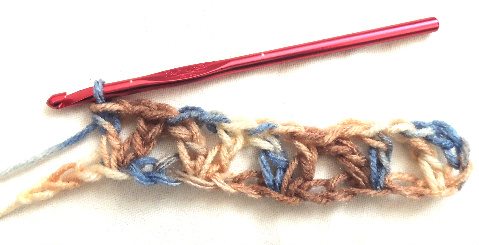
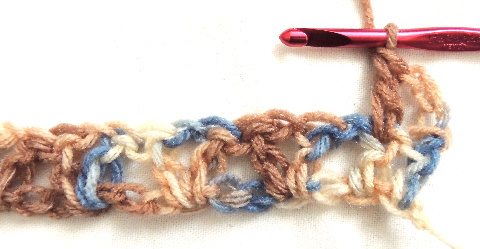
To extend this into a series of V-Stitch rows, use the following pattern:
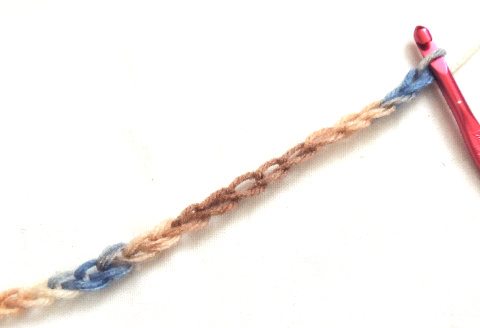
Instructions for Row One
Step One: Crochet a foundation chain that is a multiple of 6 stitches. In this example of crocheted a foundation chain of 18.
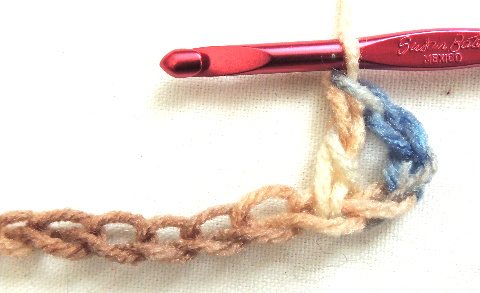
Step Two: DC in 4th chain from hook.
Step Three: Ch 1, sk 1
Step Four: V-stitch into next st, sk 2
Step Five: Repeat Step Four across row until you have a V-stitch with only three stitches following it.
Step Six: Before you do the last sk 2 of Step Four, ch 1. Then add the sk 2, followed by 1 dc in each of the next 2 st.
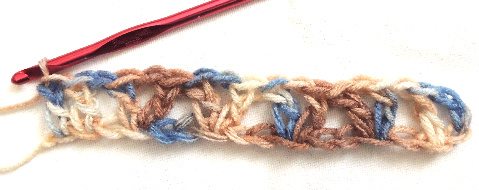
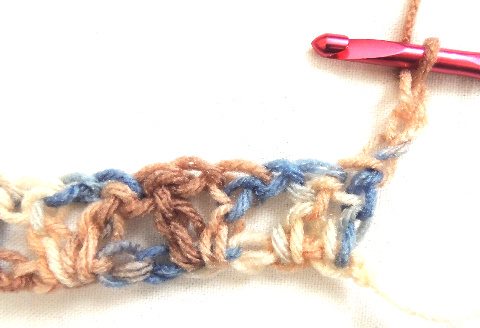
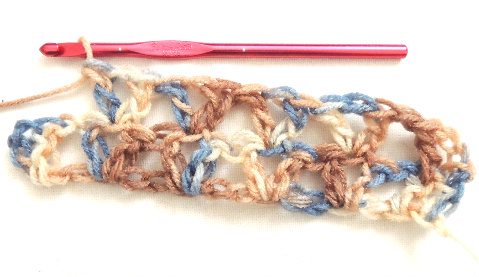
Instructions for Subsequent Rows
Step One: Turn, ch 3. This counts as the first DC.
Step Two: DC in next DC.
Step Three: Ch 1
Step Four: 1 V-Stitch in the chain st of each V-stitch across the row.
Step Five: Working into the remaining three stitches of the row – ch 1, sk 1, 1 dc in each of last 2 dc.
This post was originally written for the Crochet Today blog but remained unpublished so I wanted to share it here.


Love this stitch! thank you for the superb tutorial pics.
Sheila
http://sheilazachariae.blogspot.com/2014/02/cath-kidstongreengate-inspired-bakeware.html
I use the V-st a lot, but I always just go into the ch-1-sp instead of trying to get it into the actual ch st. I really like the look, and it’s faster and easier! =)