Hi again all – thanks for joining our Twelve Days of Christmas Crochet Countdown!
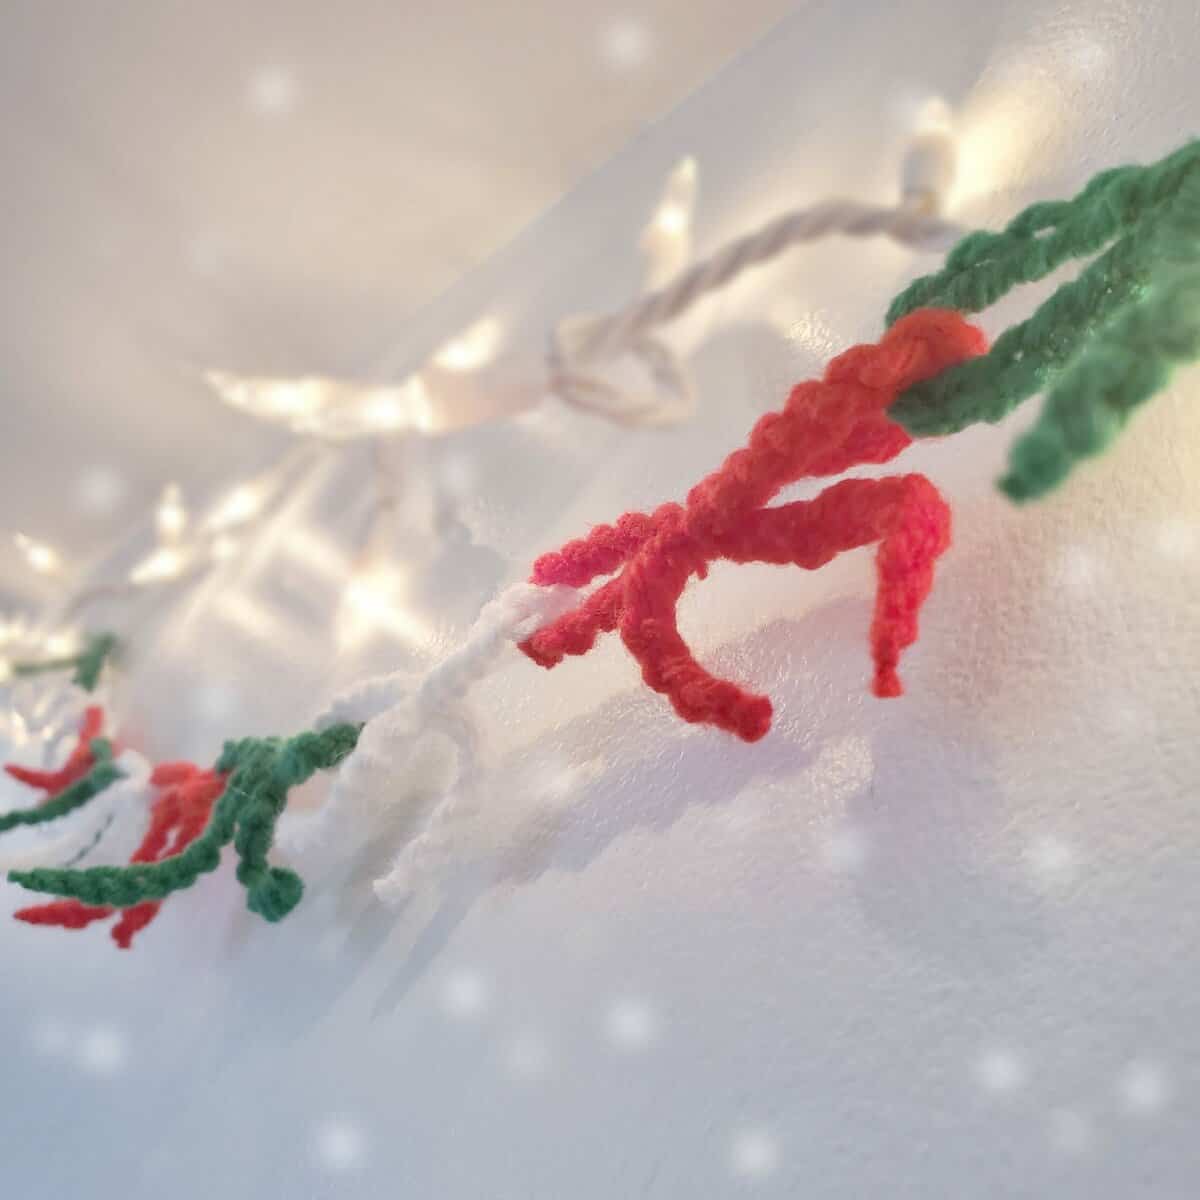
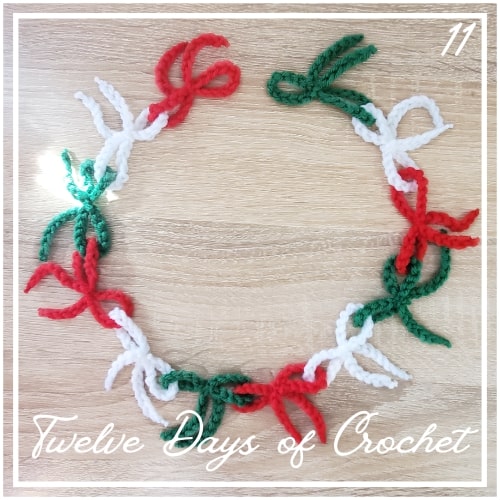
Today is Day Eleven and our make is a quick and easy holiday bow garland. This is the perfect project for beginner crocheters, as all you need to be able to do is make a chain stitch.
This piece works up so quickly, and is the perfect decoration for over the fireplace, on the tree, or up on your wall.
Materials Required
This pattern only requires a 4.25mm crochet hook, worsted-weight yarn (I chose red, white, and green), and a pair of scissors to complete.
Creating a Bow
Each bow is created by chaining 40 stitches. Once you’ve finished chaining, cut a long tail and pull the yarn through the last chain you made to close.
Pull the yarn tightly on both ends to secure the chain, then cut the yarn from either end.
Save the long tail you cut, as we’ll use that to shape the bow.
To form your first bow, loop the chain over itself like so:
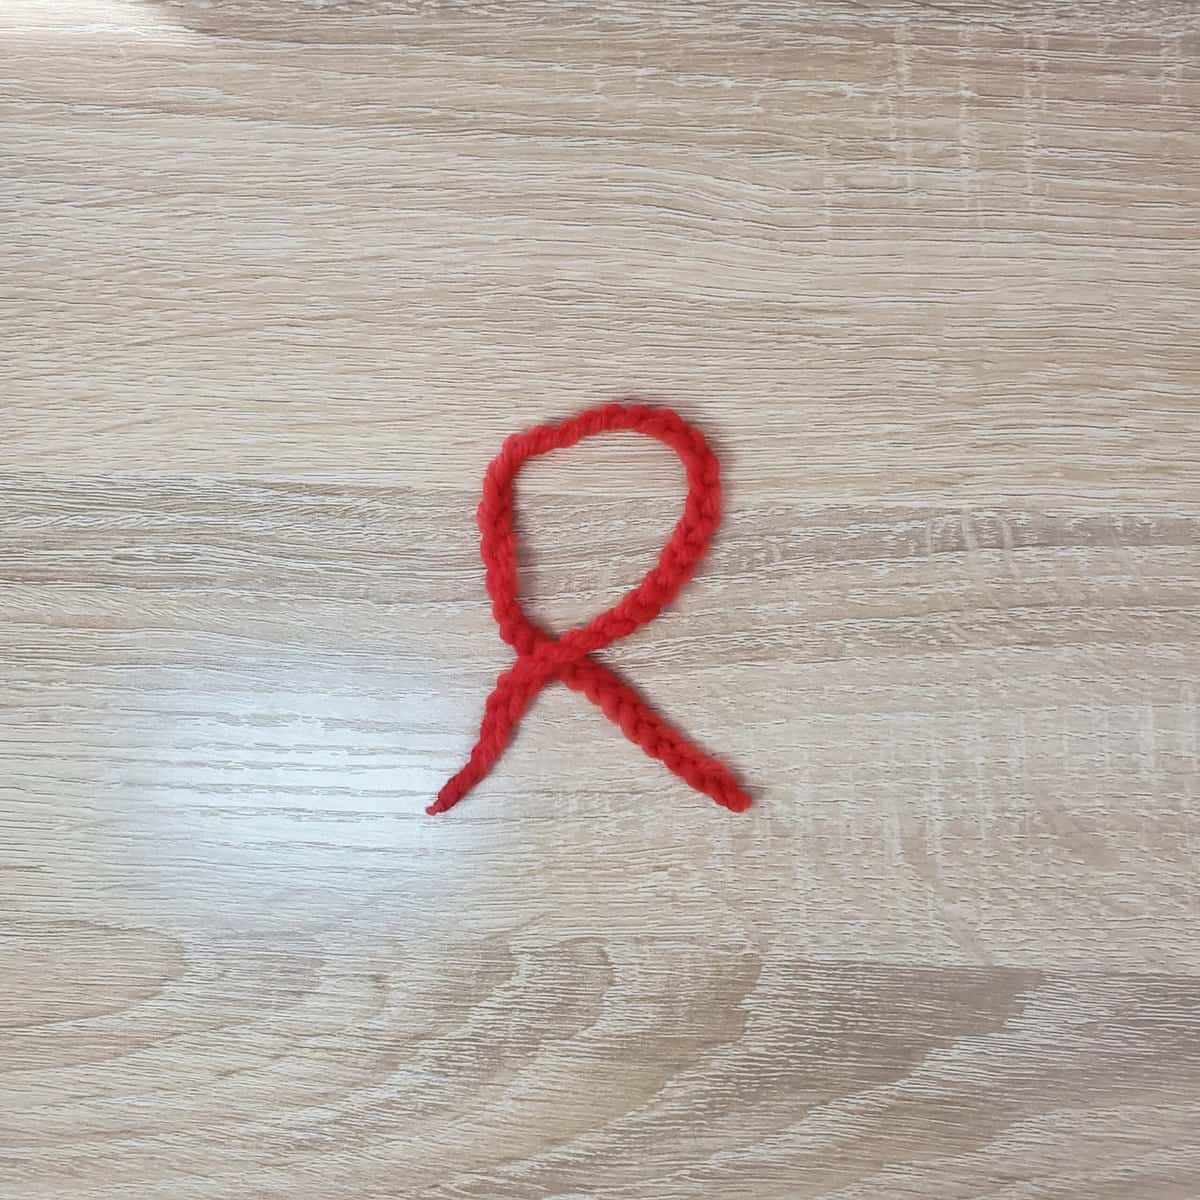
Flatten the top of the loop down toward the place where the chain crosses over itself, like this:
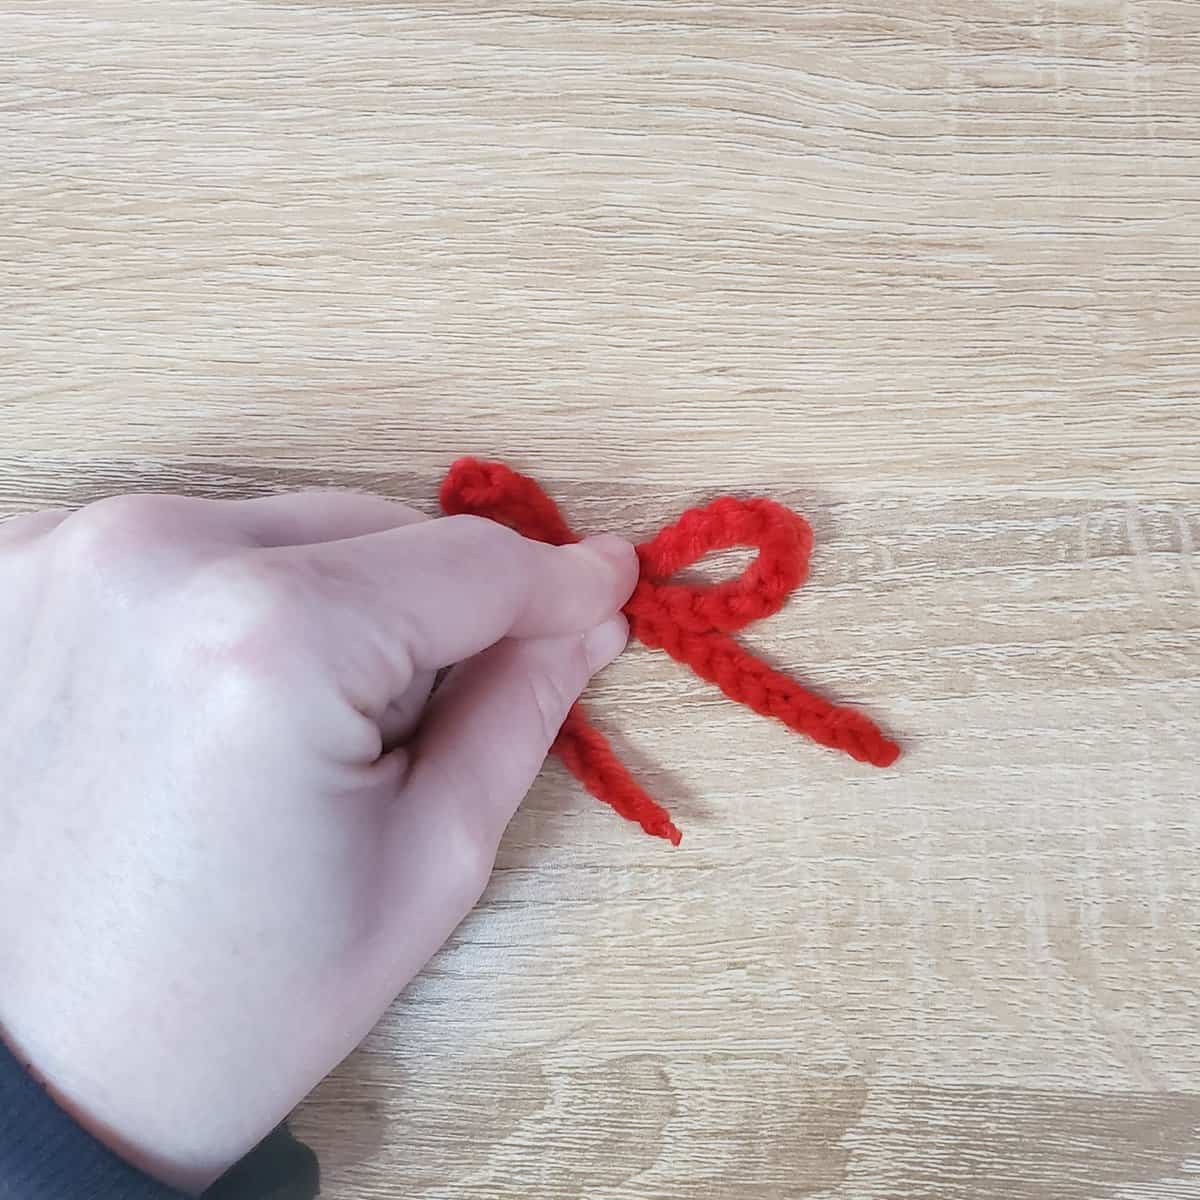
Using the long tail that you cut from the end of the chain, slip it underneath the bow. We’ll use this to tie the bow:
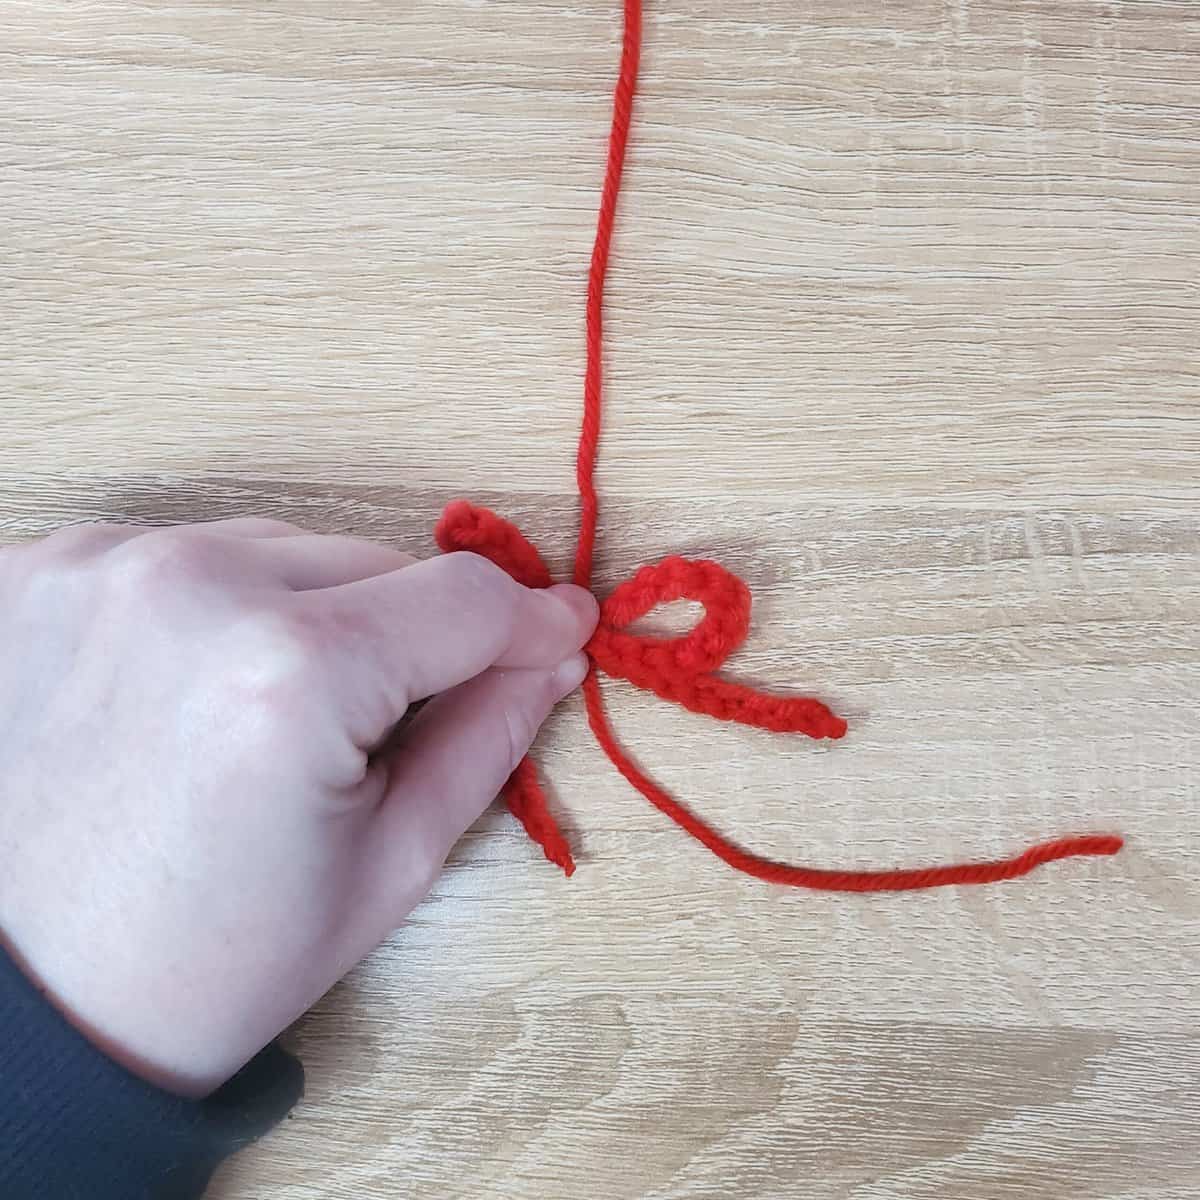
Tie a loose knot with the string, then double-check that the loops of the bow are about the same length. Tug each loop to get them to the size you want, then tighten your knot.
We don’t want this to come untied, so double knot once you’ve finished shaping your bow!
Here’s my bow, with a double knot tied:
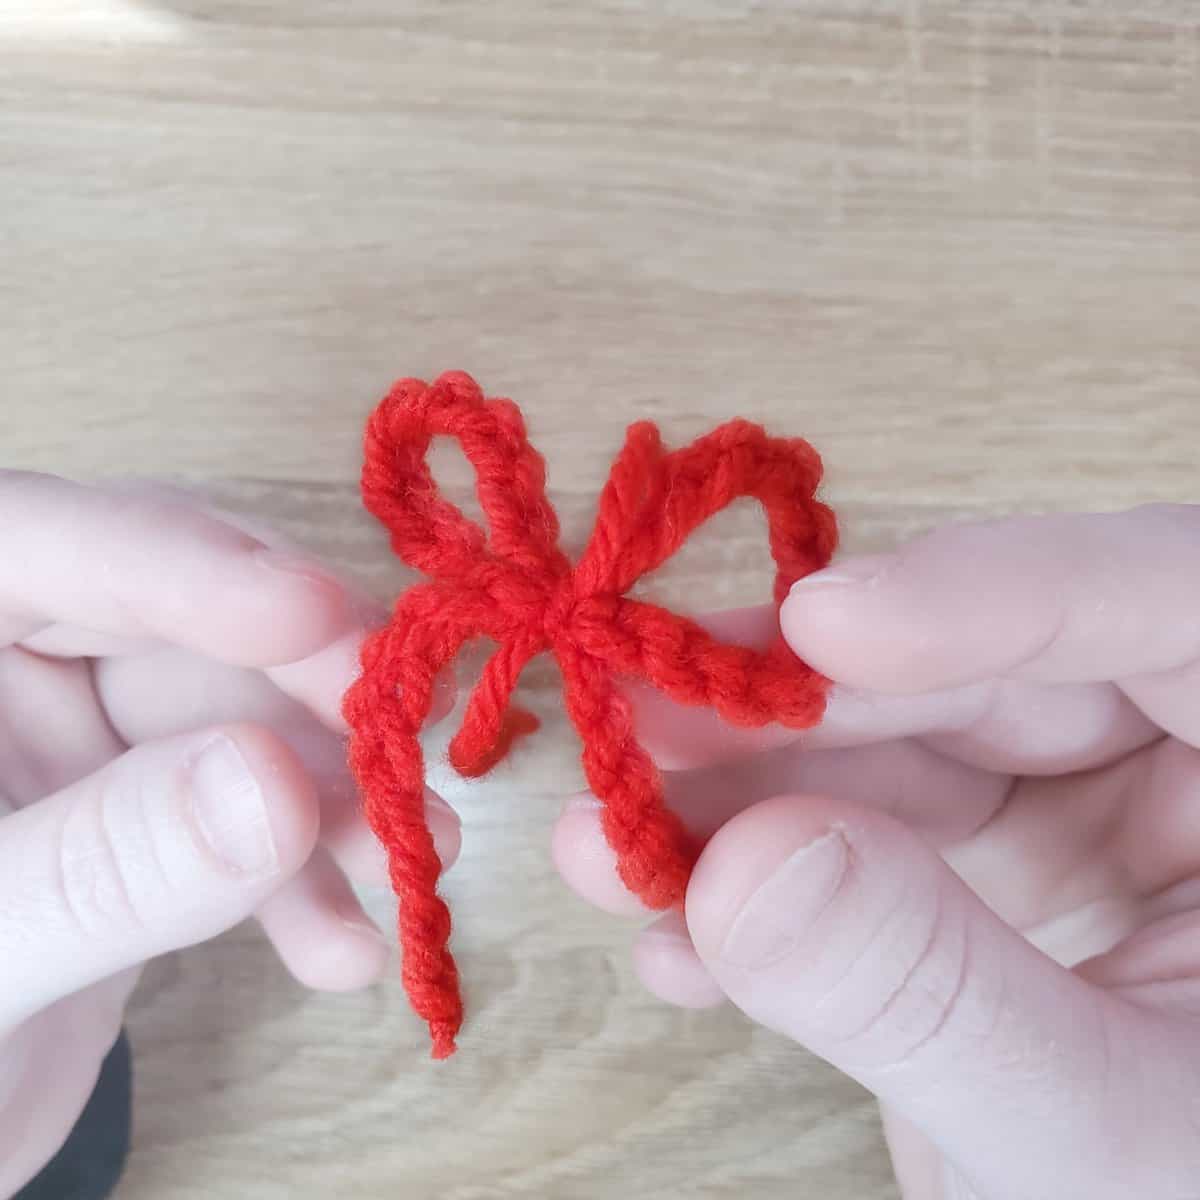
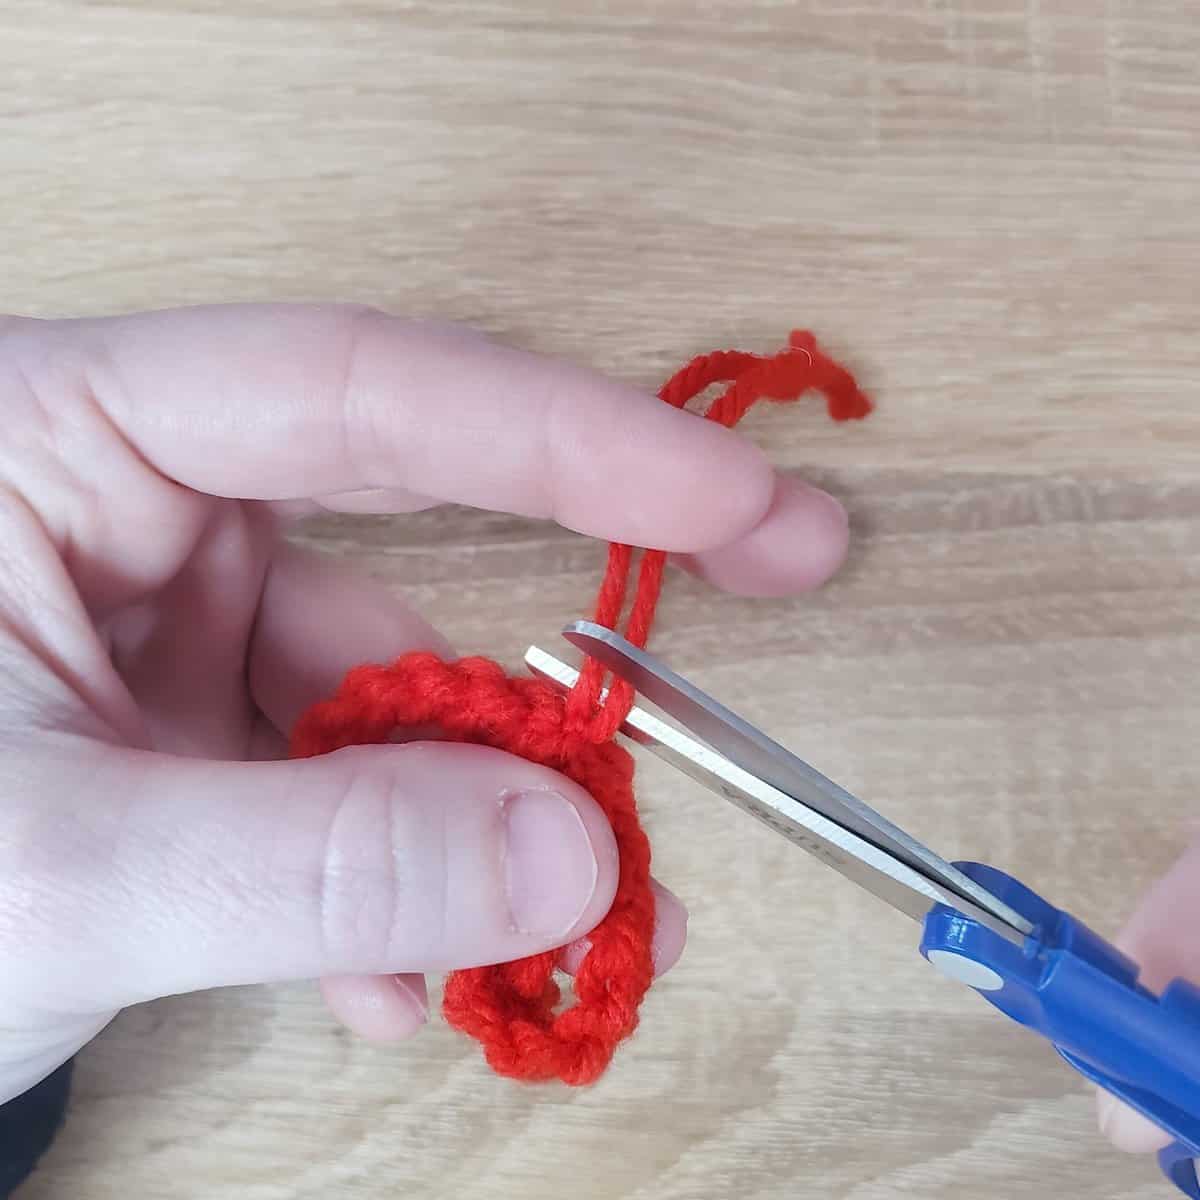
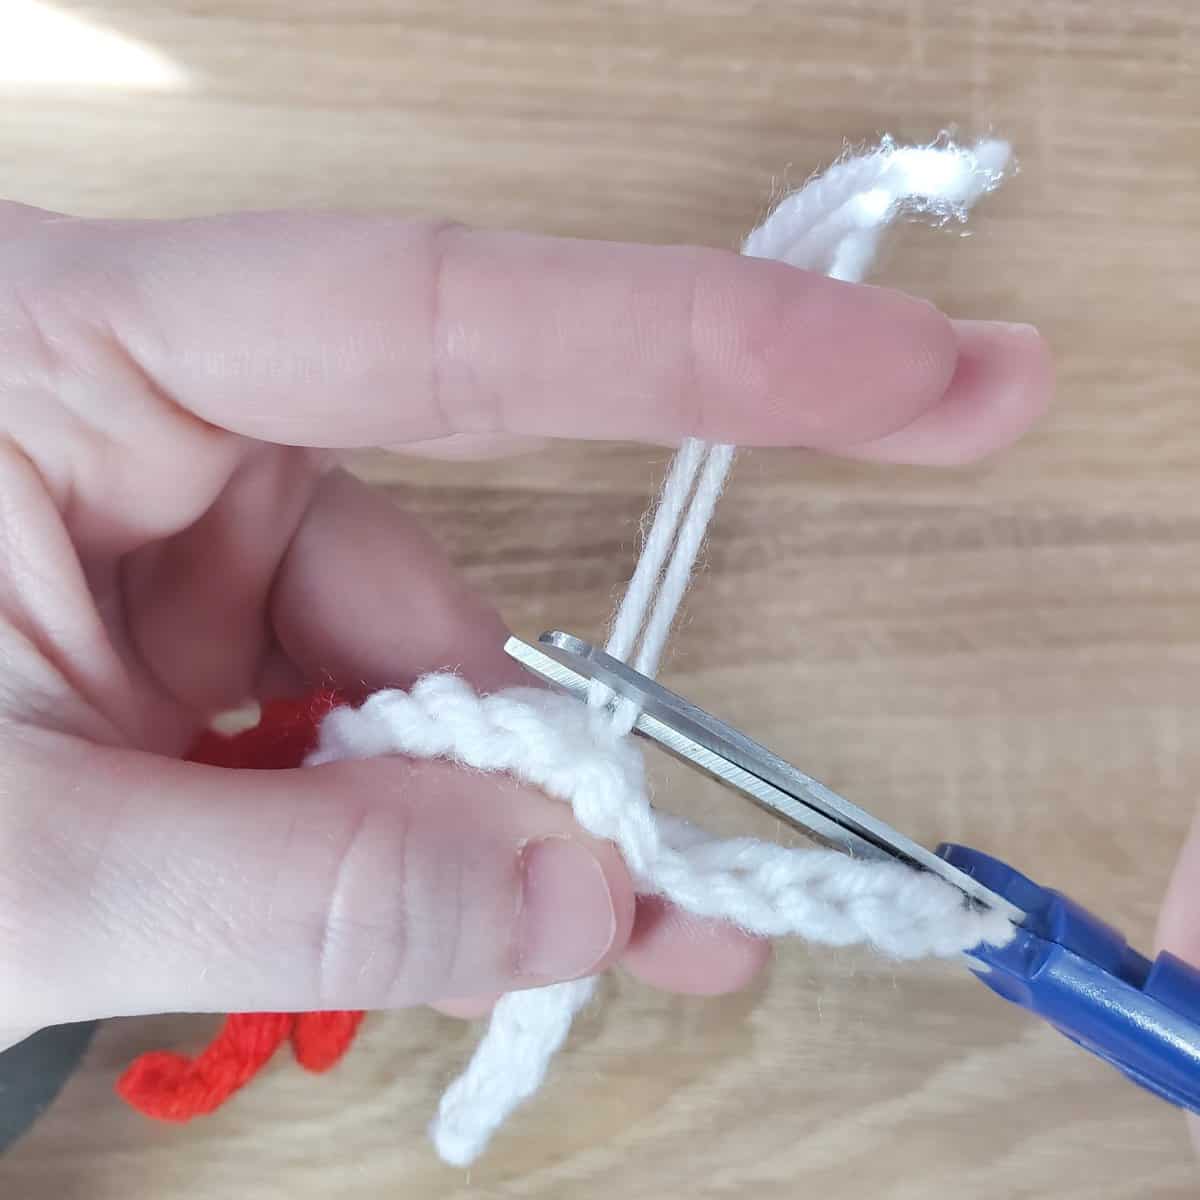
To finish the bow, snip the string close to the body of the bow.
Here is one bow, completed!
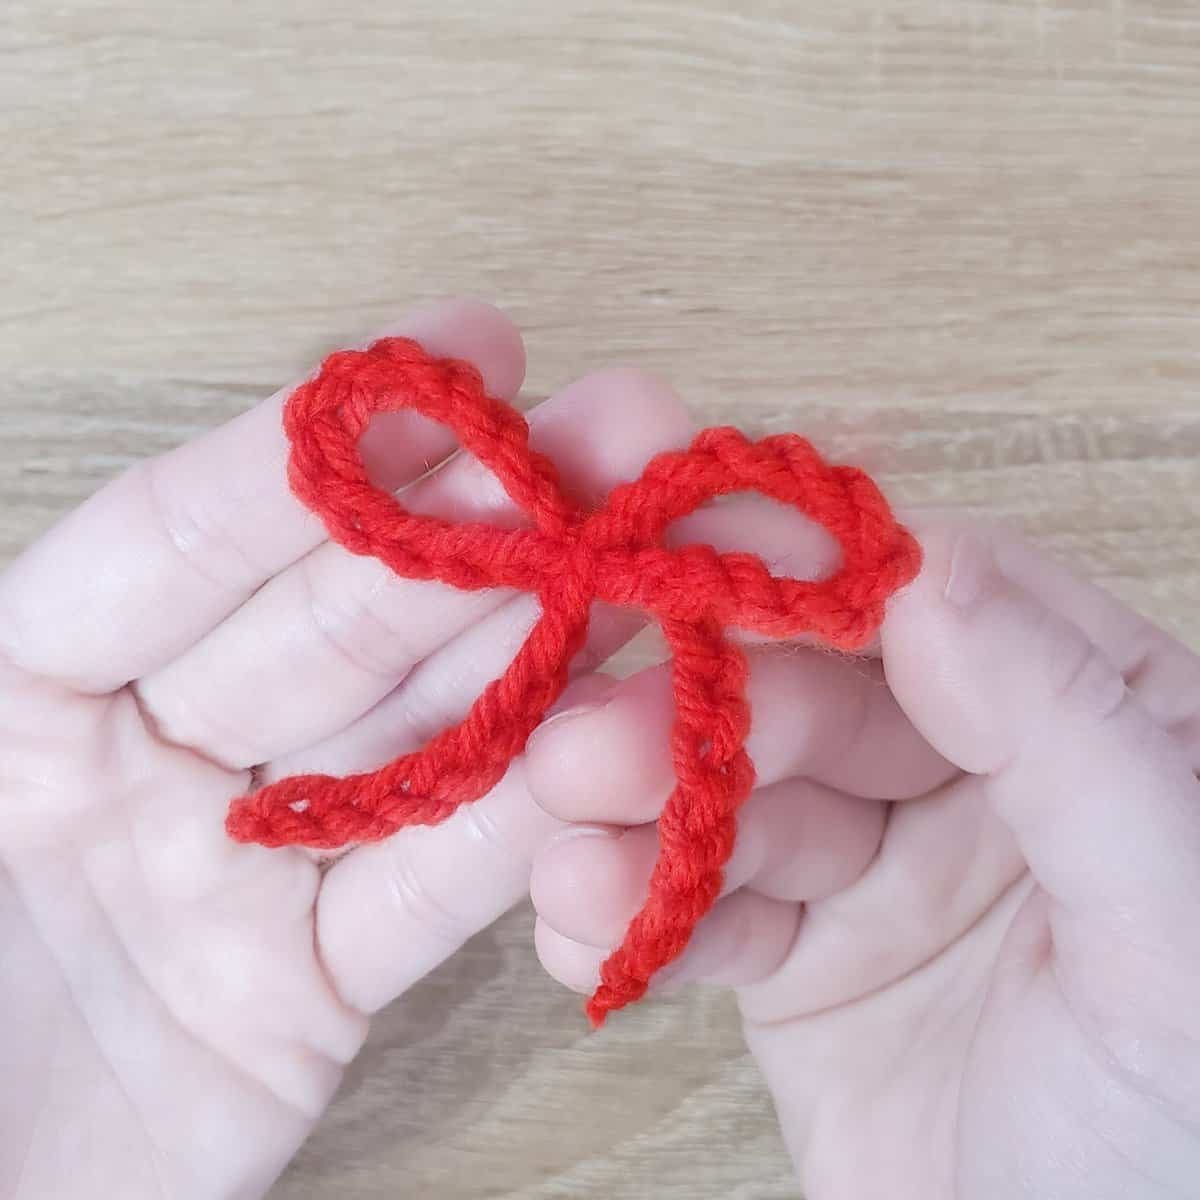
All bows are created the same way – chain 40, cut a long tail on one end, then save that long tail to tie the bow!
However, each bow after this bow has to be tied a little differently.
Constructing the Garland
For your next and all subsequent bows, we need to thread the chain through the previous bow.
To start, pass the chain through the right-hand side of the first bow you made:
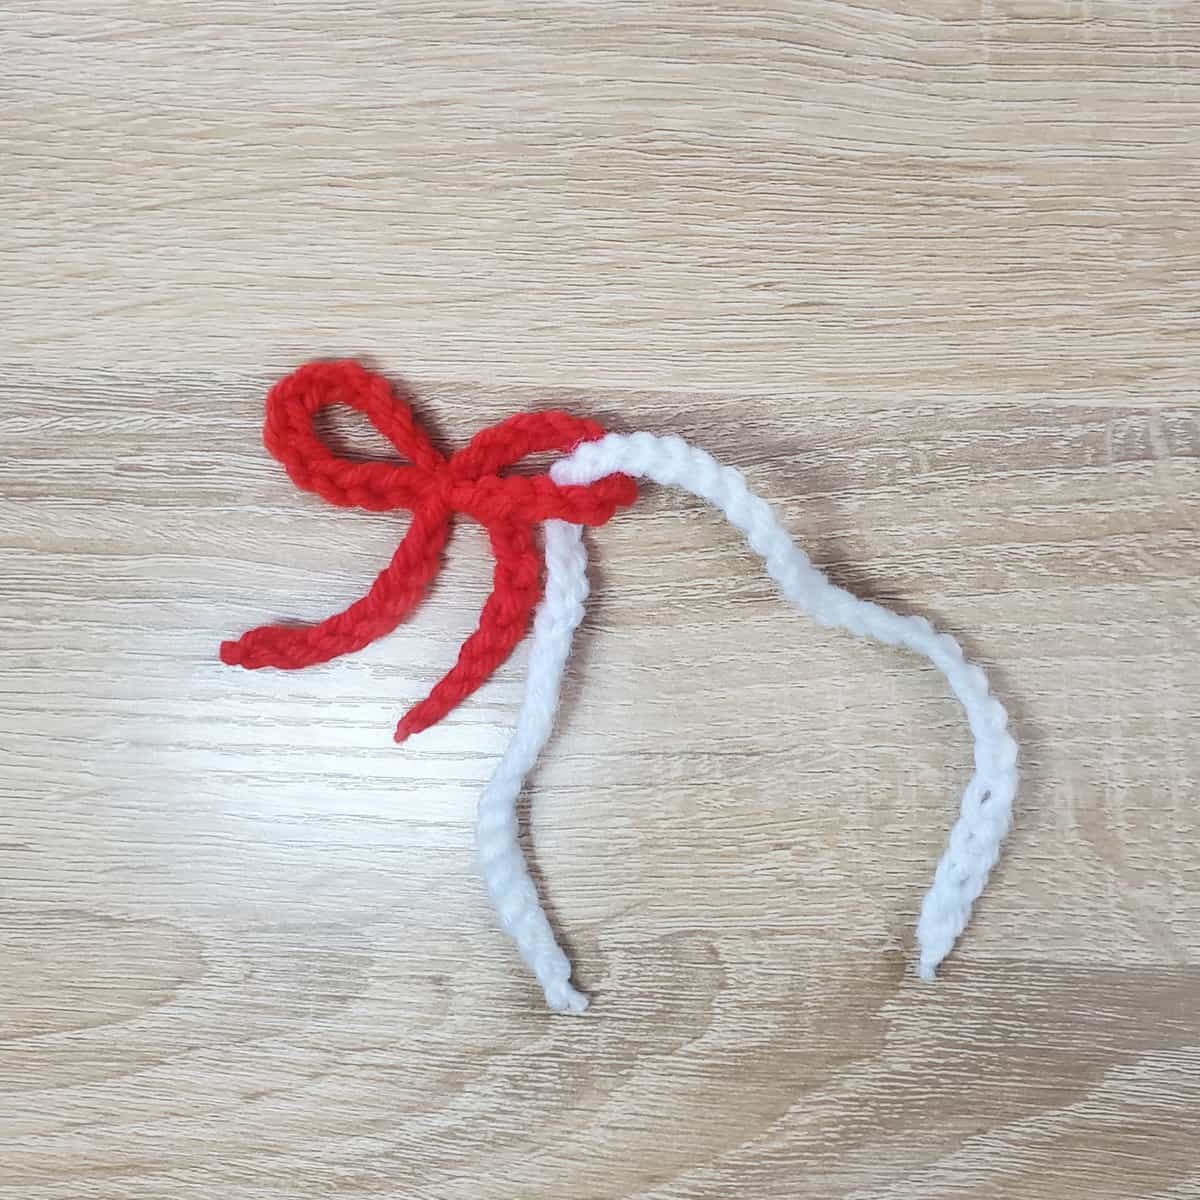
Once you’ve done that, tying the bow is basically the same as the first bow. Cross the chain over itself, like so:
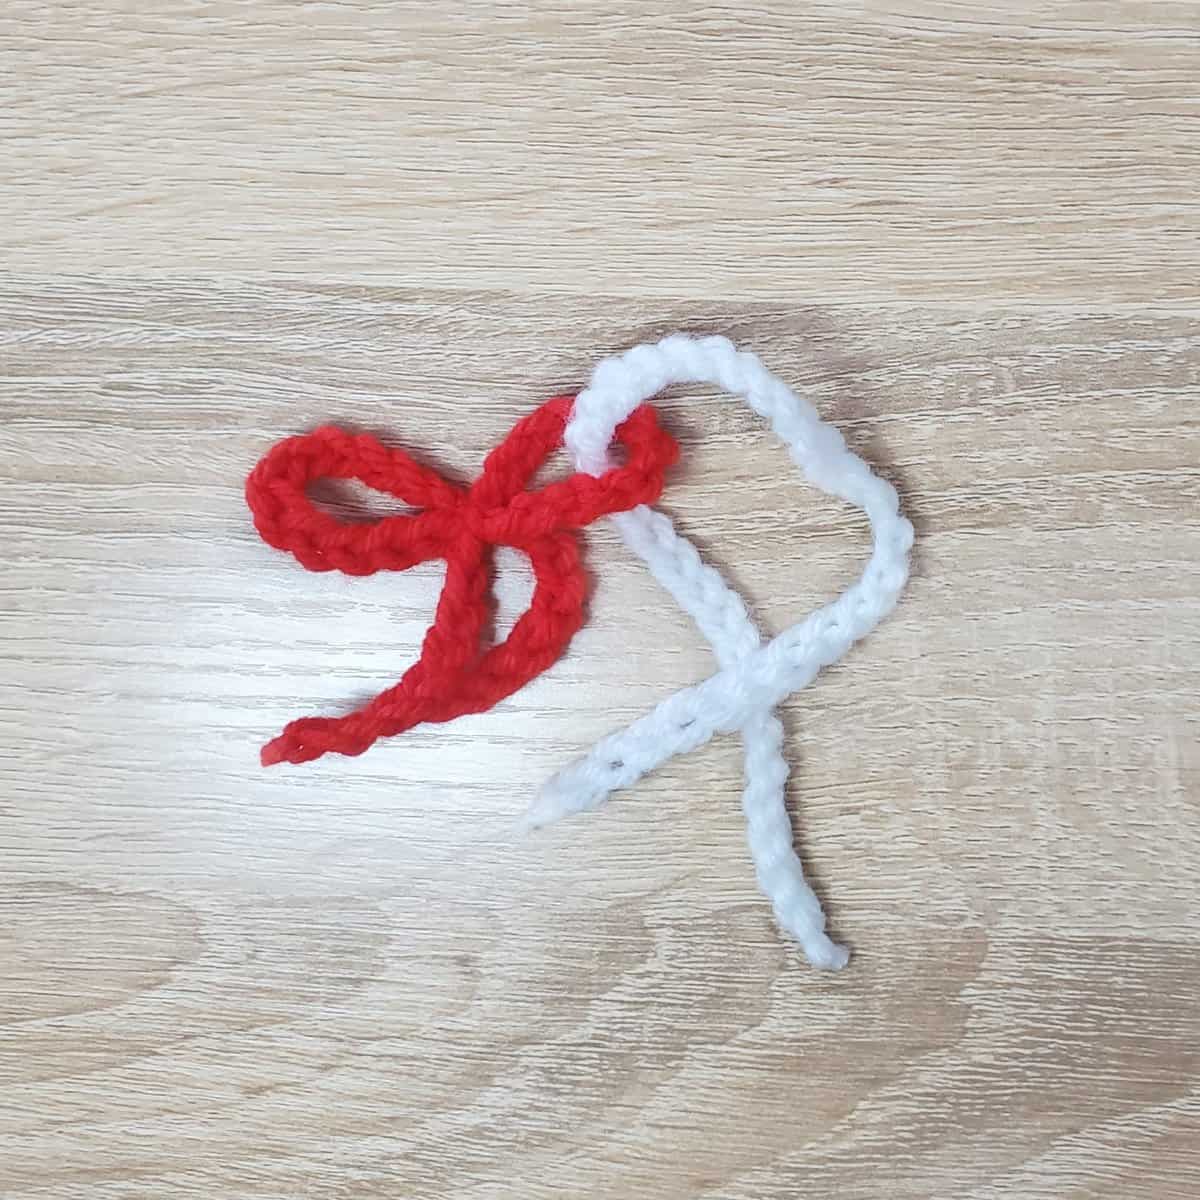
Pinch the top of the loop down to where the chain crosses over itself:
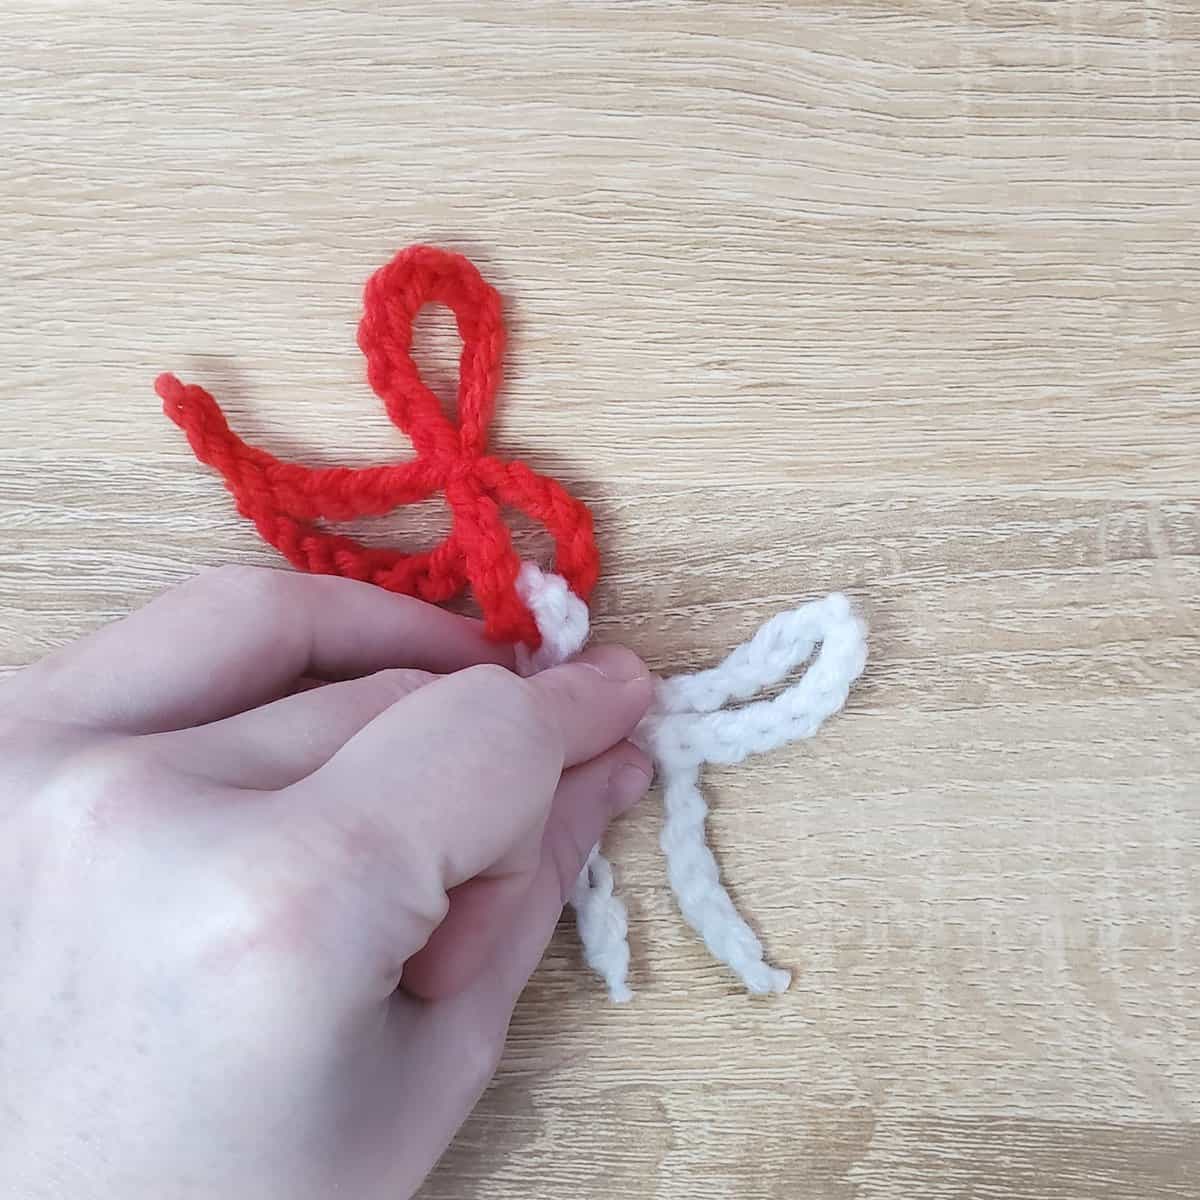
Then use the tail to tie a double knot and snip the yarn to finish the bow!
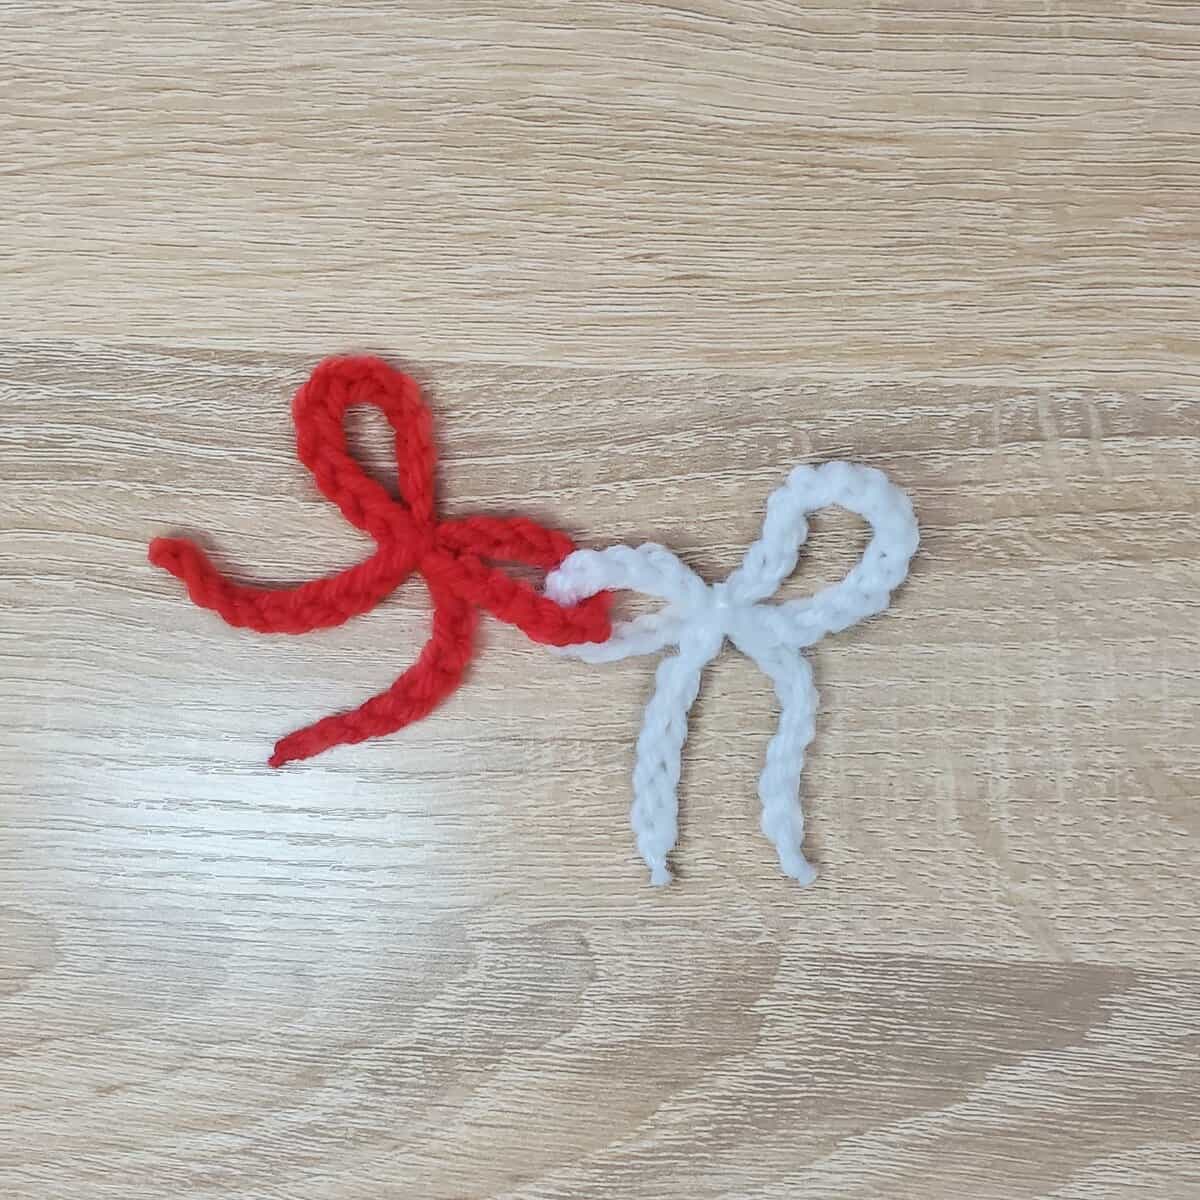
Continue adding bows until your garland reaches the desired length!
