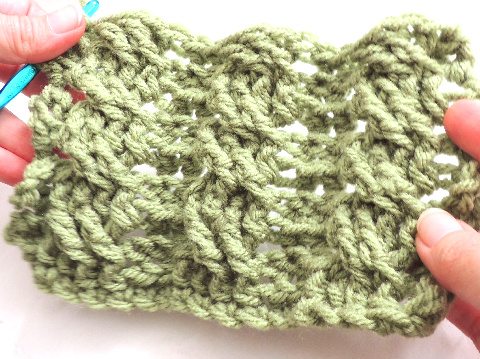
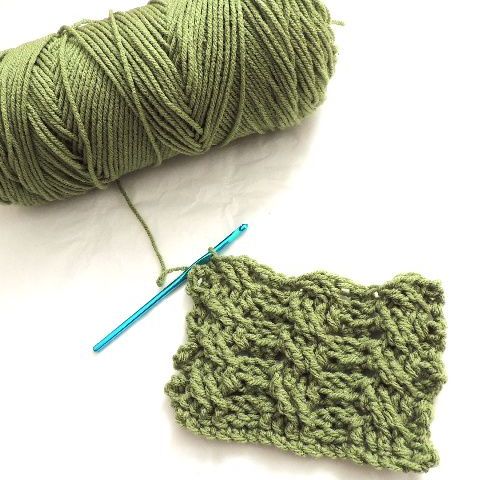
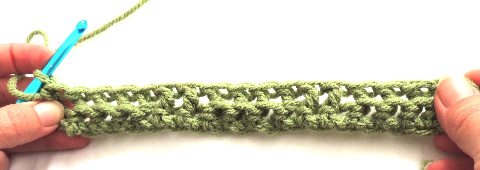
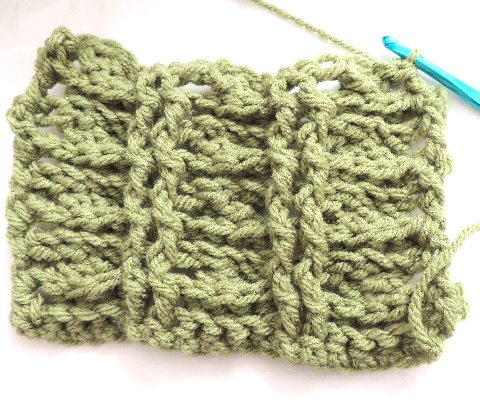
Here’s a tutorial for creating a thick cable stitch. It is worked using front post double crochet stitches, back post double crochet and front post treble stitches.
Step One:
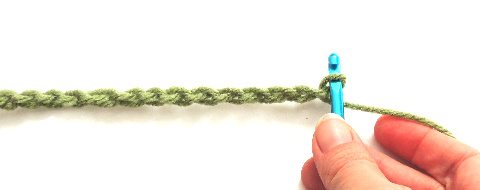
Crochet a starting chain that is a multiple of 6. This example is 18 stitches.
Step Two:
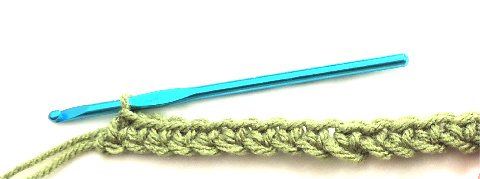
Ch 1 and sc across the starting chain.
Step Three:
*Fpdc around first sc, bpdc around next 4 sc, fpdc around next sc, rep from * across row. Ch 3 and turn.
Step Four:
*Bpdc around first st, sk 2 stitches, fptr in each of next 2 stitches, fptr in each of the 2 stitches that you already skipped (cross back over the first two fptr st, work the first fptr in the first stitch you skipped and the second in the second stitch you skipped, working backwards across the first pair of fptr stitches like this is what creates the cable), bpdc around next st. Repeat from * across row. Ch 3 and turn.
At this stage you will begin to see the twists of the cable forming but it won’t be obvious yet that you’re creating a cable pattern. It will become clearer as you add additional rows.
Step Five:
Repeat steps three and four to the length of the cable desired. In this example, I’ve repeated each step three times.
This is what the wrong side of the fabric should look like once you start working the cable.
I originally wrote this article for the Crochet Today blog.

