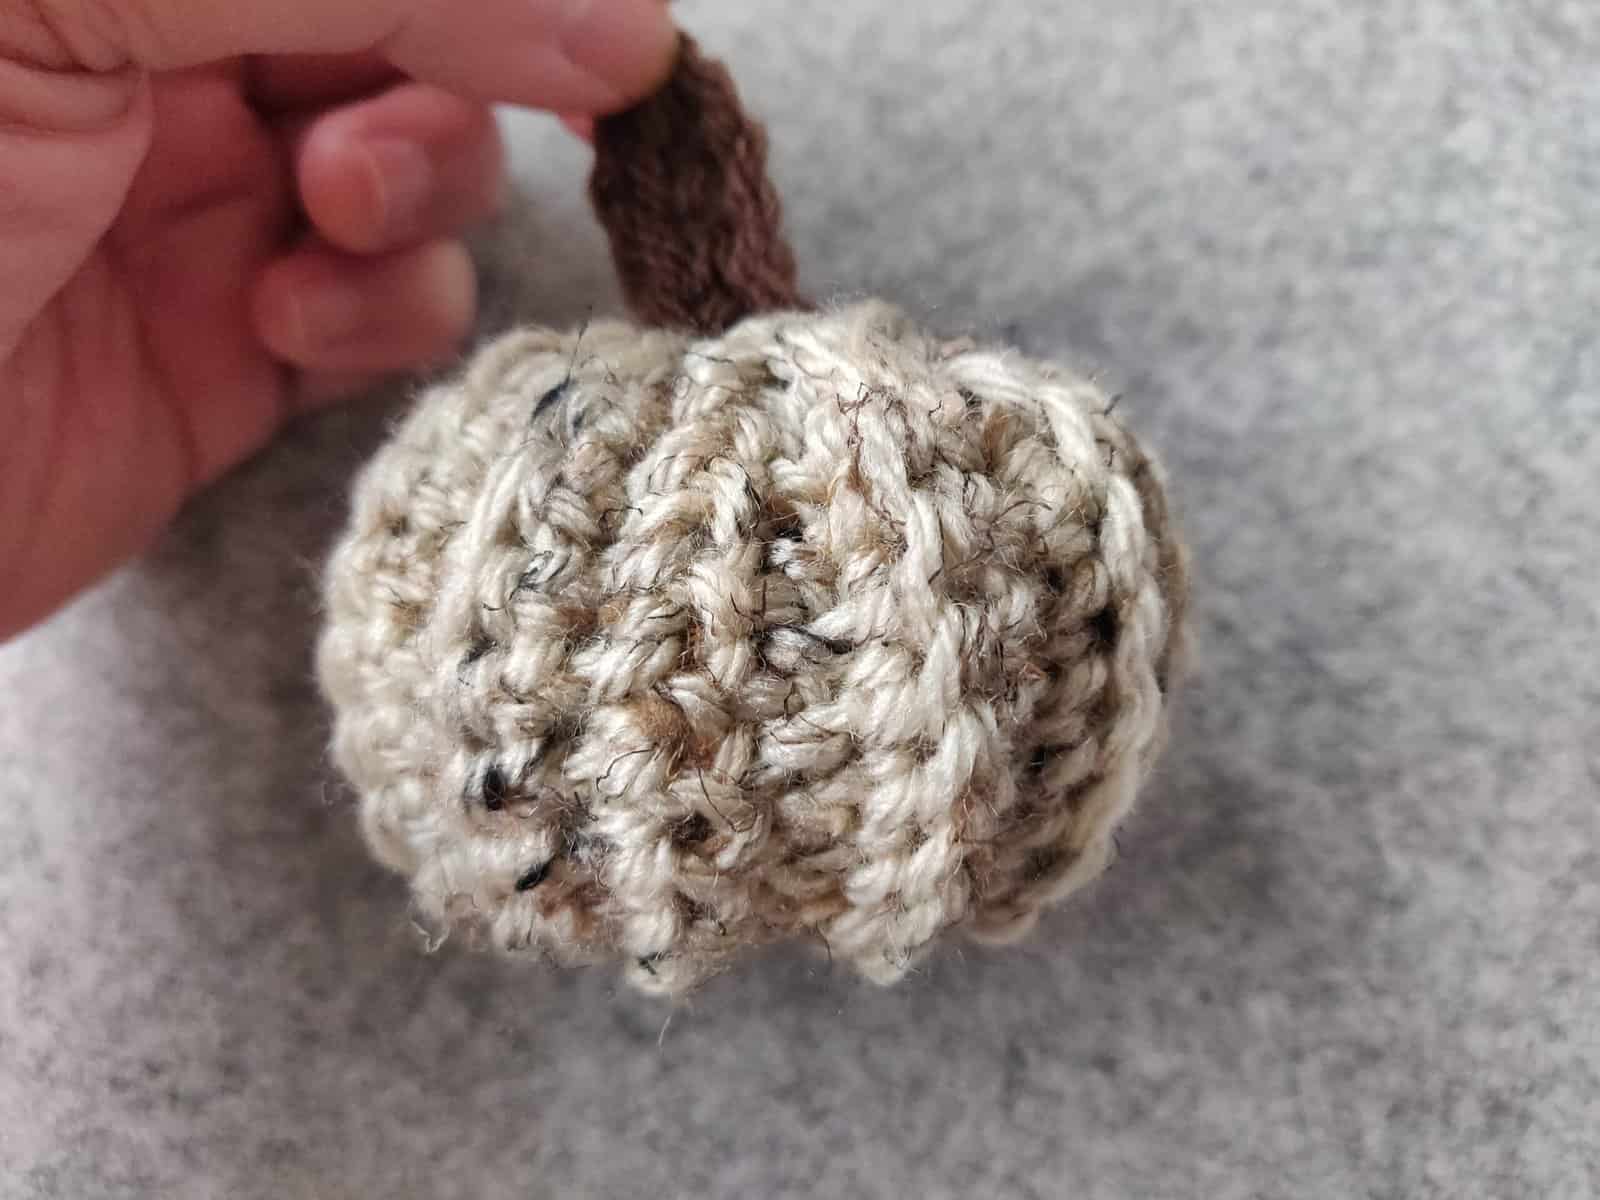
This is a quick and easy crochet project. As the weather is cooling off, crocheting pumpkins are a fun way to mark the beginning of fall.
This pumpkin is an amigurumi, which is the Japanese word for “crocheted/knitted stuffed toys”. Usually, making an amigurumi requires making a magic loop and working the stitches around in a circular pattern.
However, this pumpkin is beginner-friendly because it does not require the use of a magic loop. The only two stitches required to make this adorable pumpkin are a single crochet and slip stitch.
Materials
Let’s talk about materials for this project. You will need:
- A skein of worsted-weight yarn. In this case, I used Vanna’s Choice in Oatmeal.
- A scrap of another color yarn. In this case, I used Vanna’s Choice in Brown.
- A crochet hook. I used 5.00 mm.
- A darning needle.
- Some polyester fill for stuffing.
Method
A stitch glossary is located at the end of this pattern.
To begin the project, create a slip knot with your main color yarn. Make sure to leave a long tail for your slip knot. Leave about 7”. This long tail will be used at the end of the project to stitch the end of your pumpkin together. Then ch 13.
Row 1:
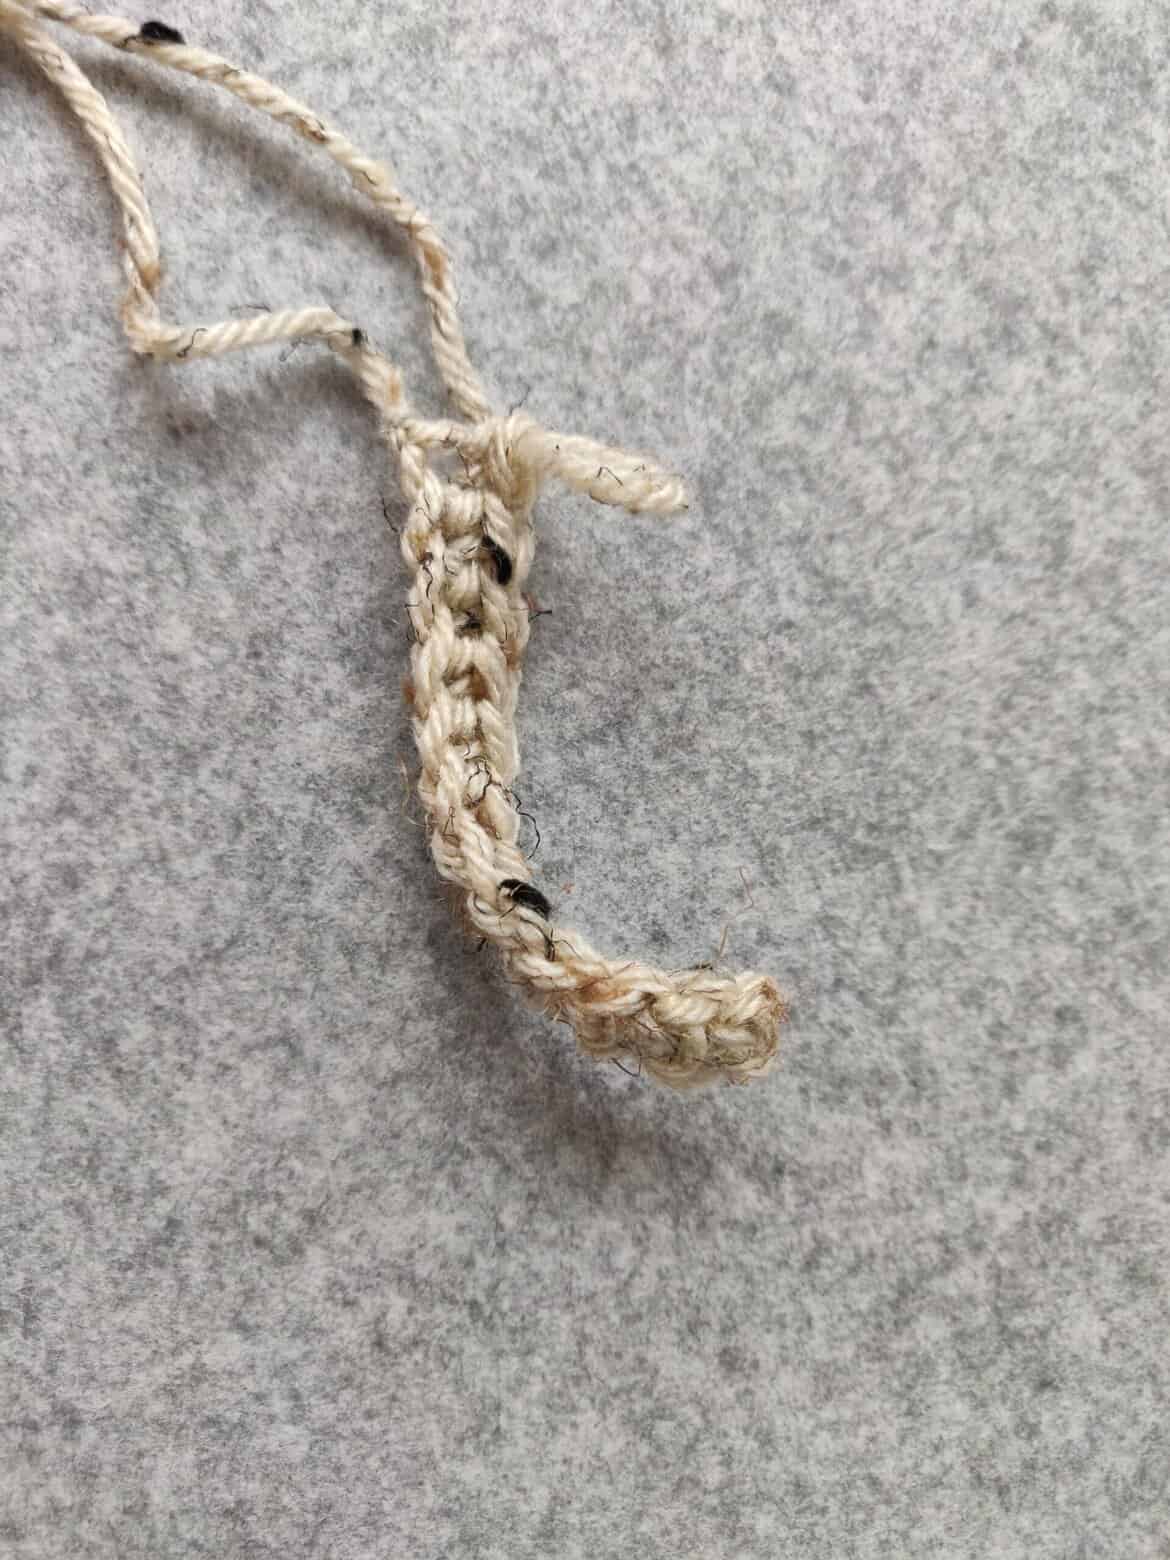
sc to the 2nd ch from the hook, sc on the rest of ch across. [12 sc]
Note that your work will curl a little bit. This is okay because your project will straighten out as you work up more rows.
Row 2 – 24:
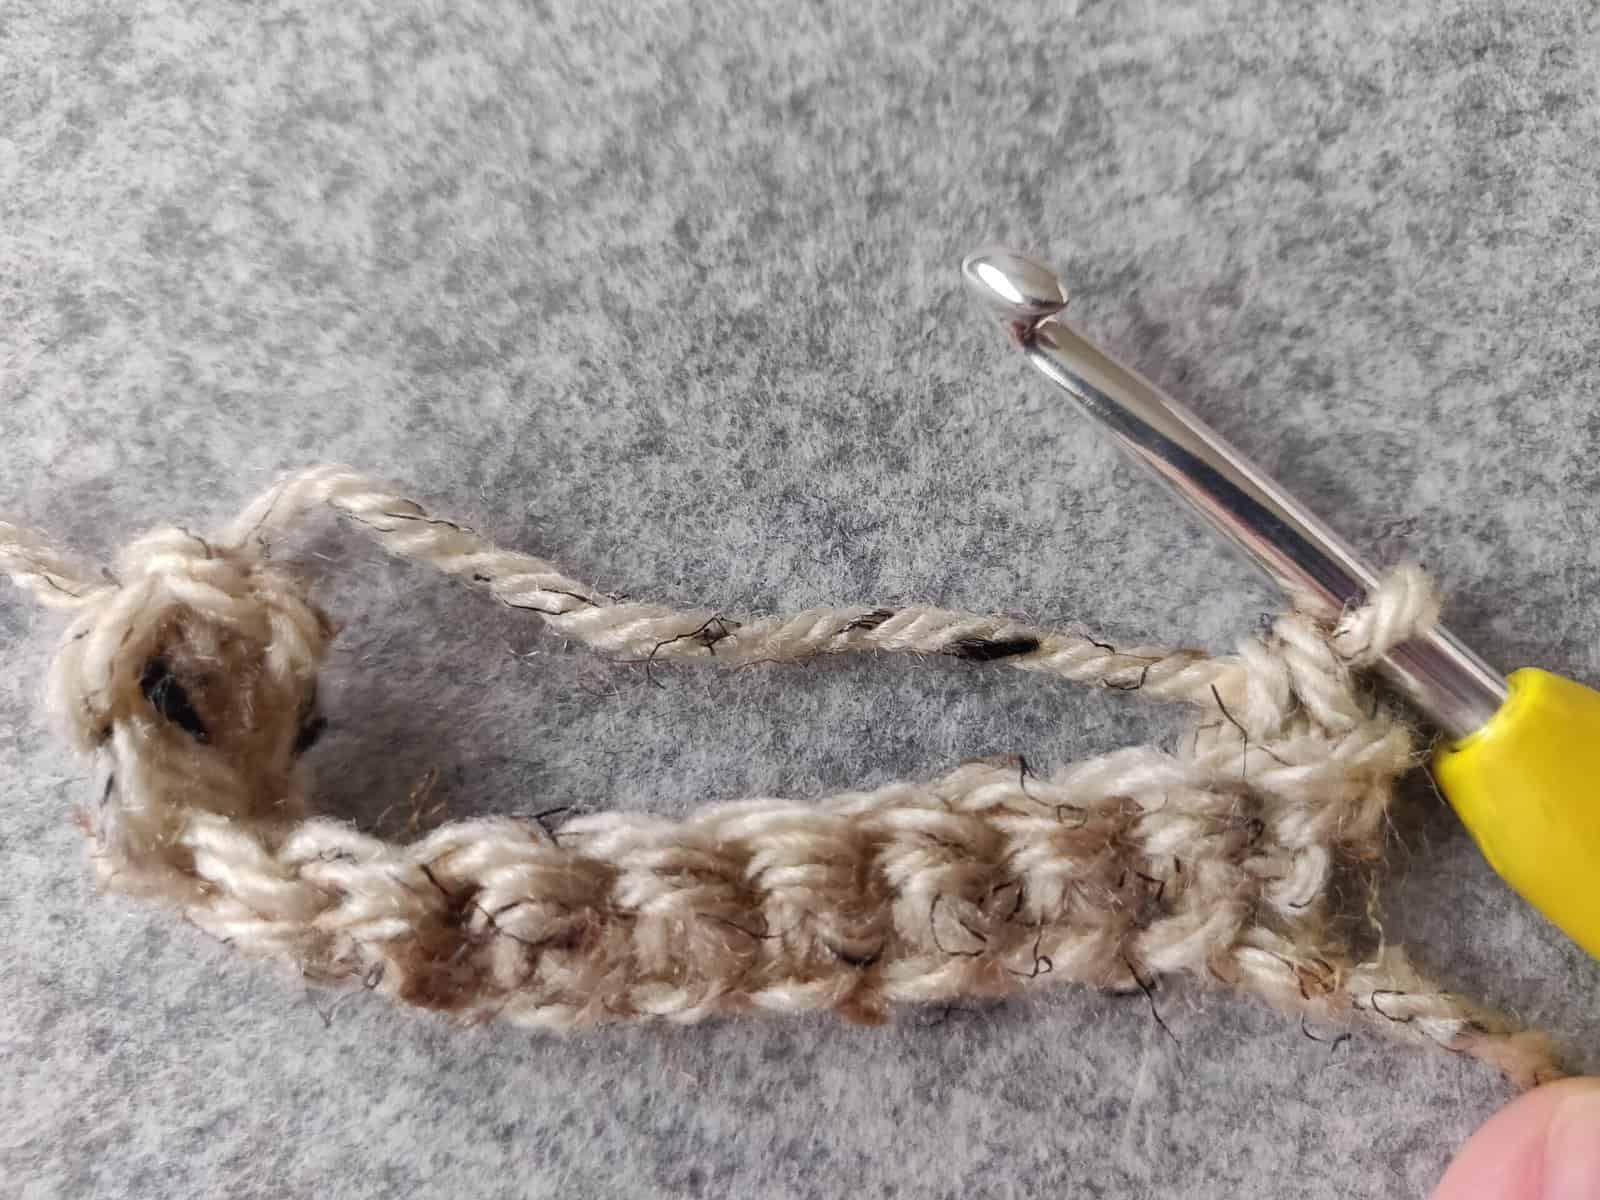
blo sc across. [12 sc]
“blo” means back loop only. Notice that when you only do single crochet on the back loop, the new stitch will push the front loop of the row below to the front. This creates the pumpkin ridge texture.
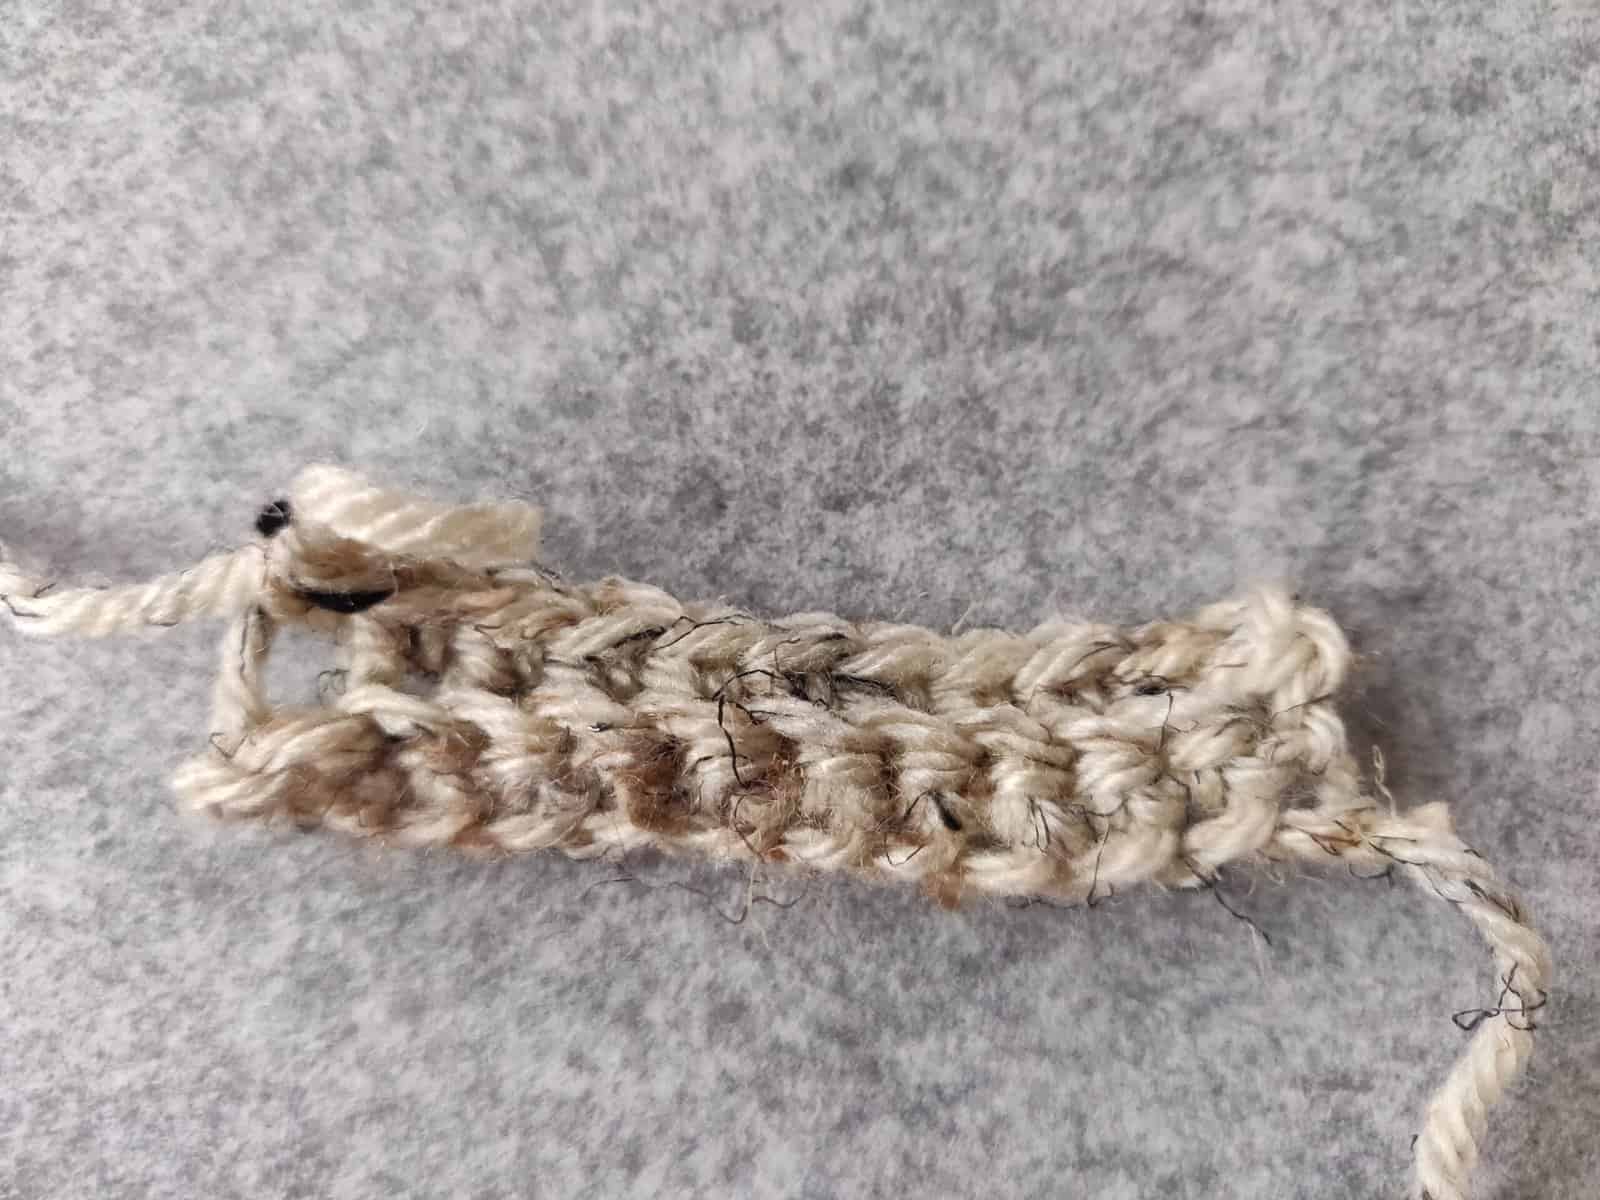
When you’re finished with row 24, you can look at your project and see if the ridges are to your liking. It should look like the image below:
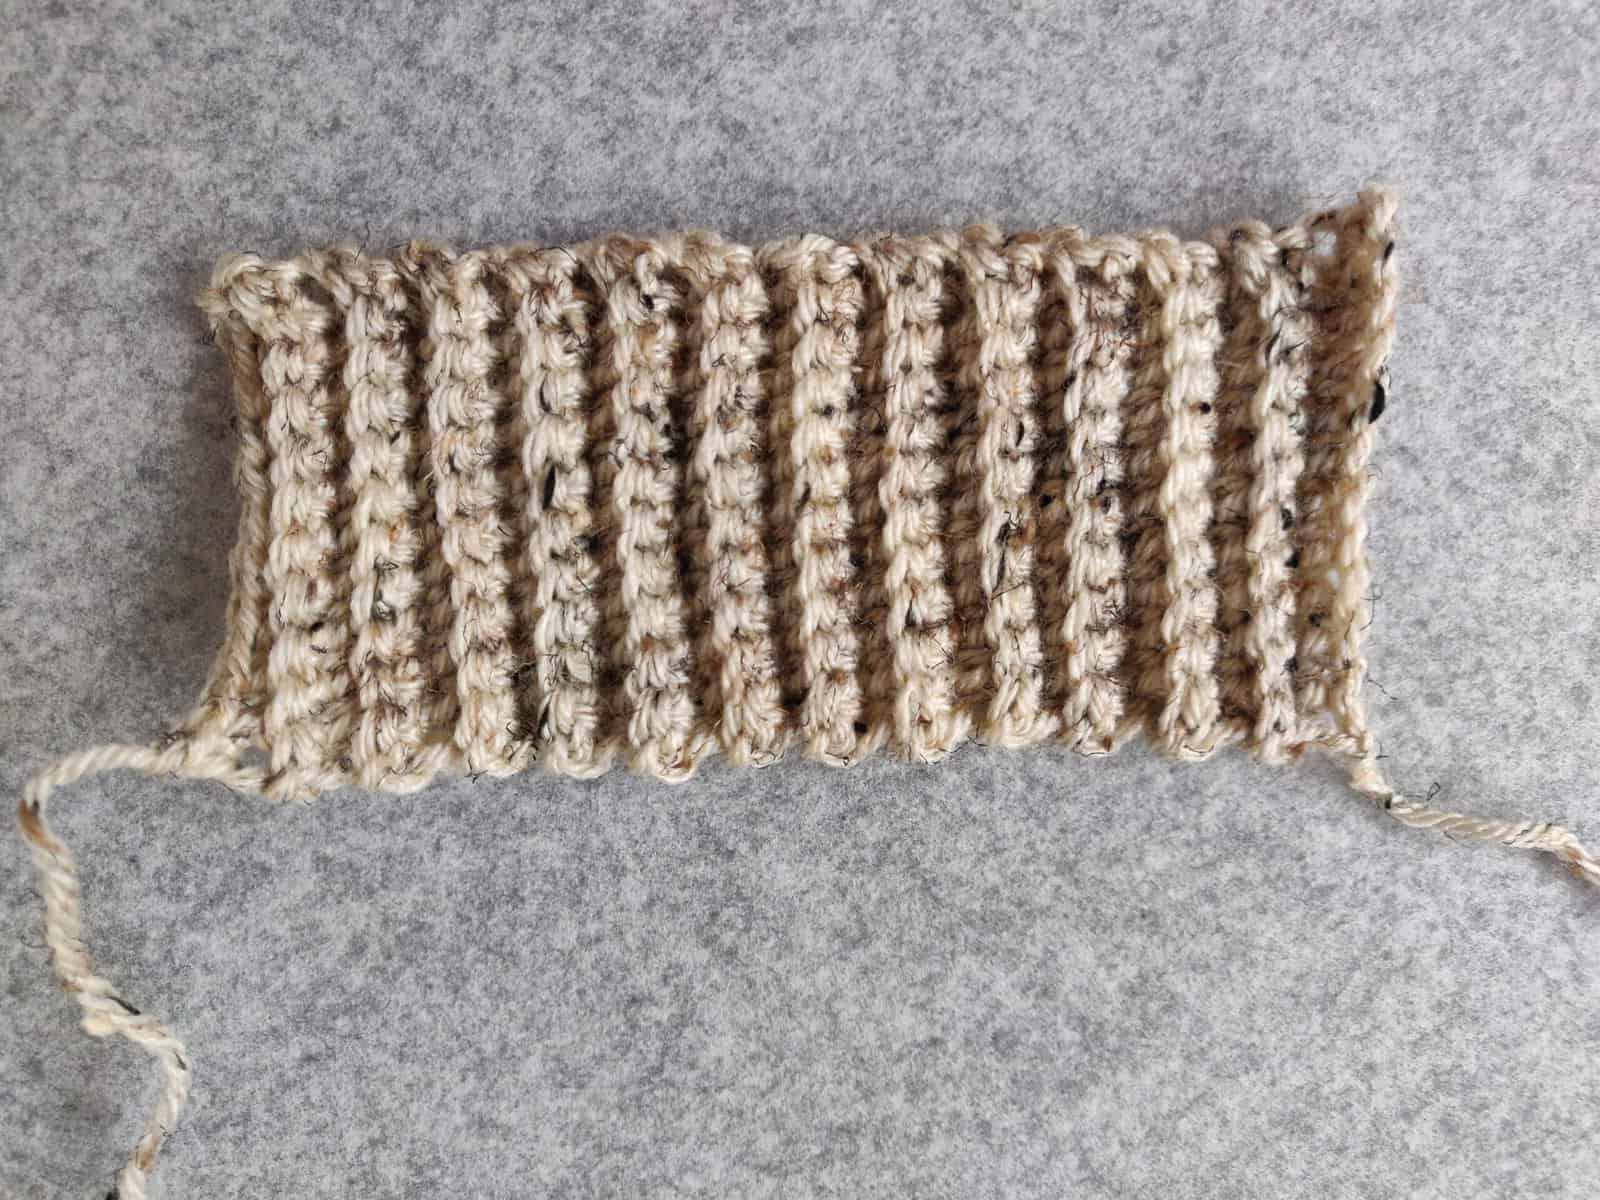
If for some reason you lose count of your rows, you have some choices to make. Option one, you can go back and count your rows before continuing to the next step. Option two, you can make a taller or chunkier pumpkin, depending on whether or not you missed a row or added a row.
The most important part of counting your row is to make sure you end on an even row. This will ensure that both your tail and live yarn are on the SAME side. Refer to the image above to see.
Having both yarn end on the same side is important before doing the next step. This will make your project easier to stitch together at the end.
Row 25:
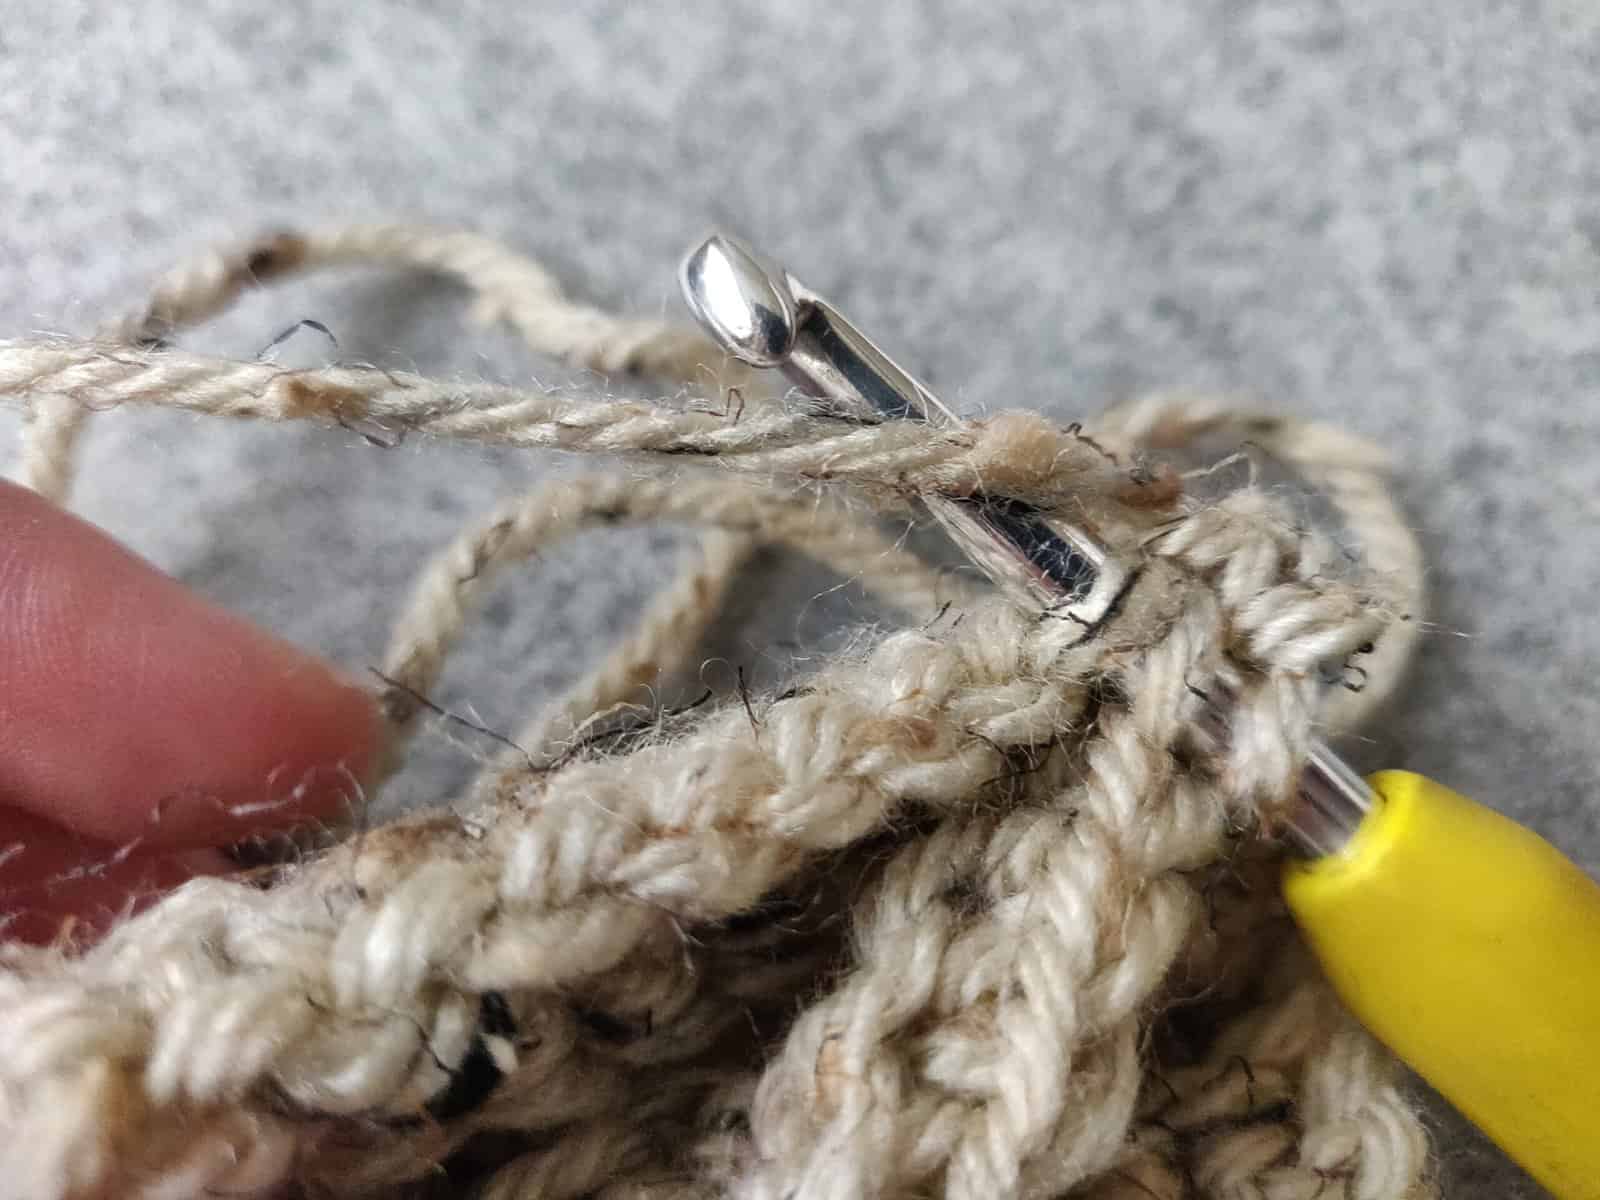
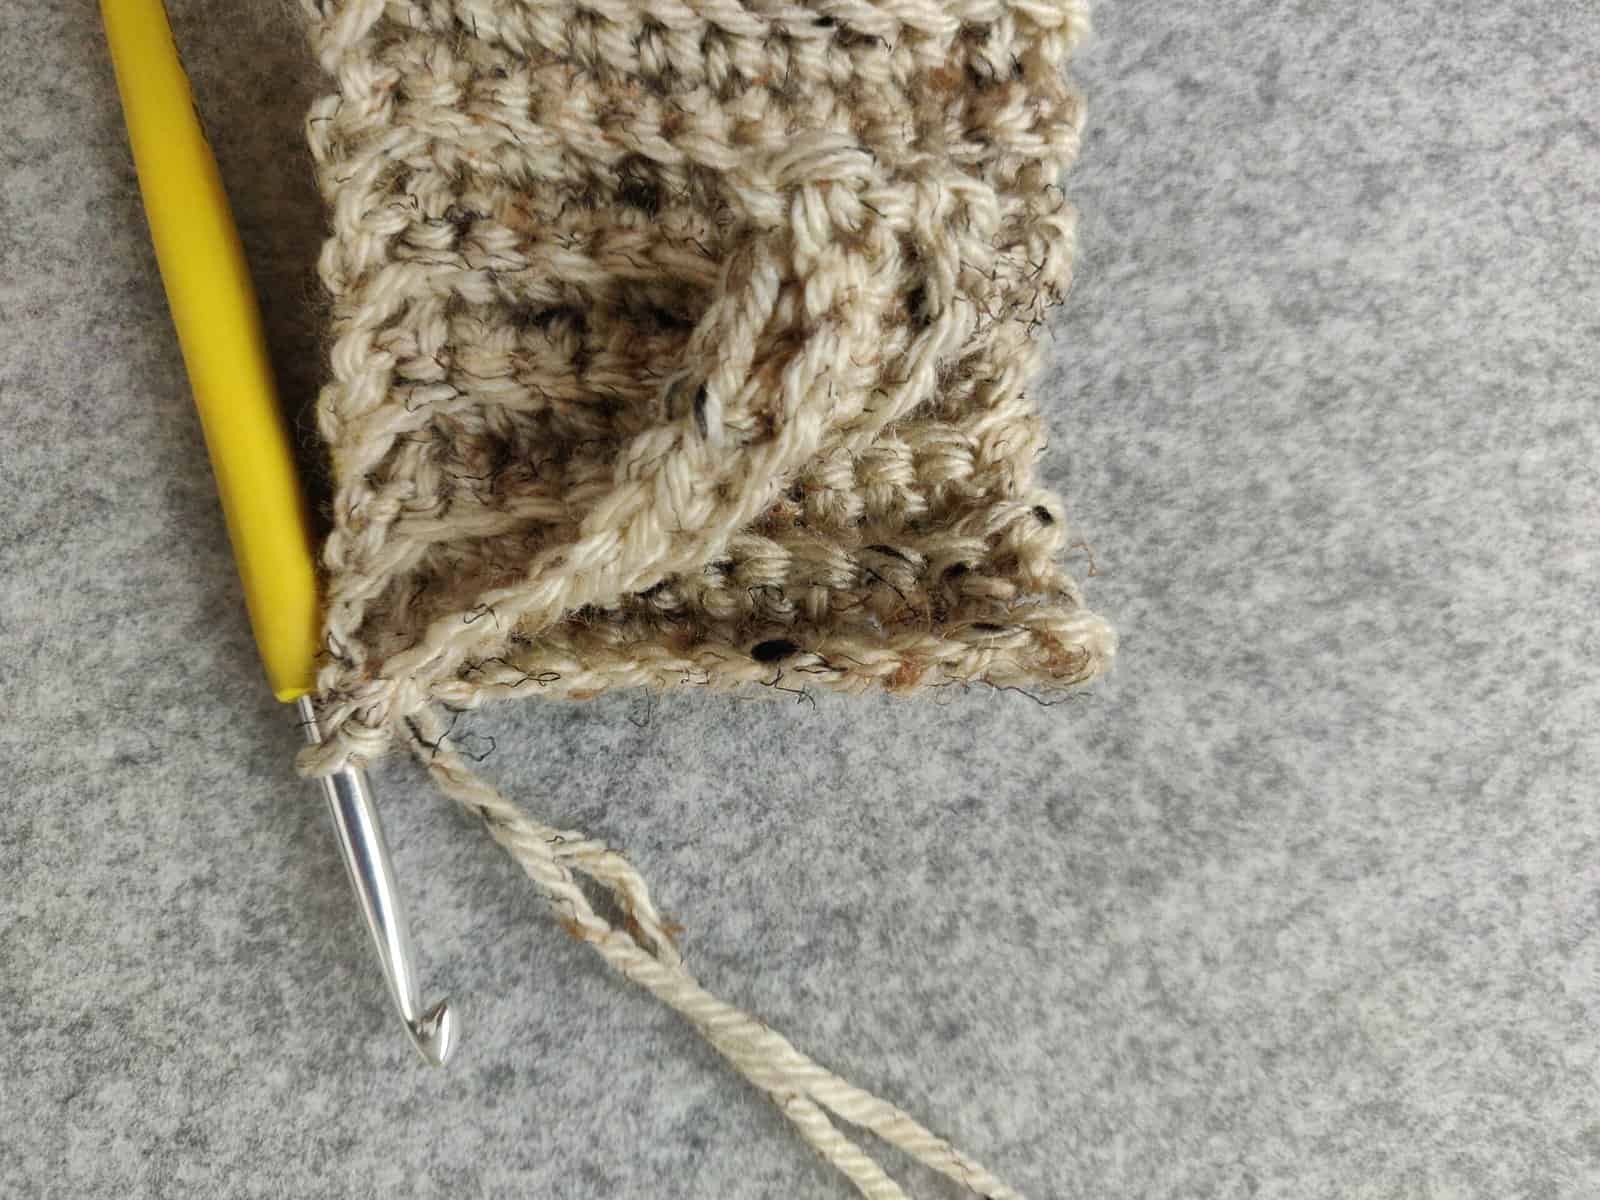
Fold your work in half. Using slip stitches, slip stitch to the back loop of your last row and the back loop of your first row.
Refer to the images below for row 25:
Stitching Your Pumpkin Together:
At this point, your pumpkin project should have a long tail at each end of its piece. Take a look at the image below:
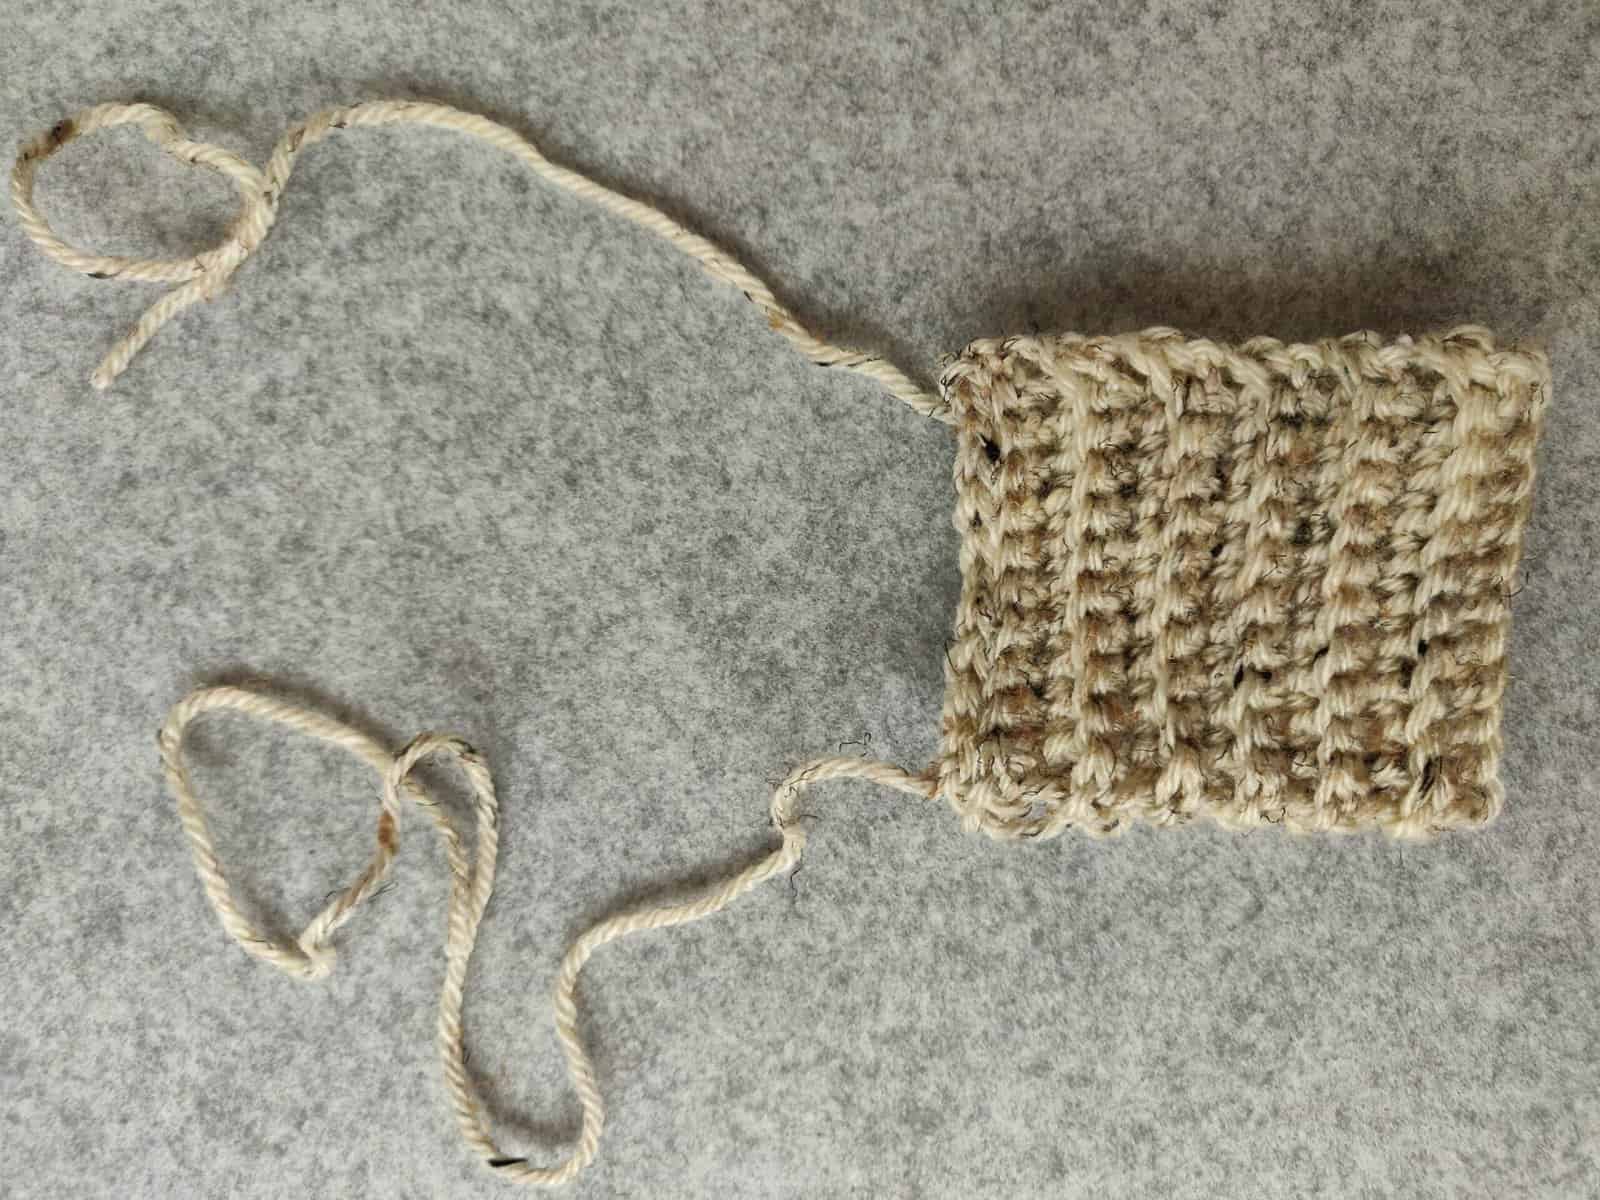
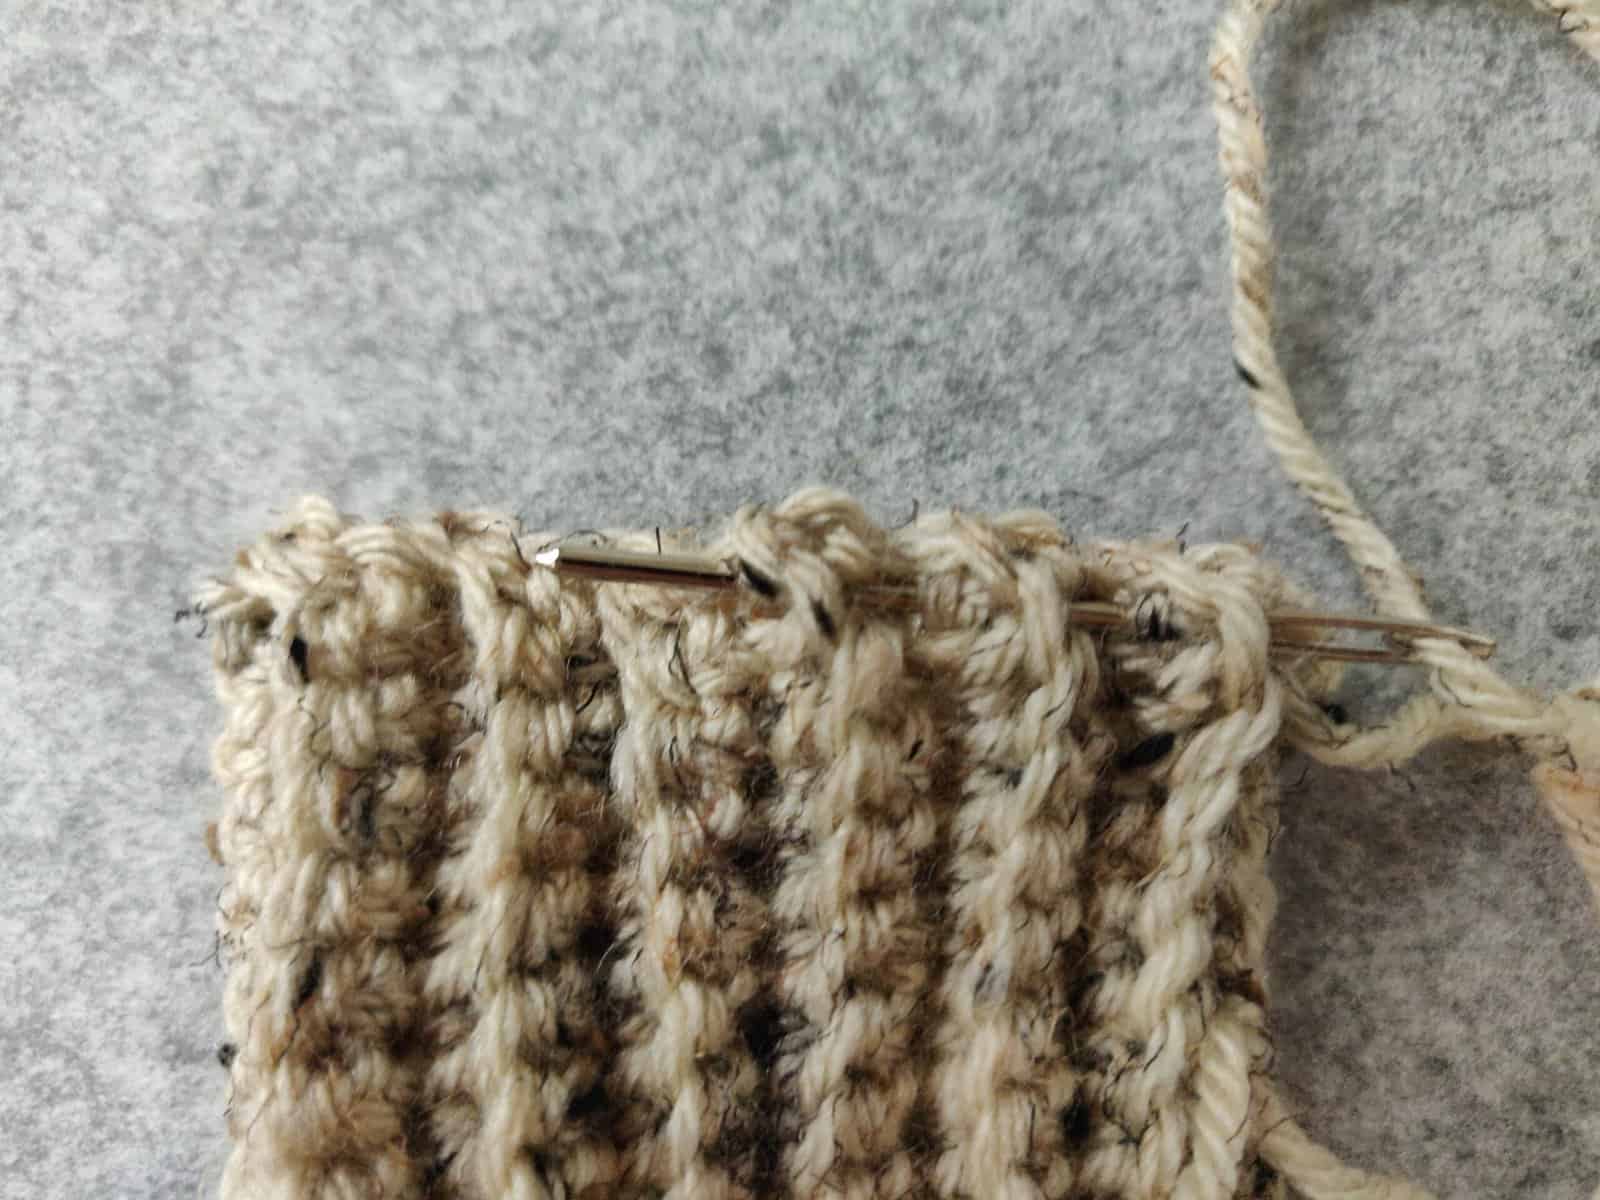
Taking the first tail end, weave through every other loop on the same side of the project. To make this step easier, use a darning needle. (Pro tip, if you don’t have a darning needle handy, you can also do this step using a crochet hook. Though using a crochet hook will take longer, it gets the job done.) Look at the image below to see how to do this step:
Once you weave through every other loop and reach back around to the beginning of your tail, pull your tail tightly to close the project. Your project will look at a tiny little hat.
See the image below:
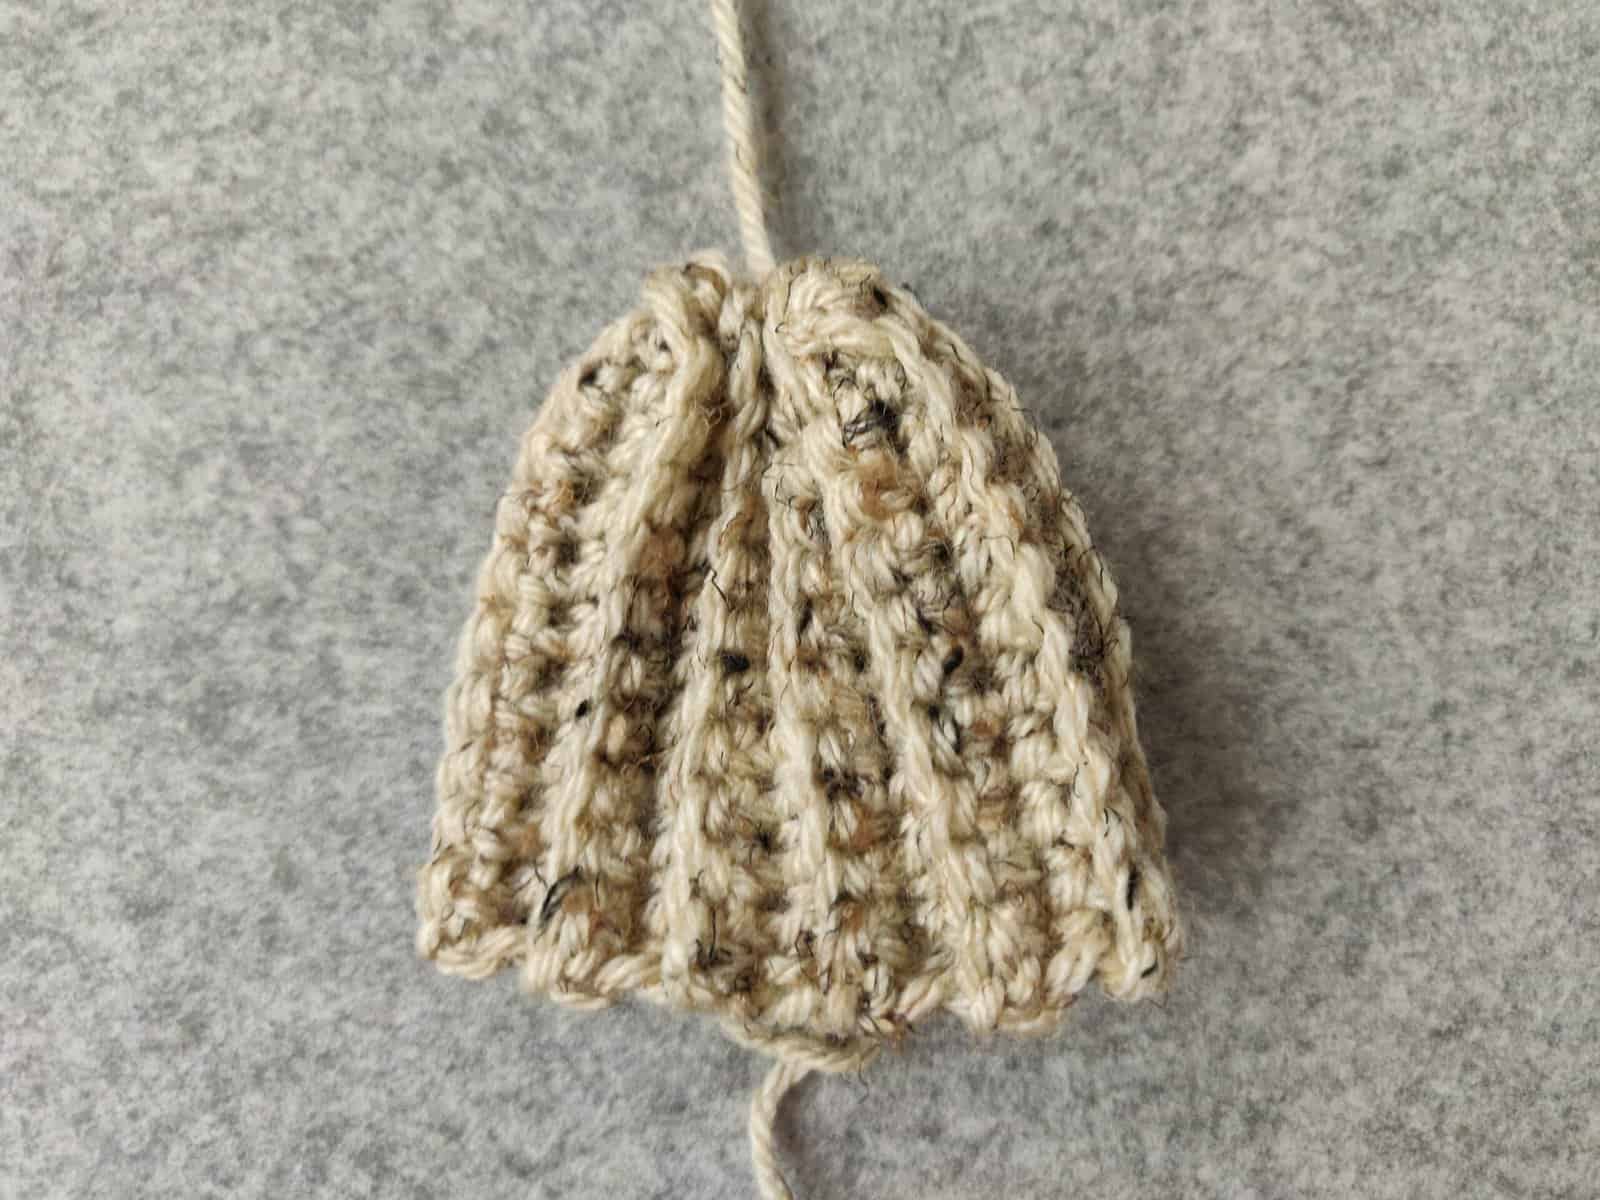
To keep this tail end secure, use your choice of double tying a knot. I suggest the sewist method of tying off the tail end.
Now you have a choice to make. Take a look at your project so far. Look at the current side versus the inside of your tiny hat (will turn pumpkin later). If you like the look of the inside of your project better, this is the time to flip your work inside out.
This step is optional, and depending on what kind of yarn you use, this will make a whole lot of difference sometimes.
Stuffing Your Pumpkin
It’s time to stuff your pumpkin. This is always my favorite part of the project. It’s the step that makes the project come to life.
How much stuffing to use is up to you, but I suggest not to overstuff it to where you could see the white polyester from the outside, but to stuff it enough so it does not deflate when squeezed.
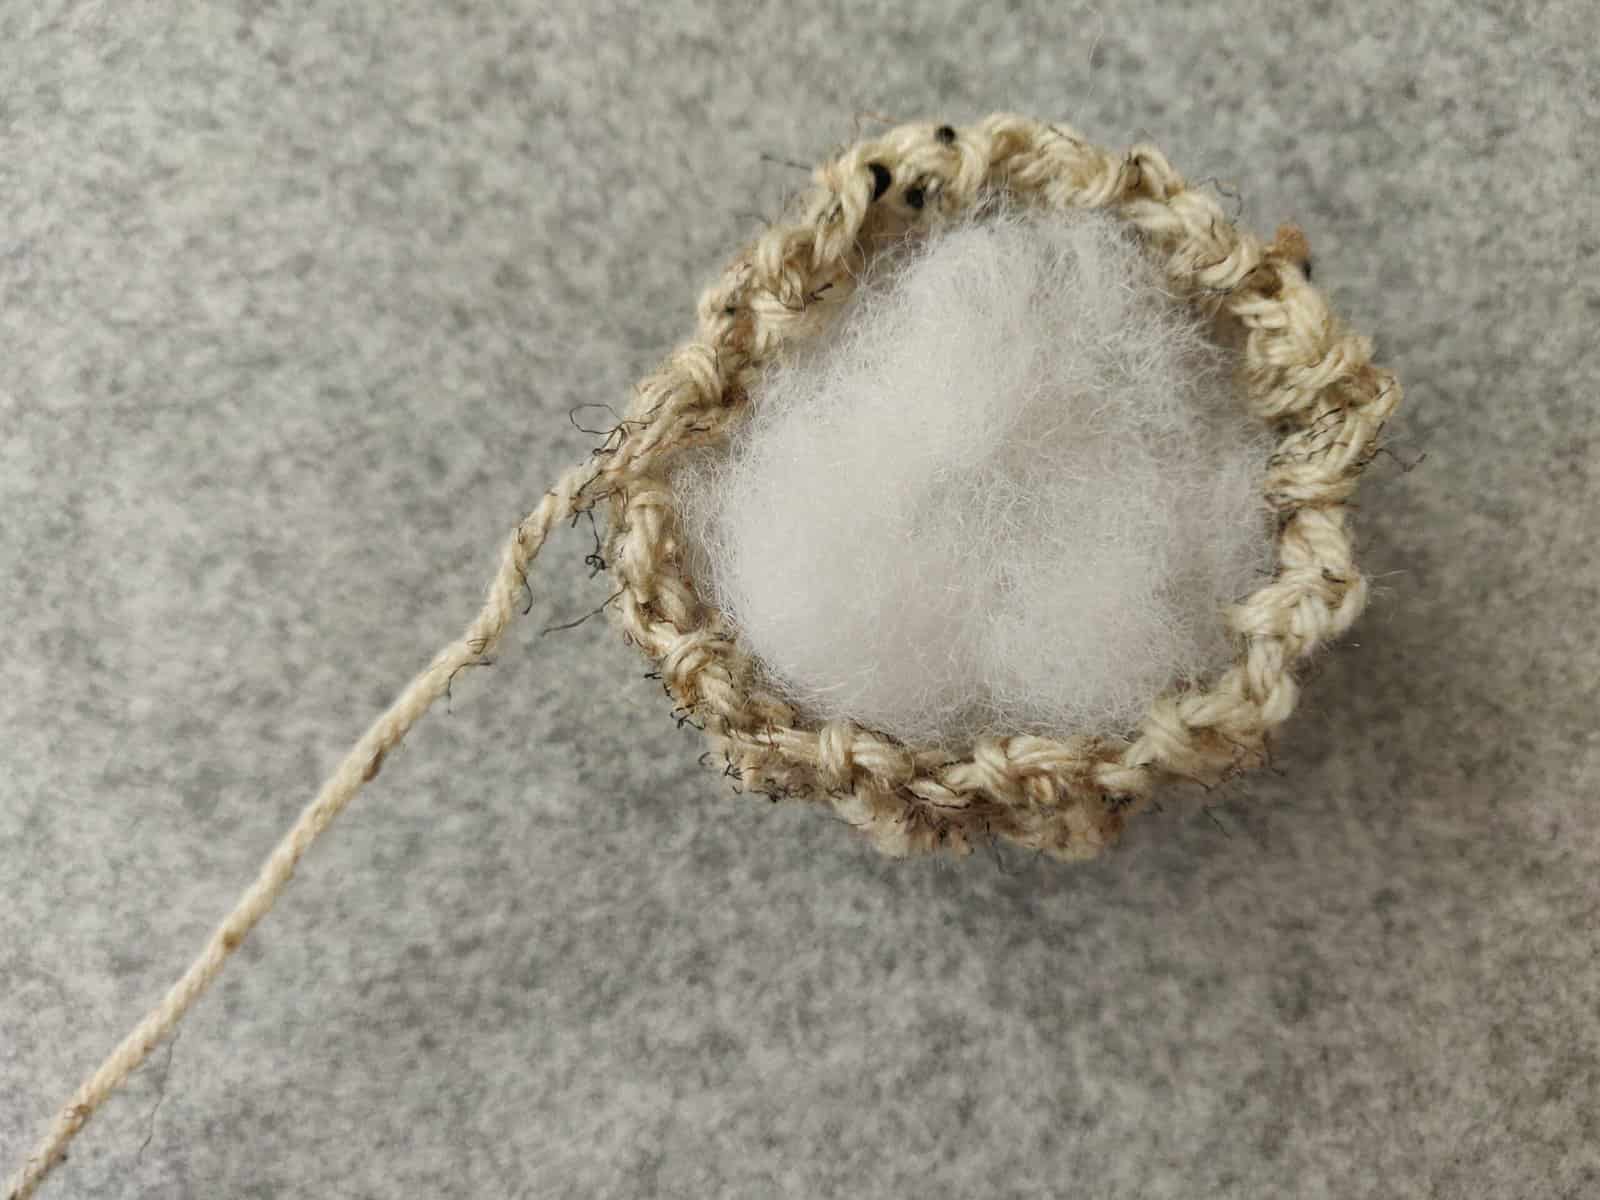
Take the other long tail end of your pumpkin and close up the other end of your project.
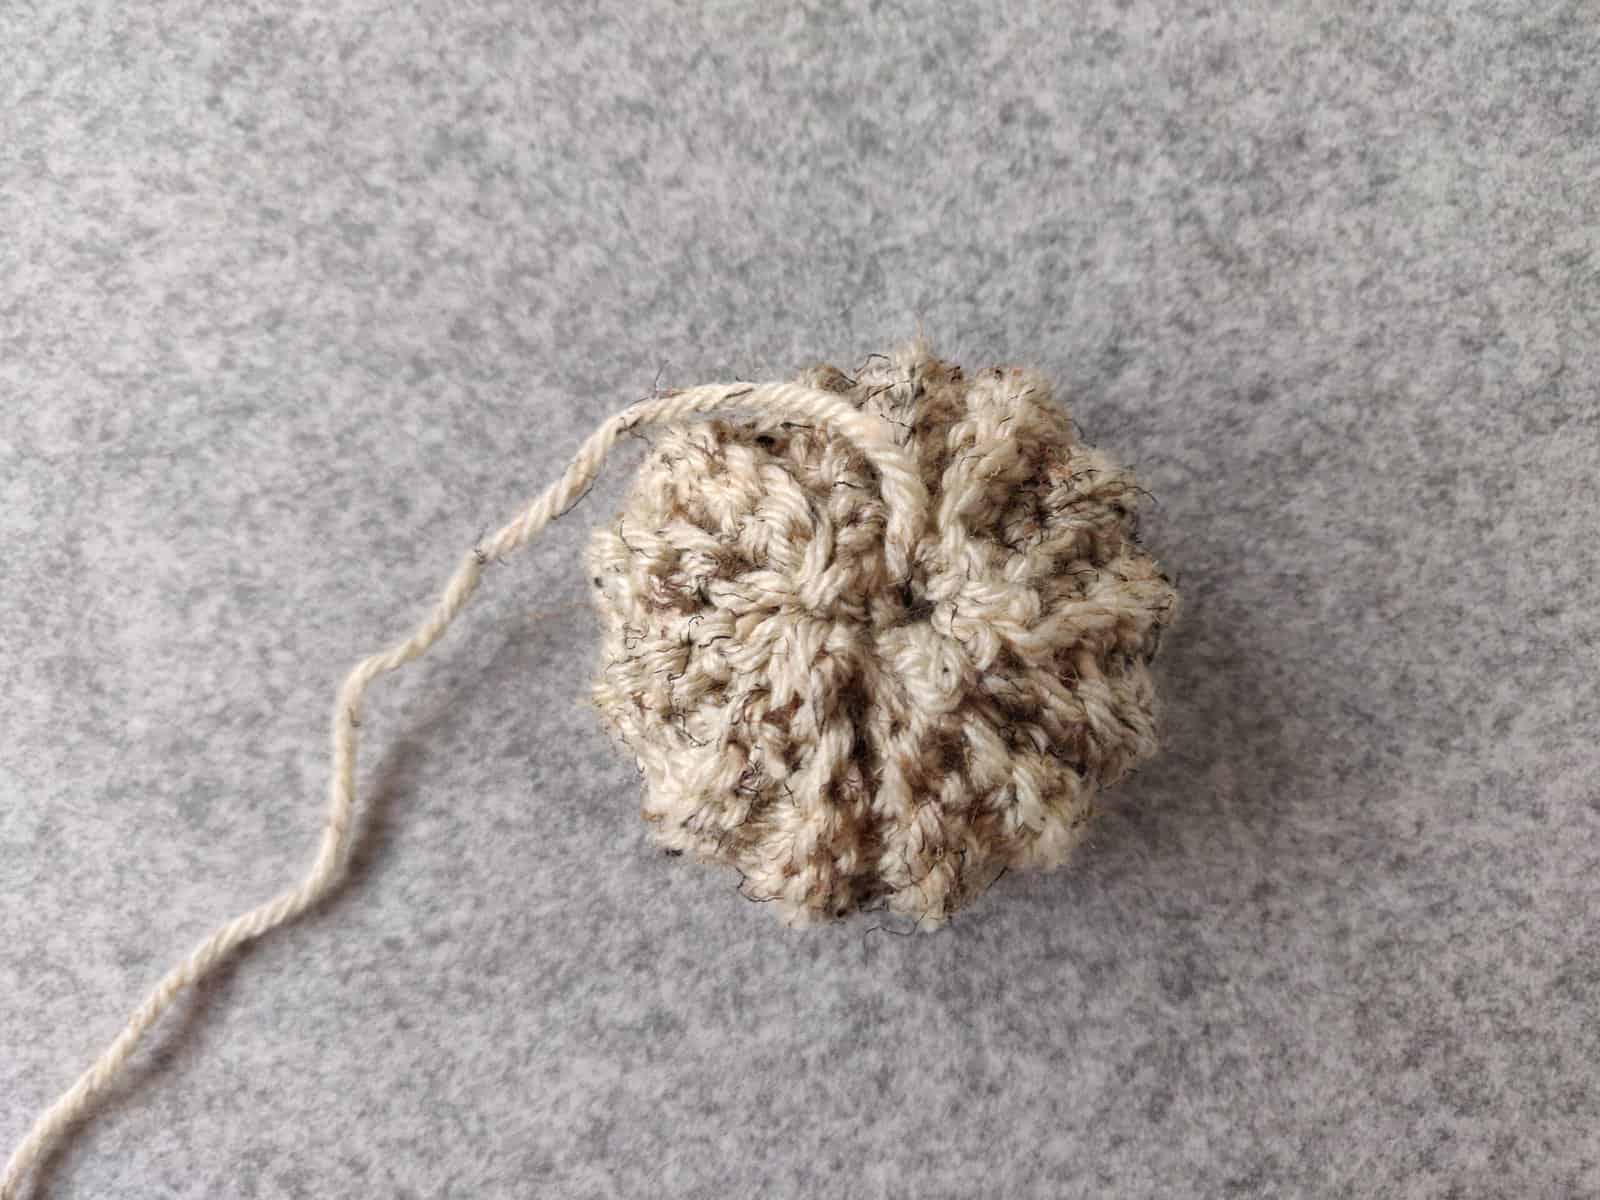
Pro-tip: Note in the image above that I have not knotted the tail end yet. I like to do this AFTER I attach the stem to be able to hide all of my loose ends inside the pumpkin itself.
Creating the Pumpkin Stem
To make the stem:
(create a long tail slip knot)
ch 4
sc to the 2nd ch from the hook, sc on the rest of ch across. [3 sc]
Leave long tails on both sides of the stem to help tie the stem onto the pumpkin.
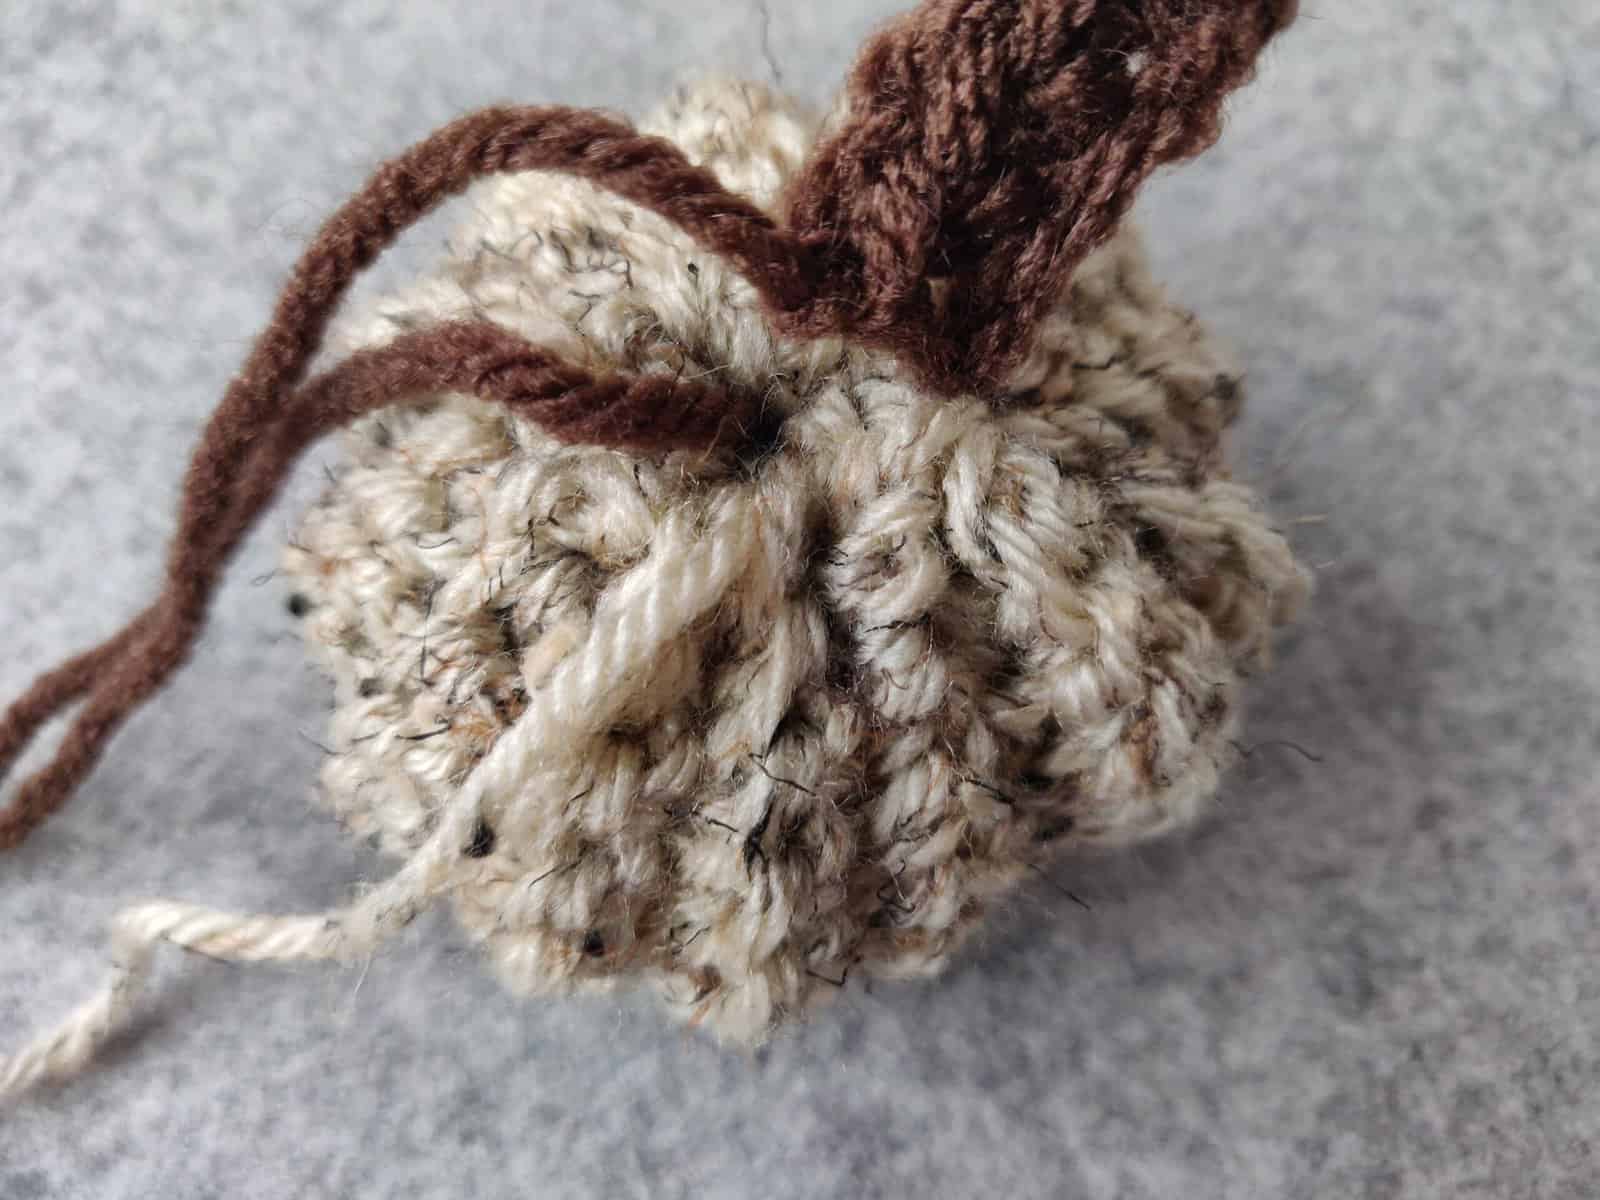
It’s now time to attach the stem to the top of your pumpkin. Notice in the image above, I only tuck in one of the stem’s tails. This way, I can tie both ends outside the pumpkin easily.
After double knotting the tail ends, you can tuck all of the loose ends into the pumpkin using a darning needle. Once again, this step could also be done using a crochet hook by pulling the tail end into your pumpkin.
Once you’re done with this part, massage the project a little bit to give it the perfect pumpkin shape.
Now you have a tiny pumpkin!
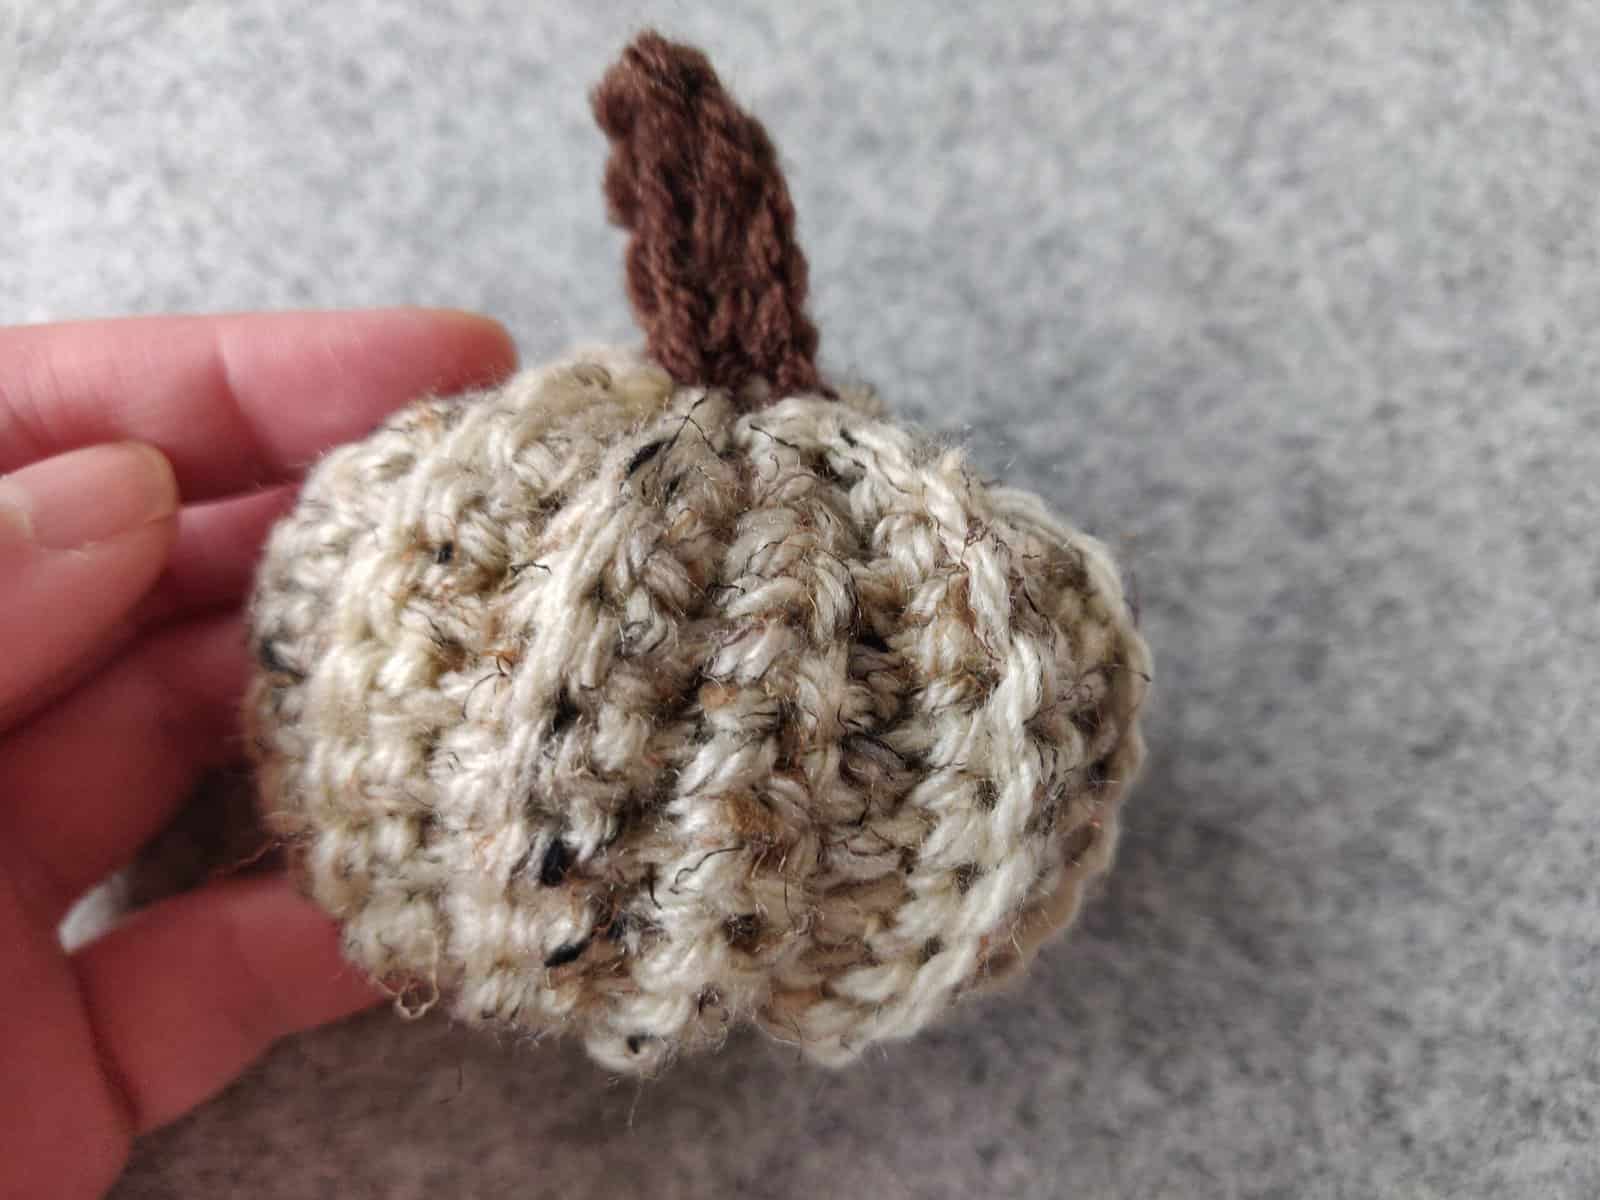
I hope you enjoy making this quick and easy project.
Why not change the types of yarn? Find some chunky yarn to make a mega-size pumpkin or sparkly yarn to make a fancy pumpkin.
If you’re savvy in the embroidery world, you can embroider some patterns on your pumpkin and personalize it.
Stitch Glossary:
- ch – chain stitch
- sc – single crochet
- ss – slip stitch

