By Molly Hart
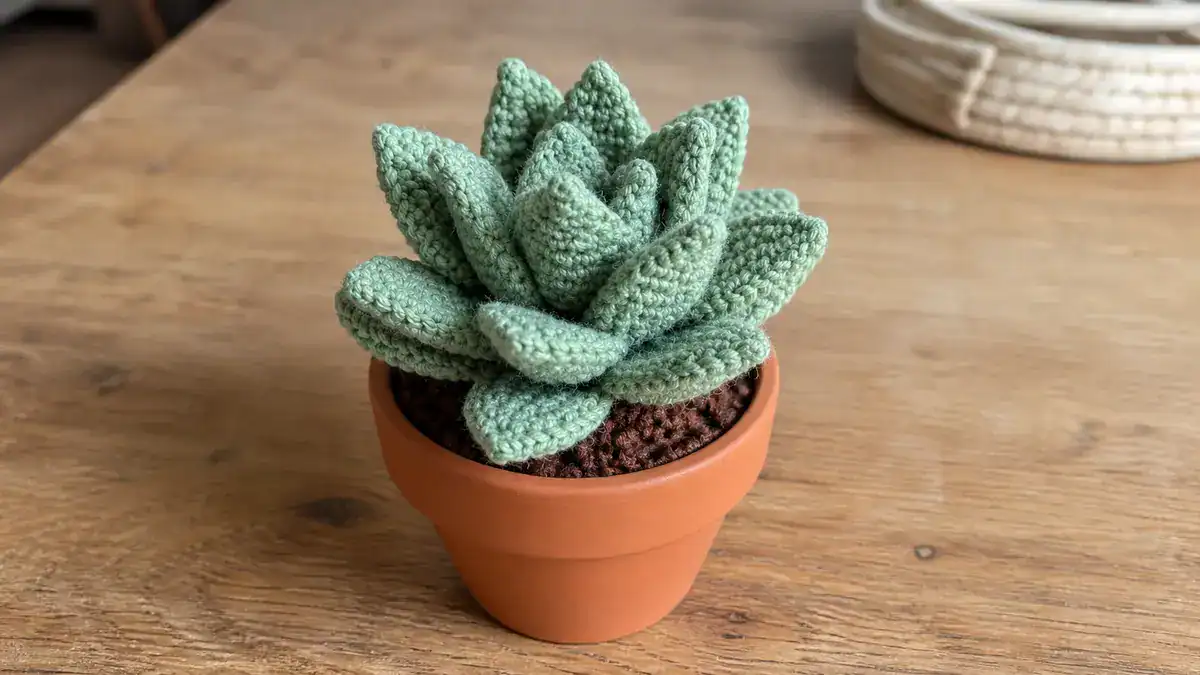
There is something incredibly satisfying about a houseplant that requires absolutely zero watering, sunlight, or maintenance. This Free Easy Crochet Succulent Pattern is the perfect way to add a pop of greenery to your desk, windowsill, or bookshelf. Designed to mimic the beautiful overlapping leaves of an Echeveria, this little plant takes under an hour to make and makes a fantastic handmade gift.
Don't lose this article. Enter your email below, and I'll send it to you right now. Plus a little crochet inspiration from me, straight to your inbox.
Perfect for confident beginners, this pattern uses basic stitches to create three different sizes of leaf rosettes. By stacking them together and sewing them to a simple crocheted “soil” base, you get a realistic 3D succulent that fits perfectly into a standard 2-inch mini terracotta pot.
What You’ll Need
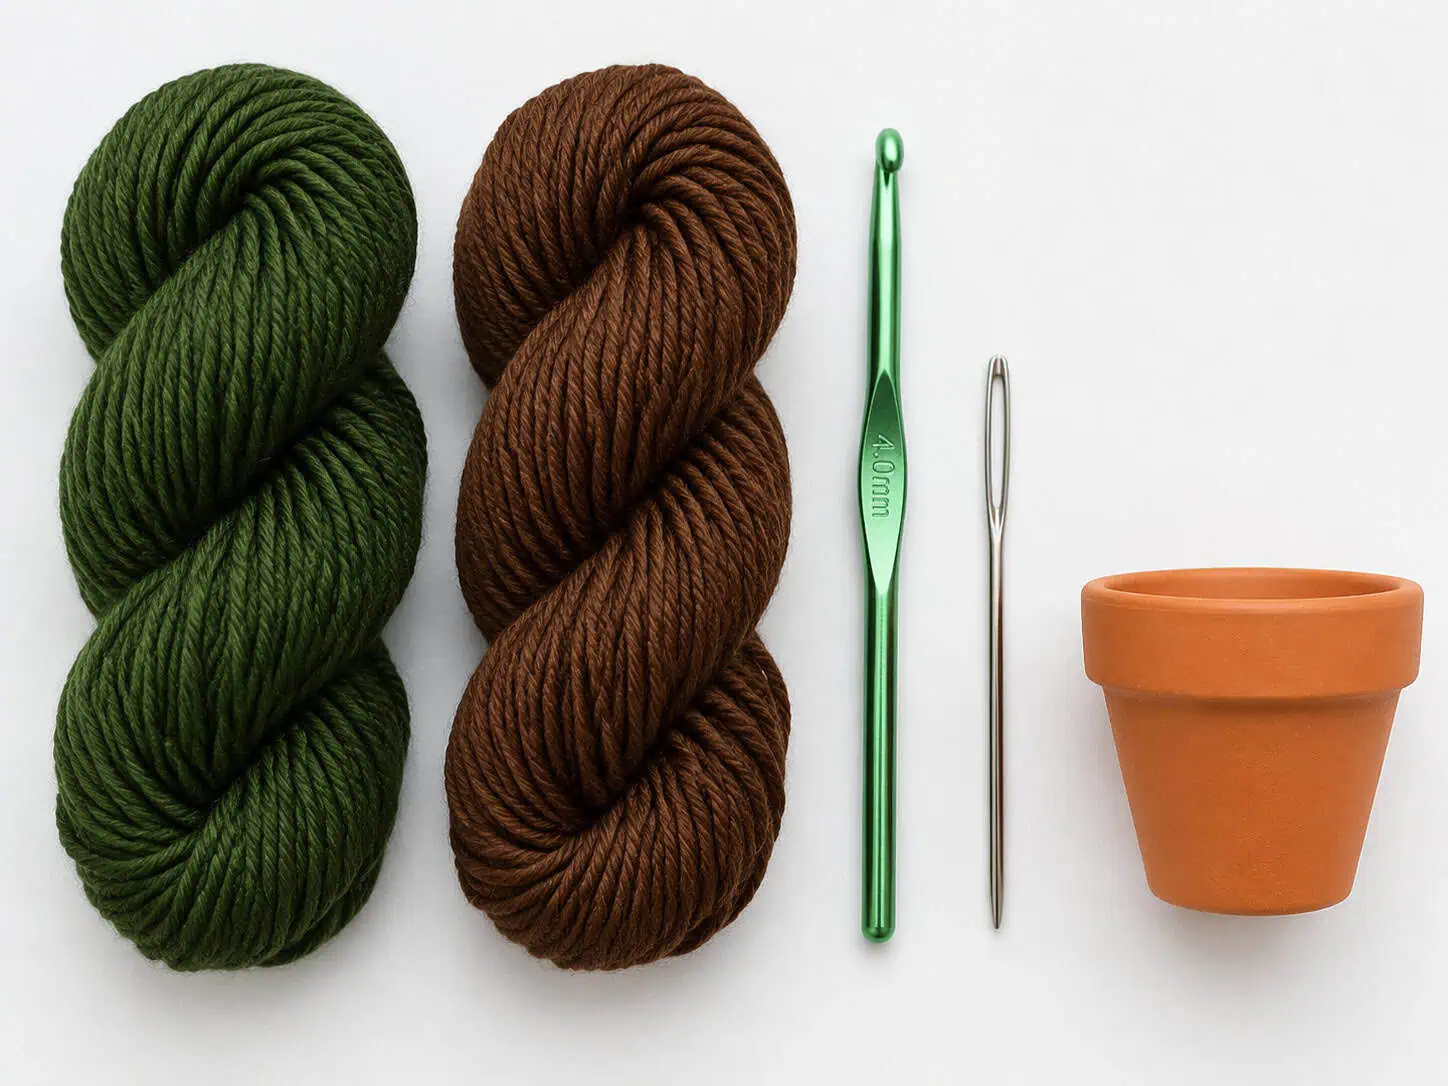
- Yarn: Worsted (4) weight yarn in Green (approx. 30 yards) and Brown (approx. 20 yards)
- Hook: US G/6 (4.0 mm) crochet hook
- Notions: Polyester fiberfill stuffing, yarn needle, scissors, stitch marker
- Display: 2-inch (5 cm) mini terracotta pot
Tips Before You Start
- Gauge check: Exact gauge is not critical for this project, but you want your stitches to be tight enough that the stuffing doesn’t show through the soil base. If you crochet loosely, drop down to an E/4 (3.5 mm) hook.
- Working in the round: The soil base is worked in a continuous spiral. Use a stitch marker in the first stitch of each round to keep your place.
- Leaf shaping: The leaves naturally curl slightly due to the stitch heights (sc to hdc to dc). When assembling, make sure the leaves curve upward for a realistic look.
Pattern Instructions
Abbreviations (US Terms)
ch: chain
sc: single crochet
hdc: half double crochet
dc: double crochet
sl st: slip stitch
inc: increase (2 sc in same st)
dec: invisible decrease (sc2tog)
MR: magic ring
st(s): stitch(es)
Soil Base
With Brown yarn, make a MR.
Rnd 1: 6 sc in MR. (6 sts)
Rnd 2: Inc in each st around. (12 sts)
Rnd 3: [Sc in next st, inc] 6 times. (18 sts)
Rnd 4: [Sc in next 2 sts, inc] 6 times. (24 sts)
Rnd 5: [Sc in next 3 sts, inc] 6 times. (30 sts)
Rnds 6-8: Sc in each st around. (30 sts)
Rnd 9: [Sc in next 3 sts, dec] 6 times. (24 sts)
Rnd 10: [Sc in next 2 sts, dec] 6 times. (18 sts)
Stuff the soil base firmly with fiberfill.
Rnd 11: [Sc in next st, dec] 6 times. (12 sts)
Rnd 12: Dec 6 times. (6 sts)
Fasten off, weave the tail through the front loops of the remaining 6 stitches, and pull tight to close. Weave in the end.
Large Rosette
With Green yarn, make a MR.
Rnd 1: 6 sc in MR, sl st to first sc to join. (6 sts)
Rnd 2: Ch 1, inc in each st around, sl st to first sc to join. (12 sts)
Rnd 3: Ch 1, [sc in next st, inc] 6 times, sl st to first sc to join. (18 sts)
Rnd 4: *Ch 6, sc in 2nd ch from hook, hdc in next ch, dc in next 3 chs, skip 2 sc of Rnd 3, sl st in next sc; rep from * 6 times. (36 sts)
Fasten off and weave in ends.
Don't lose this article. Enter your email below, and I'll send it to you right now. Plus a little crochet inspiration from me, straight to your inbox.
Medium Rosette
With Green yarn, make a MR.
Rnd 1: 6 sc in MR, sl st to first sc to join. (6 sts)
Rnd 2: Ch 1, inc in each st around, sl st to first sc to join. (12 sts)
Rnd 3: *Ch 5, sc in 2nd ch from hook, hdc in next ch, dc in next 2 chs, skip 1 sc of Rnd 2, sl st in next sc; rep from * 6 times. (30 sts)
Fasten off, leaving a long tail for sewing.
Small Rosette
With Green yarn, make a MR.
Rnd 1: 6 sc in MR, sl st to first sc to join. (6 sts)
Rnd 2: *Ch 4, sc in 2nd ch from hook, hdc in next ch, dc in next ch, sl st in next sc of Rnd 1; rep from * 6 times. (24 sts)
Fasten off, leaving a long tail for sewing.
Assembly & Finishing
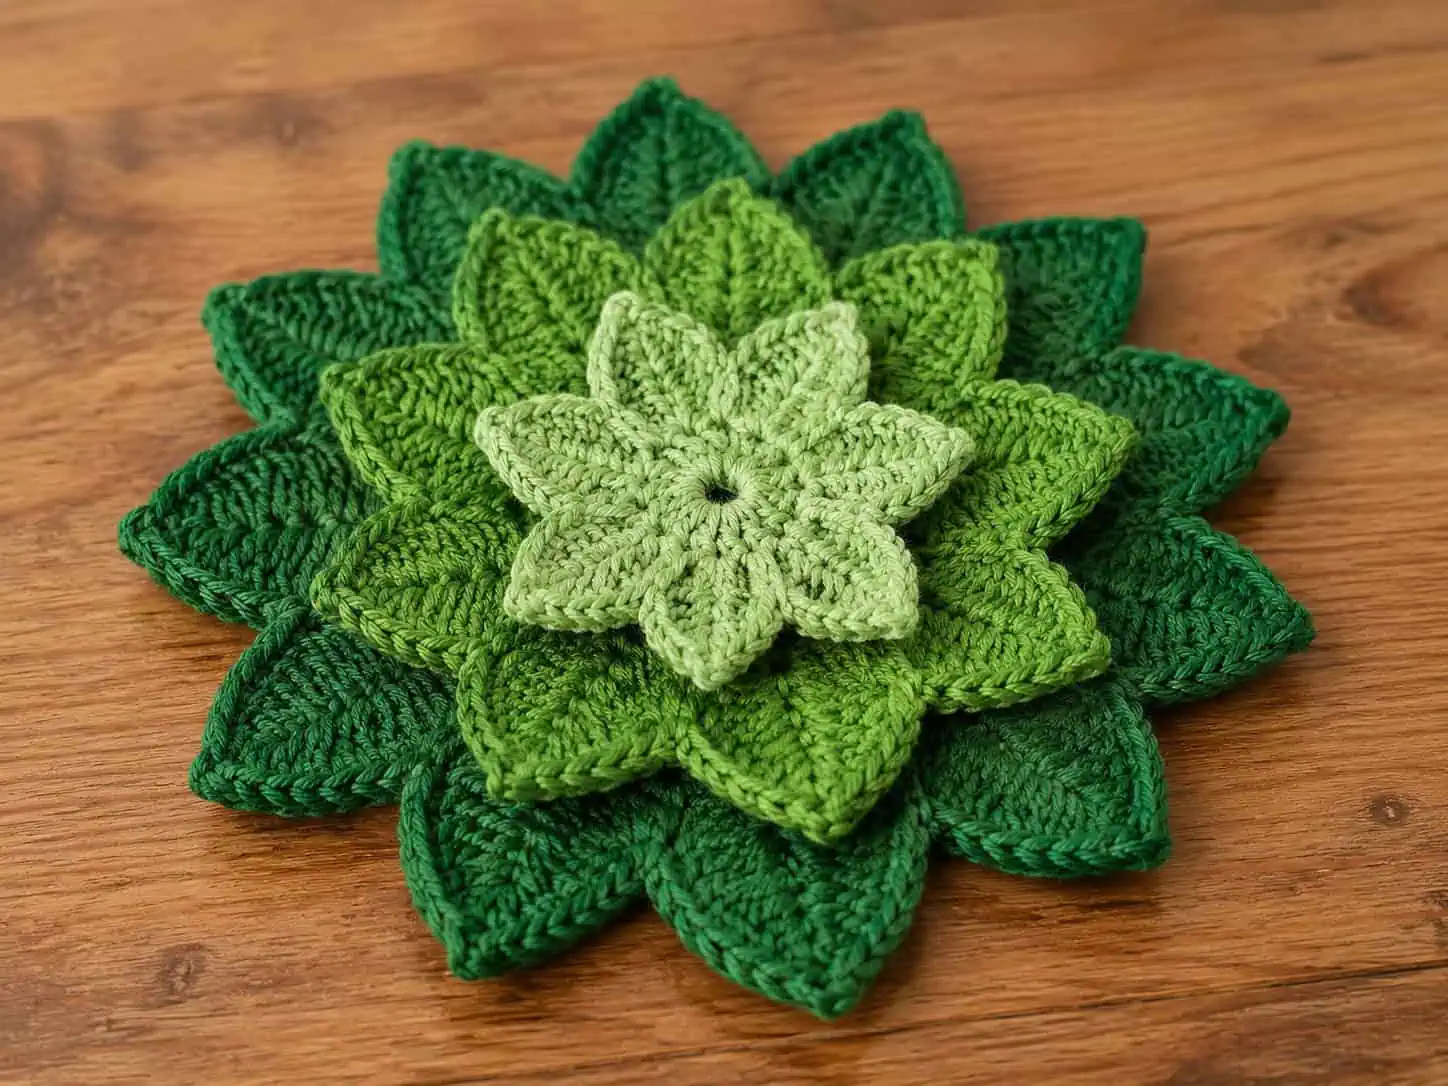
- Stack the rosettes: Place the Medium rosette on top of the Large rosette. Rotate it slightly so the medium leaves rest in the gaps between the large leaves. Sew them together securely through the center.
- Add the top layer: Place the Small rosette on top of the Medium rosette, offsetting the leaves again. Sew securely through all three layers.
- Plant your succulent: Using the remaining Green yarn tail, sew the assembled succulent to the top center of the Brown soil base.
- Pot it: Weave in all remaining ends. Gently press the soil base into your mini terracotta pot. It should fit snugly without needing any glue!
Frequently Asked Questions
Can I use a different yarn weight?
Absolutely! If you use a lighter yarn (like DK or sport) and a smaller hook, your succulent will turn out smaller. If you use bulky yarn, it will be much larger and will require a larger pot.
How do I make the leaves look more realistic?
For a realistic touch, you can use a tiny bit of pink or purple eyeshadow or blush on a soft brush and gently dab it onto the very tips of the green leaves. Many real Echeveria succulents have these beautiful sun-stressed colored tips!
Do I have to use a terracotta pot?
Not at all! You can place your succulent in a small teacup, a decorative bowl, or even leave it as a standalone plushie. If you aren’t using a pot, you might want to flatten the bottom of the soil base slightly by pressing it firmly on a table after stuffing.
Share Your Makes!
I absolutely love seeing your finished projects! If you make this crochet succulent, be sure to tag me on Instagram or share a photo in our crochet community group.