By Clara June
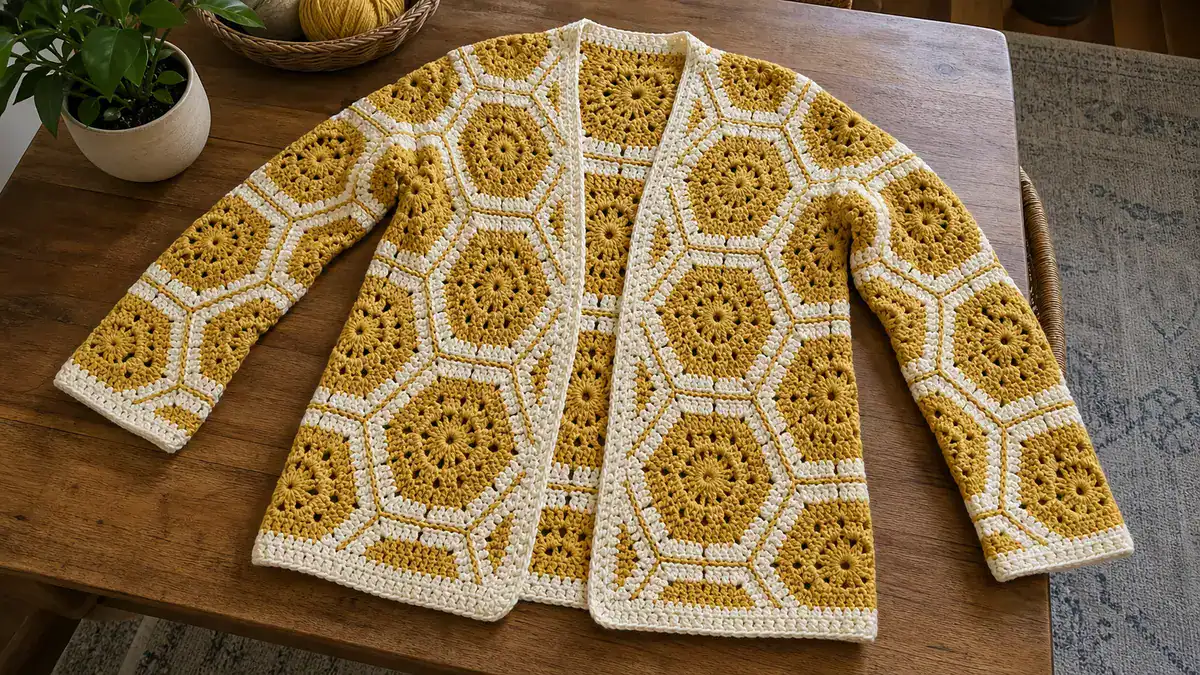
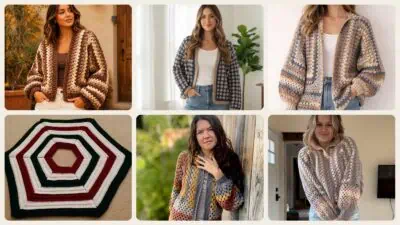
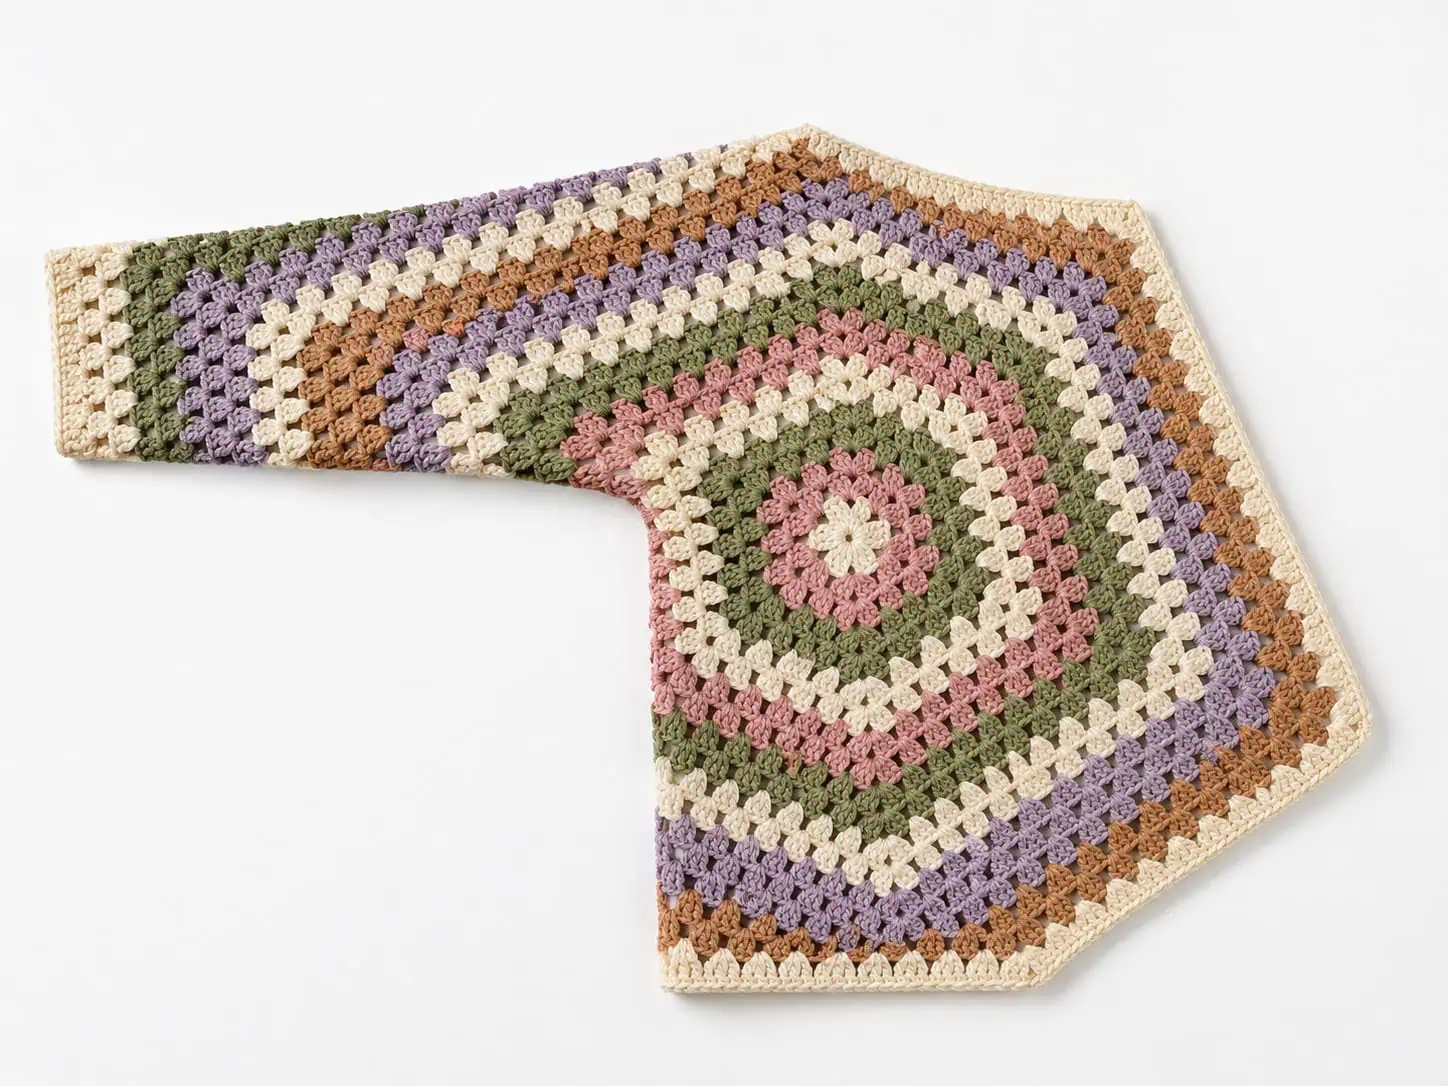
There is something truly magical about the crochet hexagon cardigan. If you’ve never made one before, it feels like a fantastic magic trick: you crochet two simple, slightly wavy granny hexagons, fold them in half, and suddenly, you have a sweater! This Cozy Hexagon Cardigan combines the classic, vintage appeal of the granny stitch with a modern, wearable silhouette.
Don't lose this article. Enter your email below, and I'll send it to you right now. Plus a little crochet inspiration from me, straight to your inbox.
Perfect for confident beginners, this pattern requires no complex shaping, no armhole decreases, and very minimal seaming. Because it’s worked from the center out, you can easily try it on as you go and stop when it fits your body perfectly. We’ve included stitch counts for every single row and round so you can crochet with total confidence.
What You’ll Need
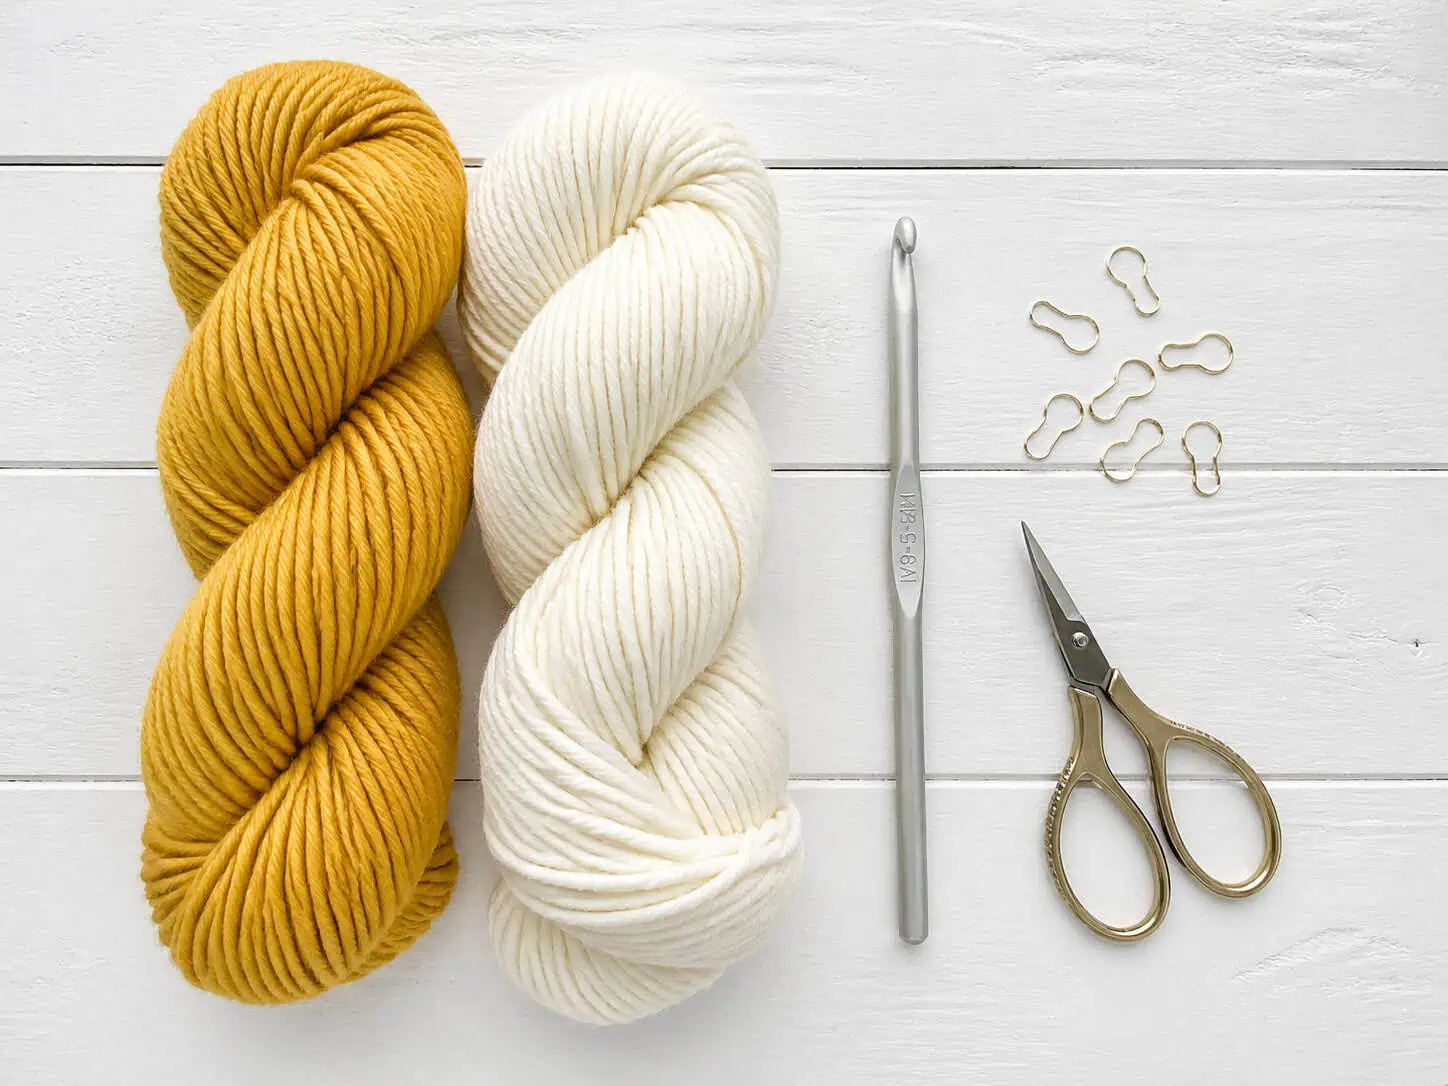
- Yarn: Worsted (4) weight yarn, approximately 1200 (1500, 1800) yards. (A self-striping yarn or a solid color both look incredible with this pattern!)
- Hook: US I/9 (5.5 mm) crochet hook
- Notions: Stitch markers, yarn needle, scissors
- Gauge: 4 granny clusters (12 dc) and 6 rows = 4 inches (10 cm) in granny stitch pattern.
Tips Before You Start
- Trust the process: As your hexagon grows past round 5 or 6, it will start to ruffle and will not lie flat. Do not panic! This is exactly what is supposed to happen. That extra fabric is what creates the 90-degree fold for the shoulder and armhole.
- Sizing: This pattern is incredibly forgiving. The sizes are written as XS/S (M/L, XL/2XL). If you want an oversized fit, simply crochet more rounds on your hexagons before moving to the assembly step.
- Reading the pattern: The ch-3 at the beginning of a round always counts as your first double crochet (dc).
Pattern Instructions
Special Stitches
Cluster: 3 dc worked in the same stitch or space.
Hexagon (Make 2)
Rnd 1: Make a magic ring. Ch 3 (counts as dc here and throughout), 2 dc in ring, [ch 2, 3 dc in ring] 5 times, ch 2, sl st to top of beg ch-3 to join. (18 dc)
Rnd 2: Sl st in next 2 dc and into first ch-2 sp. Ch 3, 2 dc, ch 2, 3 dc in same sp (first corner made). *[3 dc, ch 2, 3 dc] in next ch-2 sp; rep from * 4 more times. Sl st to top of beg ch-3. (36 dc)
Rnd 3: Sl st in next 2 dc and into corner ch-2 sp. Ch 3, 2 dc, ch 2, 3 dc in same sp. 3 dc in next space between corners. *[3 dc, ch 2, 3 dc] in next corner ch-2 sp, 3 dc in next space; rep from * 4 more times. Sl st to top of beg ch-3. (54 dc)
Rnd 4: Sl st in next 2 dc and into corner ch-2 sp. Ch 3, 2 dc, ch 2, 3 dc in same sp. 3 dc in each space across to next corner. *[3 dc, ch 2, 3 dc] in next corner ch-2 sp, 3 dc in each space across to next corner; rep from * 4 more times. Sl st to top of beg ch-3. (72 dc)
Rnd 5: Rep Rnd 4. (90 dc)
Rnd 6: Rep Rnd 4. (108 dc)
Rnd 7: Rep Rnd 4. (126 dc)
Rnd 8: Rep Rnd 4. (144 dc)
Rnd 9: Rep Rnd 4. (162 dc)
Rnd 10: Rep Rnd 4. (180 dc)
Rnd 11: Rep Rnd 4. (198 dc)
Rnd 12: Rep Rnd 4. (216 dc)
Rnd 13: Rep Rnd 4. (234 dc)
Rnd 14: Rep Rnd 4. (252 dc)
Rnd 15: Rep Rnd 4. (270 dc)
Rnd 16: Rep Rnd 4. XS/S size fasten off here. M/L and XL/2XL continue. (288 dc)
Rnd 17: Rep Rnd 4. (306 dc)
Rnd 18: Rep Rnd 4. (324 dc)
Rnd 19: Rep Rnd 4. M/L size fasten off here. XL/2XL continue. (342 dc)
Rnd 20: Rep Rnd 4. (360 dc)
Don't lose this article. Enter your email below, and I'll send it to you right now. Plus a little crochet inspiration from me, straight to your inbox.
Rnd 21: Rep Rnd 4. (378 dc)
Rnd 22: Rep Rnd 4. XL/2XL size fasten off here. (396 dc)
Assembly
- Fold each hexagon in half so it forms an L-shape. Three sides of the hexagon will fold to meet the other three sides.
- Place the two L-shapes next to each other. The shorter top sections form the sleeves, and the longer vertical sections form the back and front of the cardigan.
- Using a yarn needle and a whipstitch (or a slip stitch join), seam the top of the sleeves together on both halves.
- Seam the two halves together down the center back.
Lower Body Extension
Note: This section adds length to the bottom of your cardigan.
Row 1 (RS): Join yarn at the bottom right front corner. Ch 3 (counts as dc). Dc in each st across the bottom edge of the right front, place 1 dc in the center back seam, and dc in each st across the bottom edge of the left front. Turn. (97 dc) / (115 dc) / (133 dc)
Row 2 (WS): Ch 3, dc in each st across. Turn. (97 dc) / (115 dc) / (133 dc)
Row 3: Ch 3, dc in each st across. Turn. (97 dc) / (115 dc) / (133 dc)
Row 4: Ch 3, dc in each st across. Turn. (97 dc) / (115 dc) / (133 dc)
Row 5: Ch 3, dc in each st across. Turn. (97 dc) / (115 dc) / (133 dc)
Row 6: Ch 3, dc in each st across. Turn. (97 dc) / (115 dc) / (133 dc)
Sleeve Cuffs (Repeat for both sleeves)
Rnd 1: Join yarn at the sleeve seam. Ch 1, sc in each st around the sleeve opening. Sl st to first sc to join. (48 sc) / (57 sc) / (66 sc)
Rnd 2 (XS/S): Ch 1, [sc in next 4 sts, sc2tog] 8 times. Sl st to join. (40 sc)
Rnd 2 (M/L): Ch 1, [sc in next 4 sts, sc2tog] 9 times, sc in last 3 sts. Sl st to join. (48 sc)
Rnd 2 (XL/2XL): Ch 1, [sc in next 4 sts, sc2tog] 11 times. Sl st to join. (55 sc)
Rnd 3: Ch 1, sc in each st around. Sl st to join. (40 sc) / (48 sc) / (55 sc)
Rnd 4: Ch 1, sc in each st around. Sl st to join. (40 sc) / (48 sc) / (55 sc)
Rnd 5: Ch 1, sc in each st around. Sl st to join. Fasten off. (40 sc) / (48 sc) / (55 sc)
Front Collar Band
Row 1 (RS): Join yarn at the bottom right front corner. Ch 1, work 2 sc in the side of each of the 6 lower body rows, sc in each of the 48 (57, 66) sts up the right front edge, sc in each of the 48 (57, 66) sts across the back neck, sc in each of the 48 (57, 66) sts down the left front edge, and work 2 sc in the side of each of the 6 lower body rows. Turn. (168 sc) / (195 sc) / (222 sc)
Row 2 (WS): Ch 1, sc in each st across. Turn. (168 sc) / (195 sc) / (222 sc)
Row 3: Ch 1, sc in each st across. Turn. (168 sc) / (195 sc) / (222 sc)
Row 4: Ch 1, sc in each st across. Fasten off. (168 sc) / (195 sc) / (222 sc)
Finishing
- Weave in all ends using a yarn needle.
- Block the cardigan lightly to relax the granny clusters and straighten the seams.
Make It Your Own
- Adjust the length: Want a cropped cardigan? Skip the Lower Body Extension entirely and jump straight to the Front Collar Band. Want a duster? Repeat the Lower Body Extension rows until it reaches your desired length!
- Sleeve adjustments: If the sleeves feel too wide before adding the cuff, you can add a few decrease rounds (dc2tog) before switching to the single crochet cuff.
Frequently Asked Questions
Why is my hexagon ruffling and not laying flat?
This is the secret to the hexagon cardigan! A true flat hexagon only increases by 12 stitches per round, but a granny hexagon increases by 18 stitches per round. This extra fullness forces the fabric to fold into an L-shape, which magically creates the right angle for your shoulder and armhole.
Can I use a different yarn weight?
Absolutely! Because this pattern is worked from the center out, you can use DK (3) or Bulky (5) yarn. Simply use the hook size recommended on your yarn label and keep adding rounds to your hexagon until the folded L-shape is wide enough to cover half of your back and reach comfortably around your arm.
How do I know when my hexagon is big enough?
Fold it into the L-shape and hold it up to your body. The vertical back seam should reach the center of your spine, and the front edge should reach your sternum. The armhole should feel comfortable and not tight under your armpit.