If you’re like me, you are always on the lookout for easy crochet stitches that work up quickly and break up the monotony of working with just one type of stitch.
Don't lose this article. Enter your email below, and I'll send it to you right now. Plus a little crochet inspiration from me, straight to your inbox.
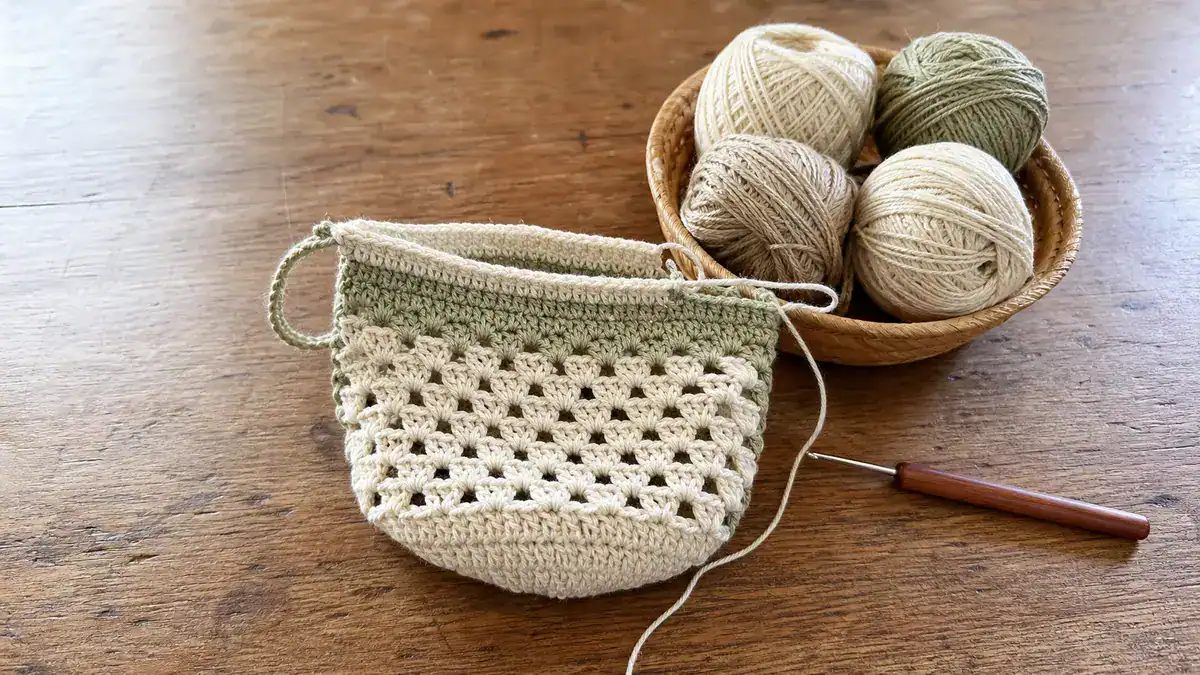
One of the great things about crocheting is the vast amount of basic stitches available to us to use. These stitches create different qualities in your finished fabric.
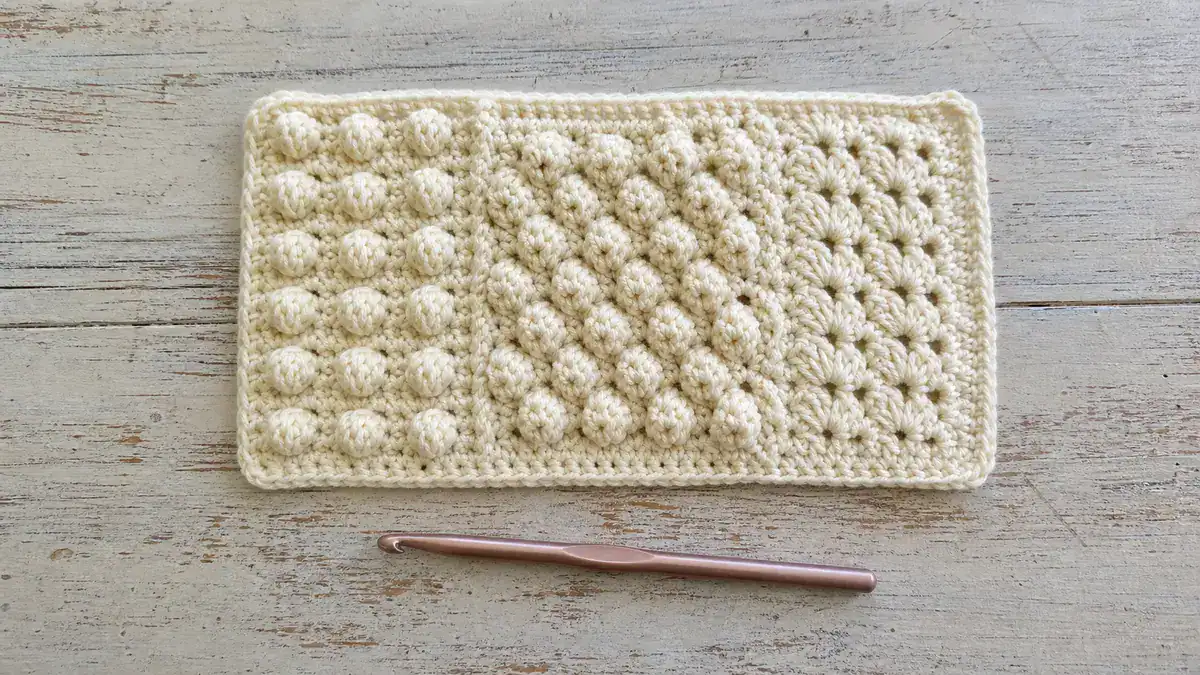
Some stitches lend themselves to a highly textured fabric, like the popcorn stitch or the bobble stitch. Other stitches create a sturdy, yet stretchy fabric – the moss stitch (sometimes called the linen stitch, granite stitch, or even the woven stitch) comes to mind.


Other stitches are highly ornamental and create a beautiful textured and airy crochet pattern to an otherwise bland stretch of crocheted fabric. The shell stitch (sometimes called the fan stitch) is a great example of a simple ornamental stitch!

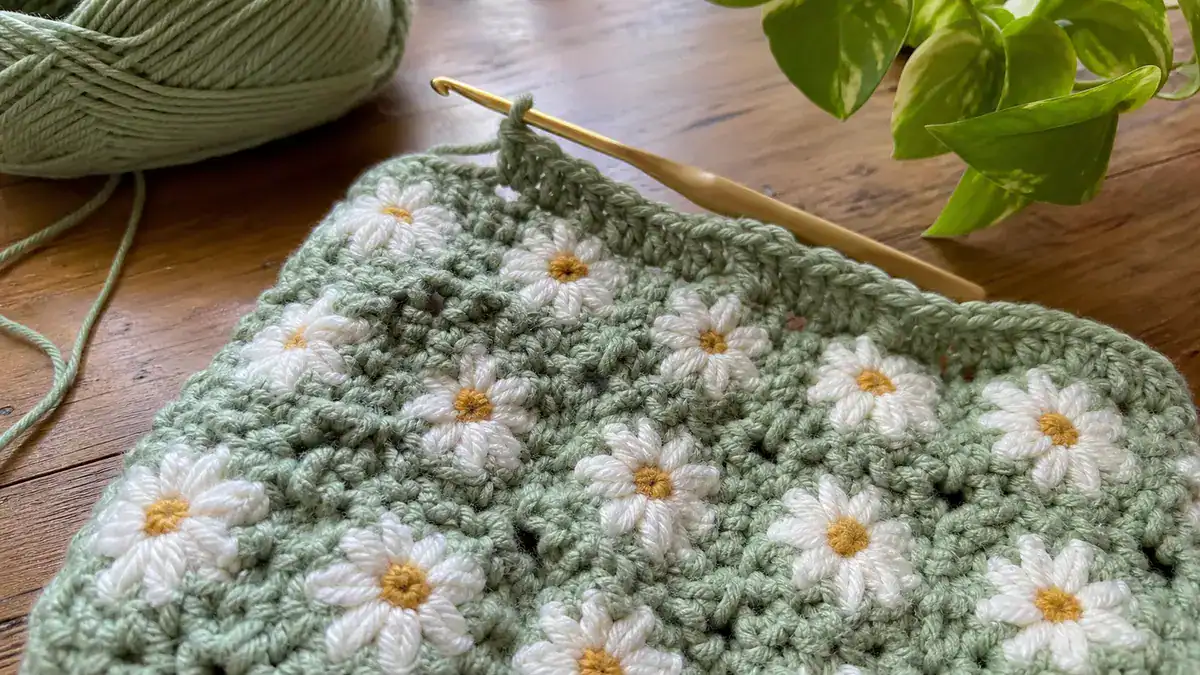
For today’s step-by-step tutorial with photos, I’ll be walking you through the simple daisy stitch, which is another great example of an ornamental stitch.

What Is the Daisy Stitch?
As you have probably noticed above, crochet stitches (and knitting stitches, too!) often have several names. These names can be used interchangeably, which can make it a little difficult to determine whether or not you are talking about the right stitch.
I think about it the same way I think about plants: On one hand, you have a myriad of common names for a particular type of flower. These usually stem from particular regions and countries. On the other hand, you have the specific scientific name that is used across the board to identify the exact flower.
Personally, I think we crafters should take note and classify stitches with a “scientific” name – but hey, that’s just me!
A few common names for the daisy stitch are the small daisy stitch, the star stitch, and the marguerite stitch. Whichever name you use, it is constructed in the same manner.
It is a one-row repeating pattern stitch, where you work a cluster of stitches in the “eye” formed from the previous row. This eye is sort of like the center of a daisy, with the cluster from the first row and second row forming the petals!

This creates a pretty, slightly circular cluster of stitches! It also creates a wonderfully stretchy fabric that is equal parts dense but with a little airiness.
I always associate the daisy stitch with spring – and not just because it’s named after a flower. I think it makes the perfect fabric for a spring shawl or shrug, as it is warm but not too warm.
How To Crochet Daisy Stitch
The daisy stitch is constructed by clustering stitches in a chain one space and skipping stitches from the previous row. This pattern is repeated in each row.
For today’s tutorial, I’m using a 3.75mm crochet hook and a delicate, sparkly pink worsted weight yarn. This stitch also looks great with a larger hook and larger-weight yarn, so feel free to experiment around with textures and weight!
Getting Started
To begin, chain an odd amount of stitches to form our foundation chain. For today’s swatch, I chained 21 foundation stitches.

To start row 1, insert your hook into the second foundation chain stitch from your hook, yarn over, and draw up a loop. Remember, we never count the loop on the hook as a stitch!

Next, insert your hook into the next foundation chain stitch, yarn over, and draw up another loop. You should have three loops on your hook now.

Skip over the next foundation chain stitch.

Insert your hook into the next foundation chain stitch, and pull up another loop. You will have four loops total on your hook!

Yarn over, and draw through all loops on your hook.

To close this first daisy stitch, chain one.
Don't lose this article. Enter your email below, and I'll send it to you right now. Plus a little crochet inspiration from me, straight to your inbox.

To work our next (and all subsequent) stitch(es), insert your hook into the space left by the chain stitch we just made and pull up a loop.


Insert your hook into the same foundation chain stitch our last loop from the first stitch went through and draw up a loop.


Then, skip the next foundation chain stitch. Place your hook in the next foundation chain stitch and draw up a loop.


Just like the first daisy stitch we made, yarn over and draw through all four loops on your hook. Close this cluster of four stitches by chaining one.


We will repeat this pattern until the end of the row!
Ending Row 1
The last daisy stitch you create ends with a chain one.


To begin our next row, we need to chain another two stitches. This will give us three total – one to close off the last daisy stitch, and another two to turn.

Insert your hook into the second chain from your hook and draw up a loop.

Insert your hook into the next chain and draw up a loop.

Skip the first official stitch of the row.

Insert your hook into the “eye” or chain space of the daisy stitch of the previous row. This is the next stitch after the one we just skipped, but knowing it’s the center of the last cluster helps me line things up just right.

Just like before, yarn over and draw through all loops. Close this first daisy stitch with a chain one.


Continuing the Pattern
We’ll construct the rest of the daisy stitches nearly identically to the first row. The only difference is now we’re working in the stitches of the previous row, and not the foundation chain stitches.
To form your second (and all subsequent) daisy stitch(es), insert your hook in the space left by the chain one we just made to close the last daisy stitch and draw up a loop.

Insert your hook into the same stitch that we drew up the last loop of the previous daisy stitch. Draw up a loop.

Skip the next stitch, and insert your hook into the “eye” from the previous row. Draw up a loop, then draw through all loops on your hook.

To finish off this row (and all subsequent rows), the last loop you’ll pull up will be in the last chain stitch we made in the previous row. This helps us keep a nice, crisp side!


Repeat this pattern until your project is the desired length.
Complete!
I hope you found this simple tutorial helpful!
As I mentioned above, the daisy stitch makes a beautiful, textured fabric with a little drape. It makes the most beautiful shrugs or wraps but is also a wonderful stitch that you can use to create scarves, blankets, and headbands.

Although, I known how to make this stitch since I was a young teen I just wanted to tell you, I find your tutorial on the daisy stitch very easy to follow compared to some I have run across and plan on using it to teach my granddaughters how to make the daisy stitch, as I am left-handed and they are right-handed I think your tutorial will come in handy.
Thank you Sherry
Sassy Sherry M So glad that it seems to be helpful!