Once you learn the basics of how to crochet, you will be able to make simple square and rectangular items. However, if you want to make clothing or other items that have shaping to them, then you will want to learn how to increase and decrease. This article shows you how to increase and decrease when working the basic stitches in rows.
How to Increase in Crochet Rows
Increasing in crochet is really simple. All that it means is that you are adding stitches to the row, so that the row you are working on will have more stitches than the row below it. This is done by working more than one stitch into a stitch from the row below.
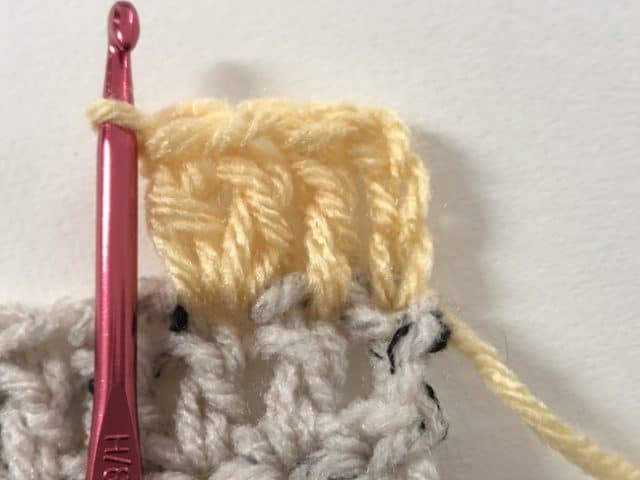
For example, in the photo above, you can see two double crochet stitches, each of which are worked in their own stitch (which would be the normal way of working double crochet in rows). To the left of those, you can see two double crochet stitches that are both worked into the same single stitch from the row below. You effectively turn that one stitch into two stitches by working two double crochets into one.
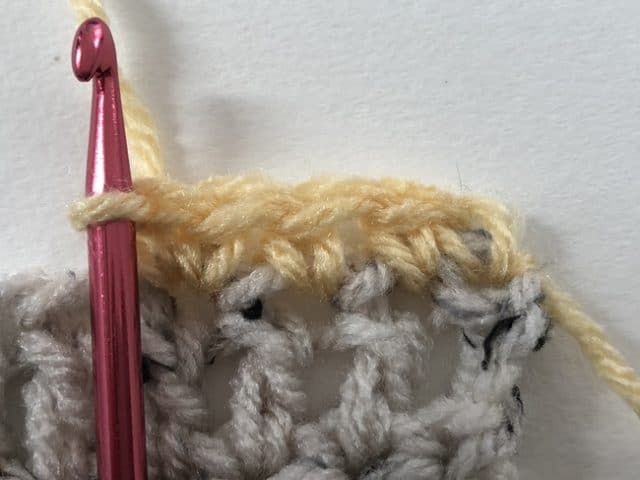
You can work a crochet increase in any of the basic stitches, of course, not just in double crochet. They are almost always worked in the same stitch as the rest of the row. So if you have a row of single crochet with an increase then you would work two single crochet into the same stitch.
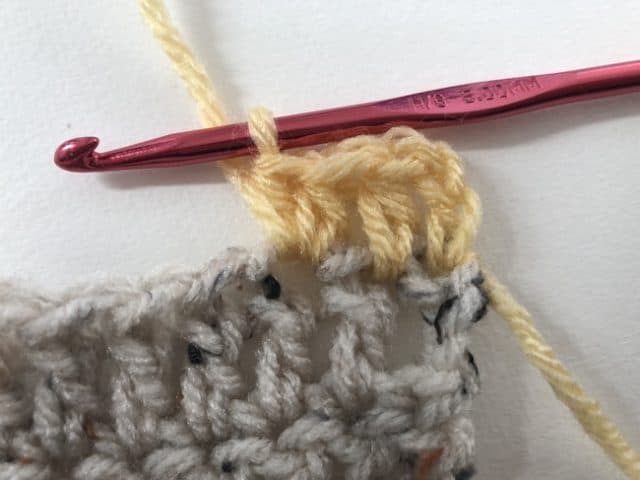
Or if you want to increase in half double crochet, you would work two hdc stitches into the same stitch. Increasing often happens at the beginning or end of a row, but it can also happen anywhere in the row, depending on where you want your shaping. The crochet pattern that you are following will tell you where to increase. Sometimes they don’t say it’s an increase but if you see something like “2 dc in next stitch” then you know it’s an increase since you are working two stitches into the same stitch.
How to Decrease in Crochet Rows
Increasing in rows is easy in crochet because you are using the same stitches that you’ve already learned when first learning how to crochet. Decreasing in rows is a little bit more difficult. You’ll still be using the same basic stitches, but you have to adapt them a little bit.
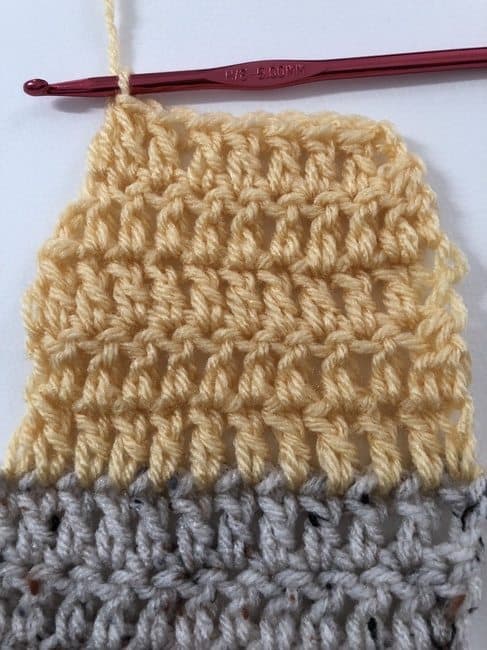
Decreasing means that you are reducing the number of stitches in a row, so that the row you are working in has fewer stitches than the row below it. This is done by working one stitch across two stitches from the previous row. You begin one stitch, but don’t complete it, then begin another stitch in the stitch next to it, but don’t complete it, and you complete the two stitches together. This gives you the same height as all of the other stitches in the row (for example, a double crochet), but it effectively turns two stitches at the bottom into one stitch at the top, thereby giving you the decrease. We will look at how to decrease in three different basic stitches: single crochet, half double crochet and double crochet.
How to Decrease Single Crochet
First, let’s look at how to decrease in single crochet stitch.
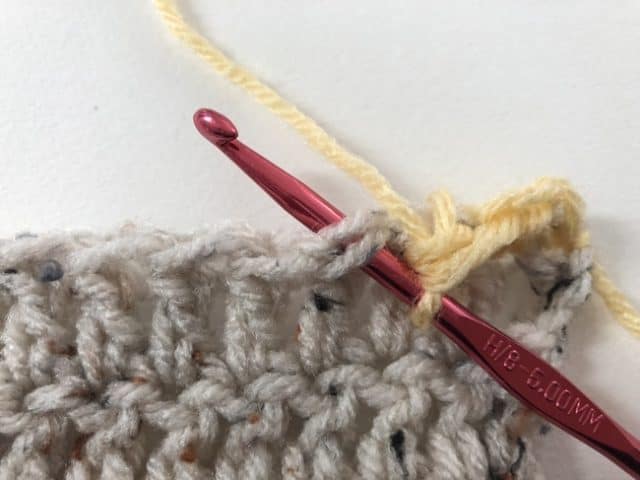
When you are ready to start the decrease, you will insert your hook into the stitch.
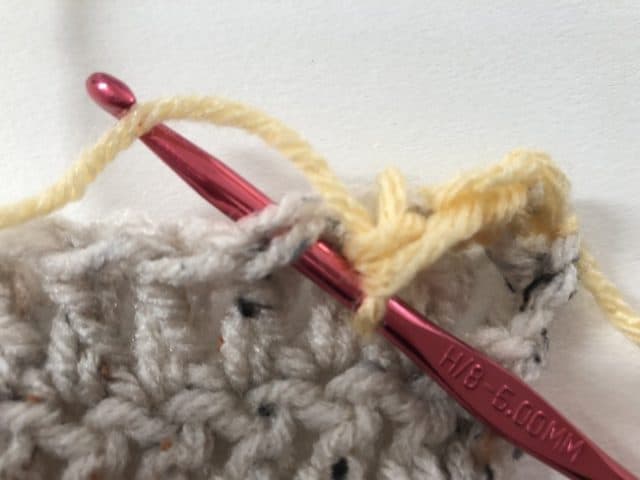
Yarn over and pull through. This is how you would begin a regular single crochet stitch.
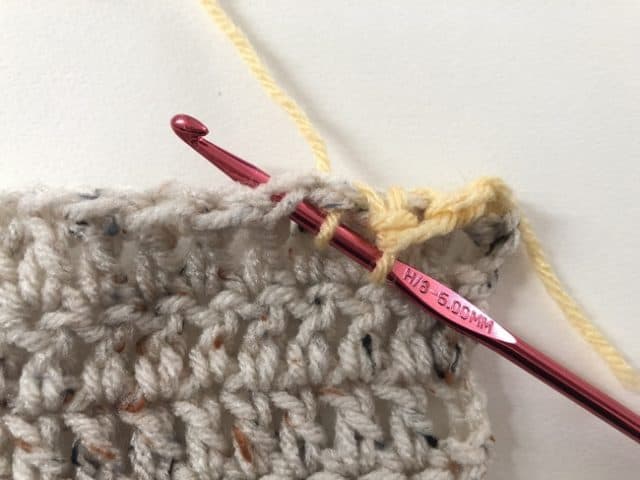
If this were a regular single crochet stitch, you would now yarn over again and pull through and be done. However, you are going to leave the first single crochet stitch unfinished for now and start the second single crochet stitch. So, with the two loops already on your hook, insert your hook into the next stitch.
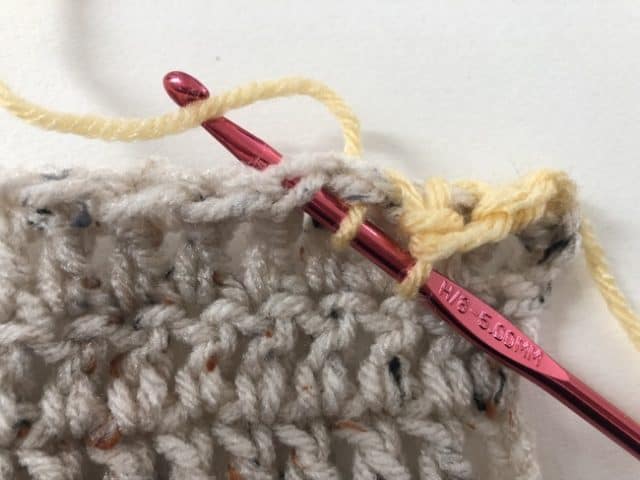
Yarn over.
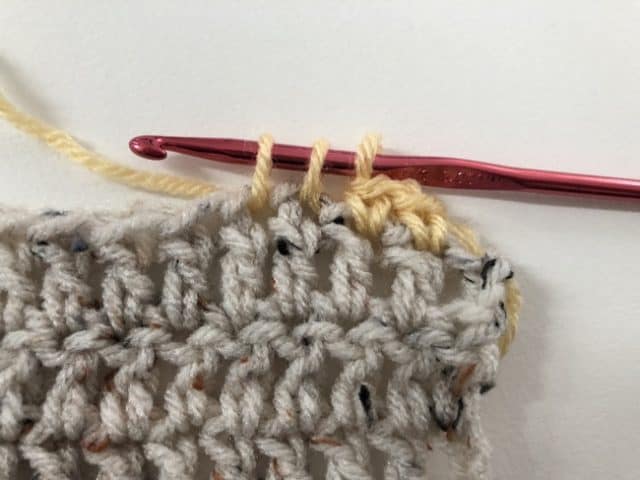
Pull through. You will now have three loops on your hook. If you look at the above photo, you can see that you have the beginning stitches of two separate single crochets, side by side, but neither is complete. You will complete them by adding the top portion to both of them at the same time, turning two single crochet stitches into one stitch at the top, which is how you decrease sc.
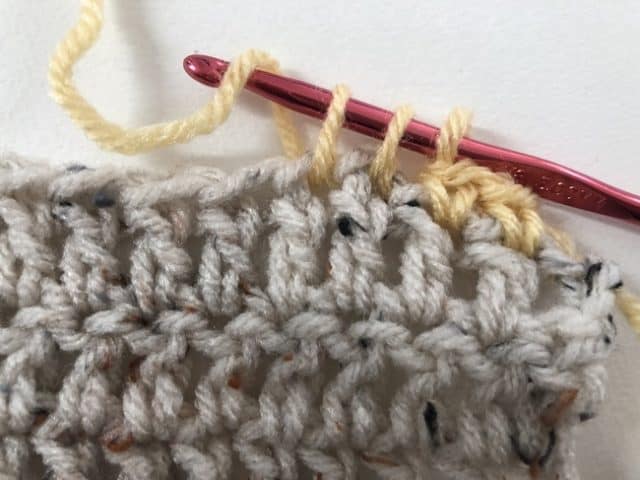
Yarn over.
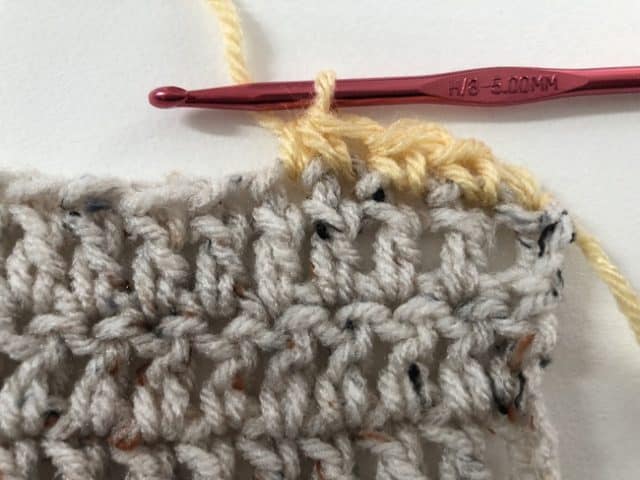
Pull through all of the loops on the hook, and you have closed up both stitches so that they are one stitch. You have decreased in single crochet.
How to Decrease Half Double Crochet
Now let’s see how this works with a taller stitch – hdc.
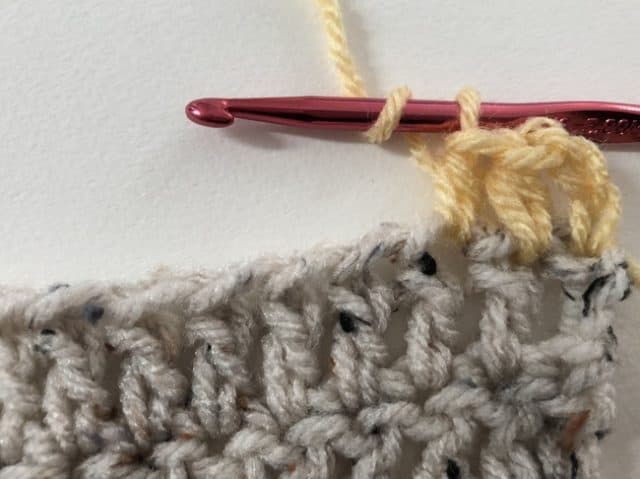
You’re going to begin like any other half double crochet, with a yarn over.
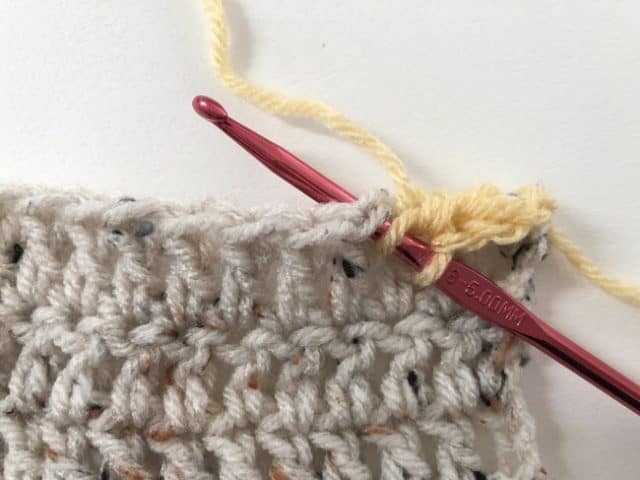
Insert your hook into the next stitch.
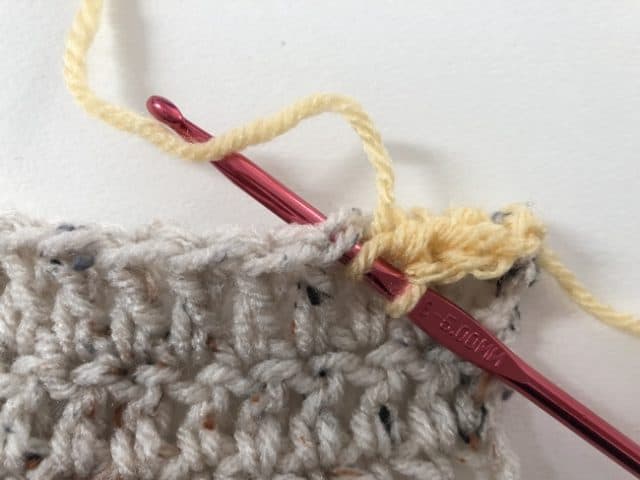
Yarn over.

Pull through.
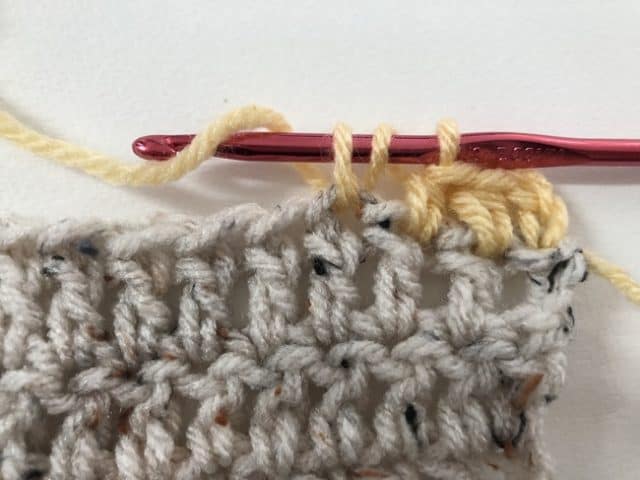
Yarn over. Now if this were a regular hdc stitch, you’d be pull through the loops on the hook to finish off the stitch, but for now, we are going to leave the first hdc unfinished and begin the second half double crochet.
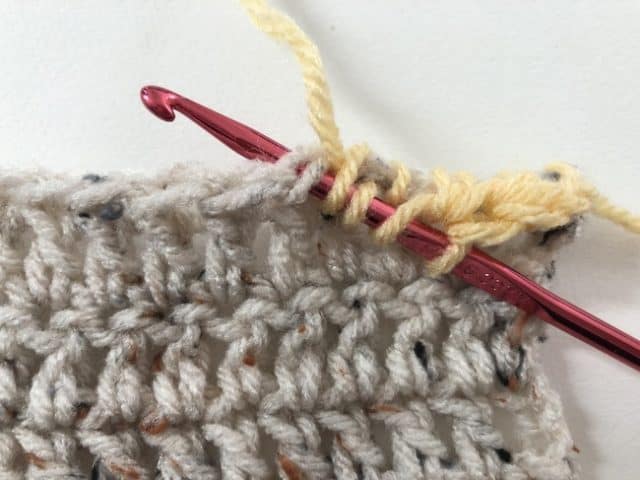
Insert hook into next stitch.
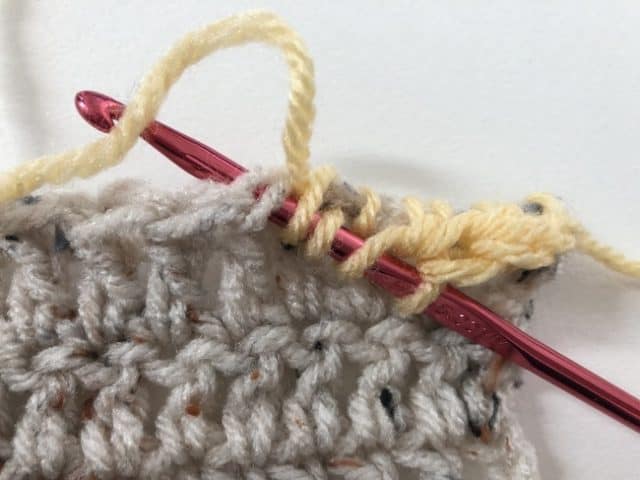
Yarn over.
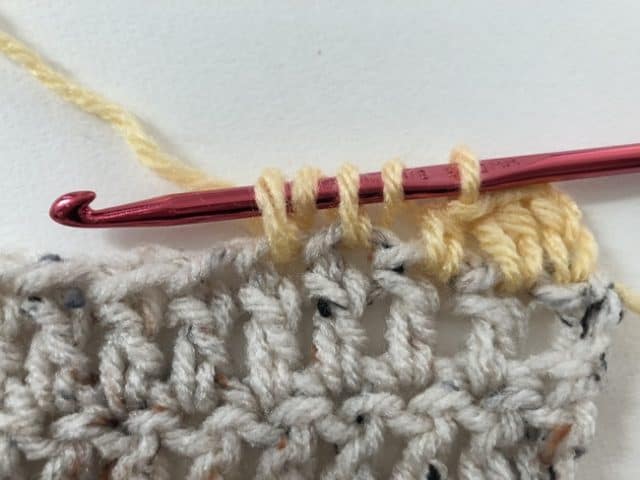
Pull through. You now have the beginning stitches of two half double crochet stitches side by side, not yet finished. It’s time to finish them both together to create a joined half double crochet (a decrease).

Yarn over.
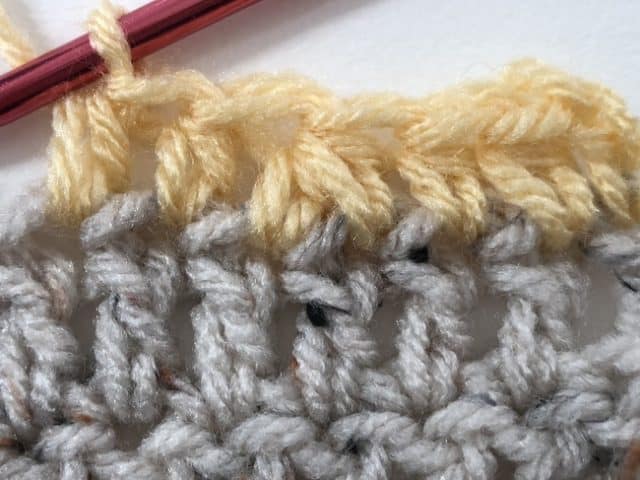
Pull through all of the loops on the hook. In the photo above, you can see, from right to left, three hdc stitches, followed by a hdc decrease, followed by two more regular half double crochet stitches.
How to Decrease Double Crochet
This is how you do a decrease in double crochet.
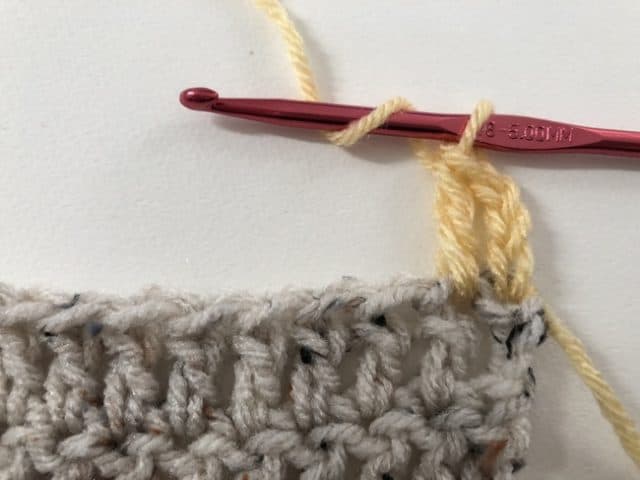
The photo above shows two regular double crochet stitches. Now we will make a double crochet decrease. The first step is to yarn over, which is what you would always do to start your next double crochet.
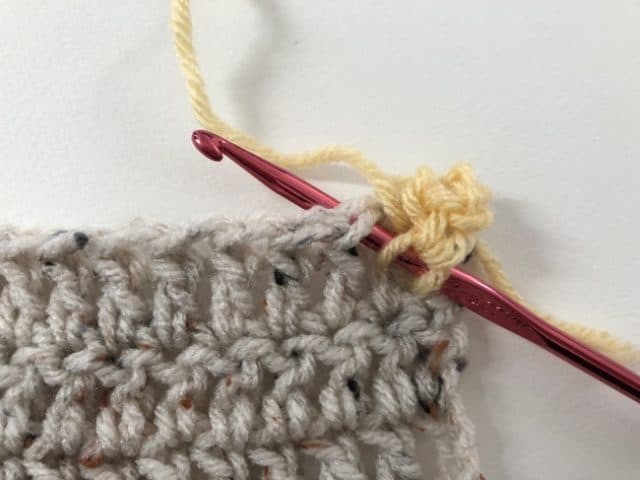
You continue with your normal double crochet by inserting the hook into the next stitch.
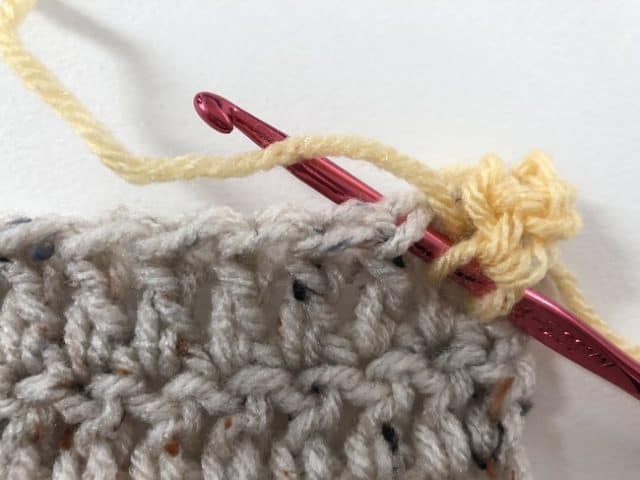
You will yarn over (as normal).
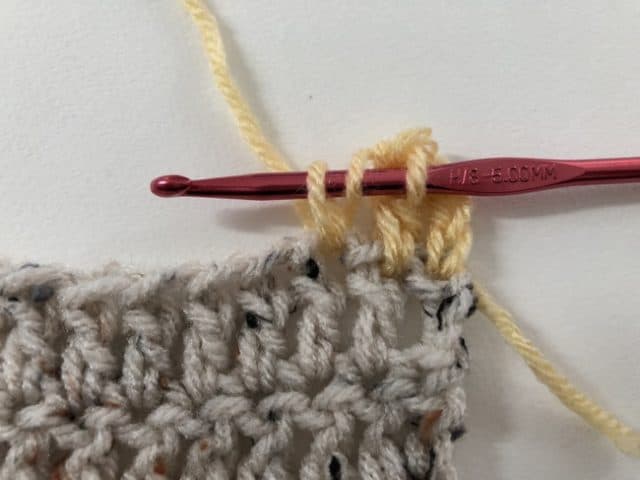
And pull through (still a normal double crochet at this point).
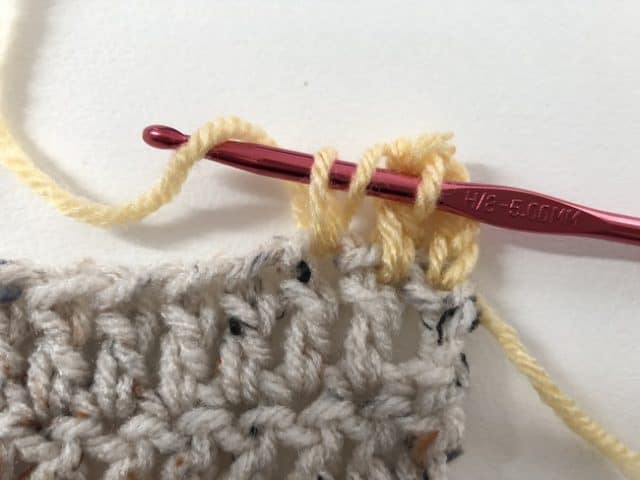
And yarn over again.
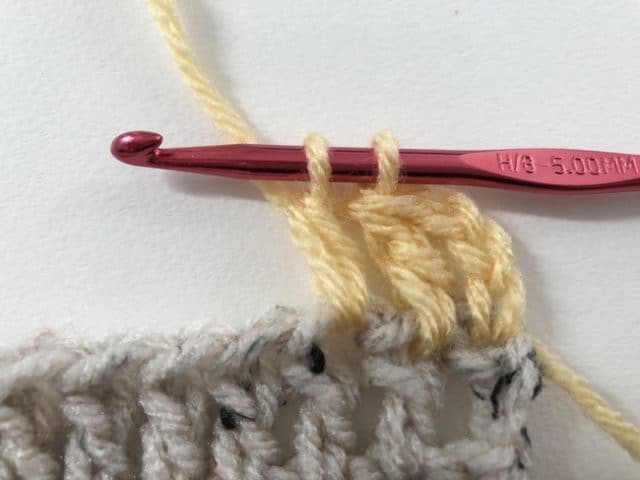
And pull through. This is all normal double crochet up to this point. But here’s where things change. If this were a normal double crochet, you would now yarn over and pull through again to complete the stitch. But you need to leave the stitch unfinished for now in order to decrease. Notice that you have two loops on the hook.
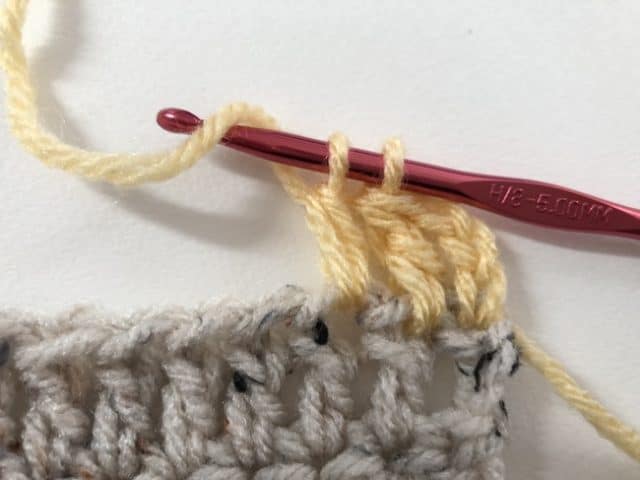
You will go ahead and yarn over again.
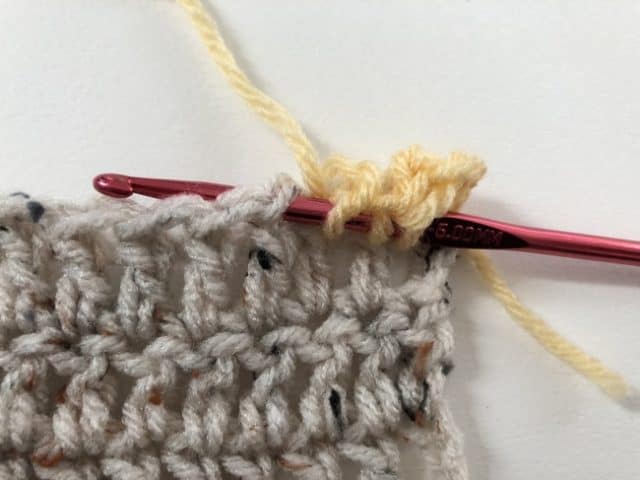
However, instead of pulling through the last two loops on the hook, you are going to insert the hook into the next stitch, beginning the second of the two double crochet stitches.
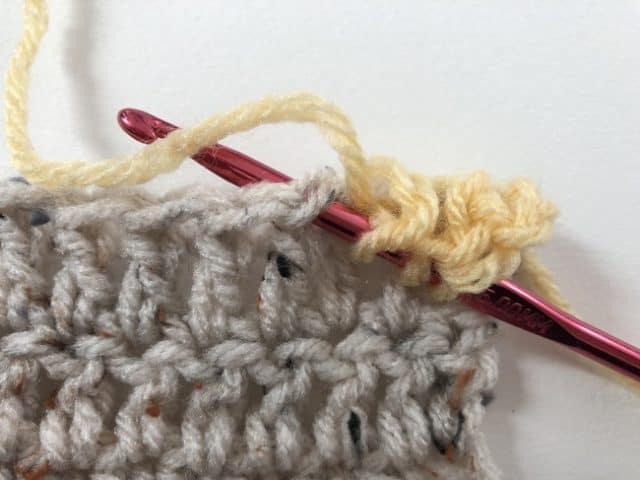
You will continue working this second stitch, so yarn over again.
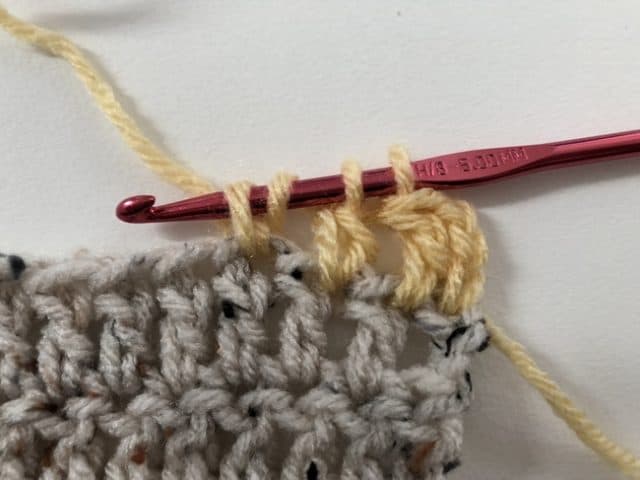
Pull through, and you will see four loops on the hook.
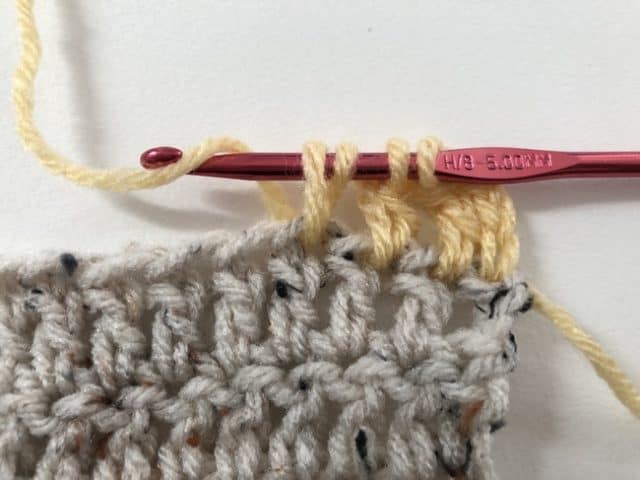
Yarn over.
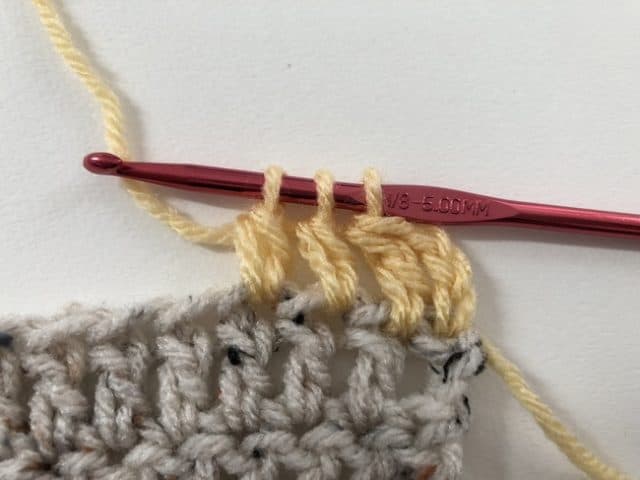
Pull through the first two loops on the hook. Now you will have three loops left on the hook. The important thing to notice is that you now have two double crochet stitches, side by side, that are finished by need one more loop on top to complete them each. You will be making that one loop together on both of them, which is how you decrease the two stitches into just one stitch.
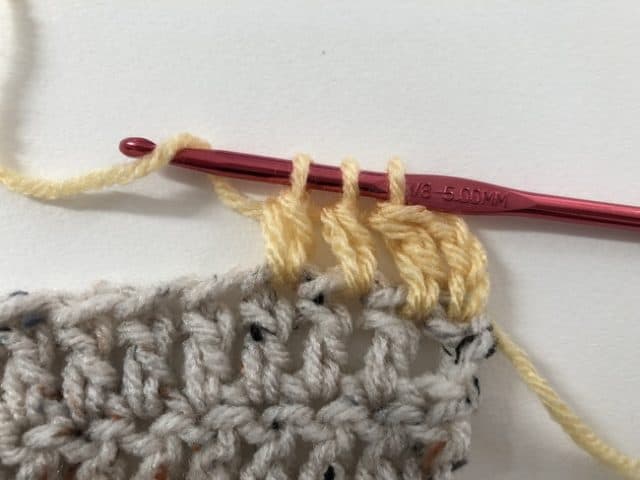
Yarn over.
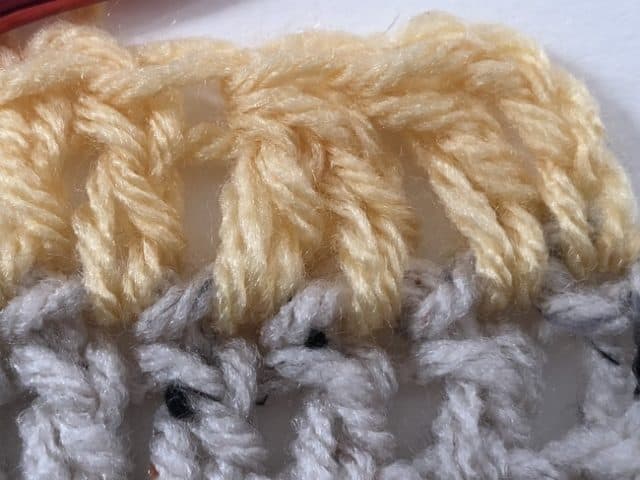
Pull through all of the loops on the hook. You can see in the above photos that, from right to left, you have two double crochet stitches, then a decreased double crochet, then more regular double crochet stitches.
Crochet 2 Together
As with increases, crochet decreases often happen at the beginning and end of rows, bringing the sides of the rows in together to create shaping. However, you may find crochet patterns calling for decreases in other parts of a row, sometimes for shaping and sometimes as a texture detail.
Typically when it’s a decrease for the purpose of shaping, it will be abbreviated as such. For example, you might see the instruction to dec sc or work a “sc dec”. This means that you are going to decrease in single crochet, working two stitches into one as shown above.
When the decrease is a design detail, it is often called a “2 together” or “2 tog”. So you might see an abbreviation to sc2tog, which means “single crochet two together”. This is the exact same thing as a single crochet decrease, and is still worked in the same way as above.
It is helpful to understand that what you are technically doing is “crocheting two together”. When you get into more advanced crochet and work with clusters, you’ll be doing similar steps with more stitches. For example, a cluster of three single crochet stitches might be called sc3tog or single crochet three together, and you would work it similarly as a crochet decrease but with three side-by-side unfinished stitches all decreased together as one (rather than just two, as we see in the traditional decrease).
