By Clara June
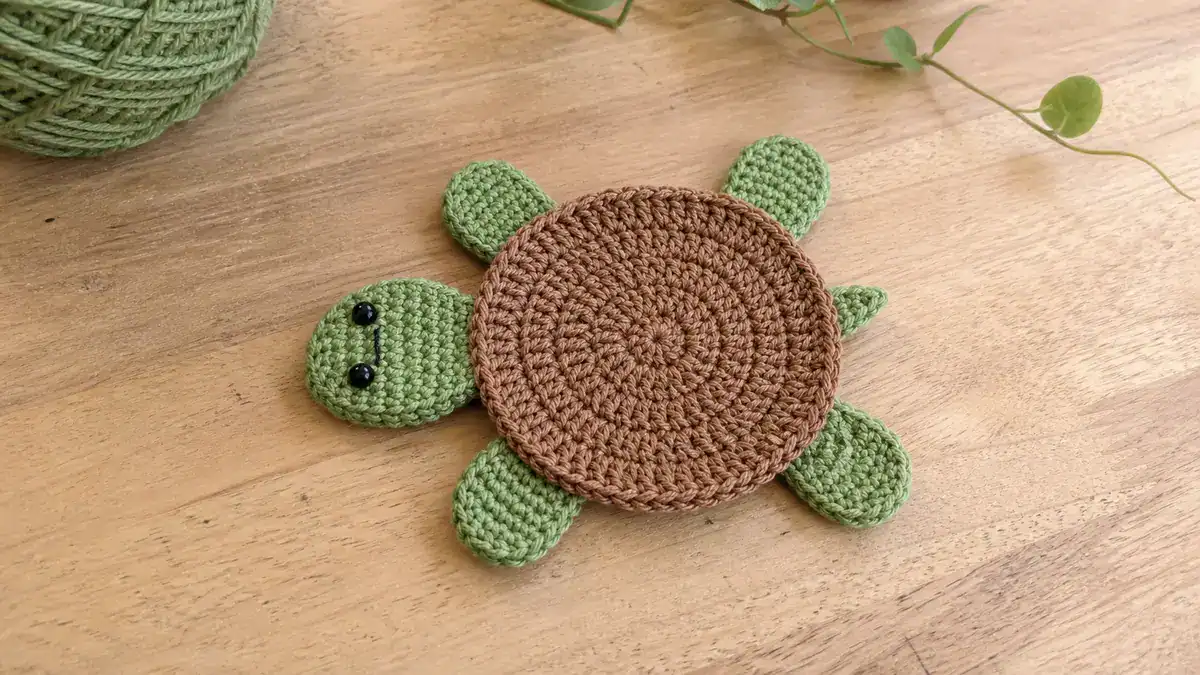
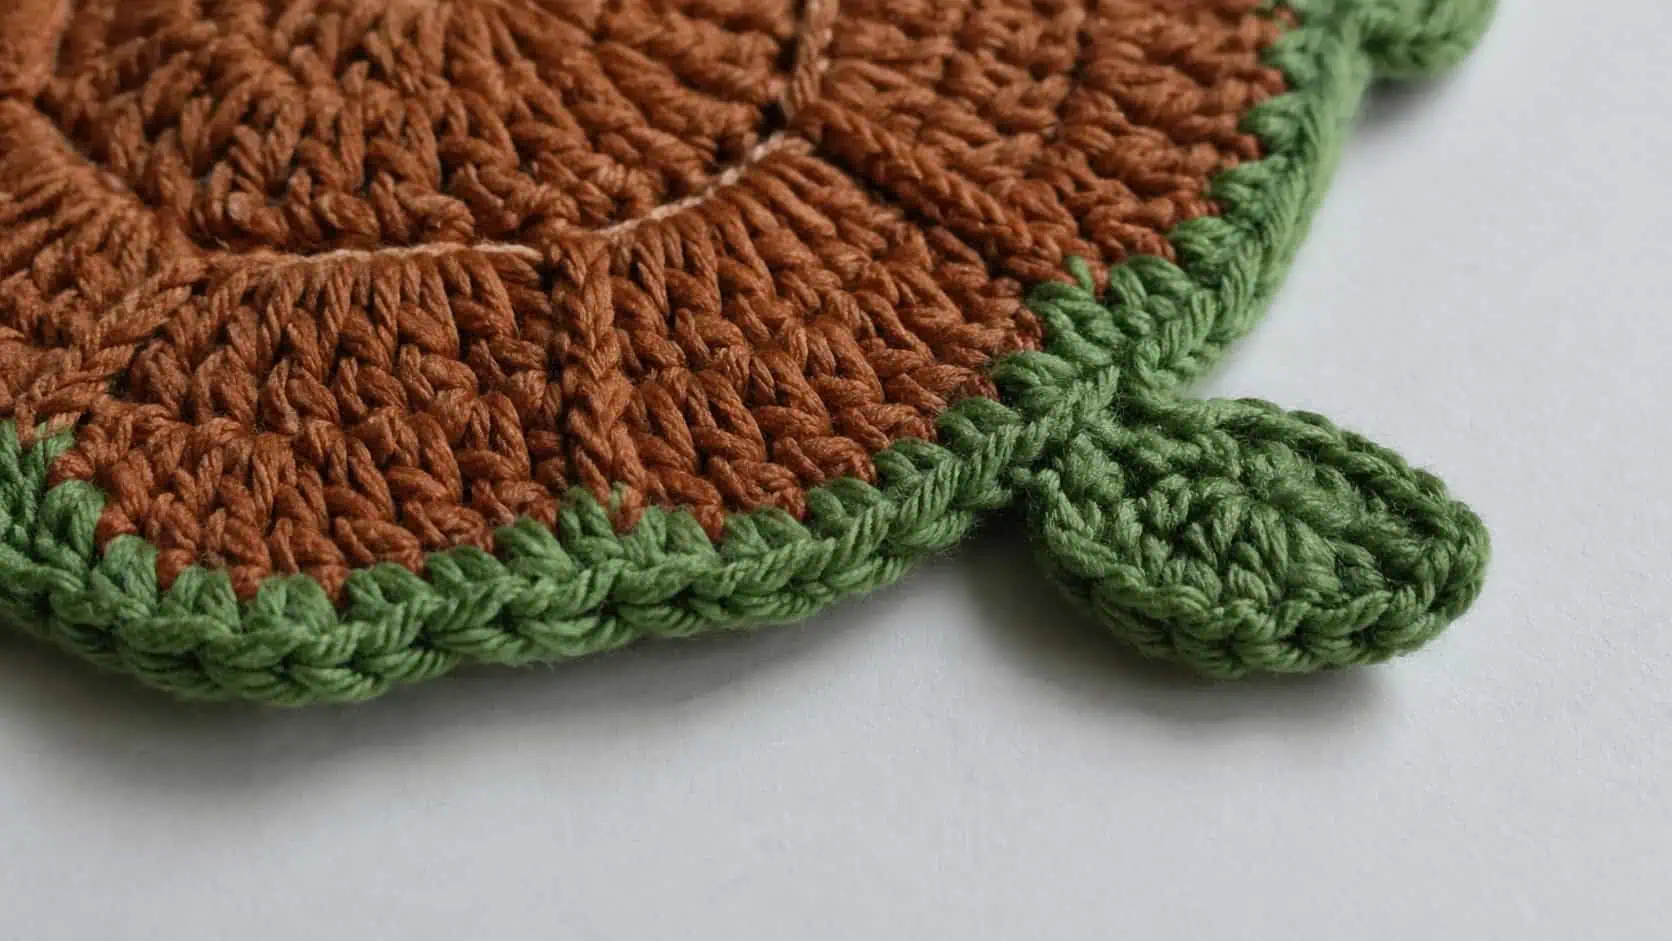
It is clear that a hint of playfulness in your home decor brings joy, and this Easy Crochet Turtle Coaster is just the thing! This little turtle is ready to protect your tabletops in style while you enjoy your morning coffee or an iced summer drink.
Don't lose this article. Enter your email below, and I'll send it to you right now. Plus a little crochet inspiration from me, straight to your inbox.
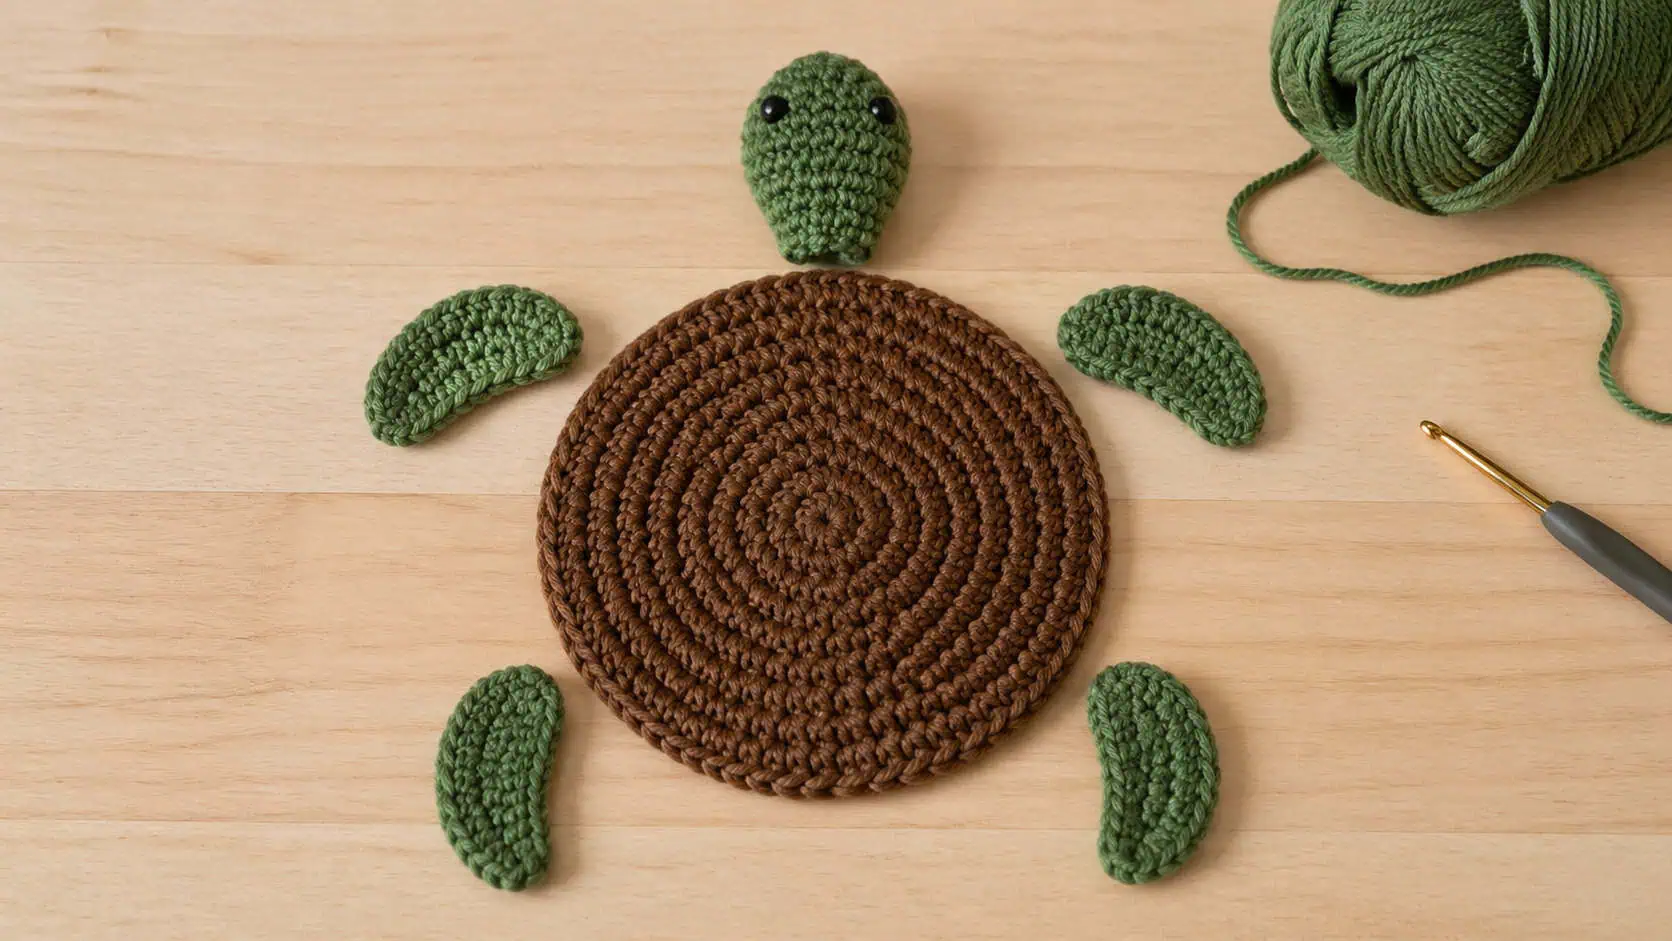
Great for beginners, this pattern uses some simple techniques to form the shell, which is a flat circle, then a smart, continuous edging around that creates the head, legs, and tail. Plus, it’s the ultimate stash-buster since it takes so little yarn, and it will be finished in less than 20 minutes!
Quick Stats:
- Skill Level: Easy
- Finished Size: 4.5 inches long, 3.5 inches wide
- Yarn: Worsted weight cotton, approx. 25 yards total
- Hook: US H/8 (5.0 mm)
Keep scrolling for the full free pattern with the stitch counts for every round!
What You’ll Need
- Yarn: Worsted (Weight 4) 100% cotton yarn in two colors — approximately 25 yards total
- Color A (Brown/Tan for shell): 15 yards
- Color B (Green for body): 10 yards
The H/8 crochet hook in the US crochet hook sizing system is a 5 mm hook size.
Items needed: scissors and yarn needle
Gauge: Rnds 1-4 = 3.5 in (9 cm) diameter
Tips Before You Start
- Yarn choice is key: Always use 100% cotton yarn for coasters. Acrylic yarn can melt under hot mugs and won’t absorb condensation from cold drinks.
- Keep it flat: If your turtle shell starts to ruffle or cup, check your gauge. You may need to adjust your hook size up or down to ensure the circle lays perfectly flat.
- Reading Round 5: The final round might look long, but it’s just a series of slip stitches interrupted by quick clusters that form the appendages. Take it one stitch at a time!
Pattern Instructions
Special Stitches
Leg: (sl st, ch 2, hdc in the 2nd ch from the hook, sl st) all in the specified stitch.
Tail: (sl st, ch 2, sl st in the 2nd ch from the hook, sl st) all in the indicated stitch.
Notes
- The coaster is worked in joined rounds. Do not turn your work at the end of the round.
- The ch-2 at the beginning of Rnds 1-4 does NOT count as a stitch.
- Stitch counts are given in bold at the end of every round.
Turtle Shell
Rnd 1: Using Color A, create a magic ring (MR). Chain (Ch) 2 and make 8 half double crochets (hdc) in the ring. Pull the tail tightly to secure the ring. Join the round with a slip stitch (sl st) to the first hdc. You should have (8 sts)
Rnd 2: Ch 2, *2 hdc in each st* (repeat) around. Join with a sl st to the first hdc. (16 sts)
Rnd 3: Ch 2,
[hdc in next st, 2 hdc in next st]
8 times. Slip stitch to the first half double crochet. (24 stitches)
Don't lose this article. Enter your email below, and I'll send it to you right now. Plus a little crochet inspiration from me, straight to your inbox.
Rnd 4: Ch 2,
[hdc in next 2 sts, 2 hdc in next st]
8 times. Join with a slip stitch to the first half double crochet. Fasten off Color A. (32 sts)
Head, Legs & Tail
In Rnd 5, the stitch count includes all the single crochet (sc), half double crochet (hdc), double crochet (dc), and slip (sl) stitches that were made. Stitches that were skipped to form chains will not be included in the final count of the stitches.
Rnd 5: Join Color B with a slip stitch to the first stitch of Round 4. Chain 1. Do (single crochet, half double crochet) in the same first stitch; then do 3 double crochets in the next stitch, and do (half double crochet, single crochet) in the following stitch. Slip stitch in the next 4 stitches. Work Leg in the next stitch. Slip stitch in the next 5 stitches. Work Leg in the next stitch. Slip stitch in the next 3 stitches. Work Tail in the next stitch. Slip stitch in the next 3 stitches. Work Leg in the next stitch. Slip stitch in the next 5 stitches. Work Leg in the next stitch. Slip stitch in the next 4 stitches. Join with a slip stitch to the first single crochet. (46 stitches)
Finishing
- Fasten off and weave in all ends securely on the wrong side of the coaster.
- Block lightly if the coaster does not lay perfectly flat. Wet blocking works best for cotton yarn—simply dampen the coaster, press it flat with your hands, and let it air dry.
Make It Your Own
- Color variations: Make a whole bale of turtles (yes, that’s the word for a group of turtles!) in different shell colors. Try variegated cotton yarn for a realistic, mottled shell effect.
- Add details: Use a bit of black embroidery floss to stitch tiny French knots for eyes on the head.
Frequently Asked Questions
Is it possible for me to use acrylic yarn for this coaster?
Acrylic yarn is made of plastic, so it is not recommended. This means it can melt and warp when a hot mug is put on it. Also, because acrylic yarn repels water, condensation from cold drinks will not be absorbed and will pool on top. Instead, go with a 100% cotton or cotton-linen blend yarn.
What is the best way to clean crochet coasters?
Cotton coasters can last a long time! You can wash them in a machine using cool or warm water. To keep them flat and not let the edges curl, do not put them in the dryer; instead, let them air dry flat.
What are the ways I can increase the size of the coaster?
If you want to create a bigger coaster (or even a trivet or hot pad), just keep using the increase pattern for the shell before attaching the limbs. For Round 5, do
[hdc in next 3 sts, 2 hdc in next st]
around (40 stitches). You may have to modify the number of slip stitches separating the head from the legs and tail during the last round so that they are evenly spaced.
I would love to see your completed turtle coasters! You can tag me on Instagram or post your pictures to our Facebook group. These coasters make awesome quick presents for teachers, coworkers, and any of your friends who are animal lovers.