As I turn my thoughts towards longer days, warmer temperatures, and flowers, this “Lay Flat” adorable fruit crochet potholder caught my eye!
Since spring signals a fresh start, too, it’s only fitting to refresh this crochet pattern that we originally shared a few years back.
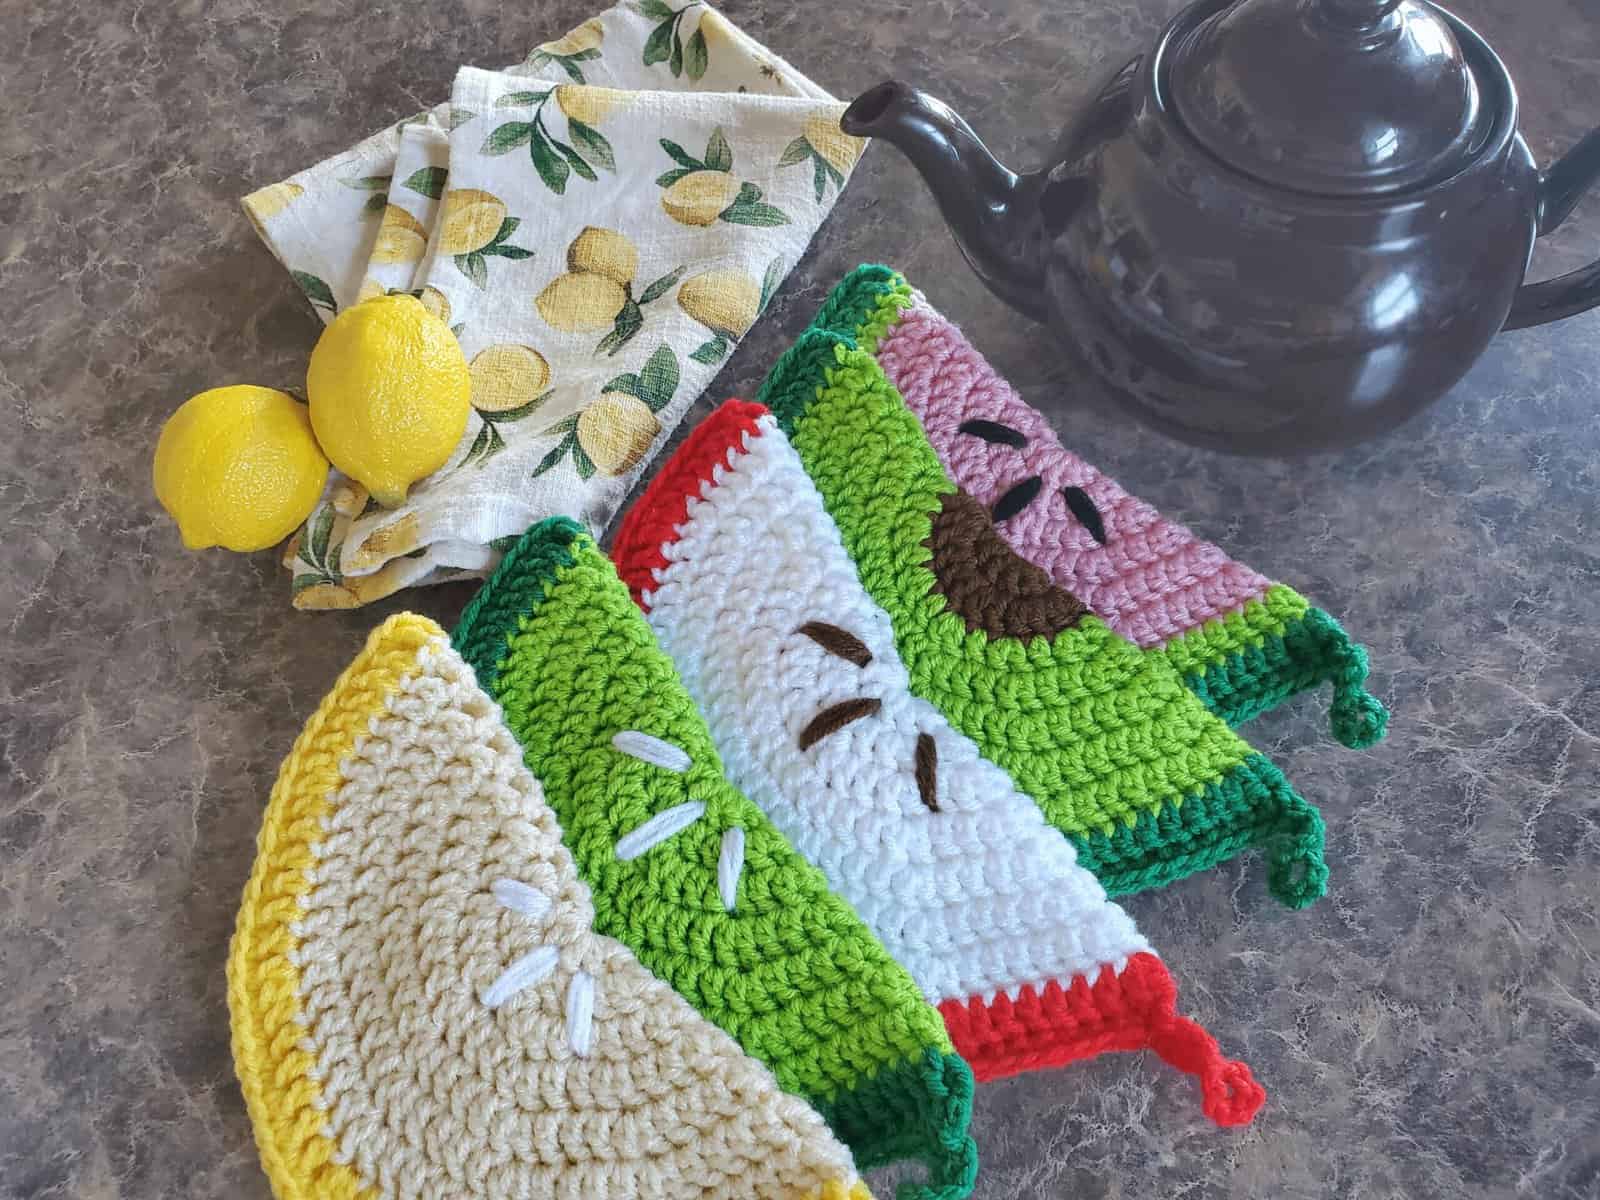
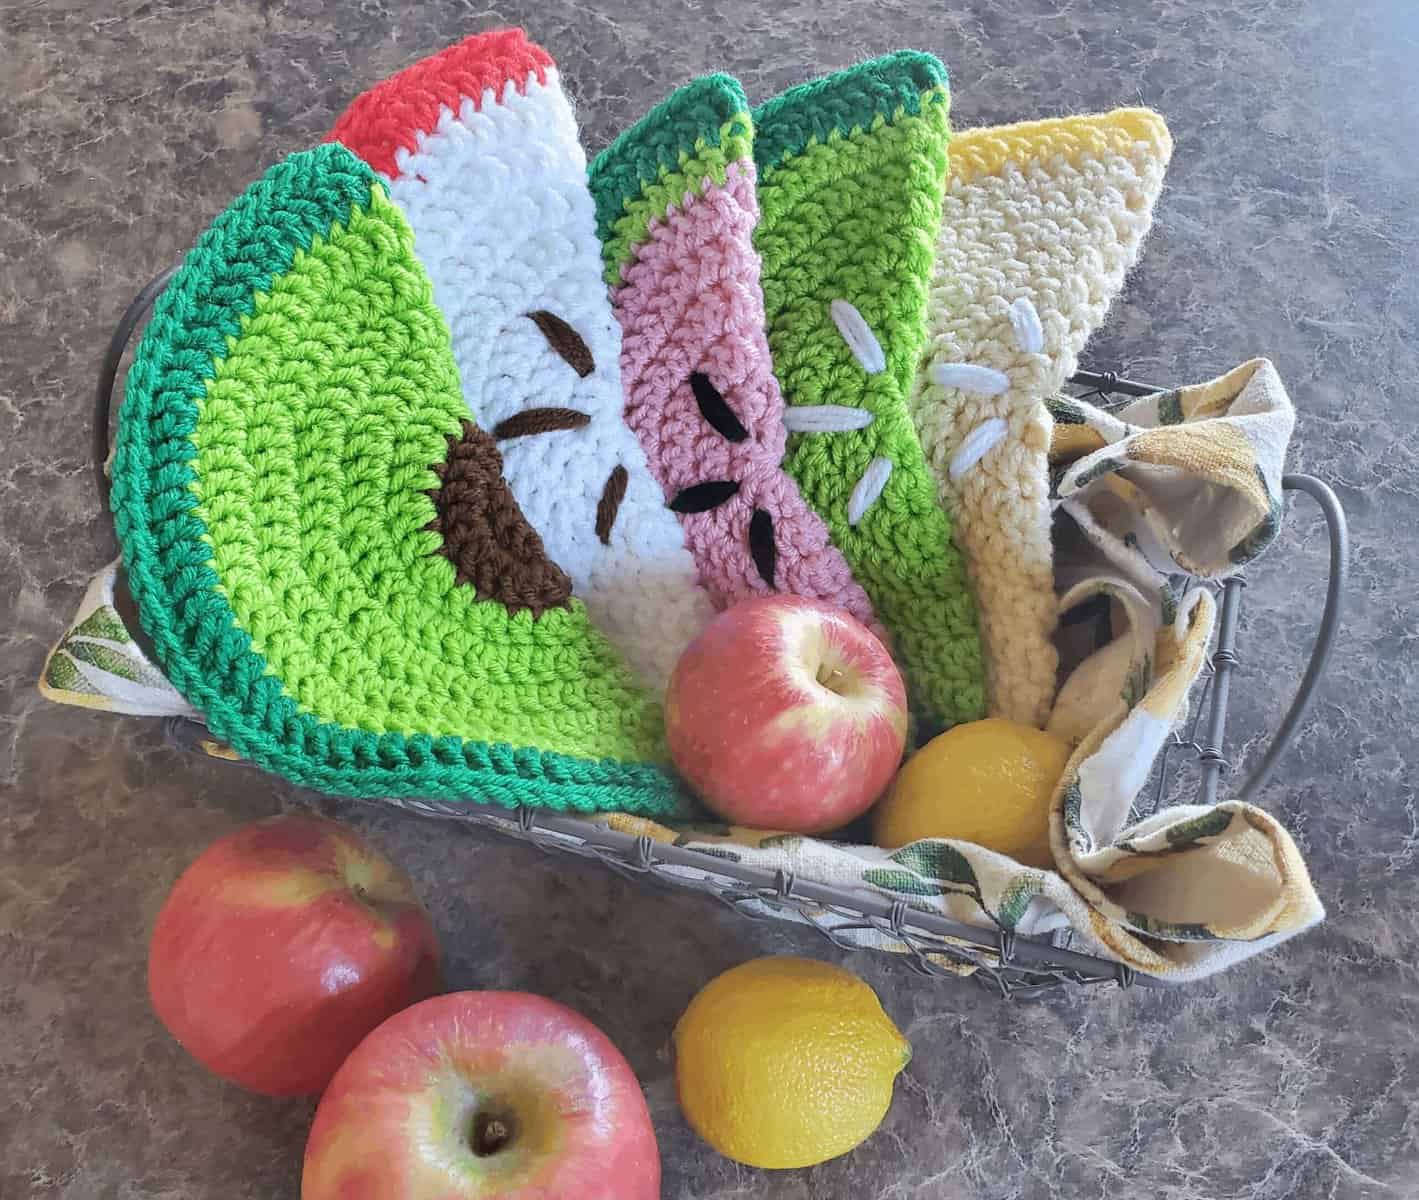
By changing up the colors for each row, you can create the appearance of different fruits.
I’ve created an avocado (which is technically a fruit!), lemon, lime, red apple, and watermelon – but I’m sure there are other fruit options that you can create.
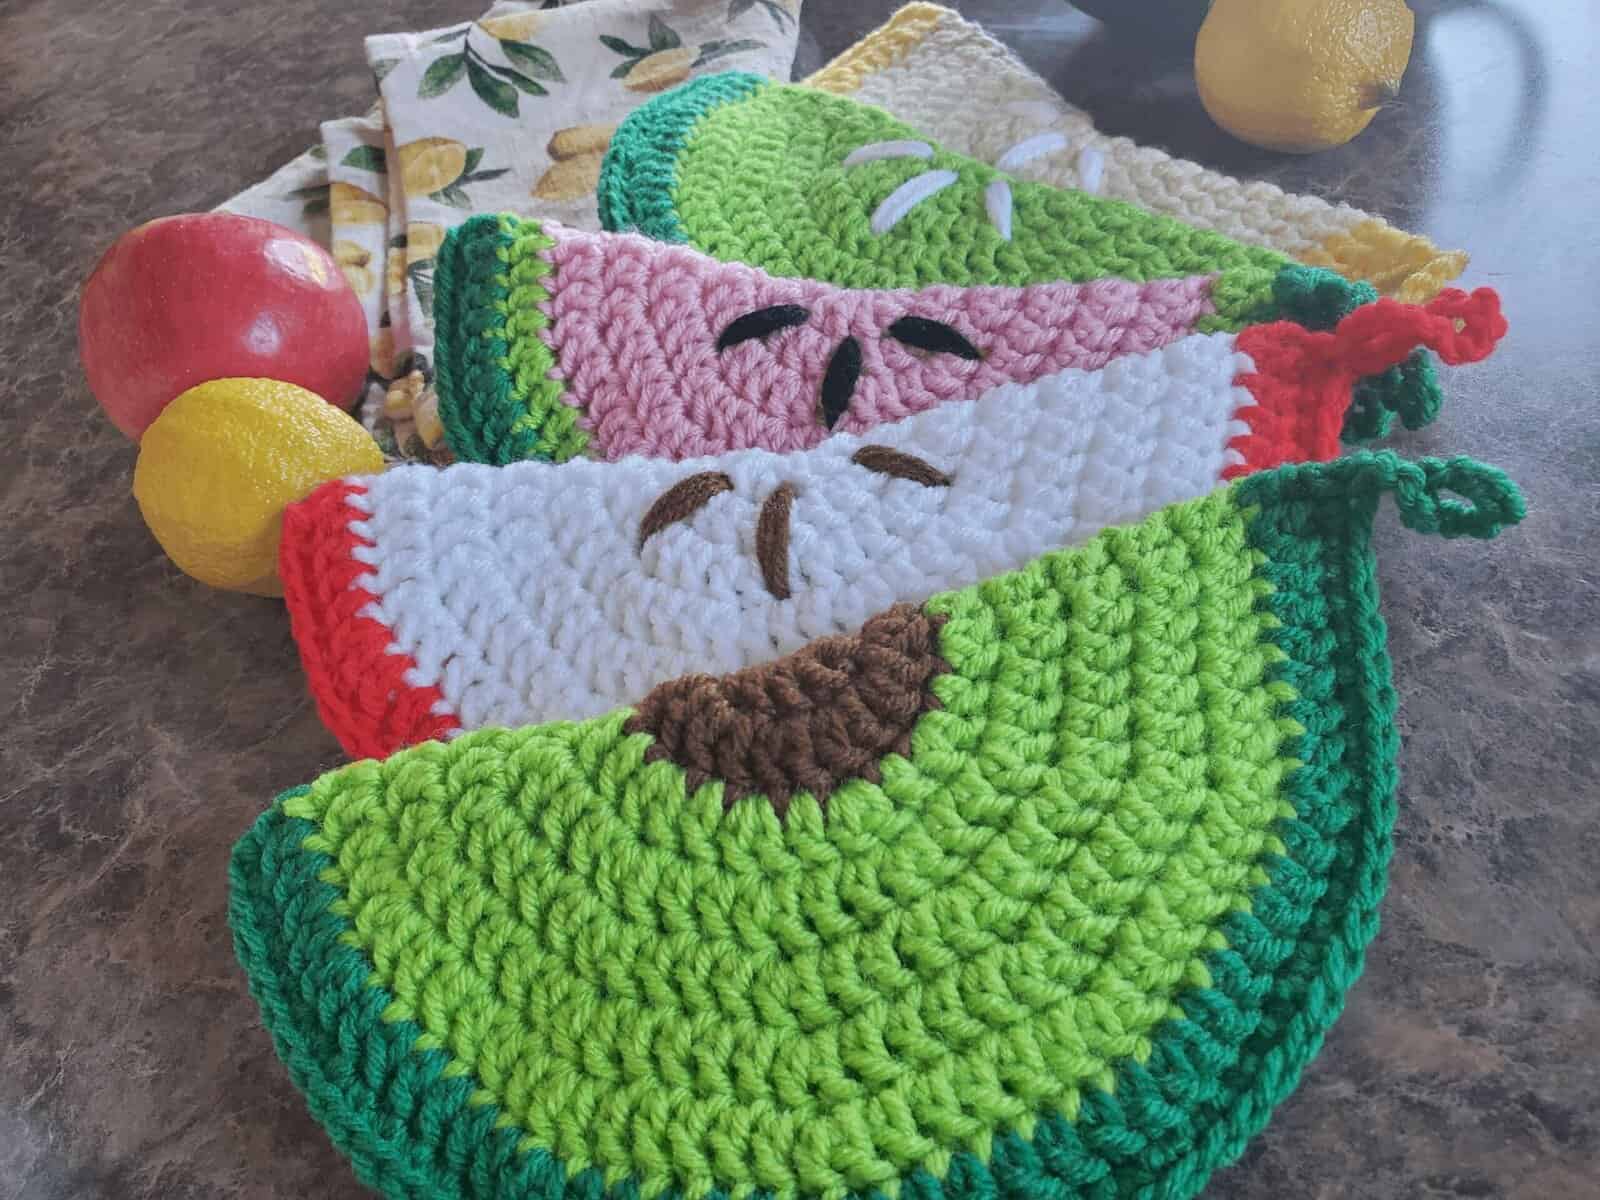
“Lay-Flat” Circle
The original post calls this pattern a “lay-flat” circle pot holder:
“Crocheting these potholders was one of my first projects as a little girl. ‘Lay Flat’ means just that. As you are crocheting a circle, be sure the circle will lay flat on a surface.”
To do this, we’ll be working in the round and primarily with double crochet stitches.
This project is very beginner-friendly and easy-to-follow steps, but I highly recommend you have a little experience working in the round, creating double crochet stitches, and changing colors.
If you need a brush-up, check out our Glossary of Crochet Stitches!
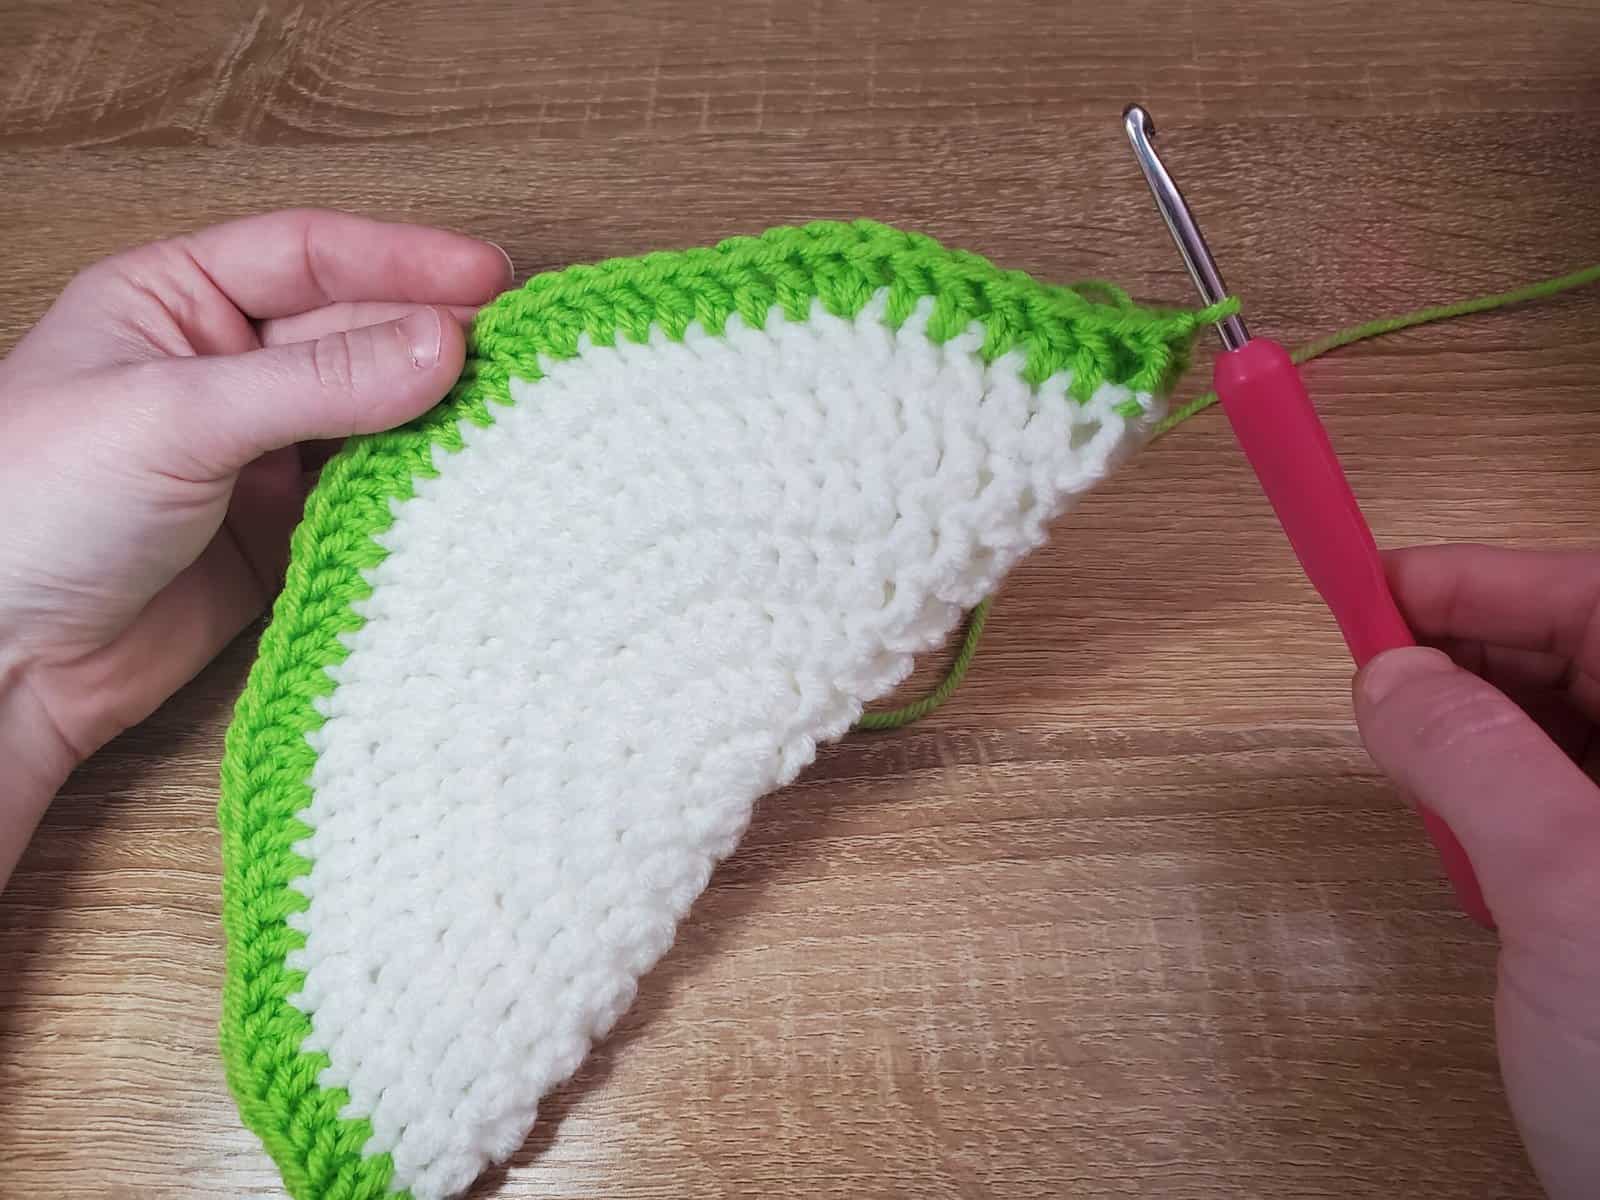
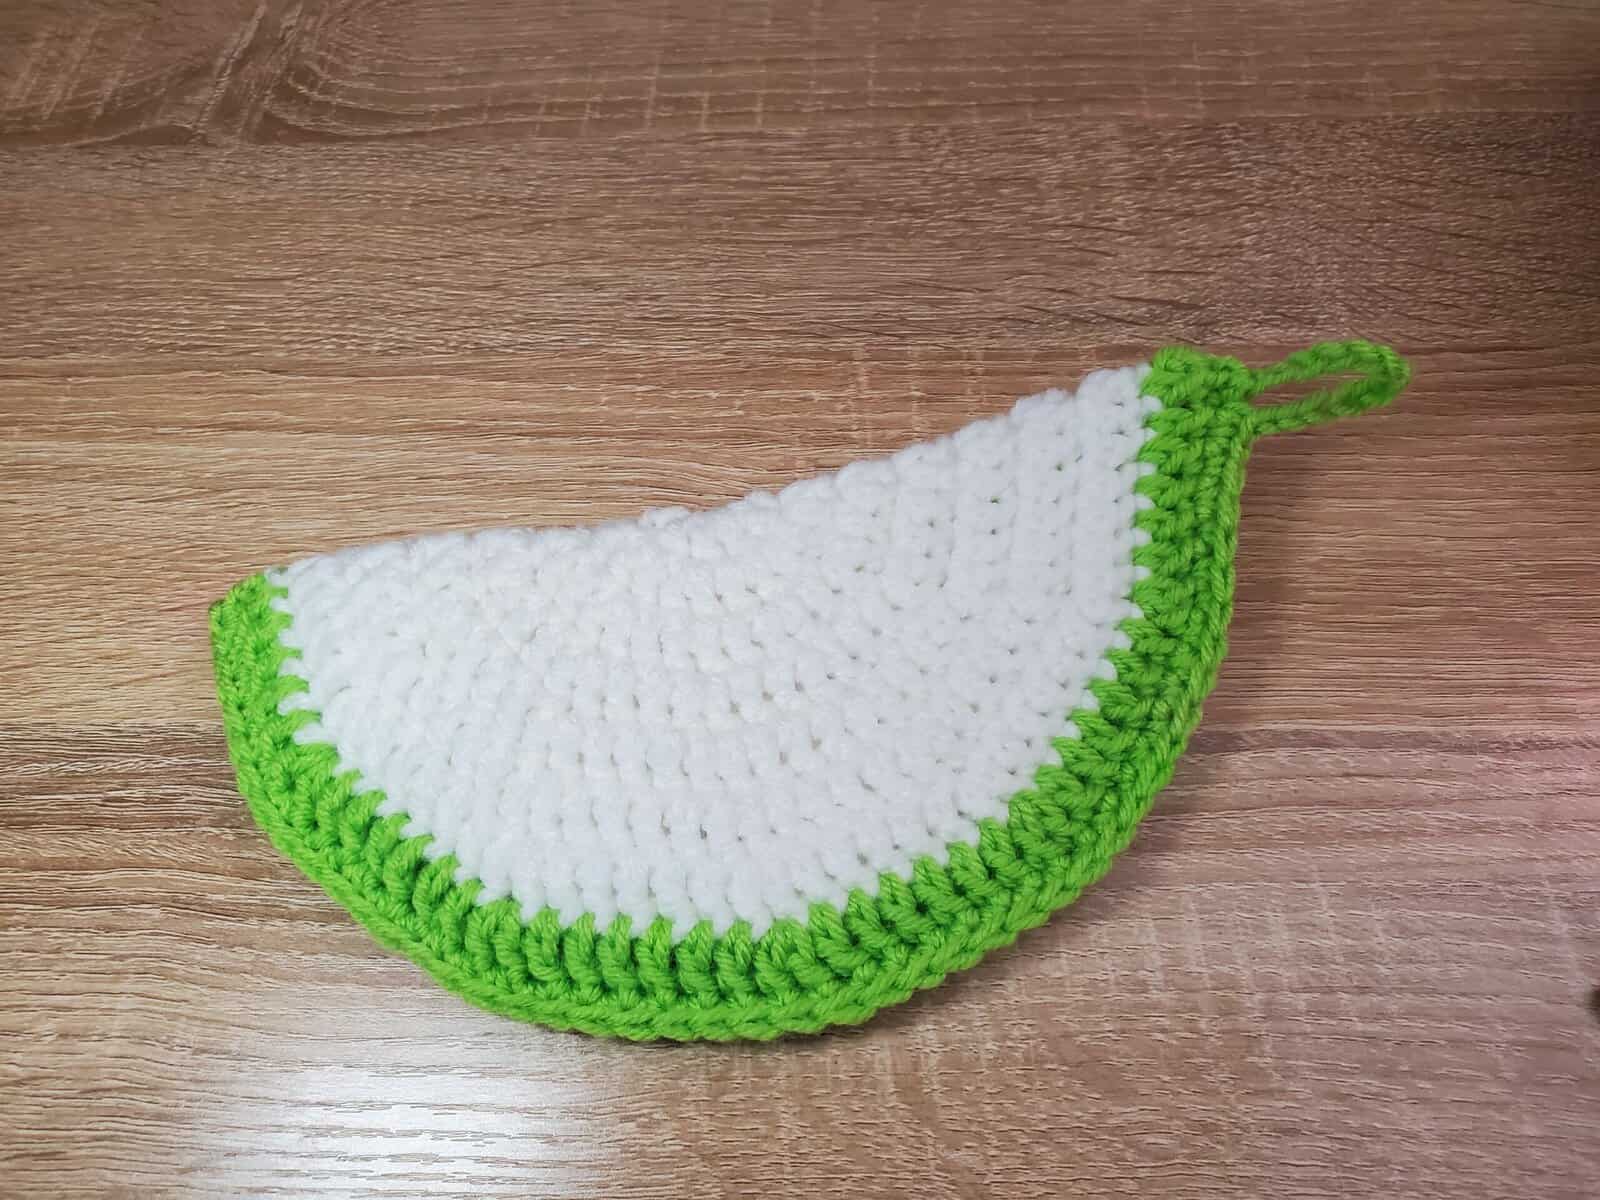
The last row of the project involves folding the circle pot holder in half and then single crocheting the sides together to create the half-circle “slice” of fruit.
Different Fruits Color Schemes
As I mentioned above, the colors that you use will dictate what fruit you will be making! I’ve made a quick color cheat sheet to help you create all of the fruits that I’ve made.
You’ll need these colors of yarn before you begin:
Avocado
R1-R2: Brown
R3-R7: Light Green
R8-R9: Dark Green
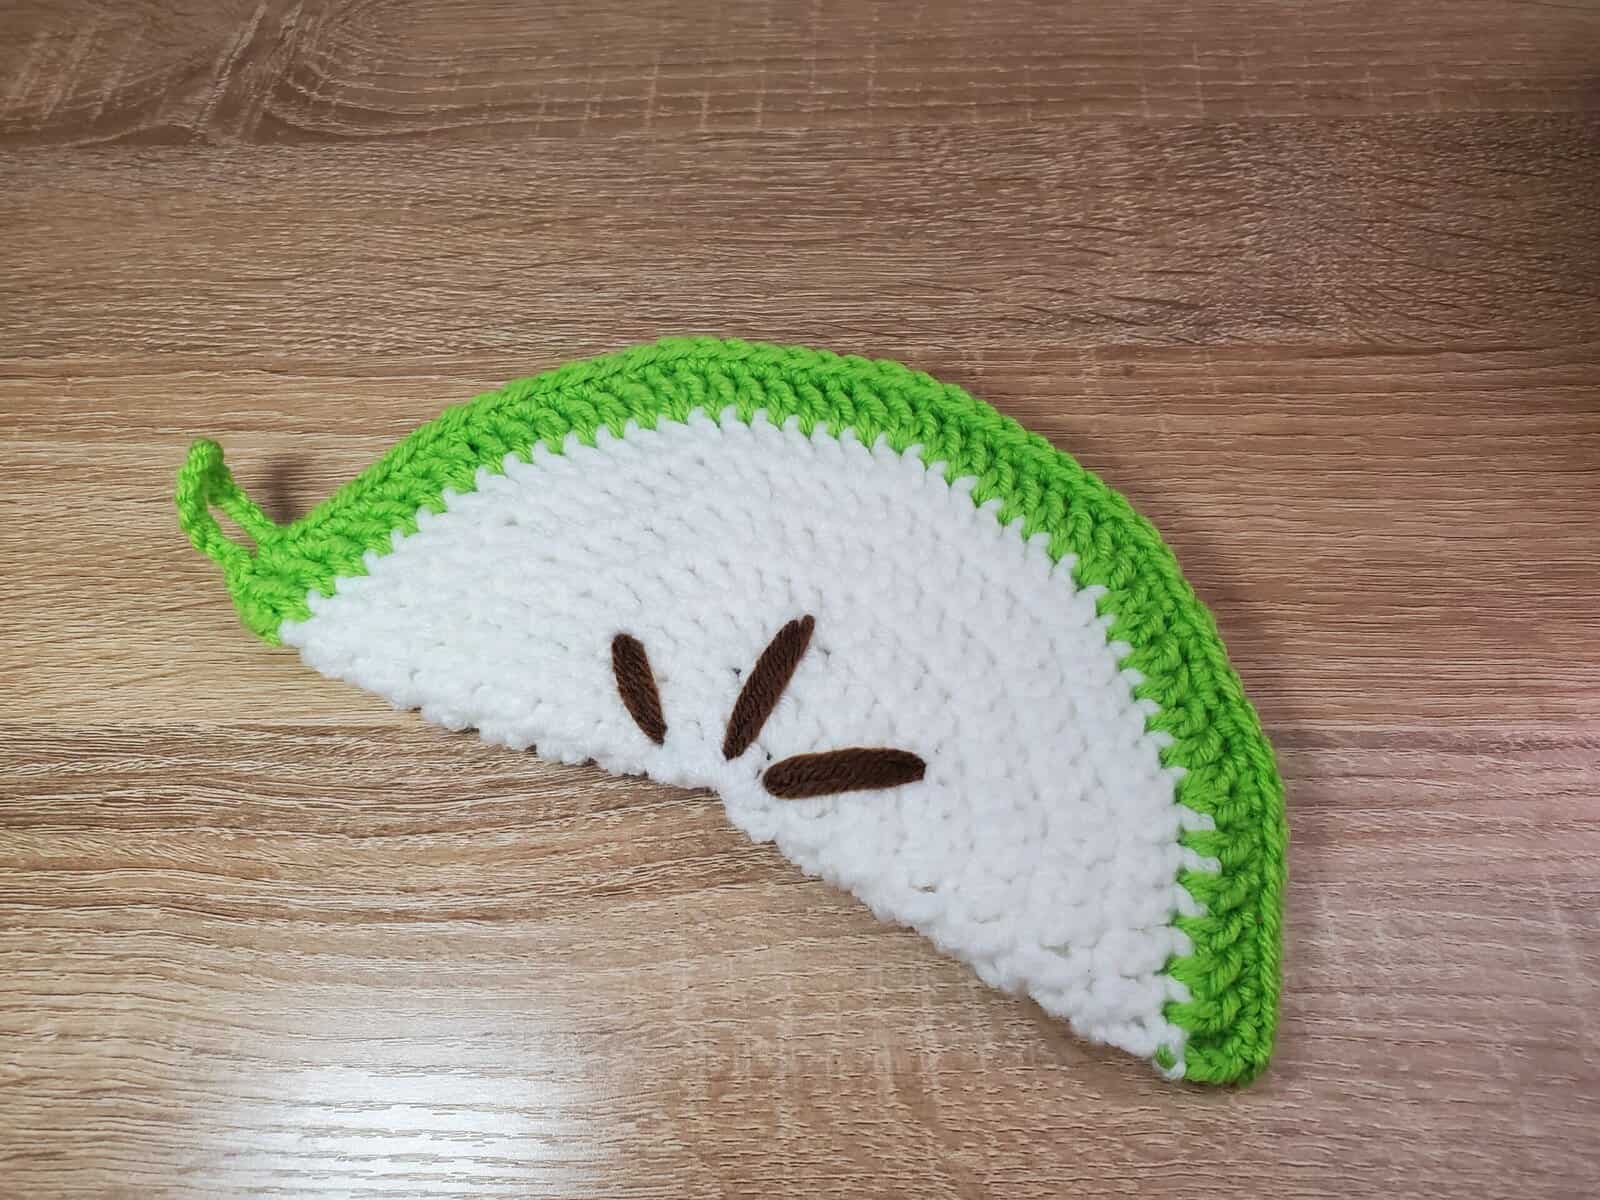
Red & Green Apple
R1-R7: White/Cream
R8-R9: Red or Green
Seeds: Brown
Watermelon
R1-R6: Pink
R7: Light Green
R8-R9: Dark Green
Seeds: Black
Lemon & Lime
R1-R7: Light Green or Light Yellow
R8-R9: Dark Green or Dark Yellow
Seeds: White
Materials Needed
| worsted weight yarn in chosen colors (depends on the fruit you’re making) |
| 4mm crochet hook |
| tapestry needle |
Optional: While these pot holders are okay to use as they are in order to take a hot plate from the microwave or to lift a pot lid, if you plan to use them to take very hot pans from the oven, I recommend adding a bit of insulation.
You can use an insulating fabric, like Insul-Bright, to line the inside.
Simply cut the fabric and insert before R9 (where we’ll single-crochet the sides together). You can trace your potholder folded over to get the correct shape!
Abbreviations
Some of these may not be used in the pattern – these are the stitches that I use most frequently!
If you see an abbreviation that you are unfamiliar with, please refer back to this chart.
| ML | magic loop |
| R | row/round |
| st | stitch |
| slp st | slip stitch |
| ch | chain |
| sc | single crochet |
| hdc | half double crochet |
| dc | double crochet |
| tr | treble crochet |
| FLOsc | front loop only single crochet |
| FLOscdec | front loop only single crochet decrease |
| BLOsc | back loop only single crochet |
| BLOscdec | back loop only single crochet decrease |
| inc | increase |
| dec | decrease |
| * * | repeat |
| ( ) | number of sts in row or total rounds to crochet |
Getting Started
Once you’ve selected which fruit you’d like to make and have the correct color of yarn at the ready, we’ll follow a very simple pattern of increases.
For my example, I’ll be making the green apple pot holder. Be sure to refer back to the cheat sheet for which color to use for each row if you’re not making the green apple!
Start with white yarn (or whatever color you need).
R1: ML 12dc – slp st to top of ch to close the round (12)
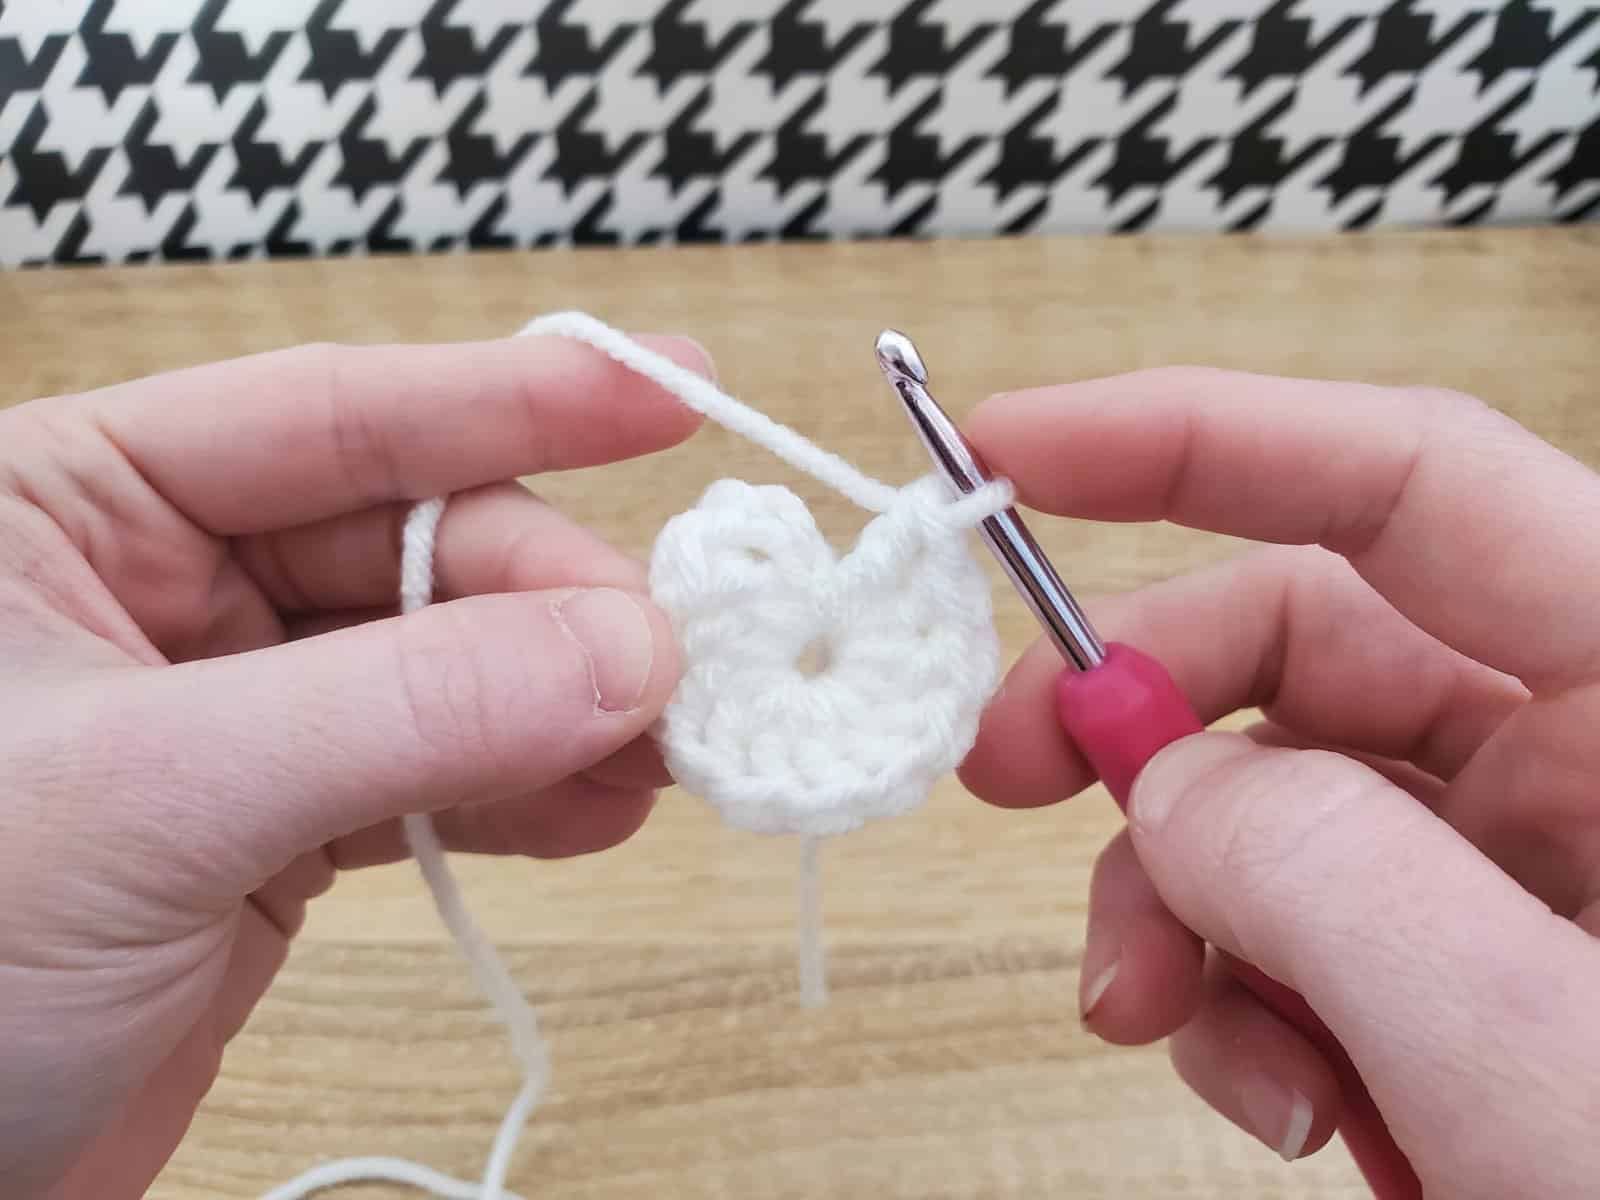
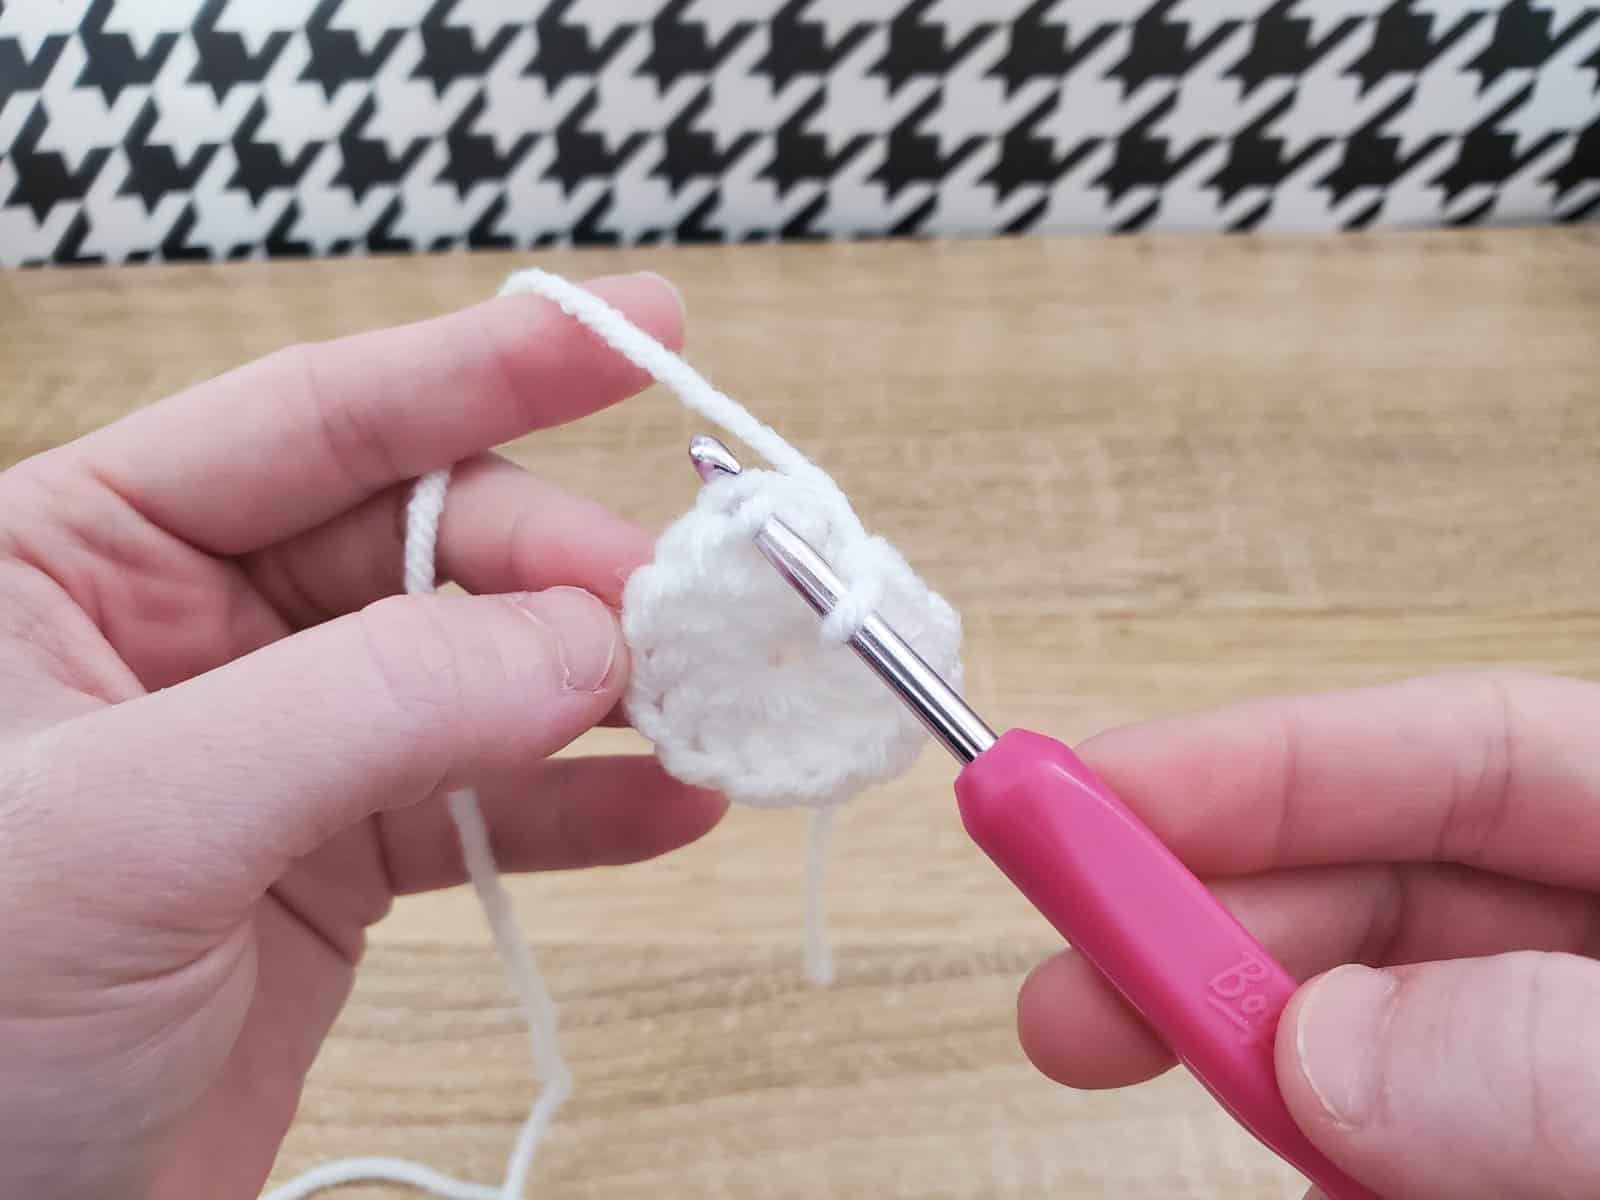
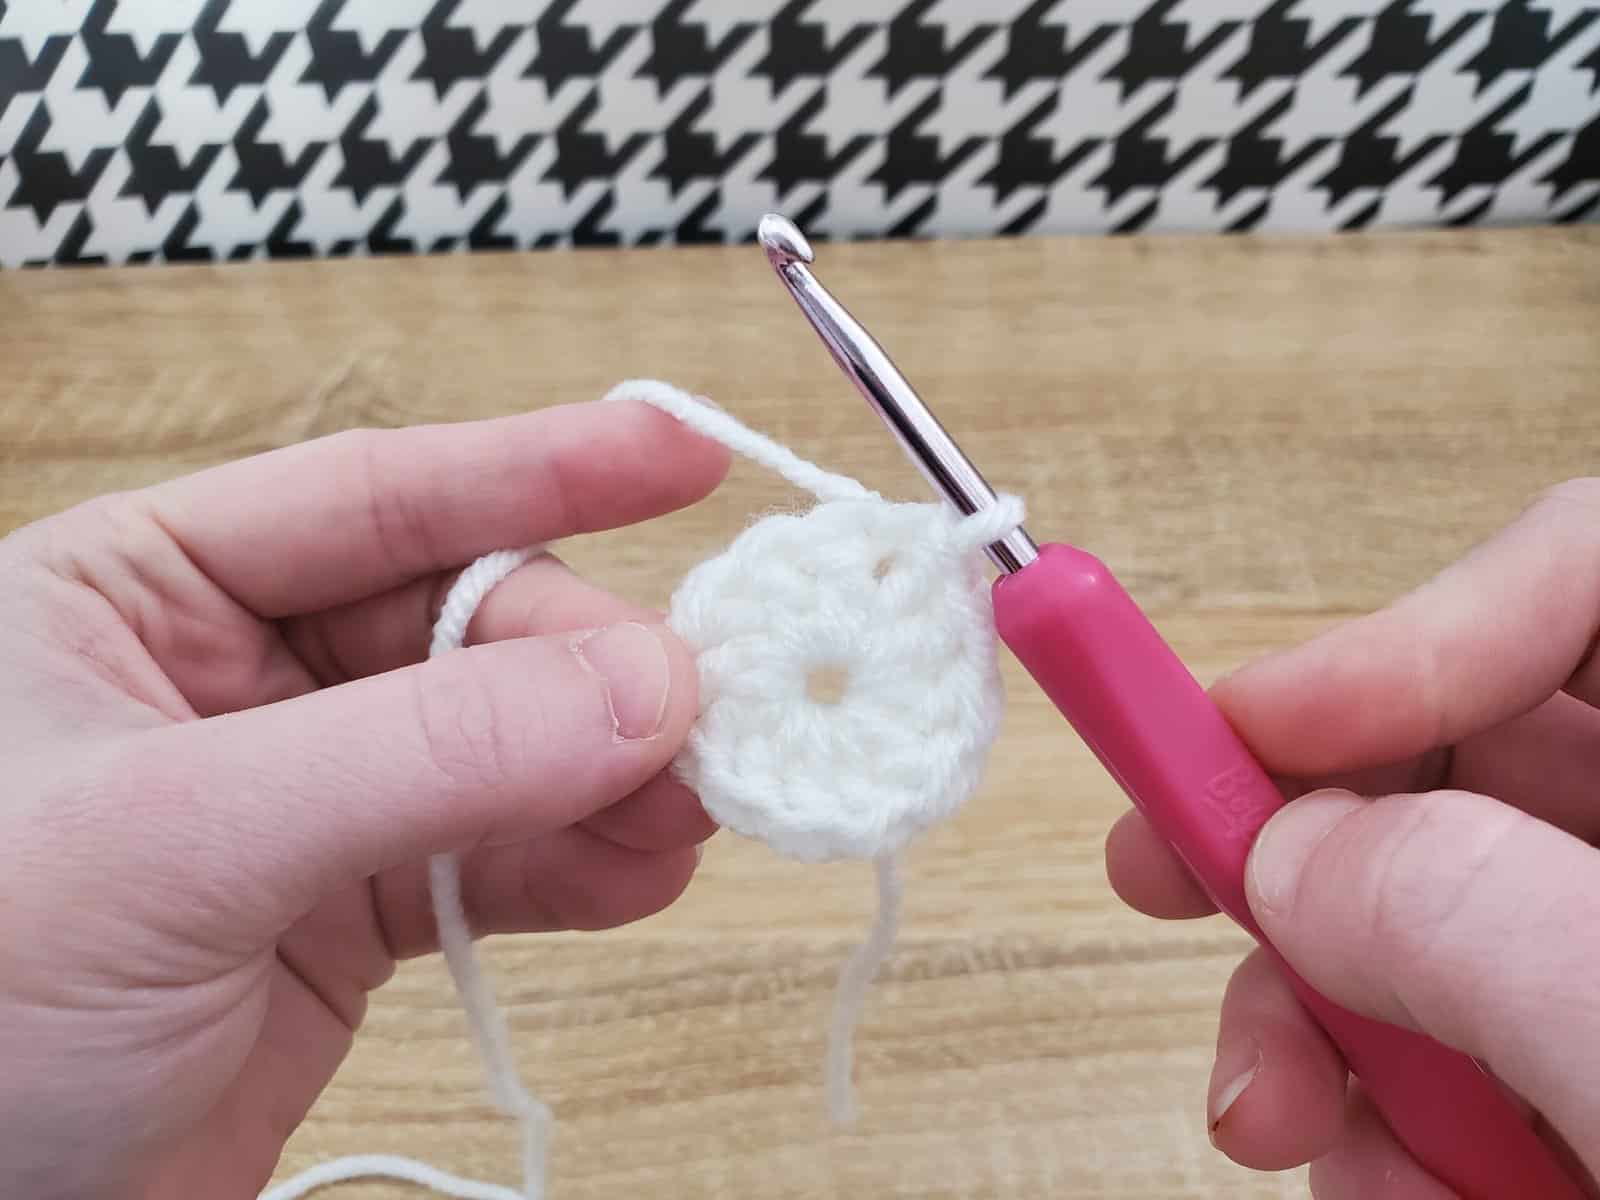
R2: Ch3, 1dc in same st as ch3, *2dc in each st* around, slp st to top of ch3 to close the round (24)
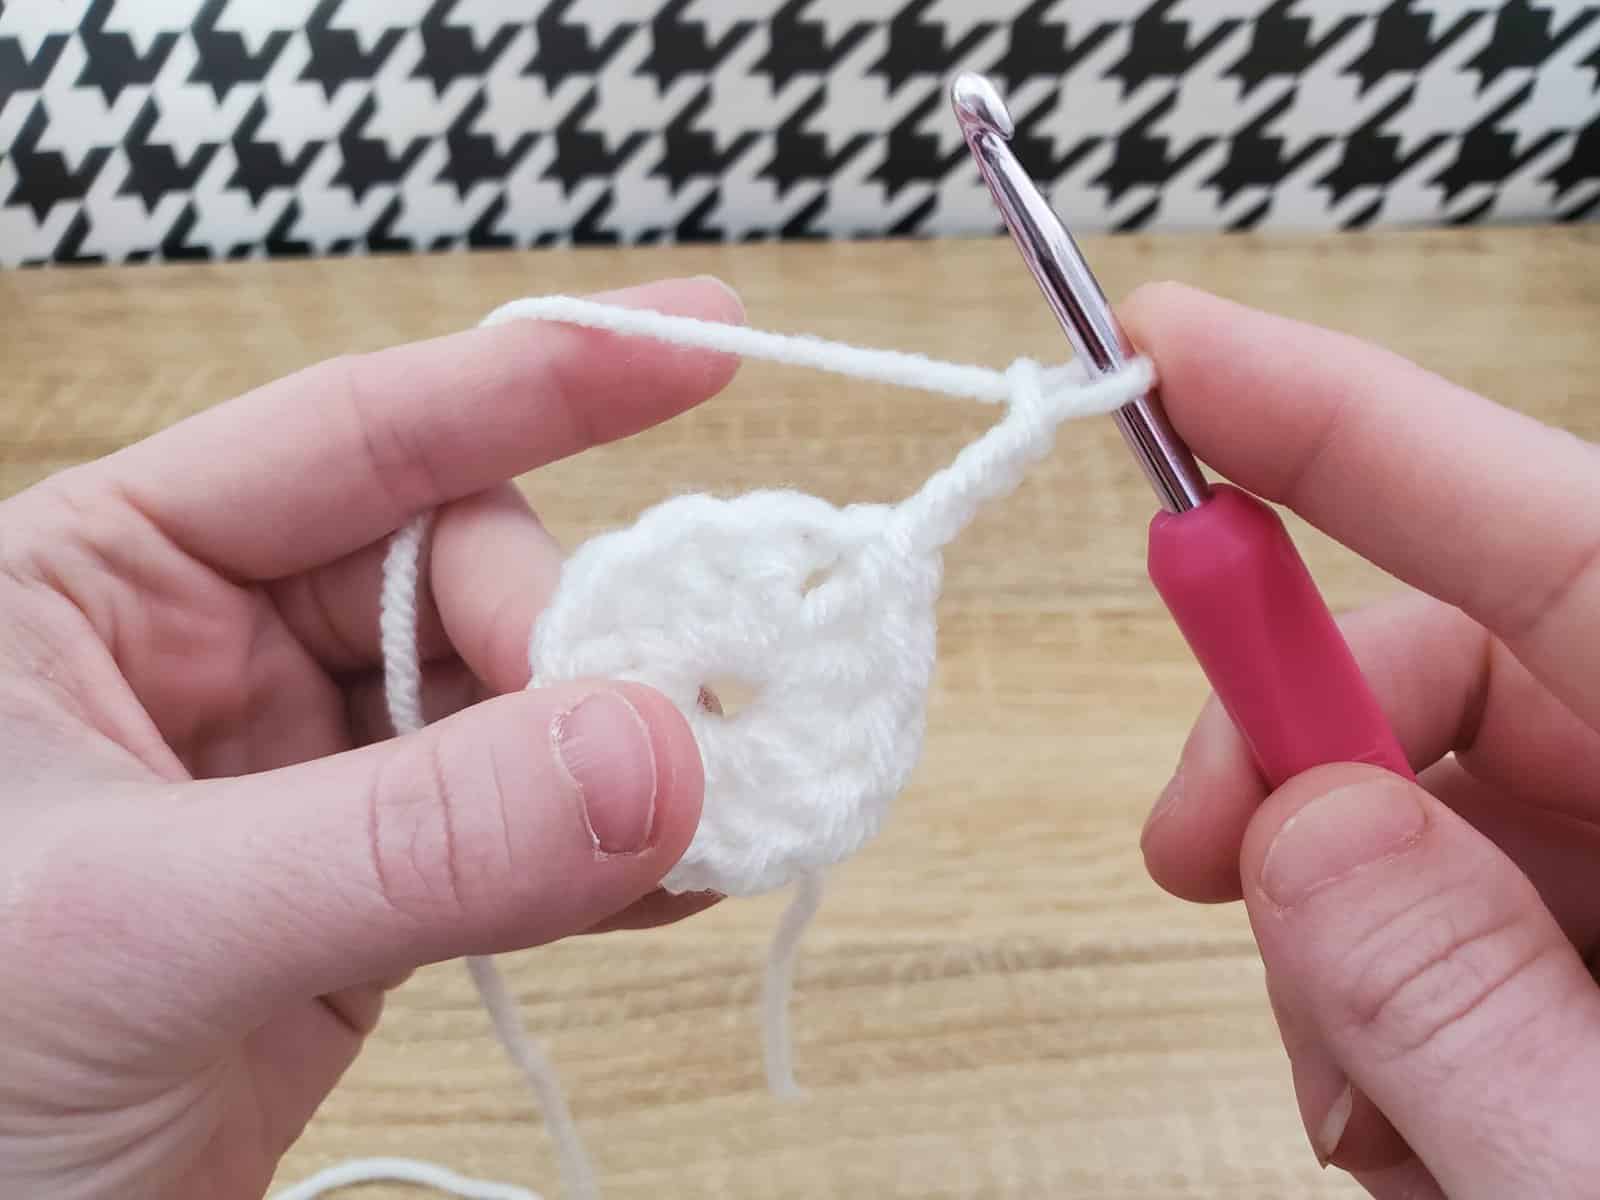
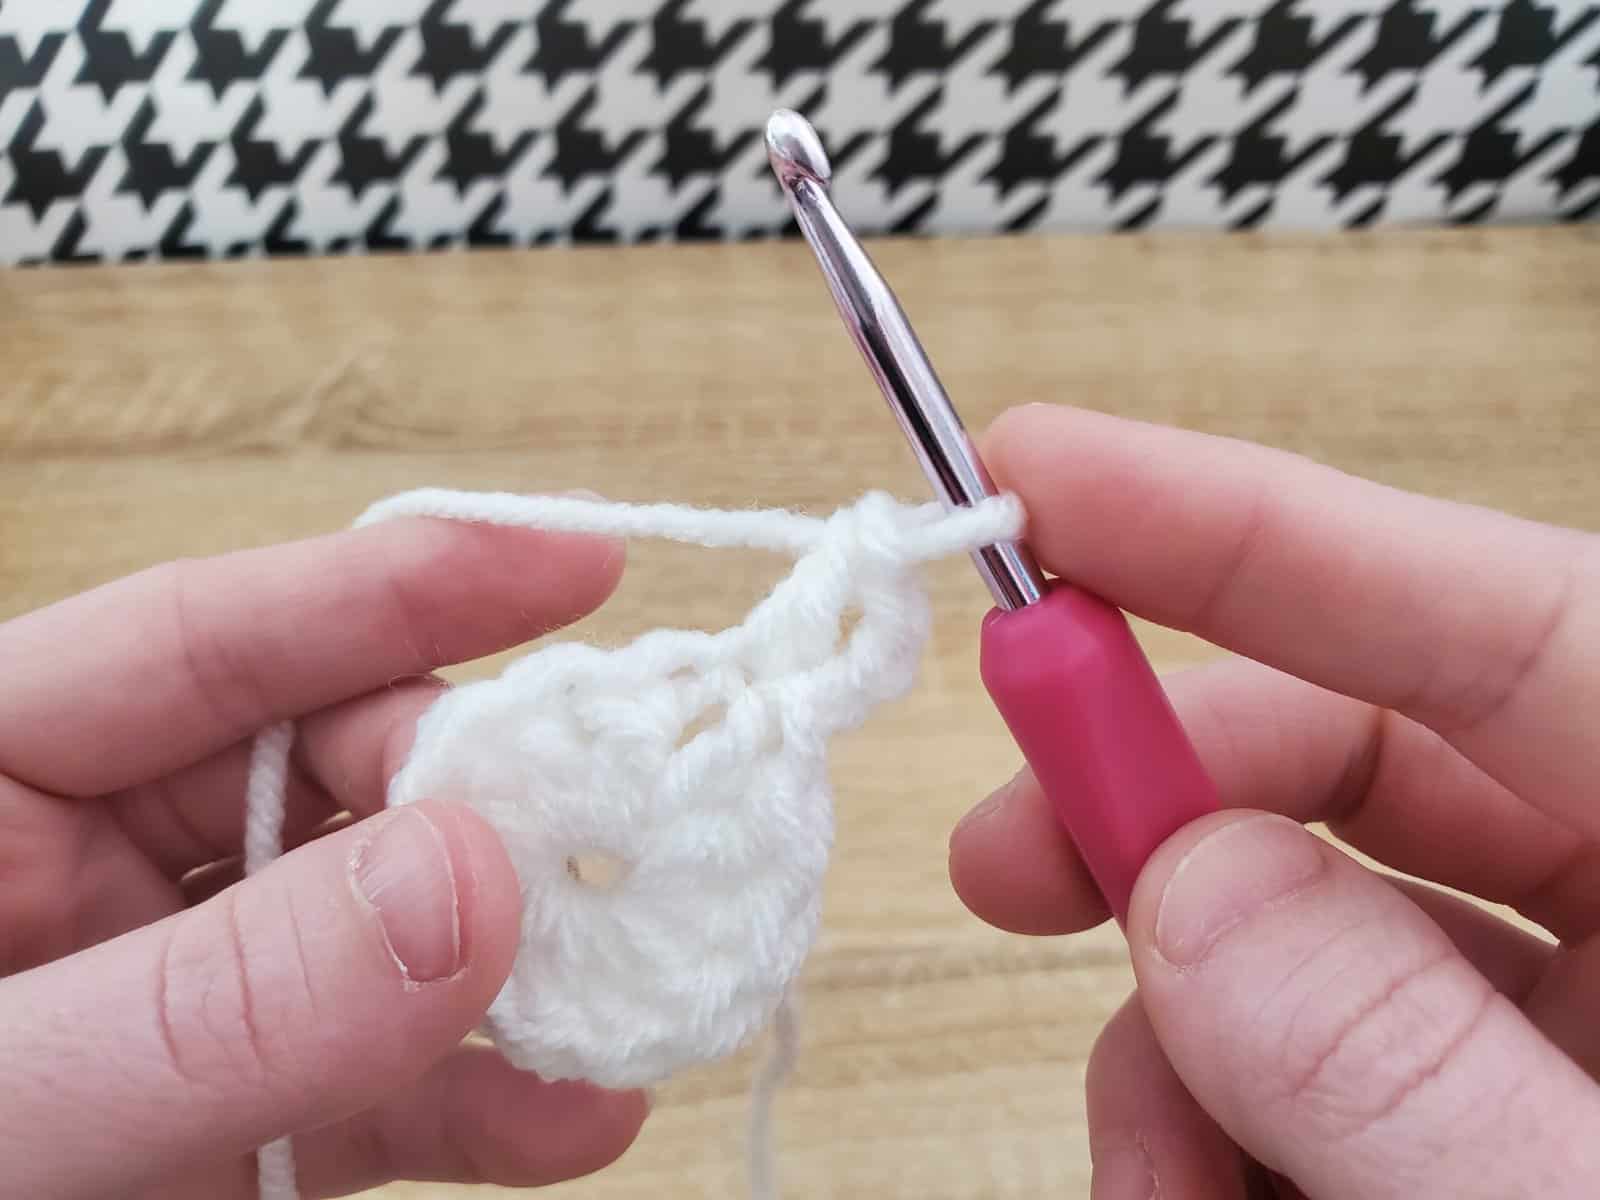
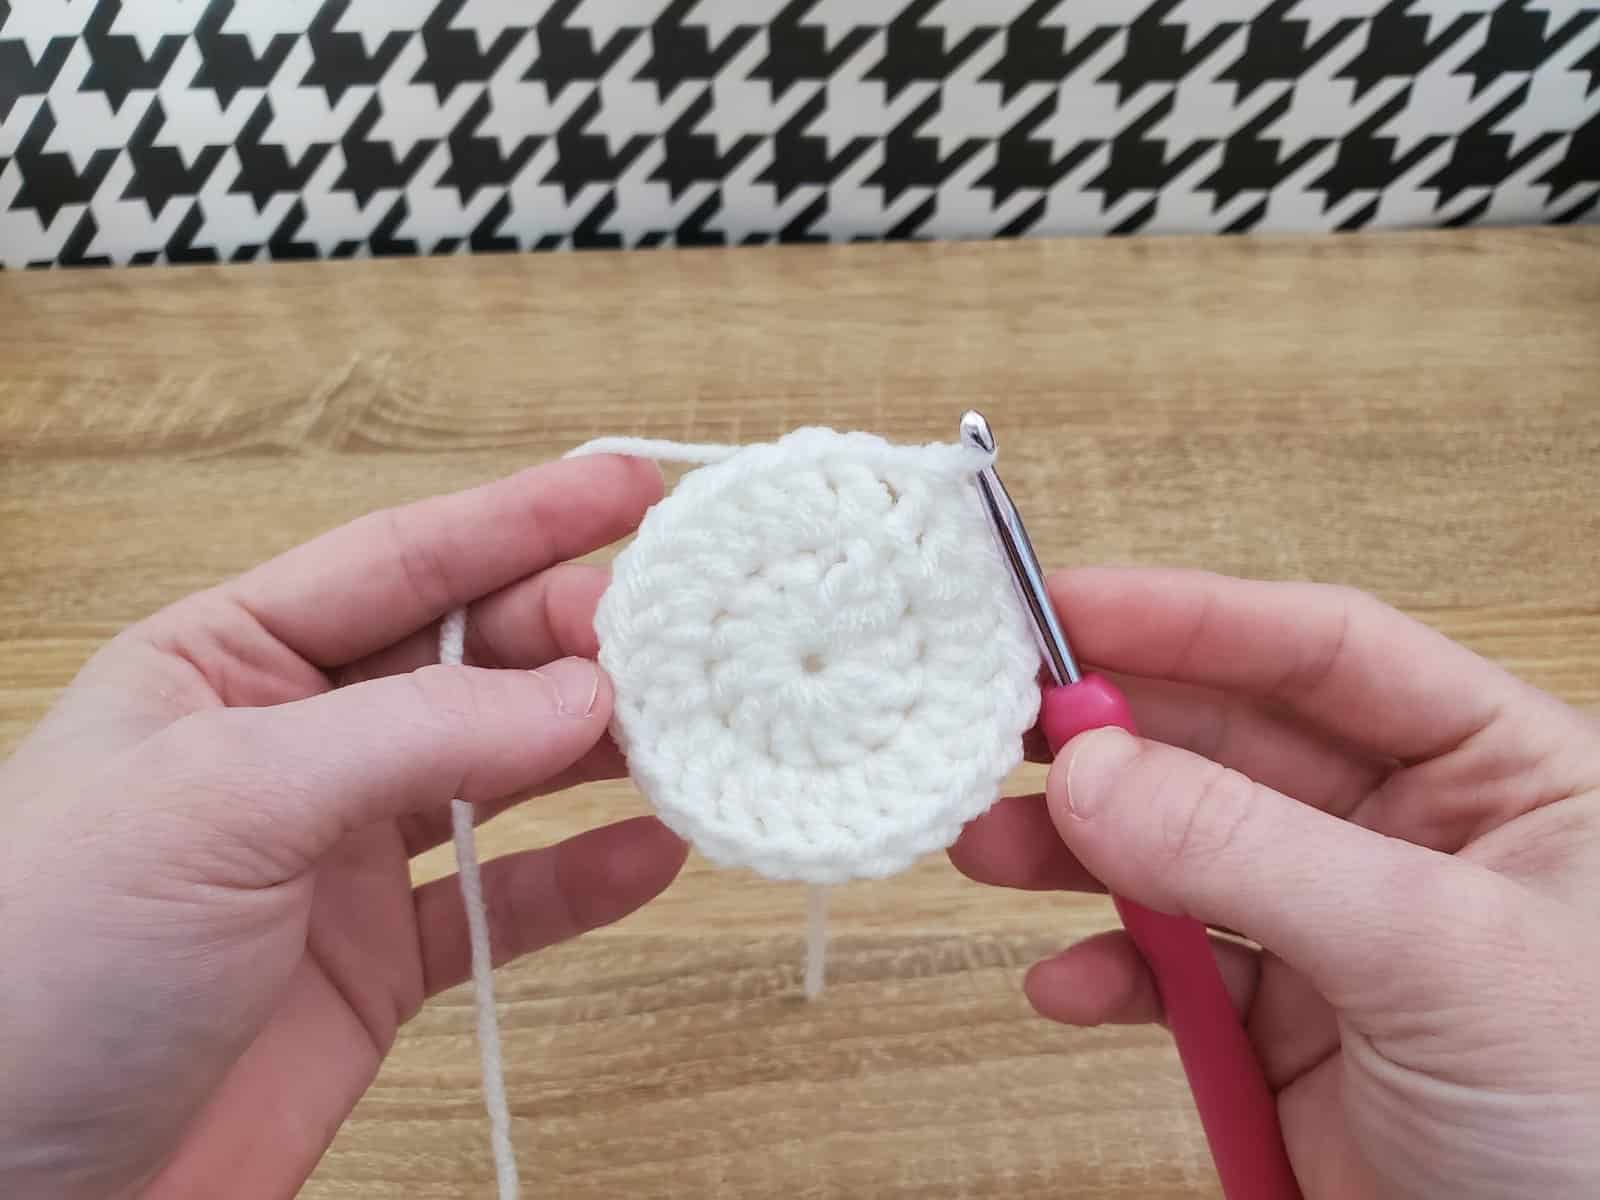
R3: Ch3, *2dc in same st, 1dc in next st* around, slp st to top of ch3 to close the round (36)
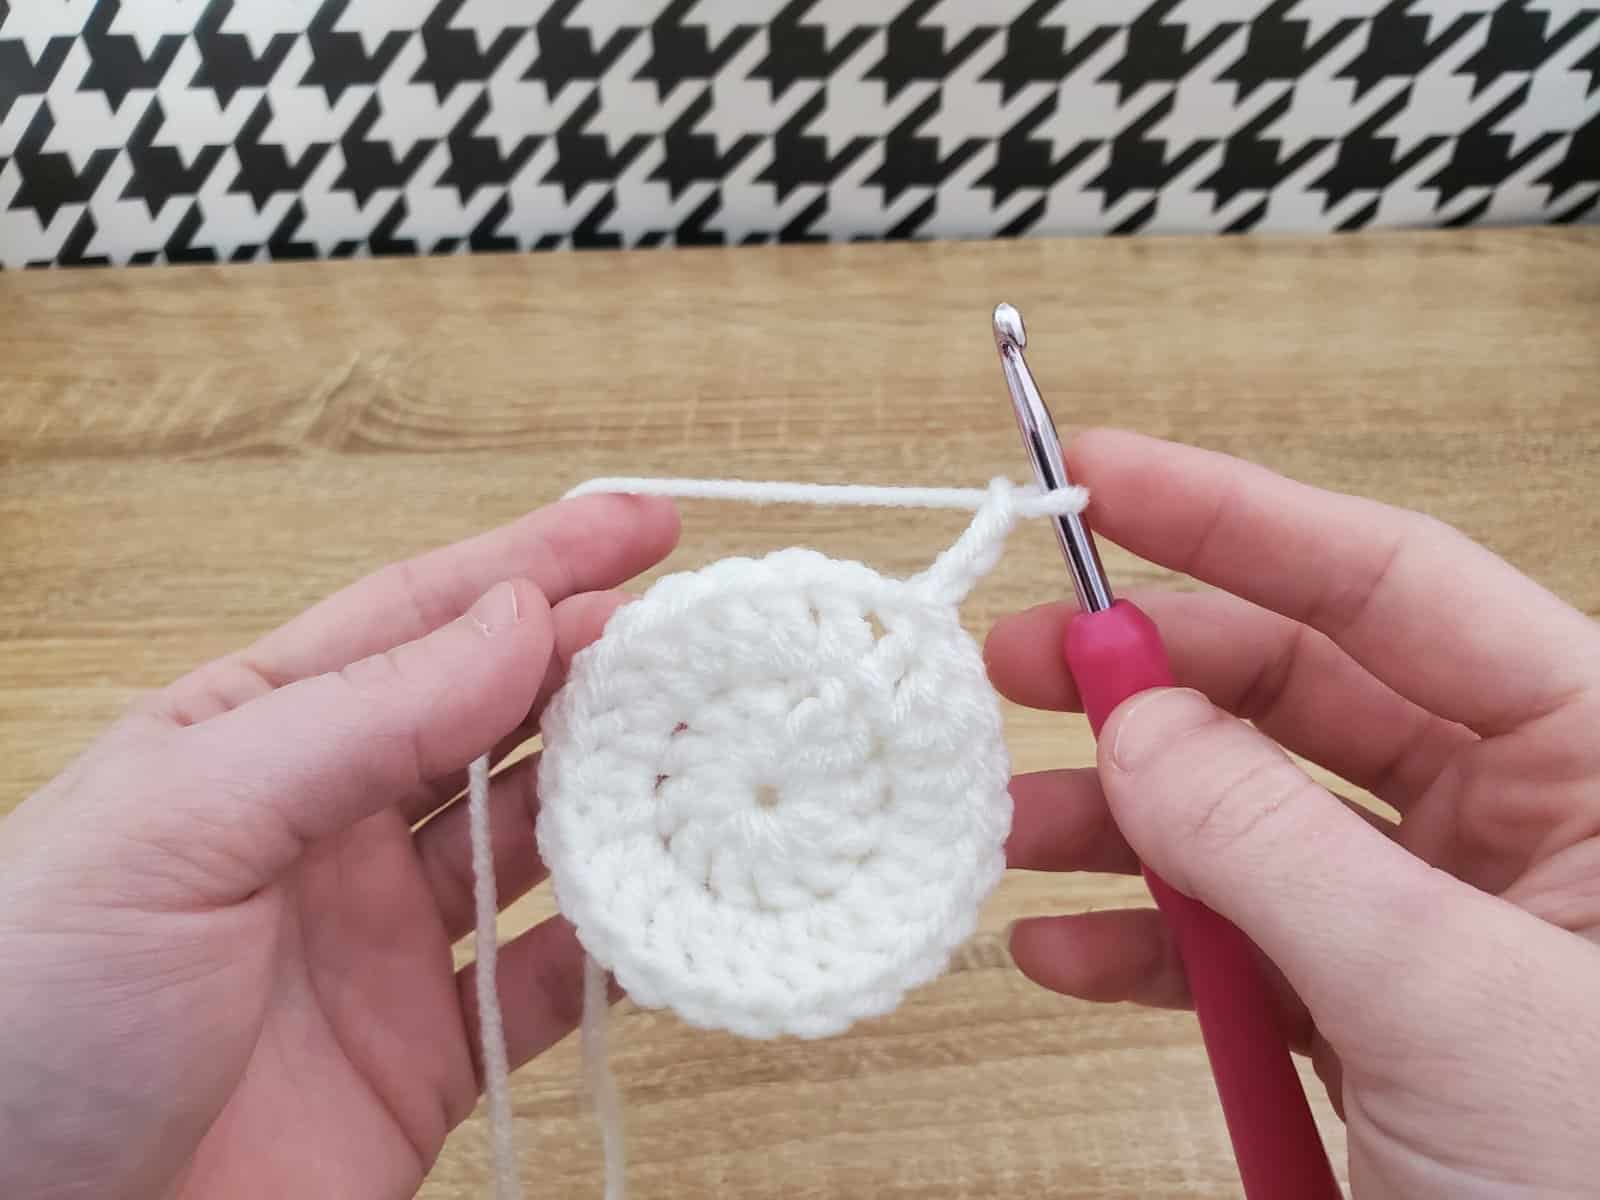

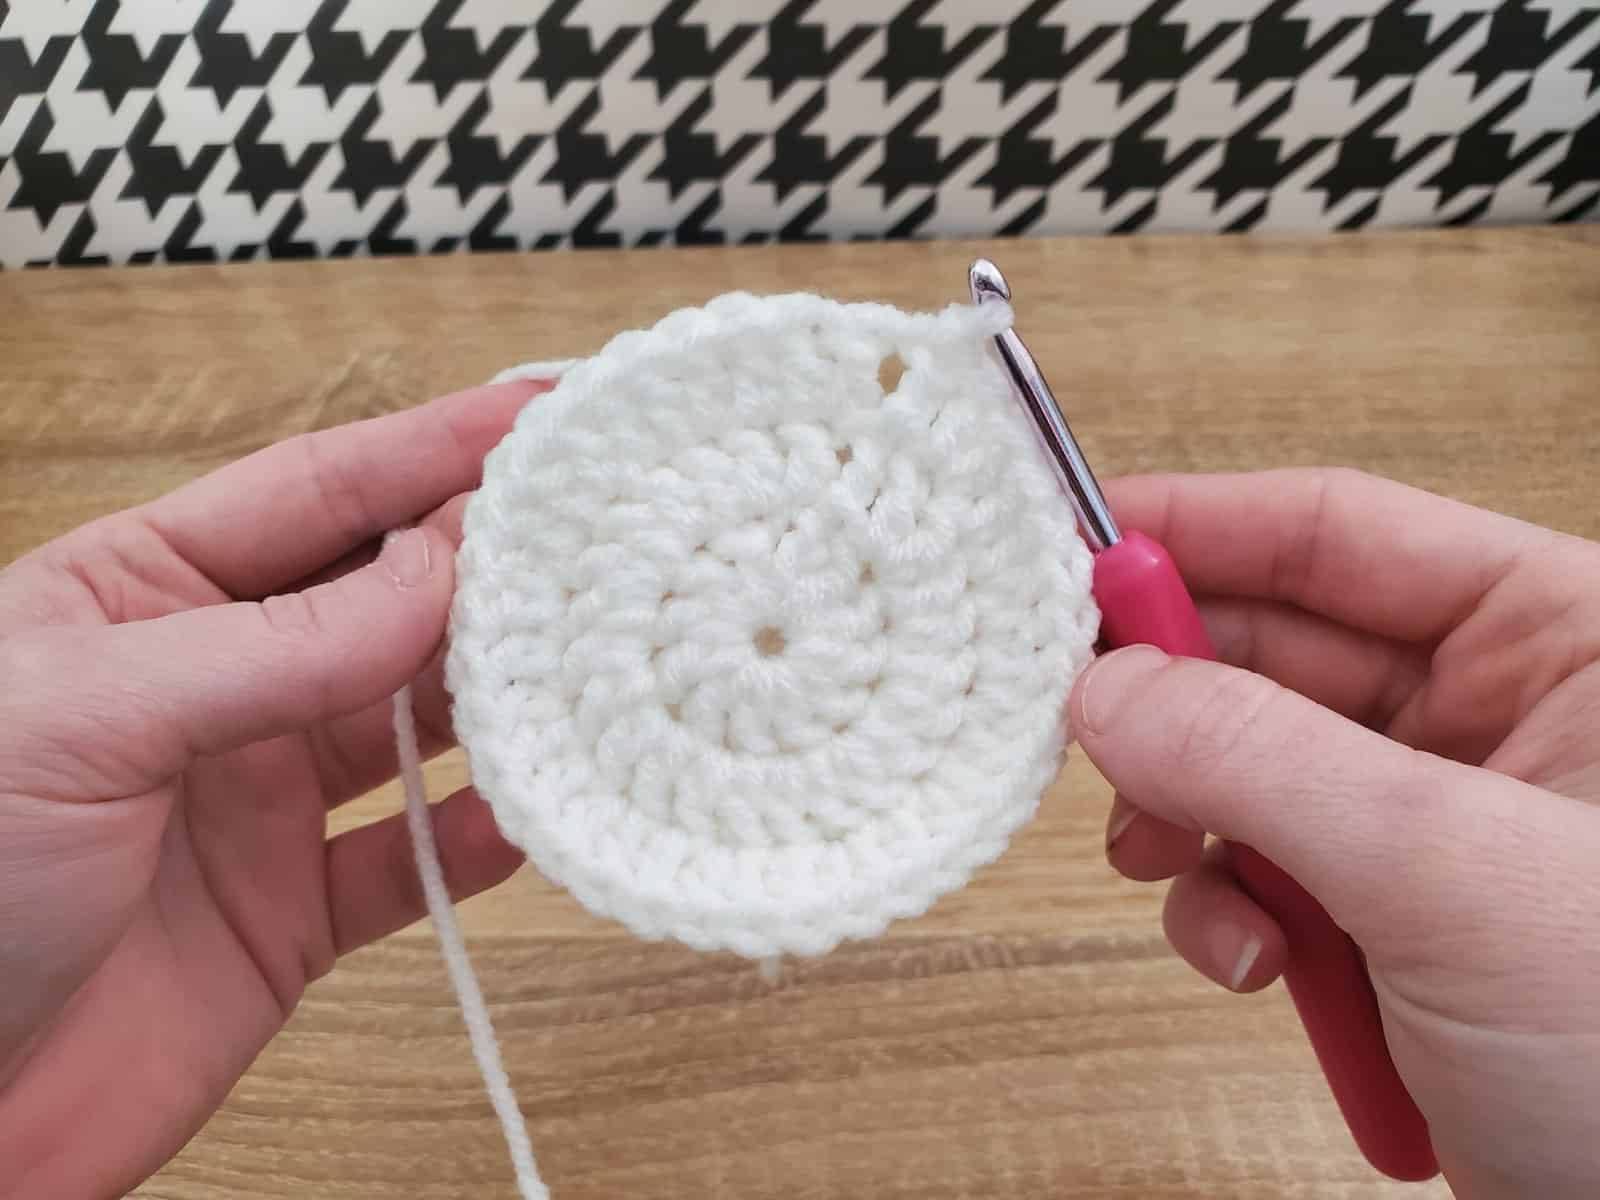
R4: Ch3, 1dc in next st, *2dc in same st, 1dc in next 2 sts* around, slp st to top of ch3 to close the round (48)
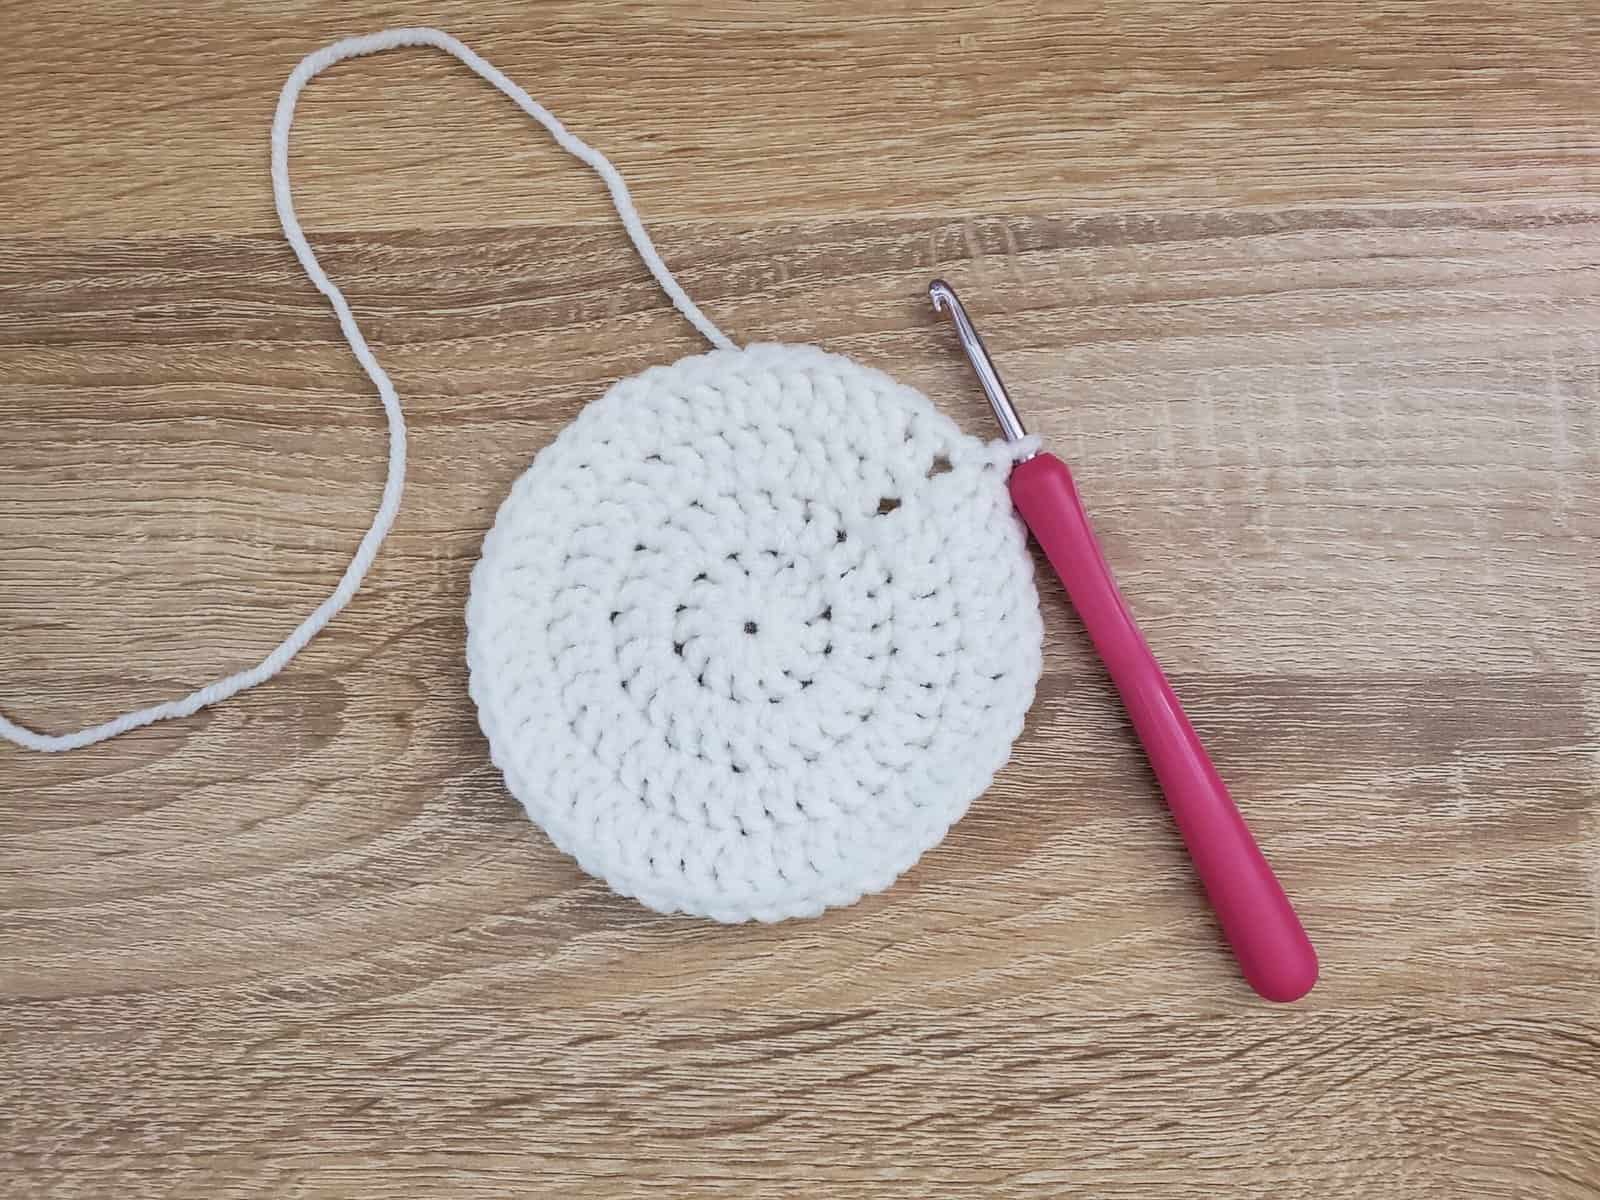
R5: Ch3, 1dc in next 2sts, *2dc in same st, 1dc in next 3 sts* around, slp st to top of ch3 to close the round (60)
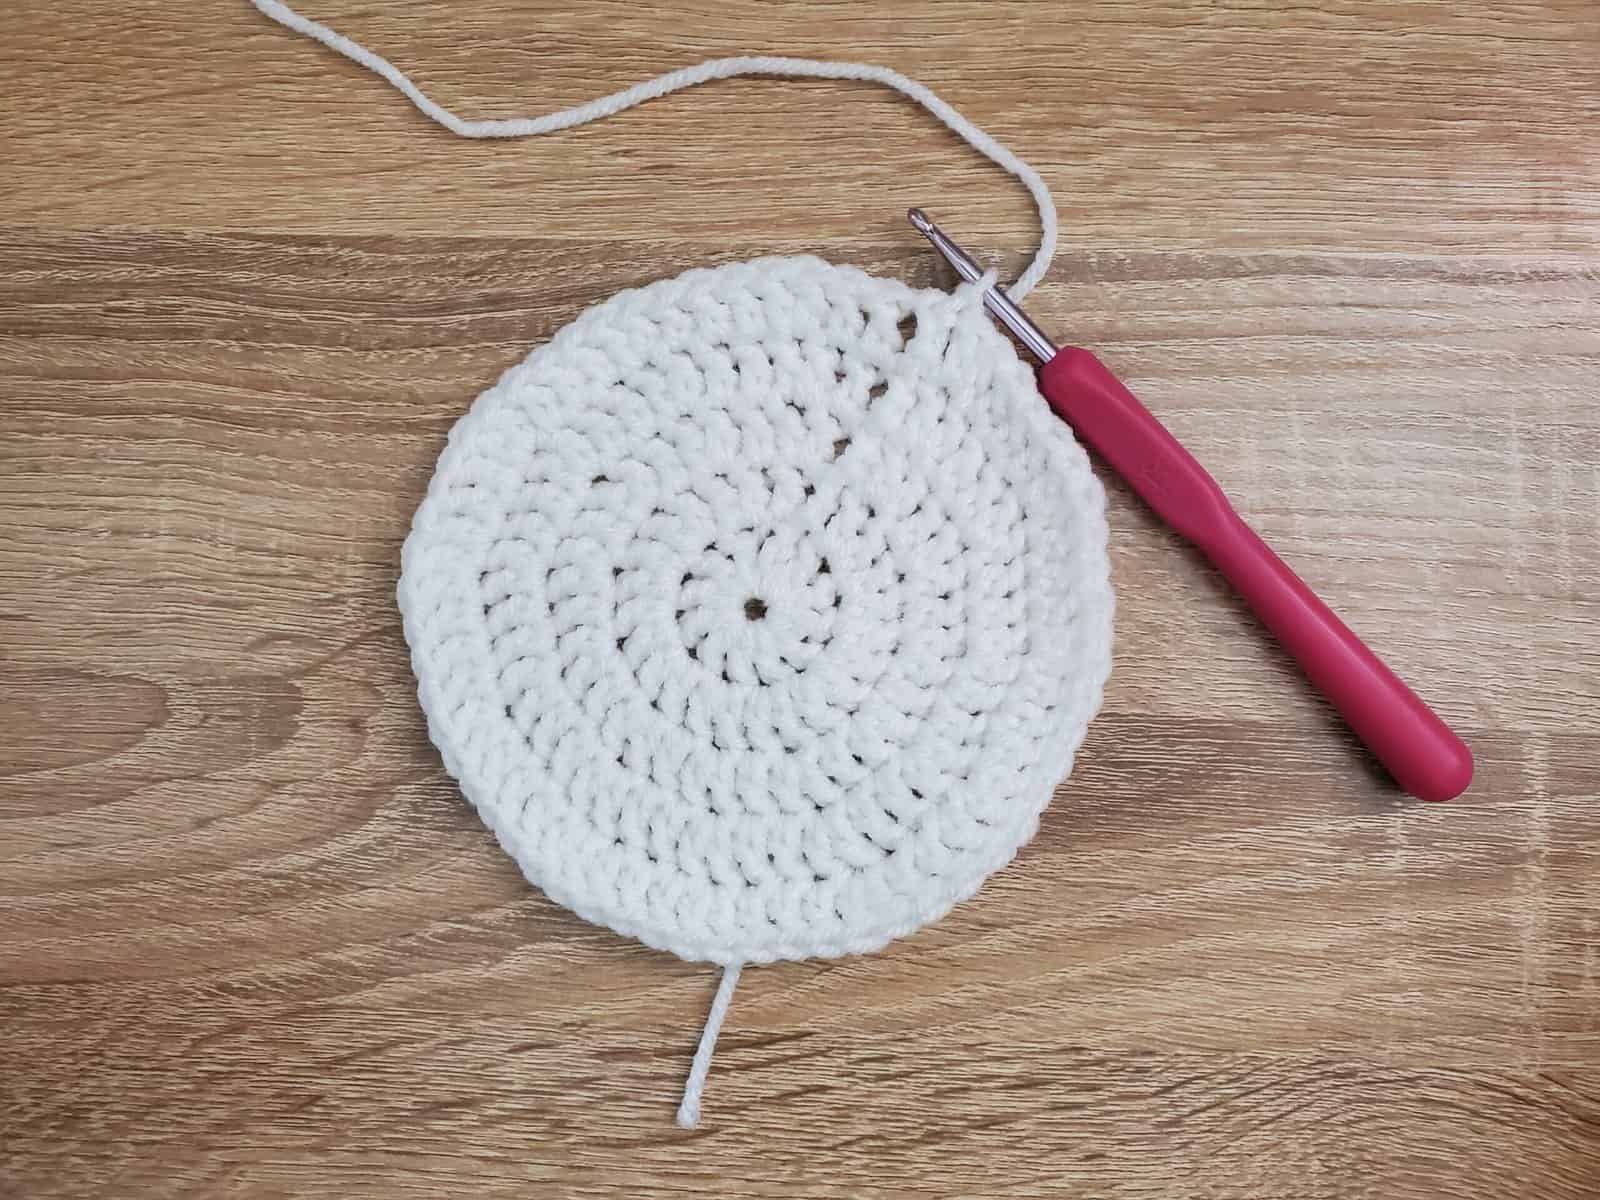
R6: Ch3, 1dc in next 3sts, *2dc in same st, 1dc in next 4 sts* around, slp st to top of ch3 to close the round (72)
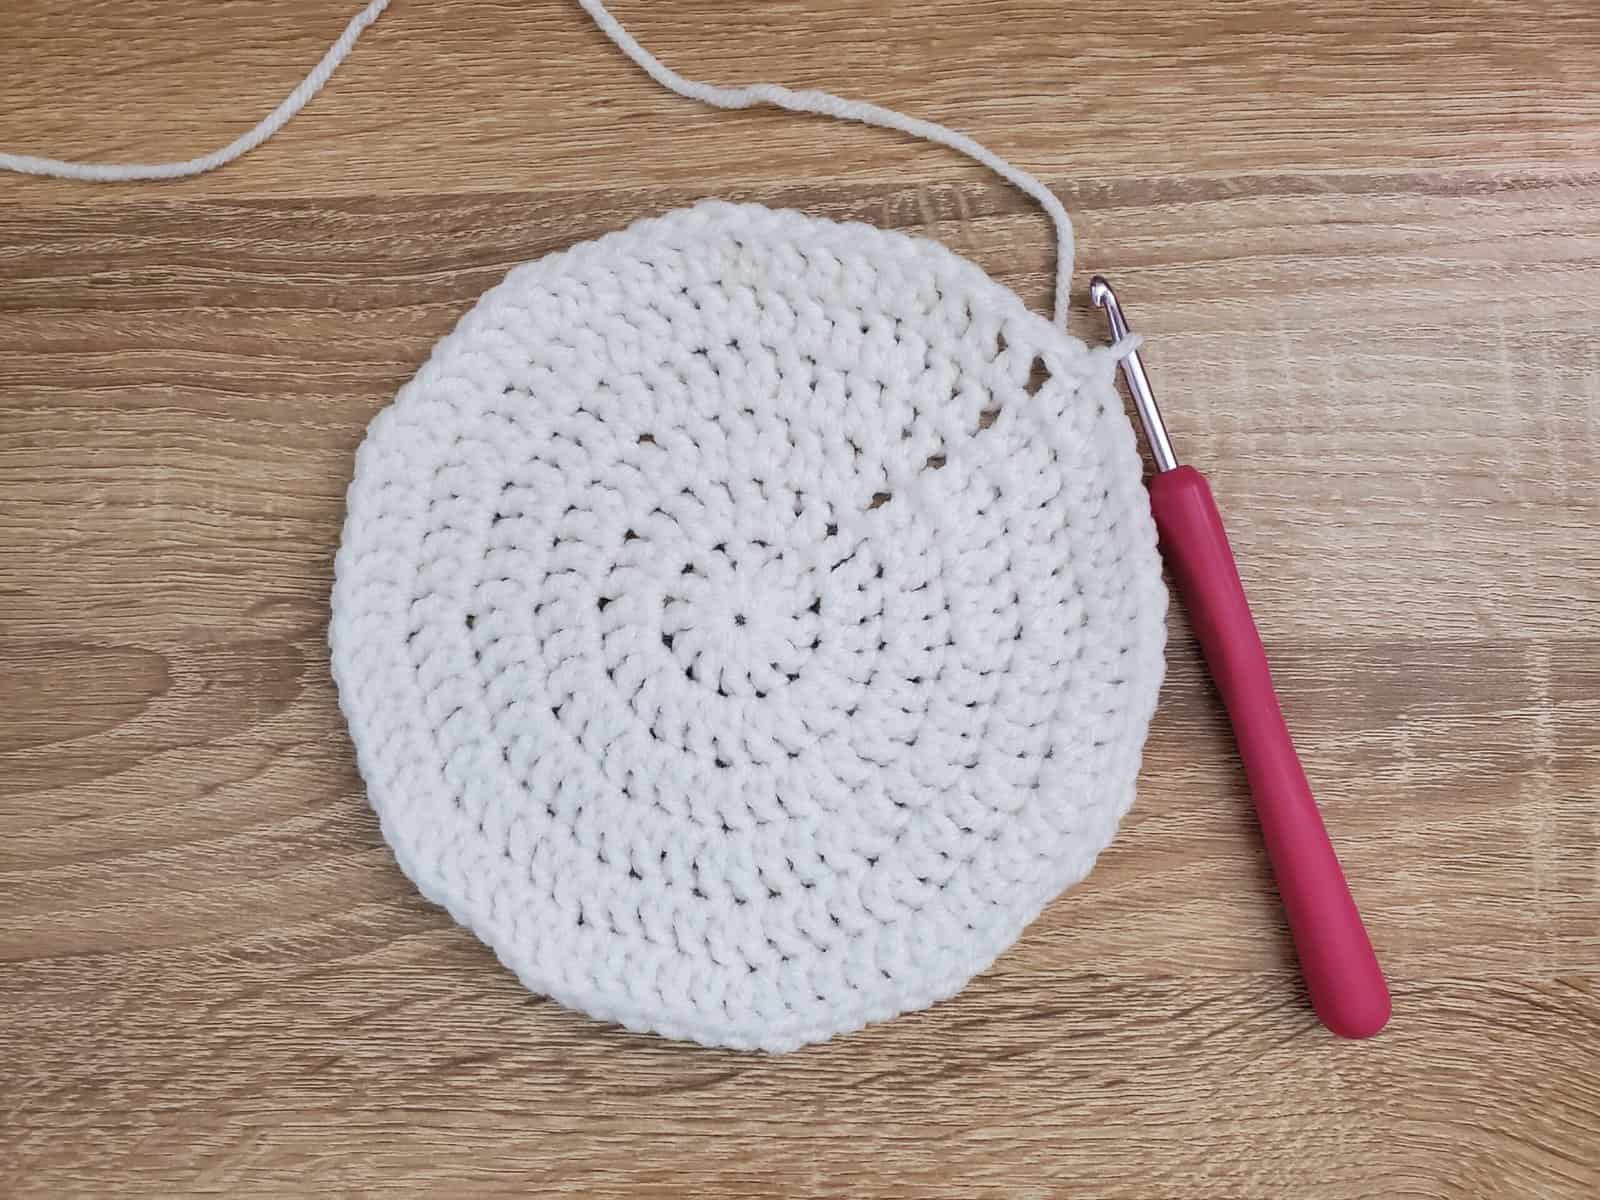
R7: Ch3, 1dc in next 4sts, *2dc in same st, 1dc in next 5 sts* around, slp st to top of ch3 in green to close the round (84)
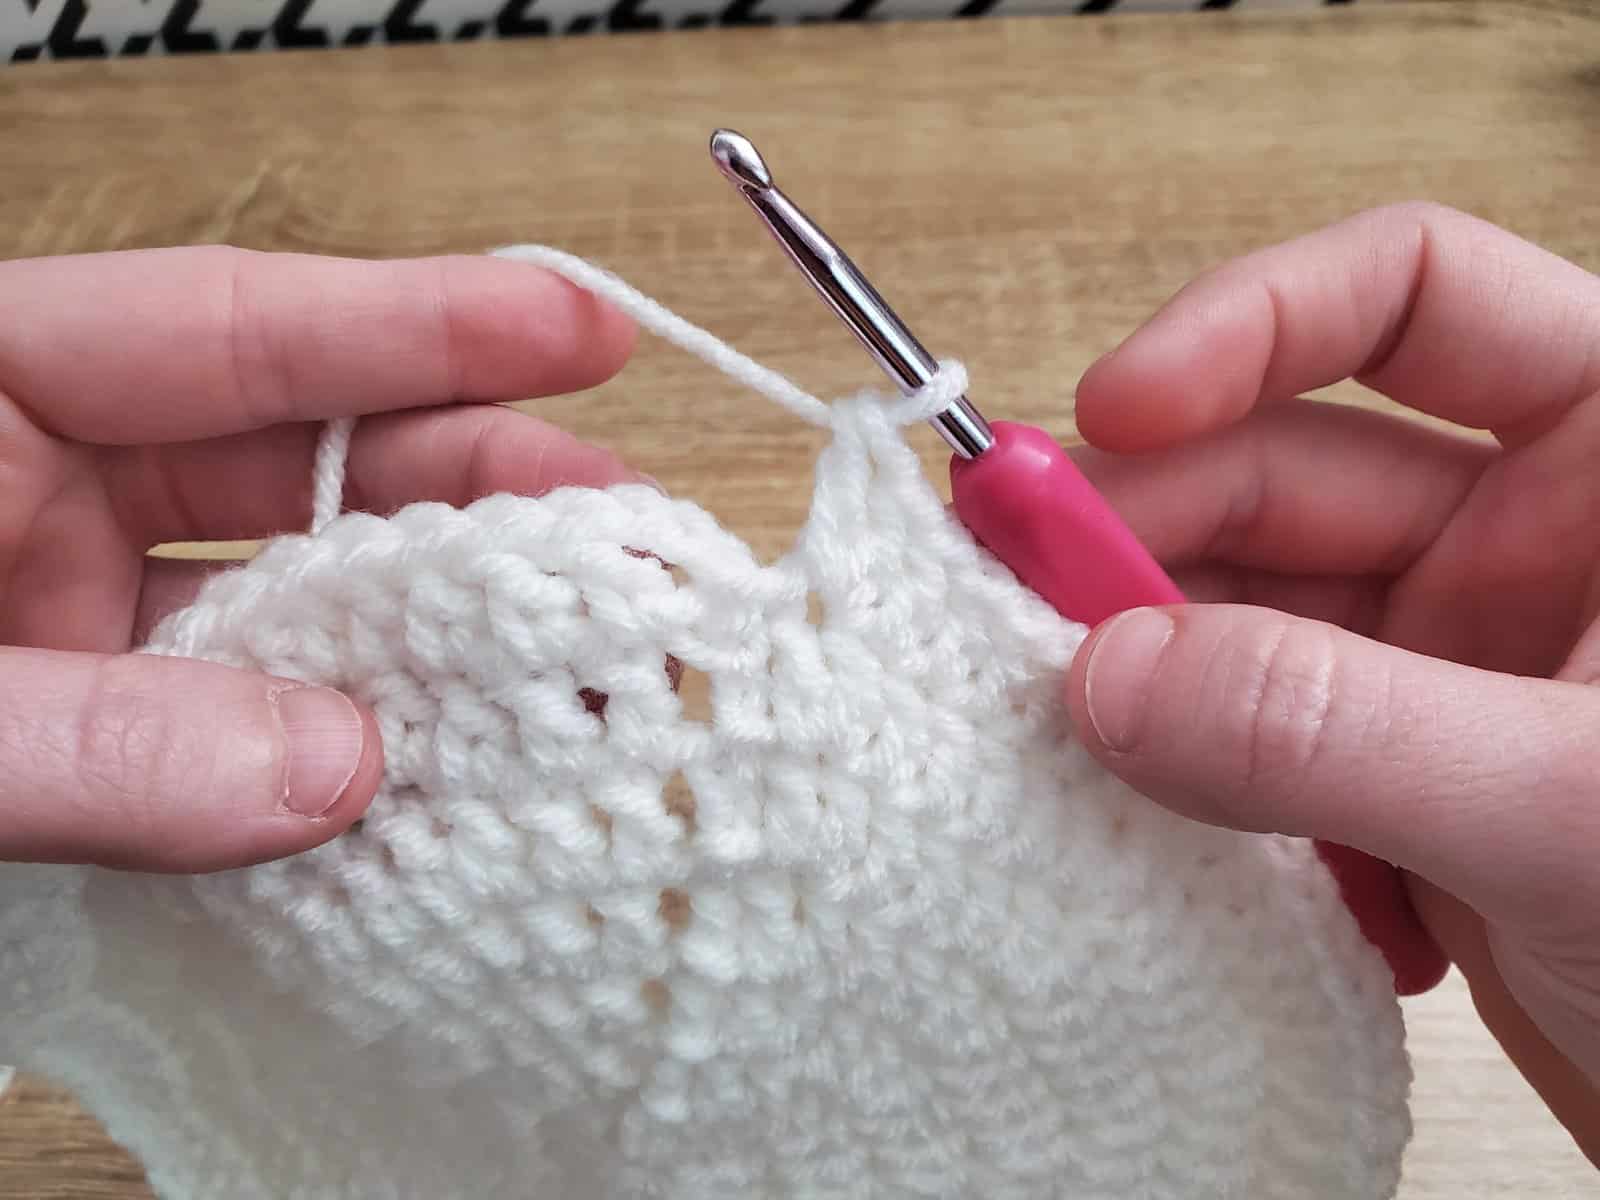
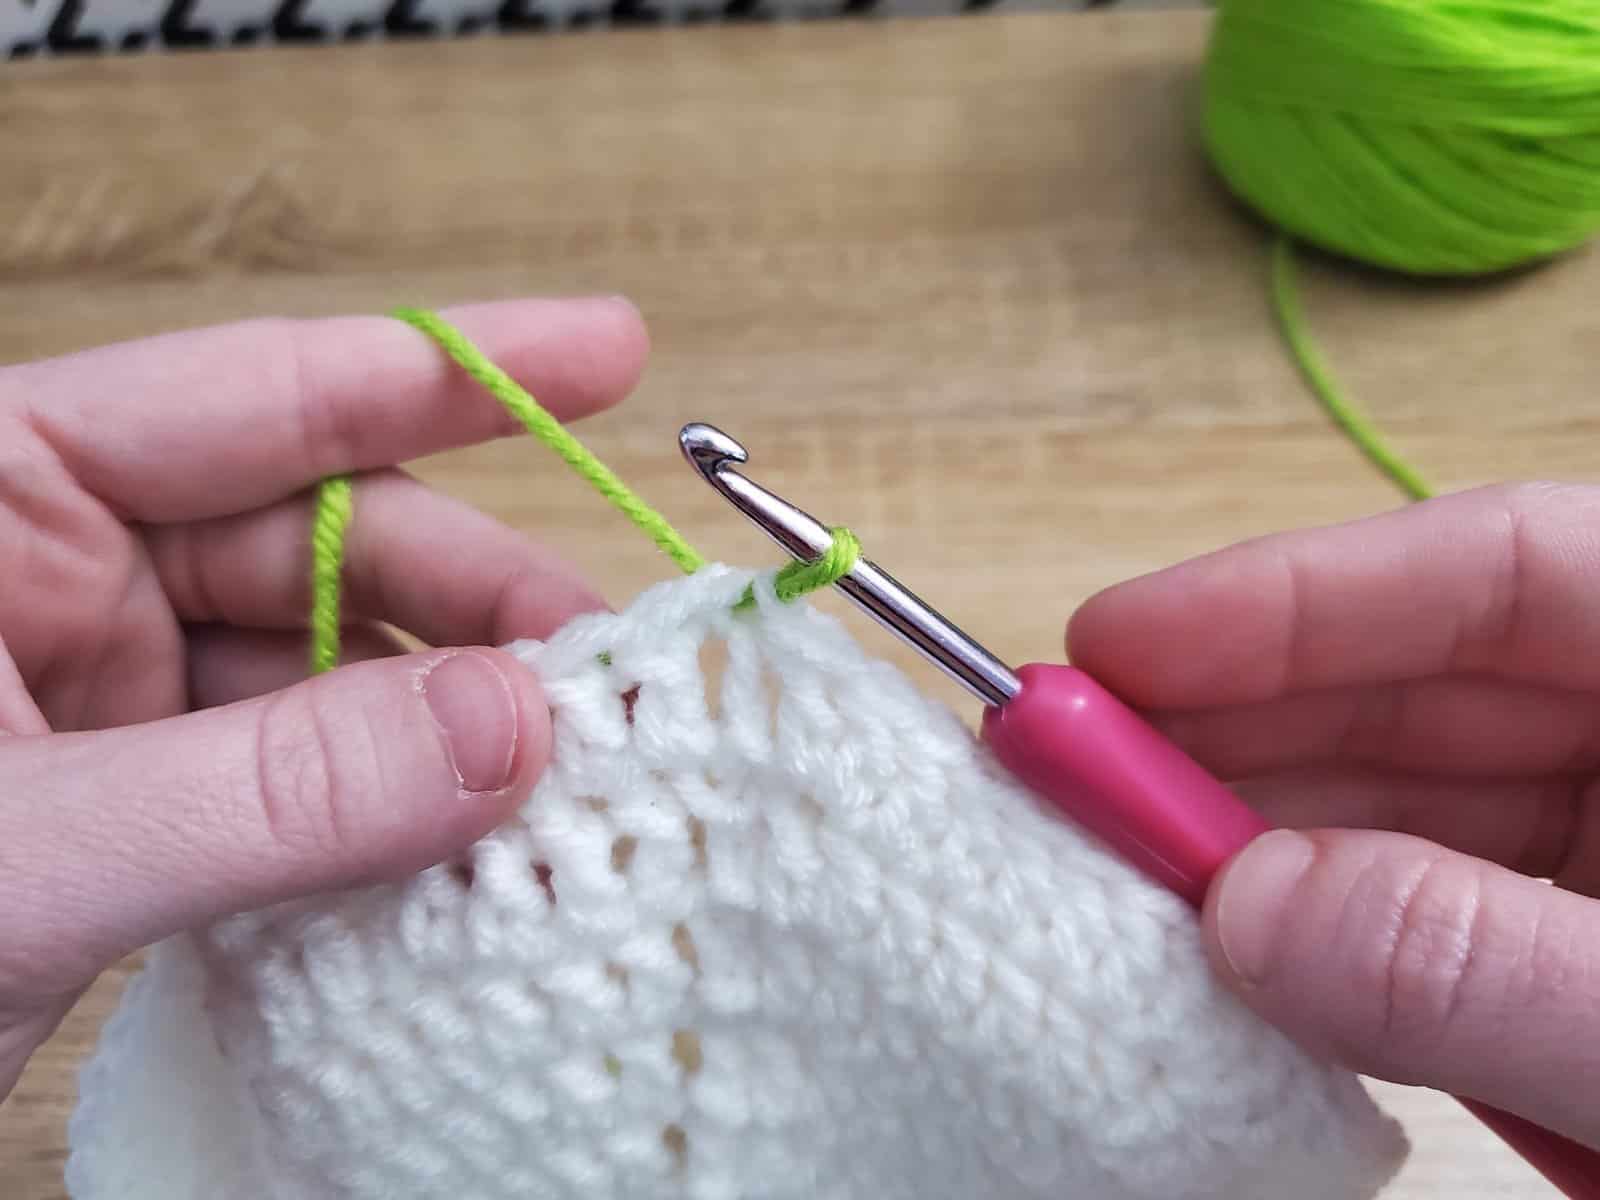
R8: In green, ch3, 1dc in next 5sts, *2dc in same st, 1 dc in next 6 sts* around, slp st to top of ch3 to close round (96)

Folding the Pot Holder
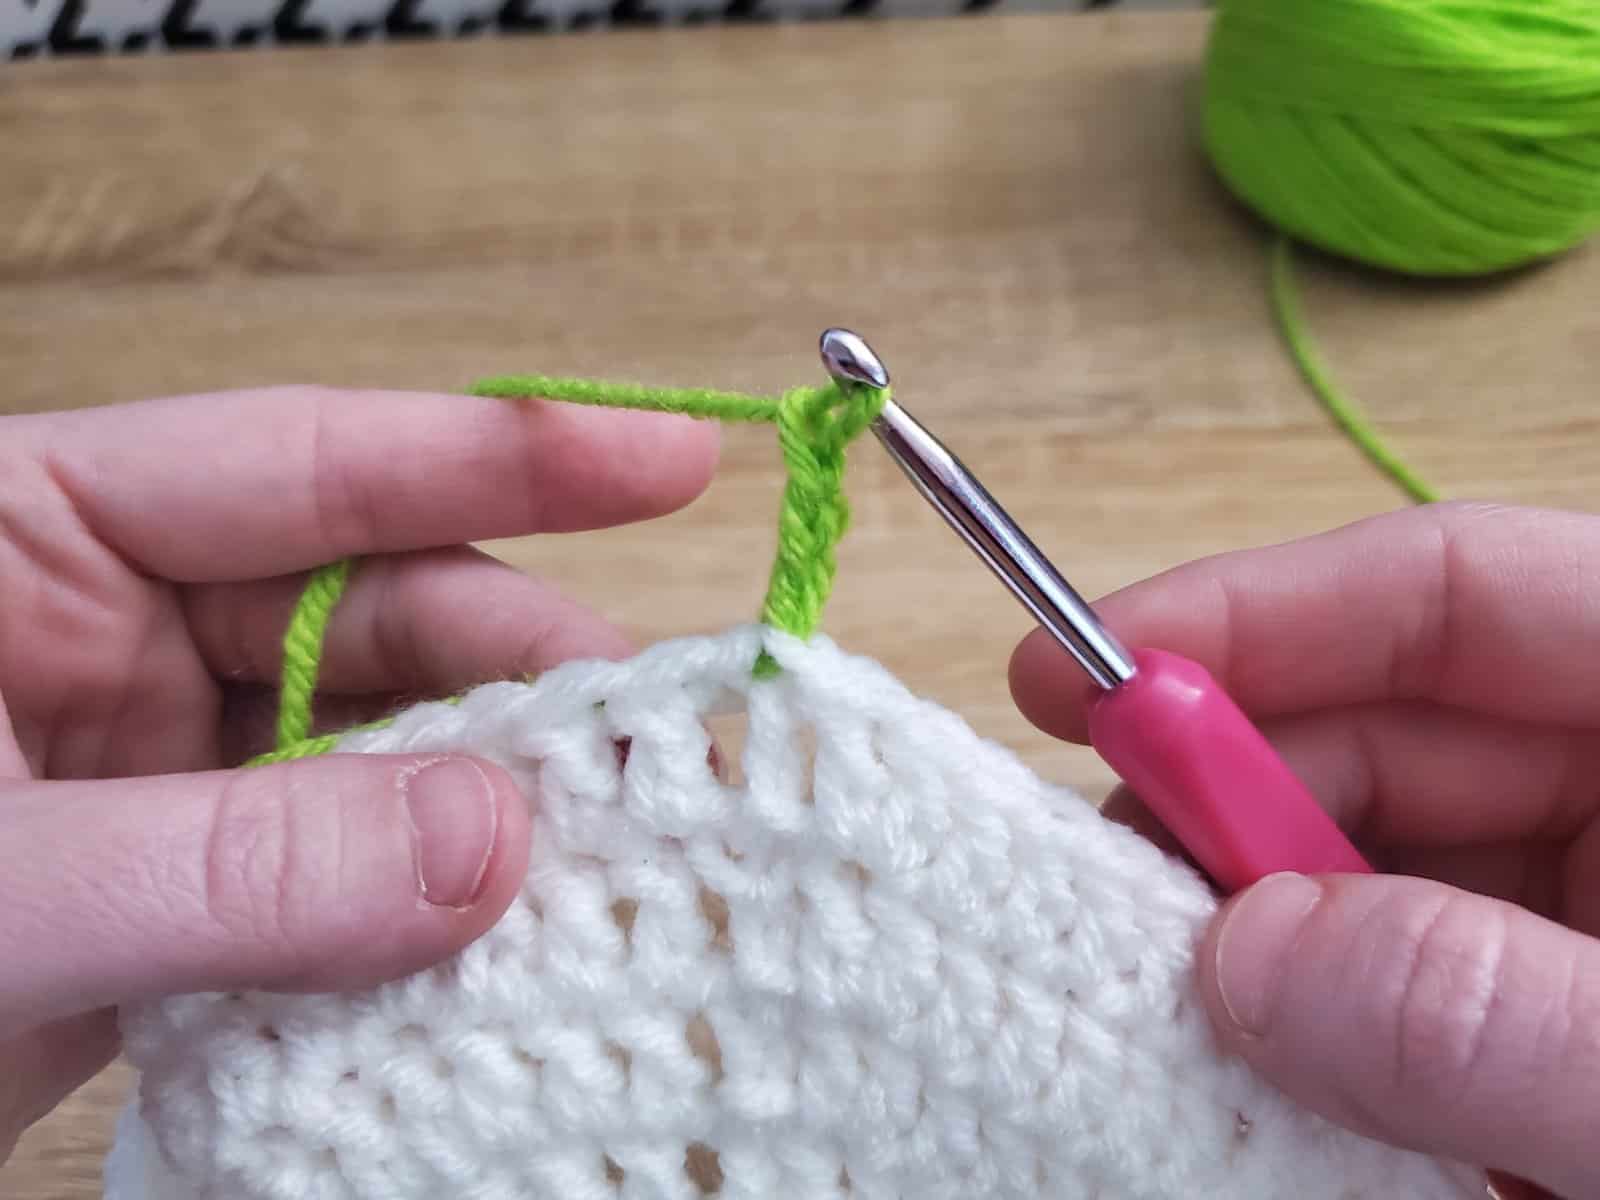
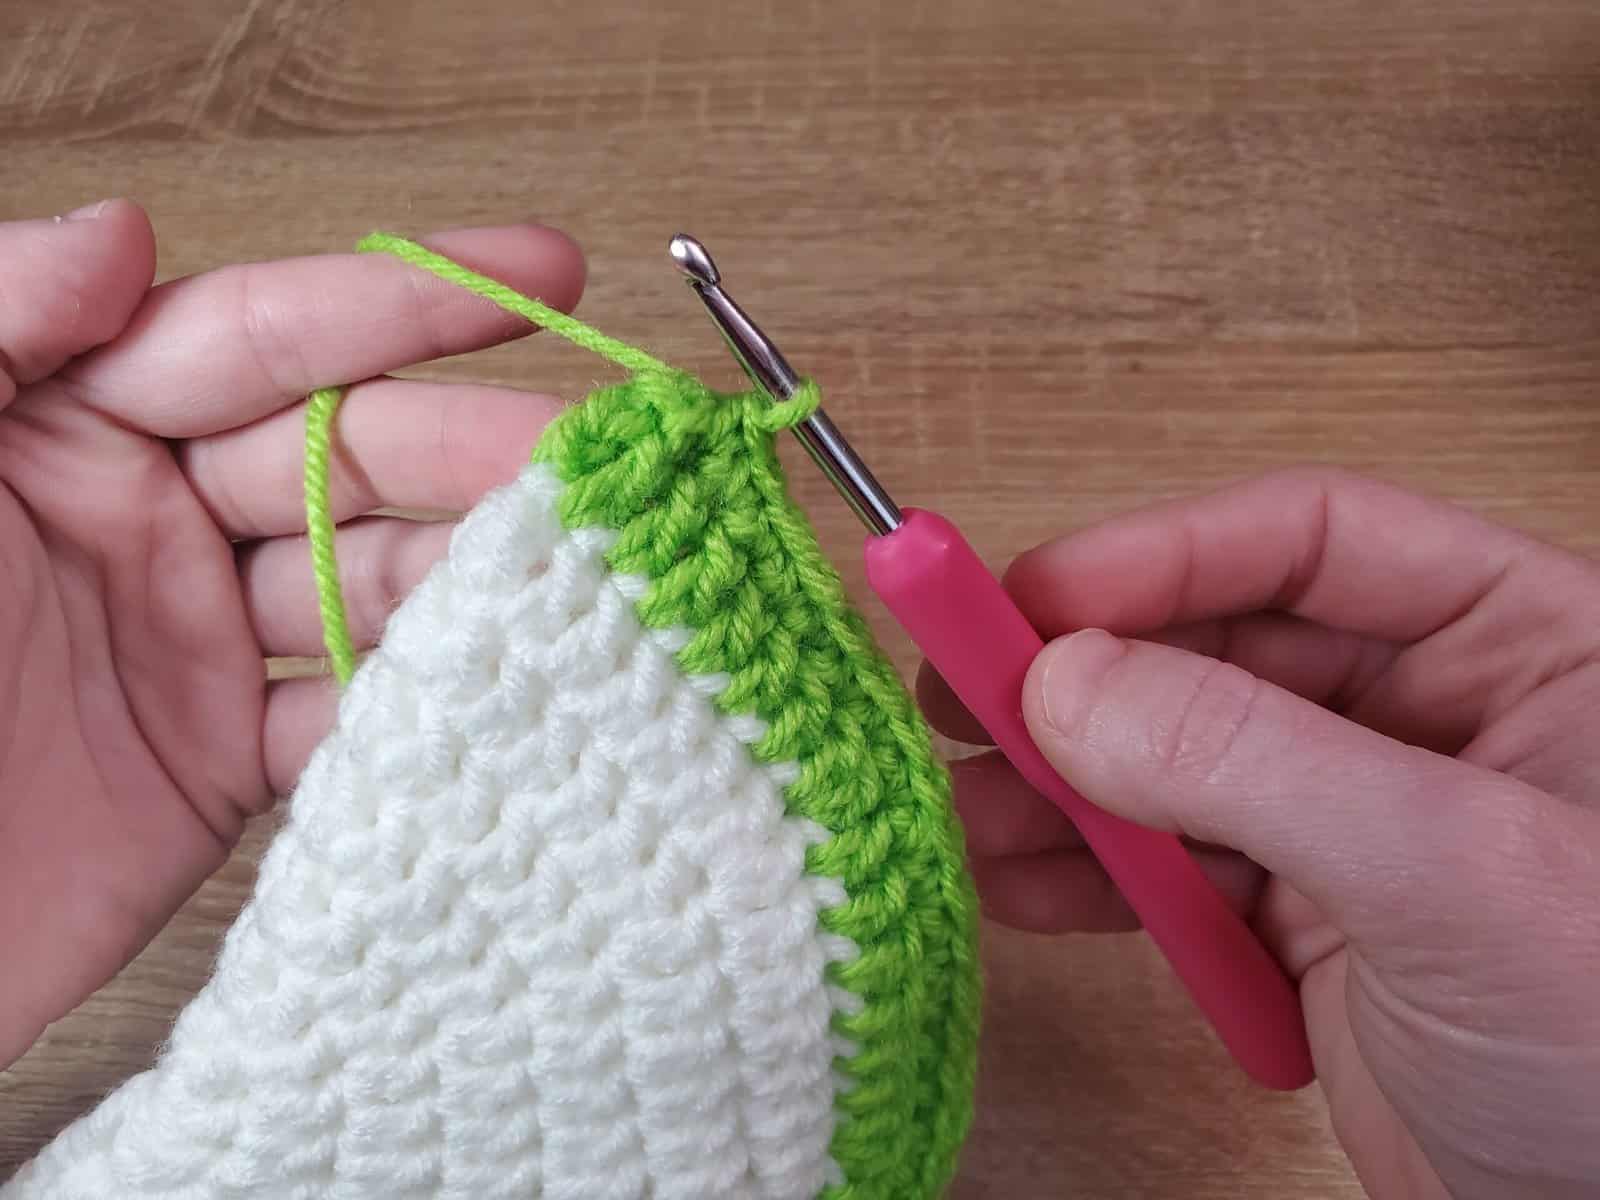
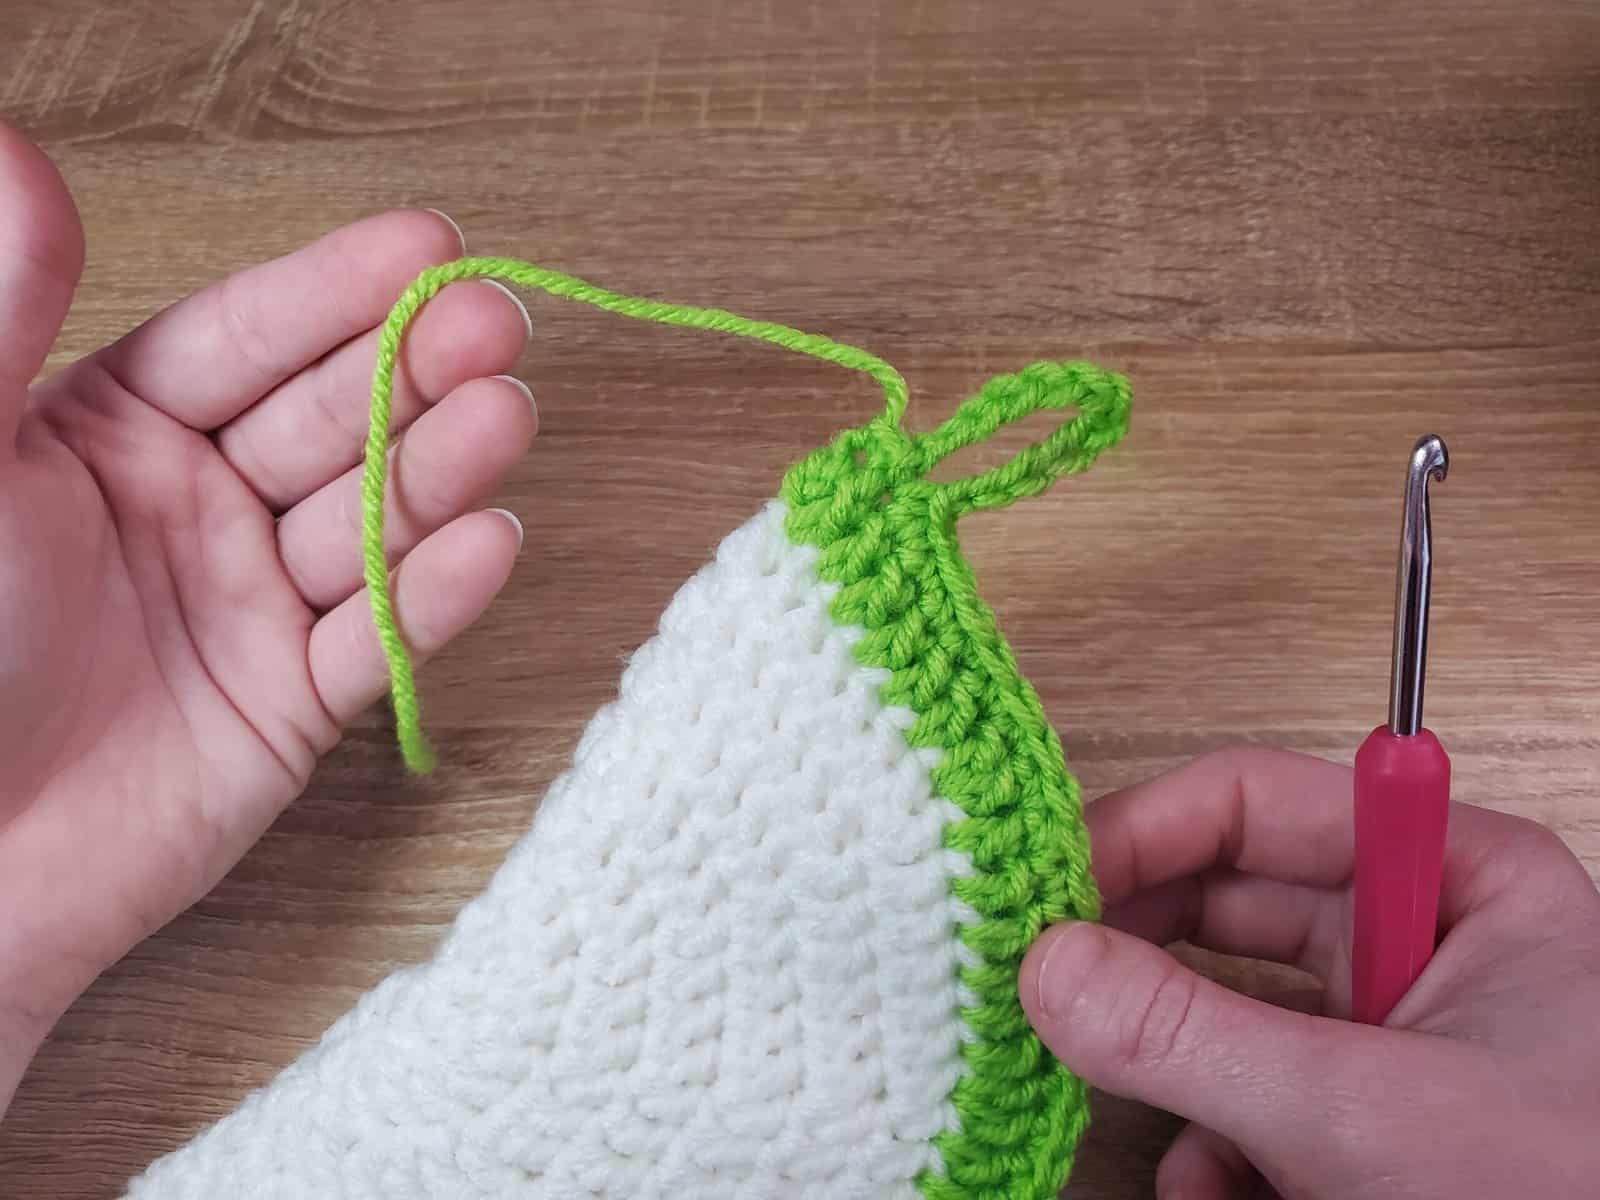
R9: Fold the circle in half and position your hook so it’s at the very corner, like so:
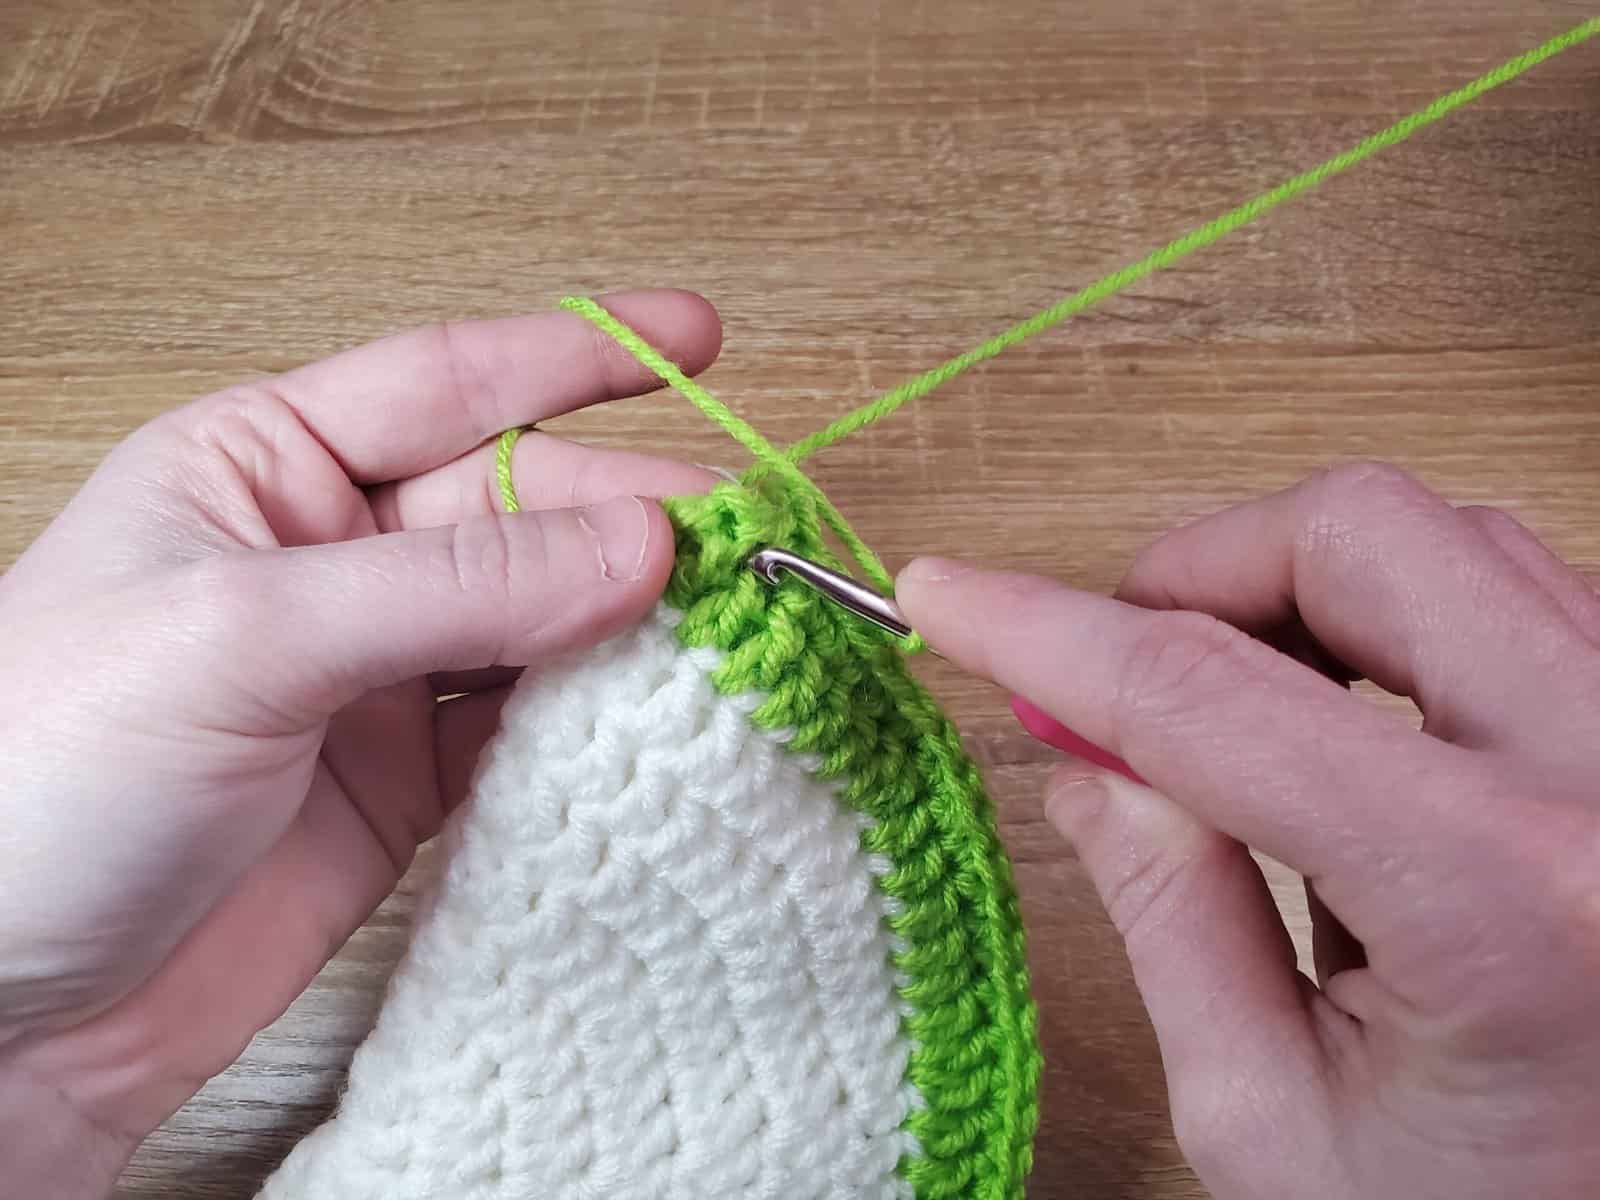
Then, chain one and begin single crocheting both sides of the pot holder together:
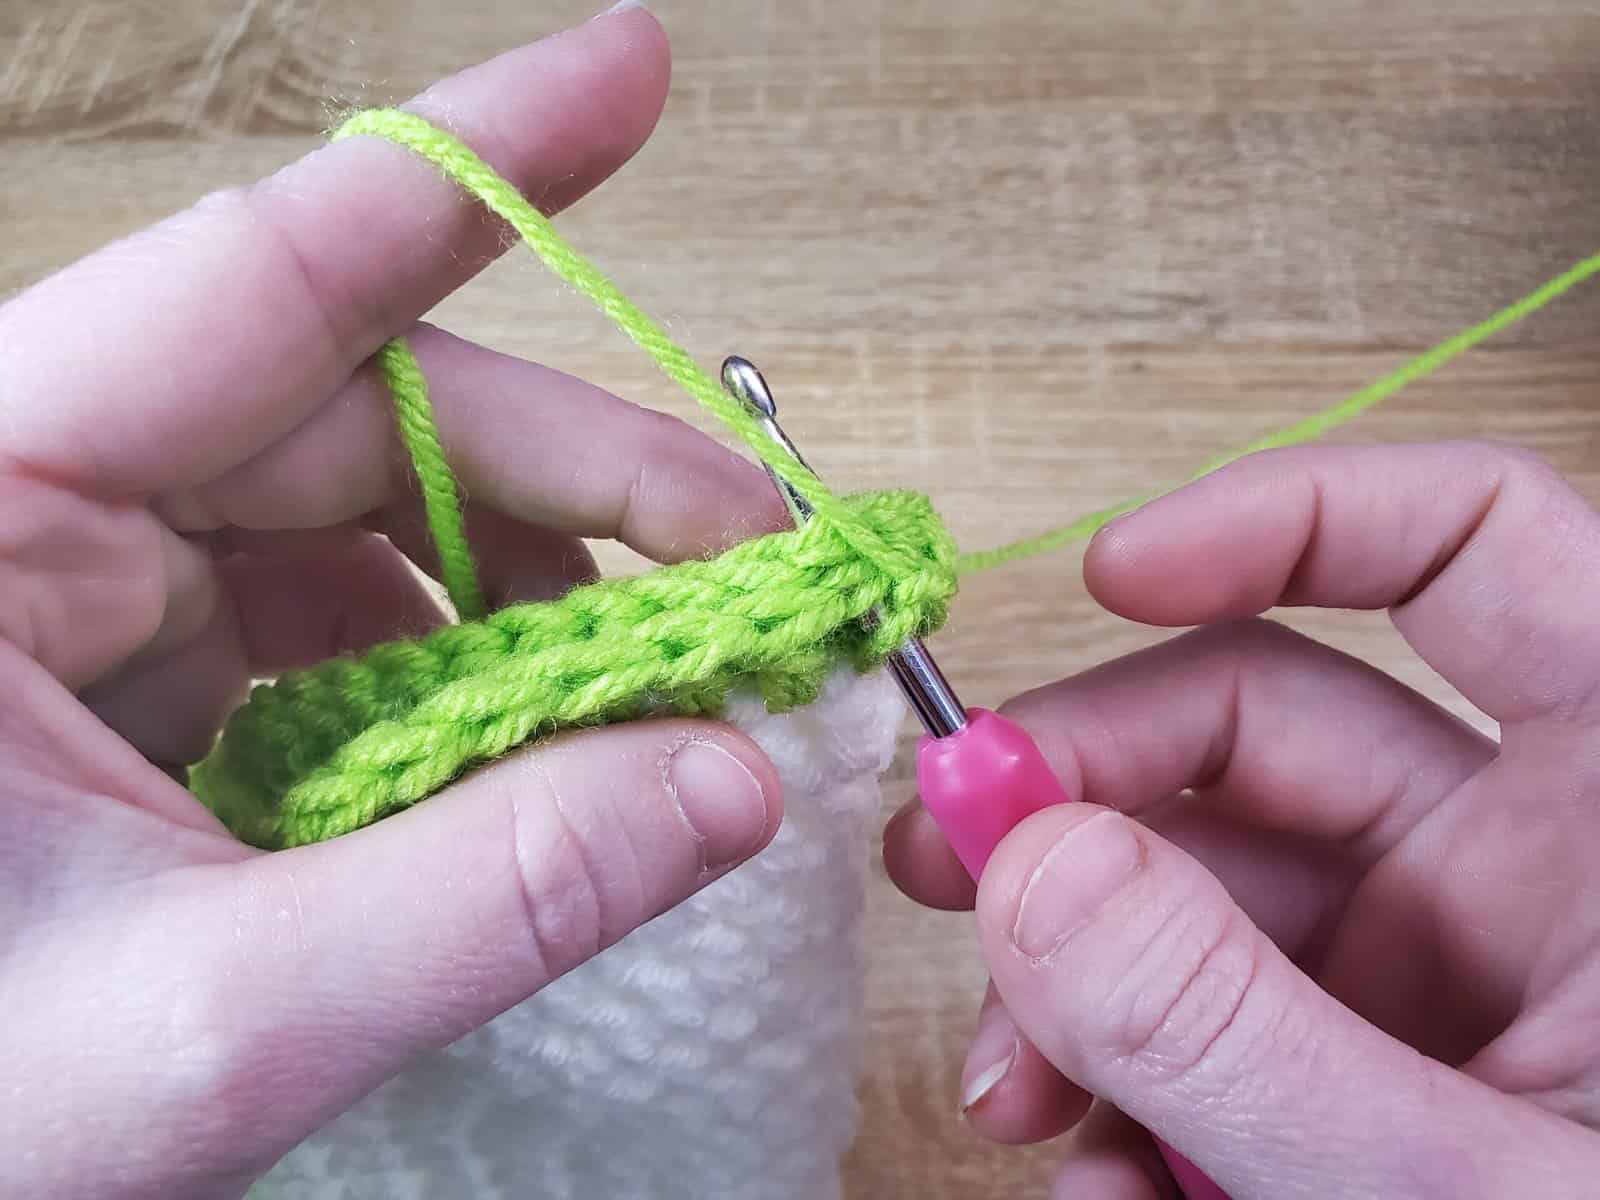
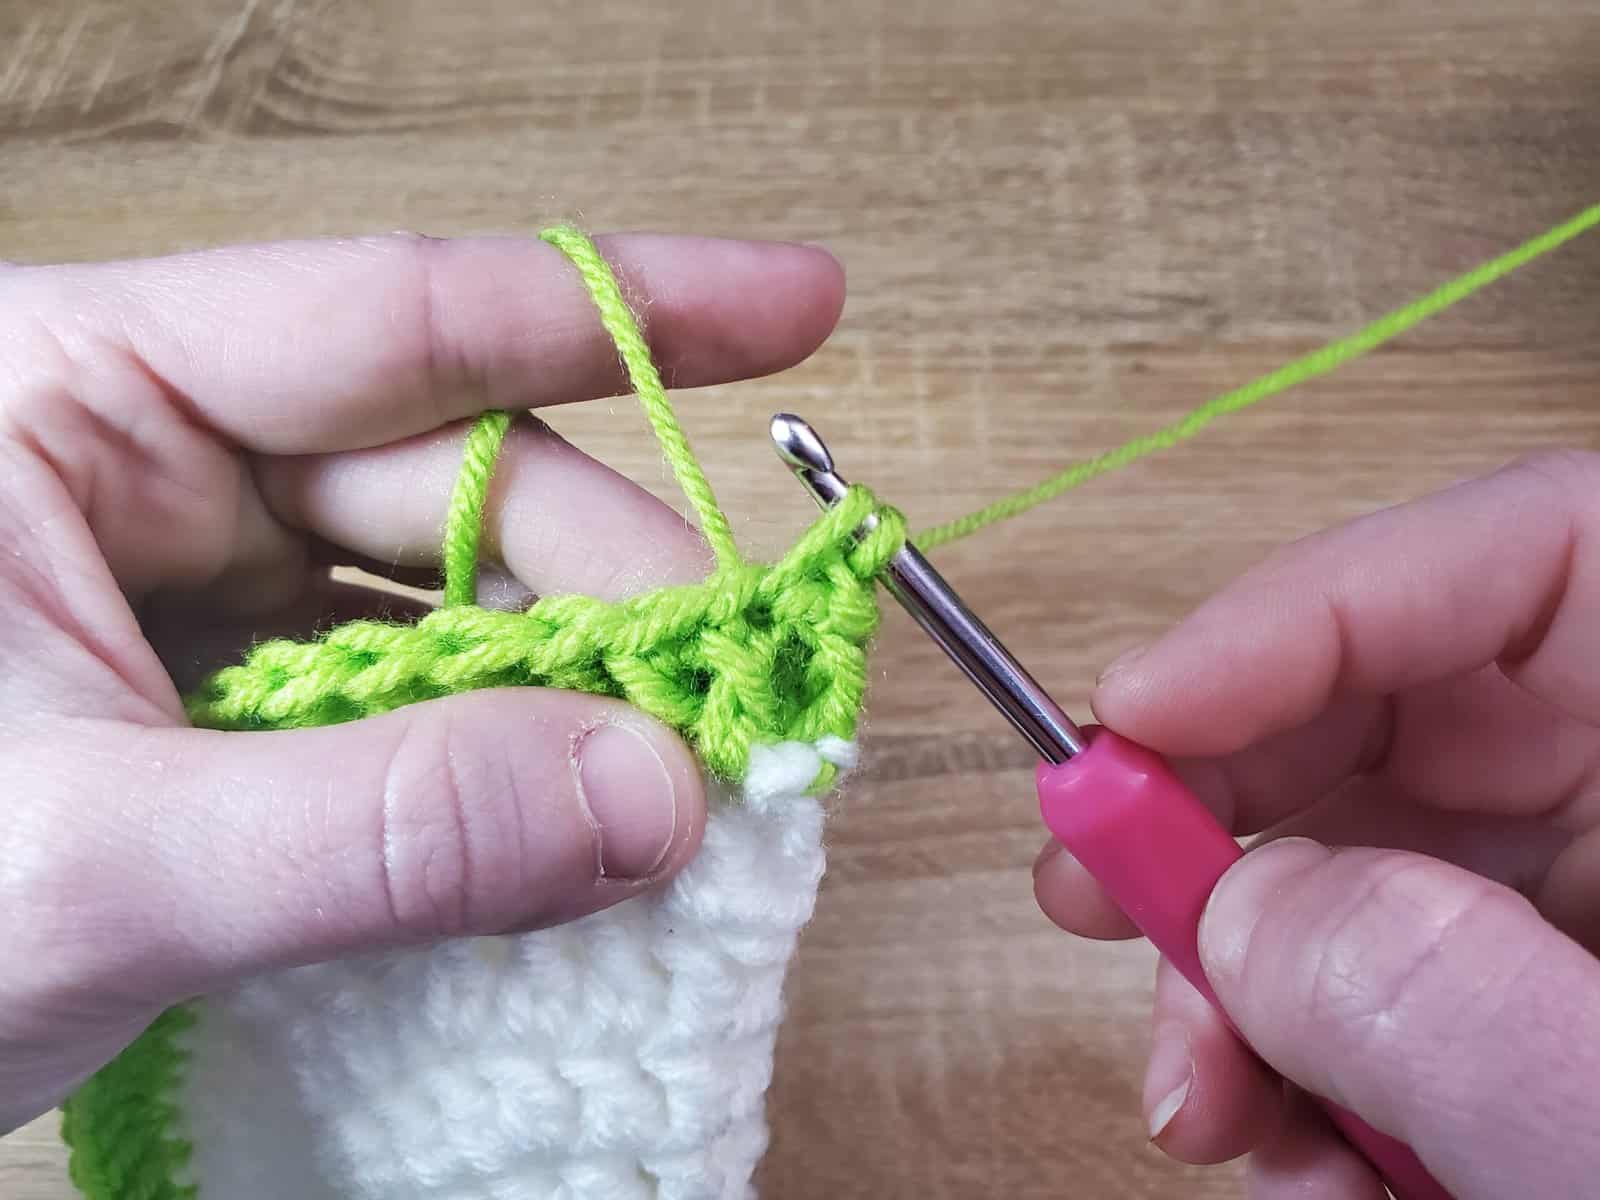
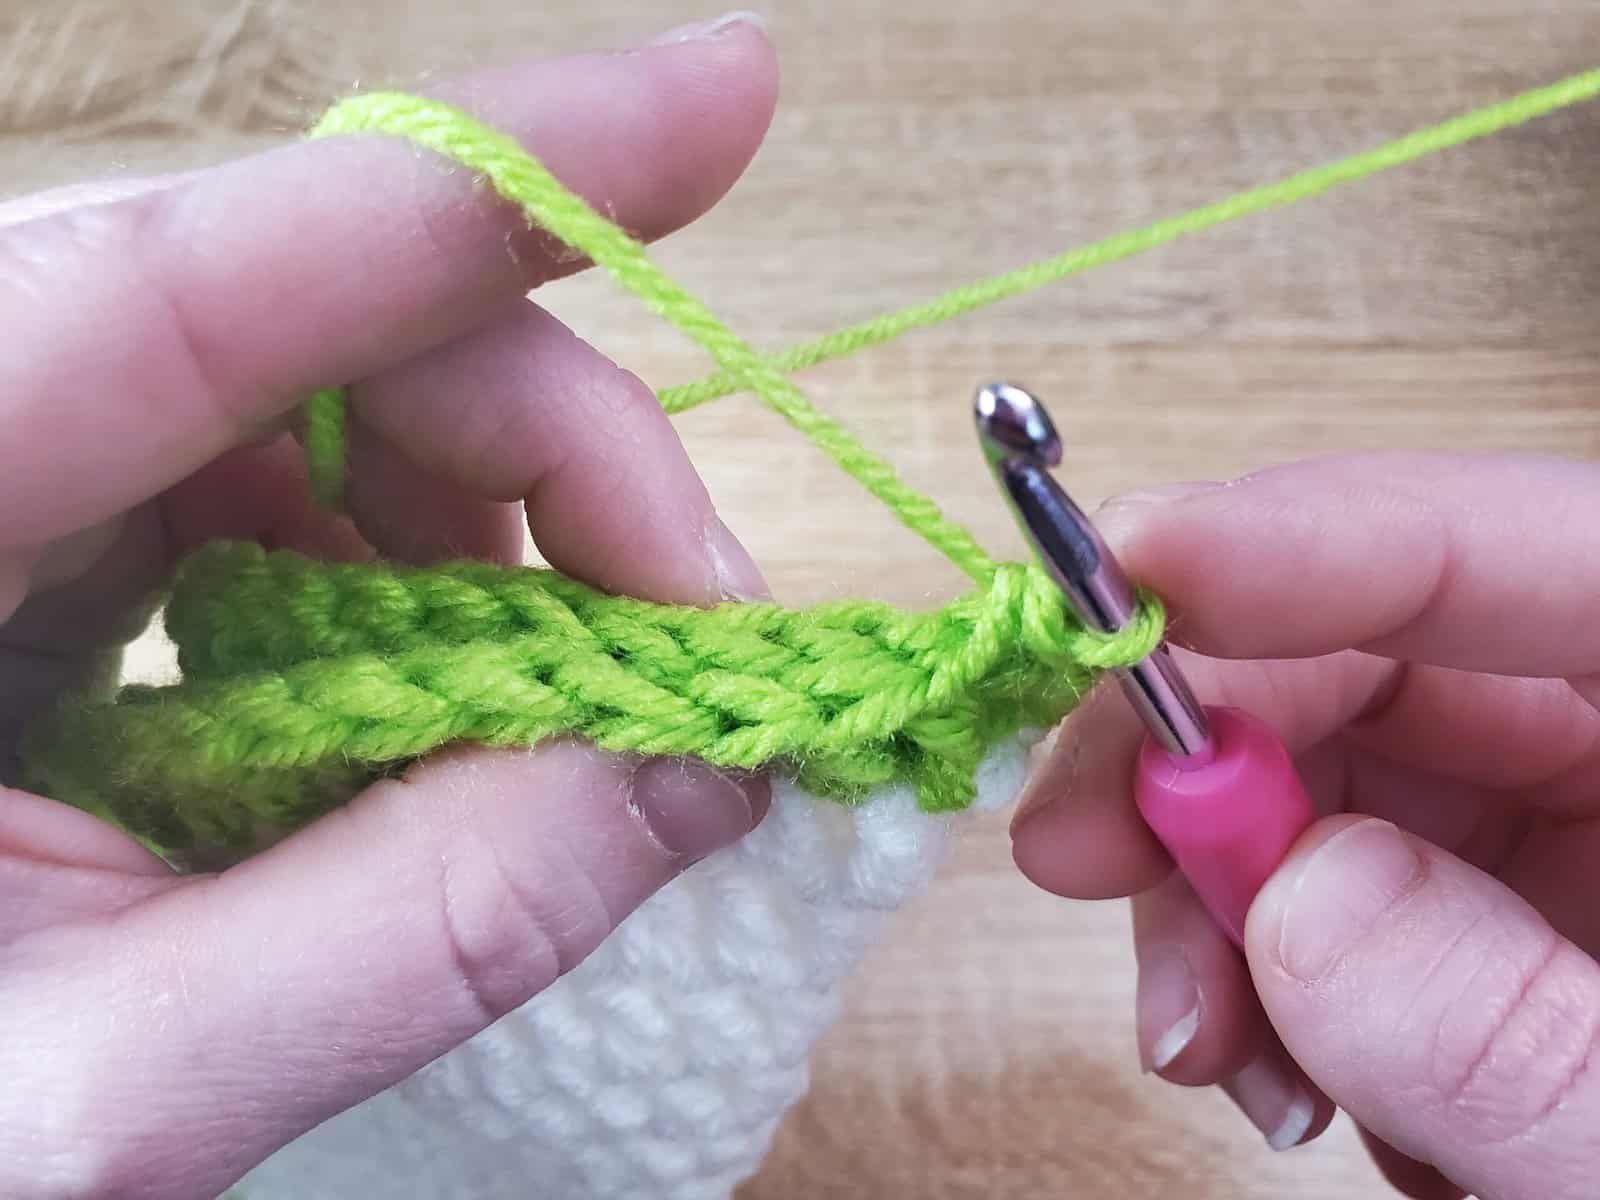
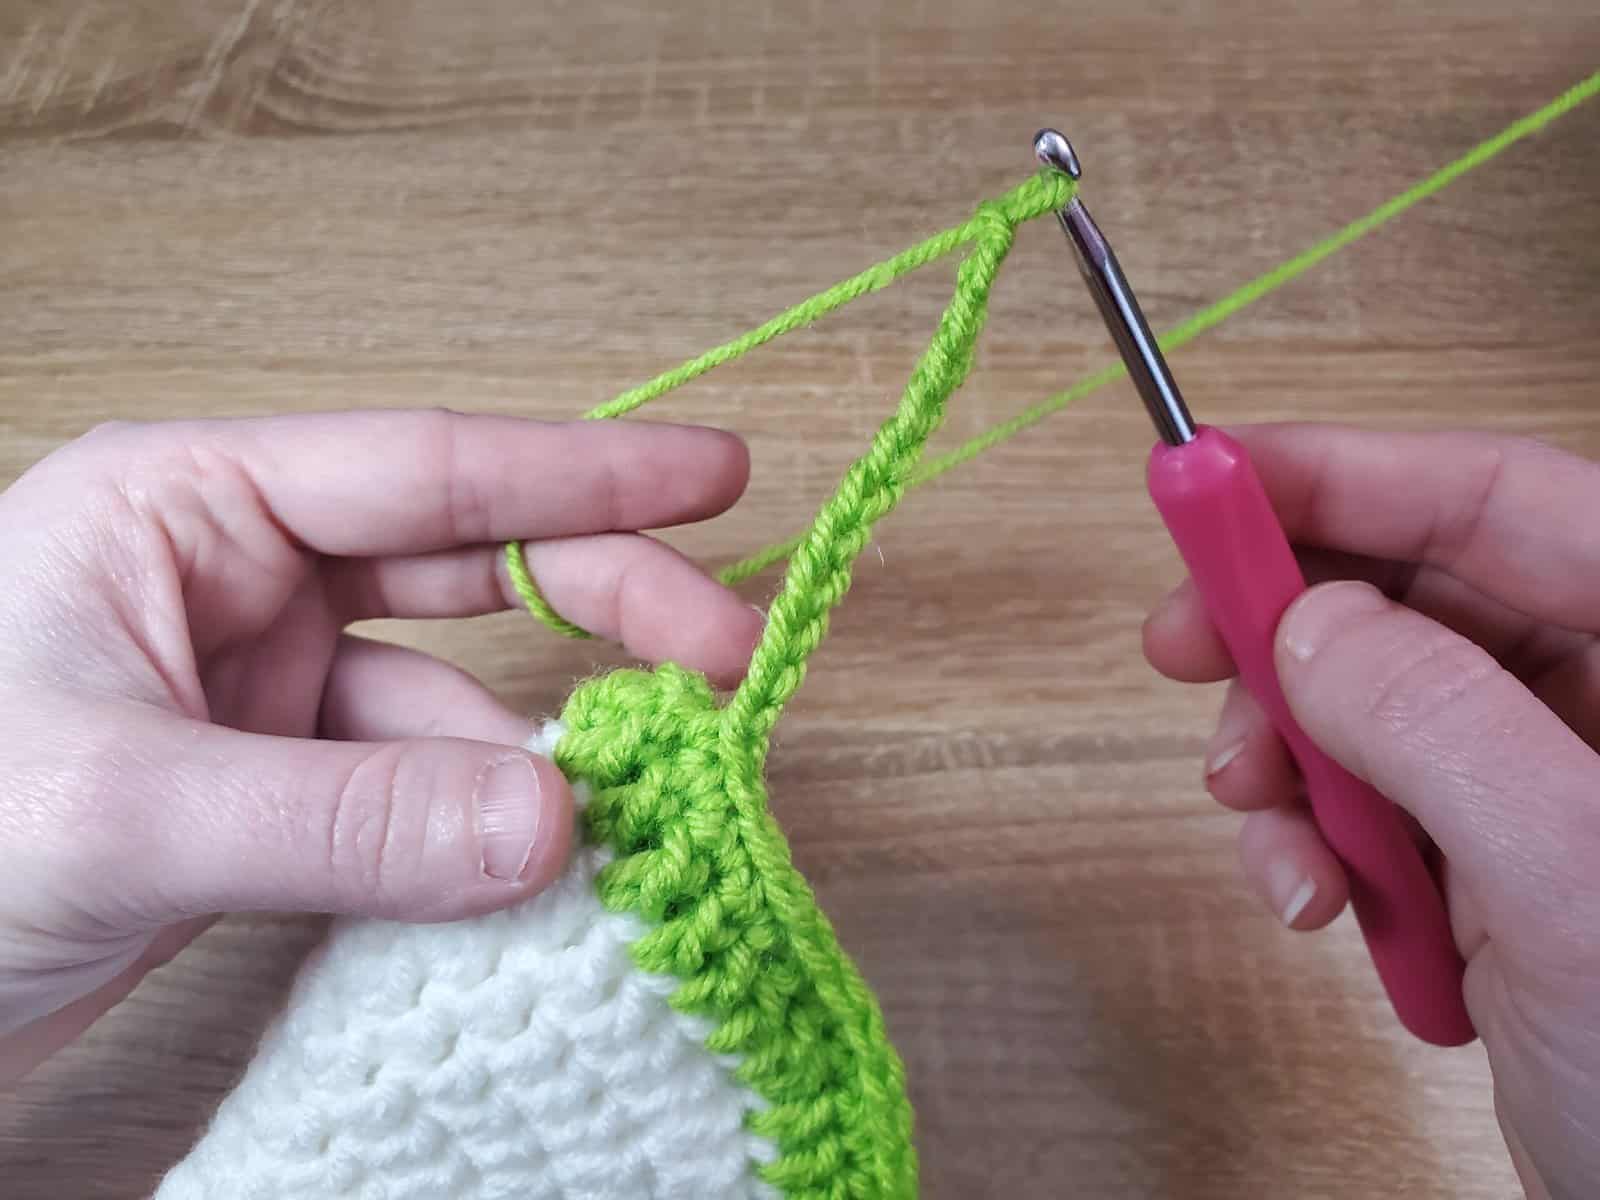
Continue all the way around until you have one single crochet left to make. If you’d like a loop to hang your pot holder from, chain 12 and then slip stitch in the same stitch the first chain is in:
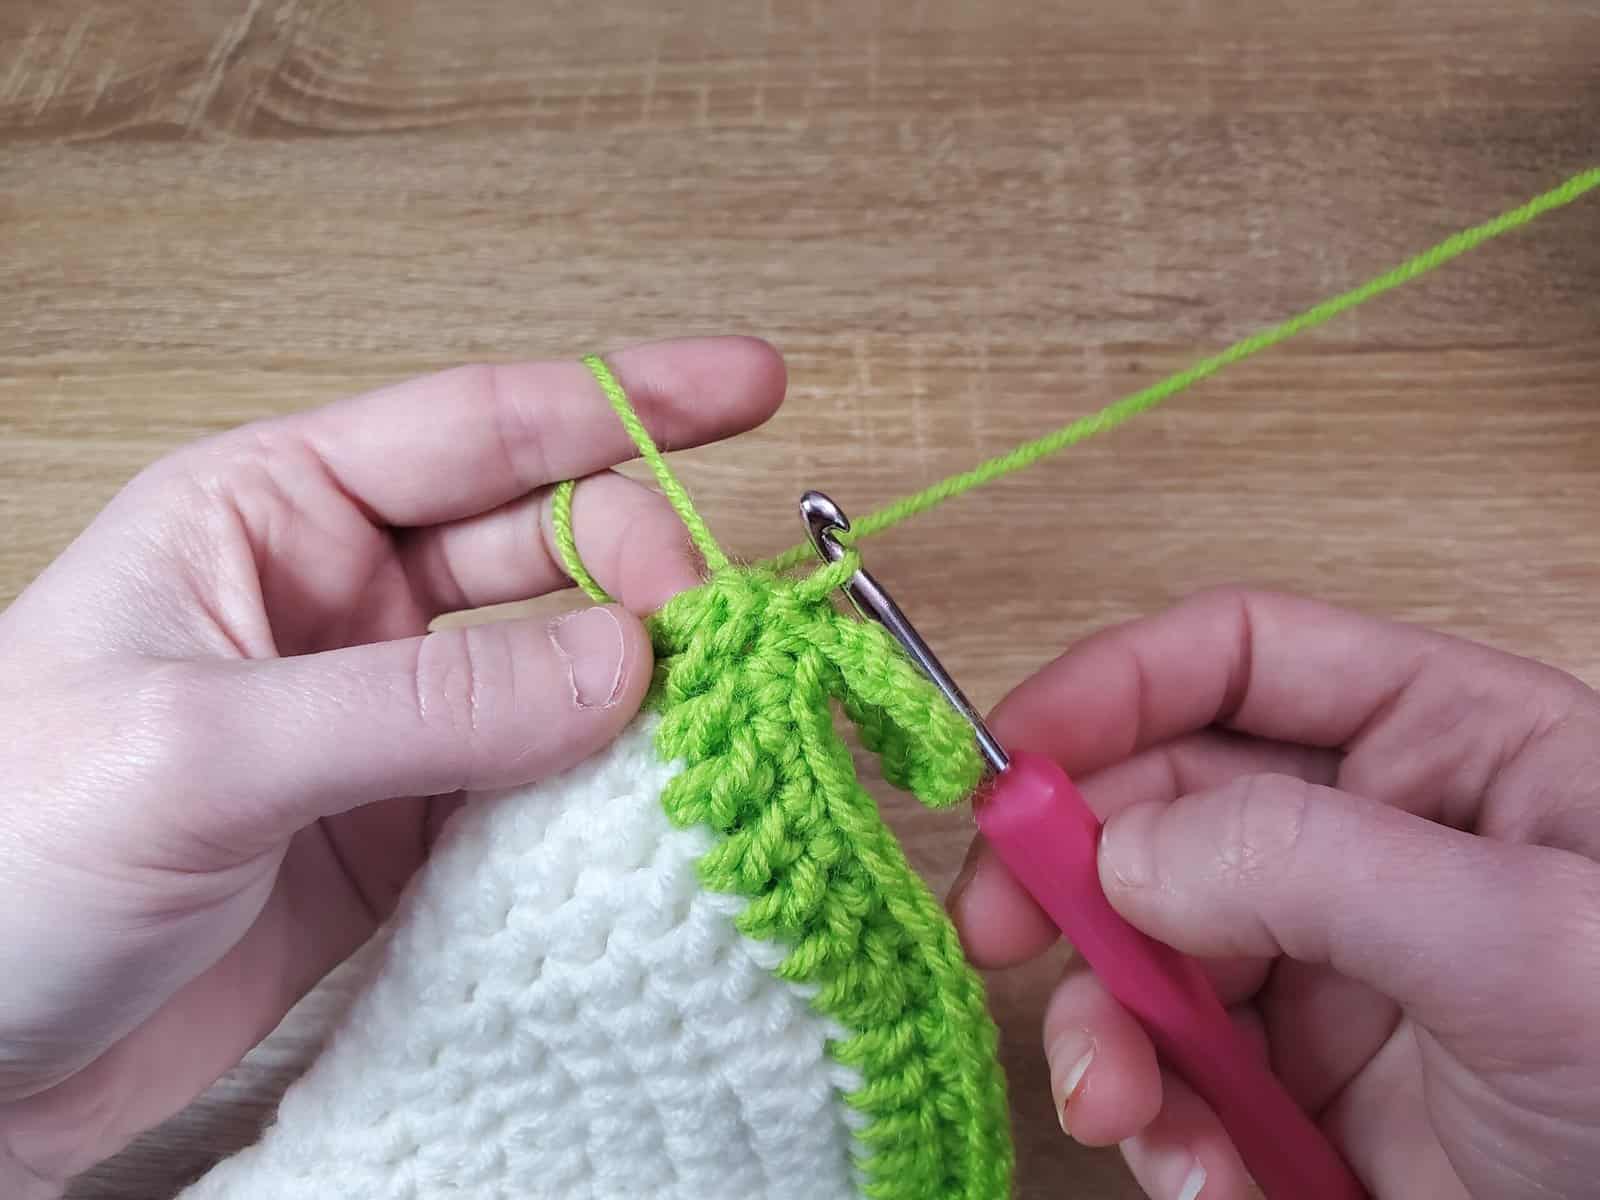
Finish off by single crocheting your last stitch, then fastening off and weaving in the tail. I just slip mine between the two layers and cut the tail!
Embroidering the Seeds
If you’re adding a layer of insulation to your pot holder, you’ll only be able to sew through one layer. Otherwise, you’ll sew through both layers!
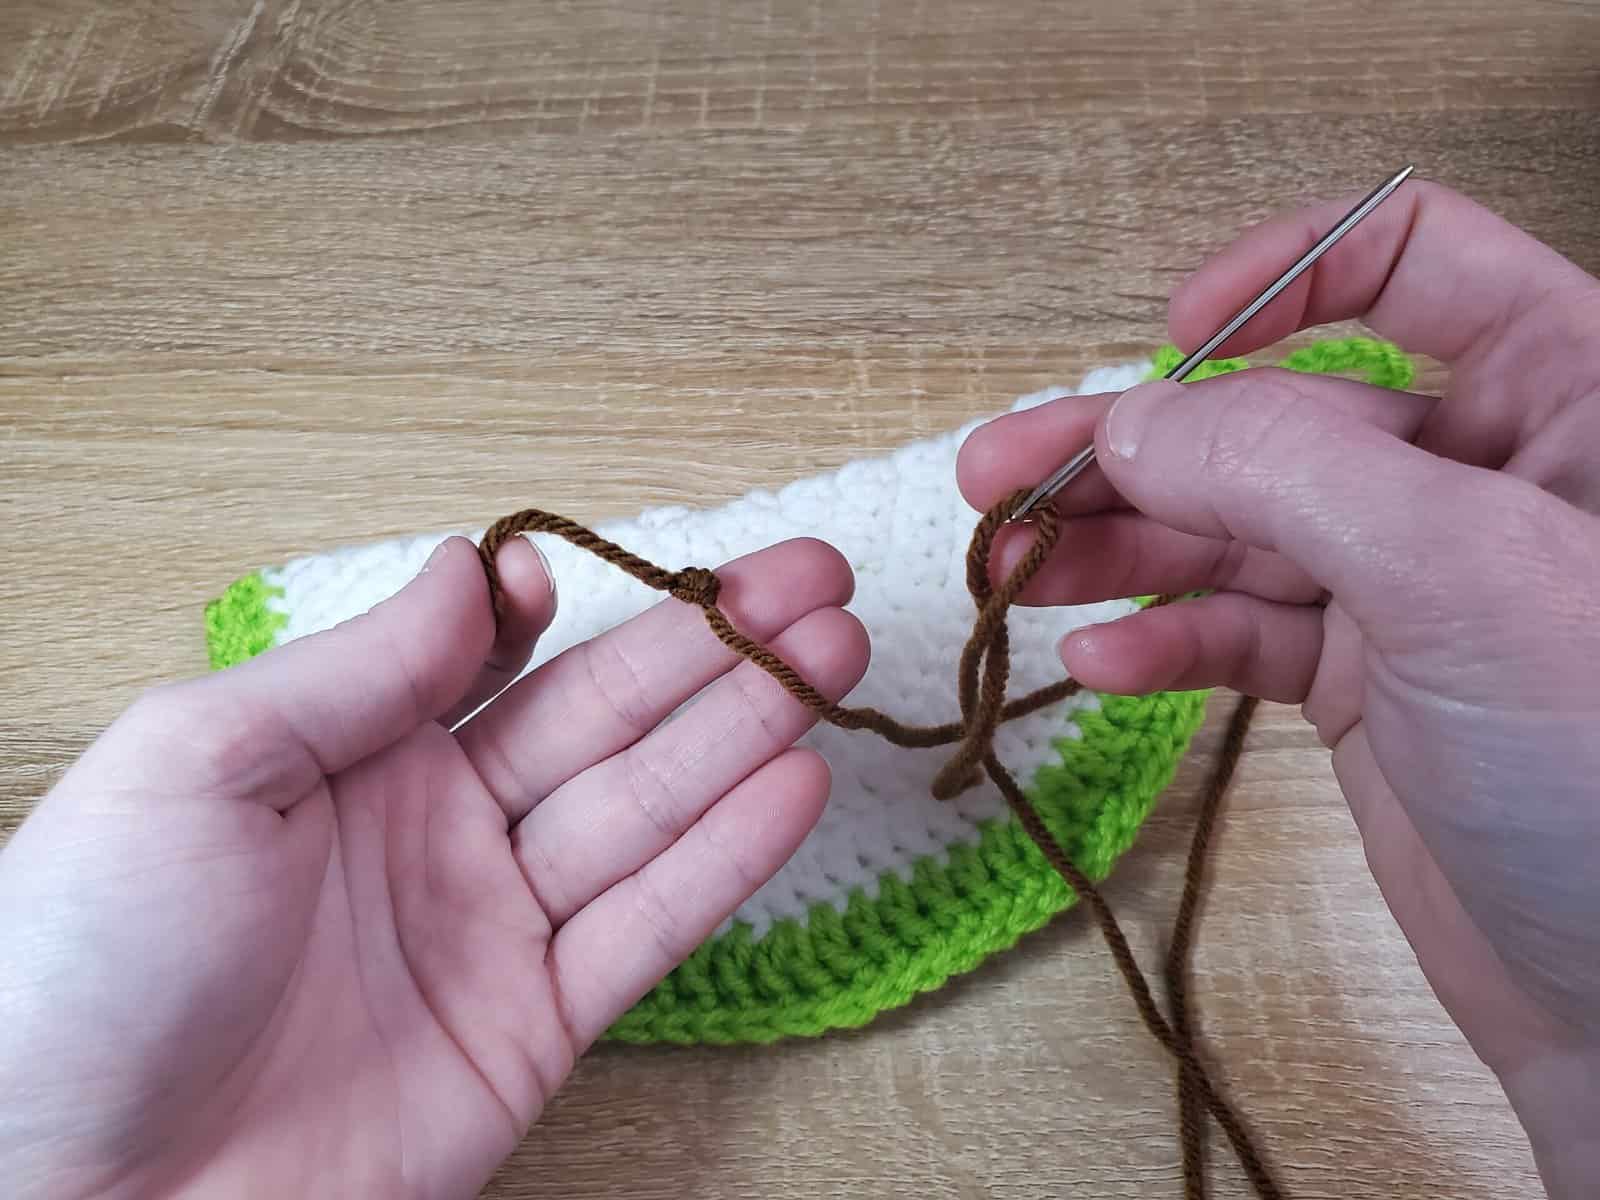
Cut a length of brown (or whatever color your seeds are) yarn and tie a knot at the end.
Thread this knot up through the magic loop opening. Make sure to tie the knot large enough that it doesn’t pull through your fabric, but small enough that it can slip through the magic loop opening!
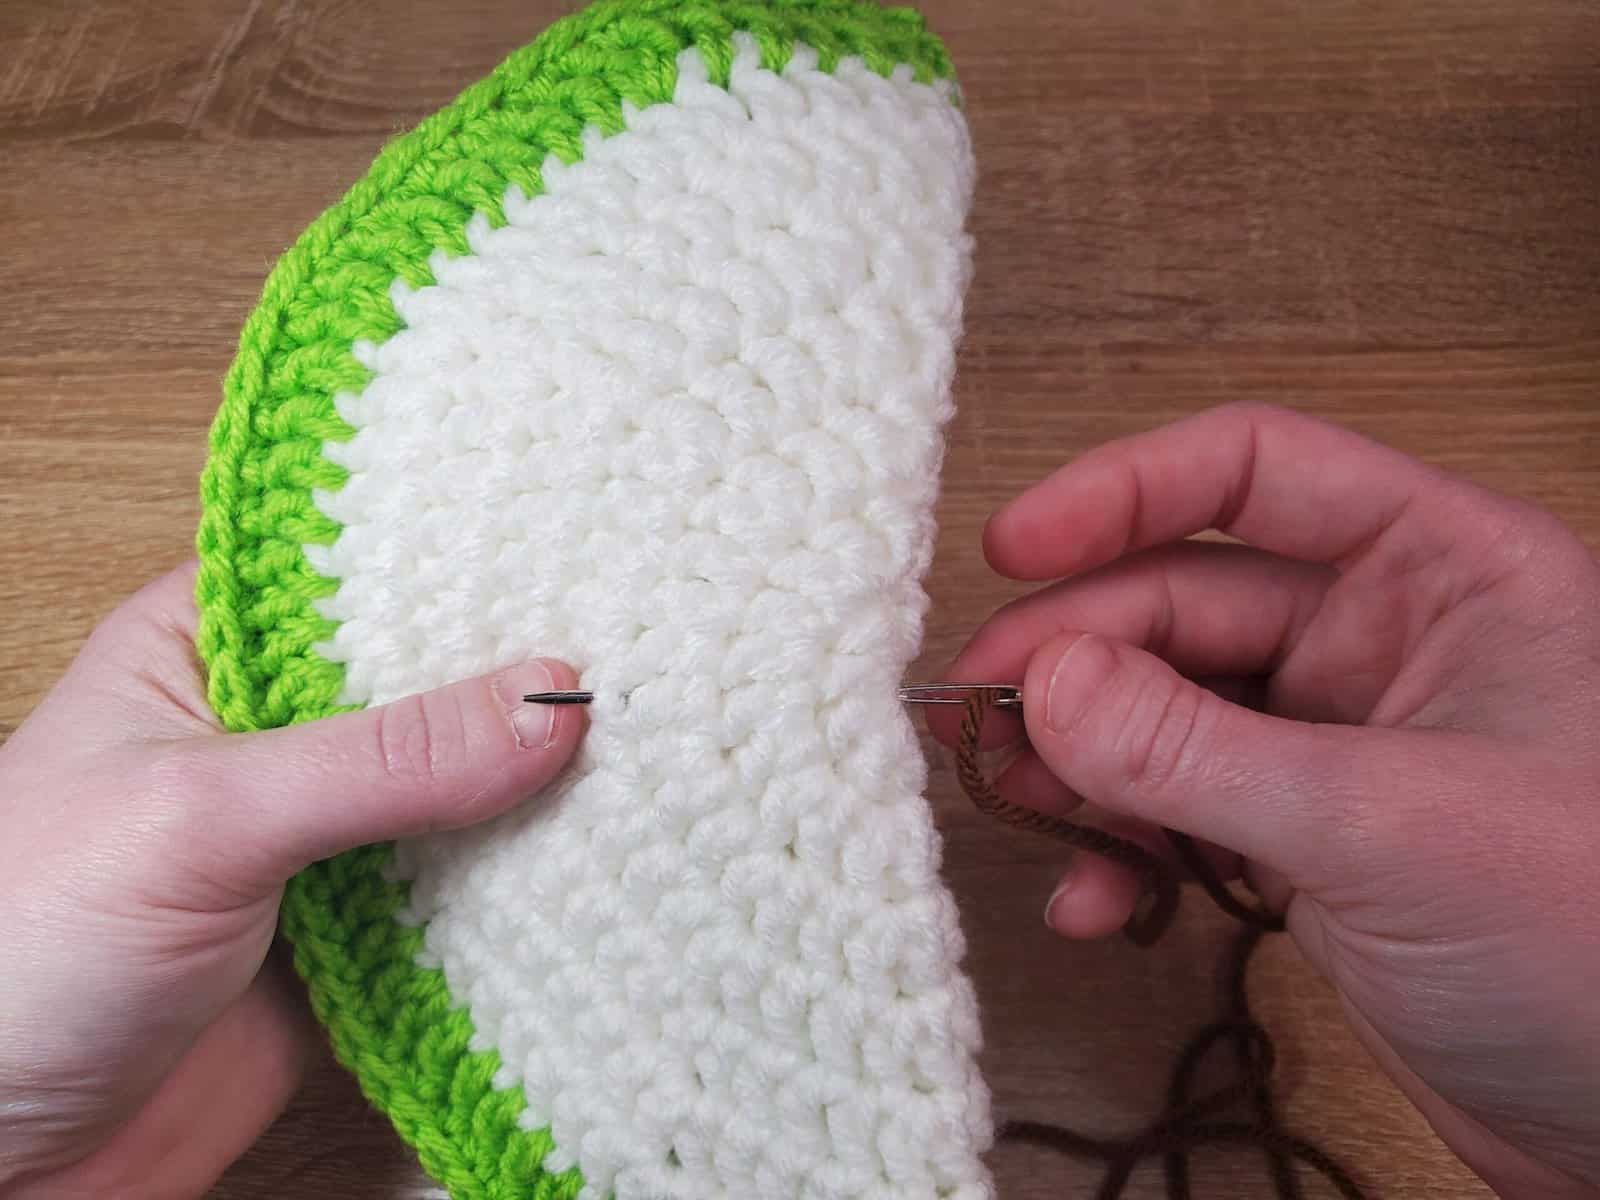
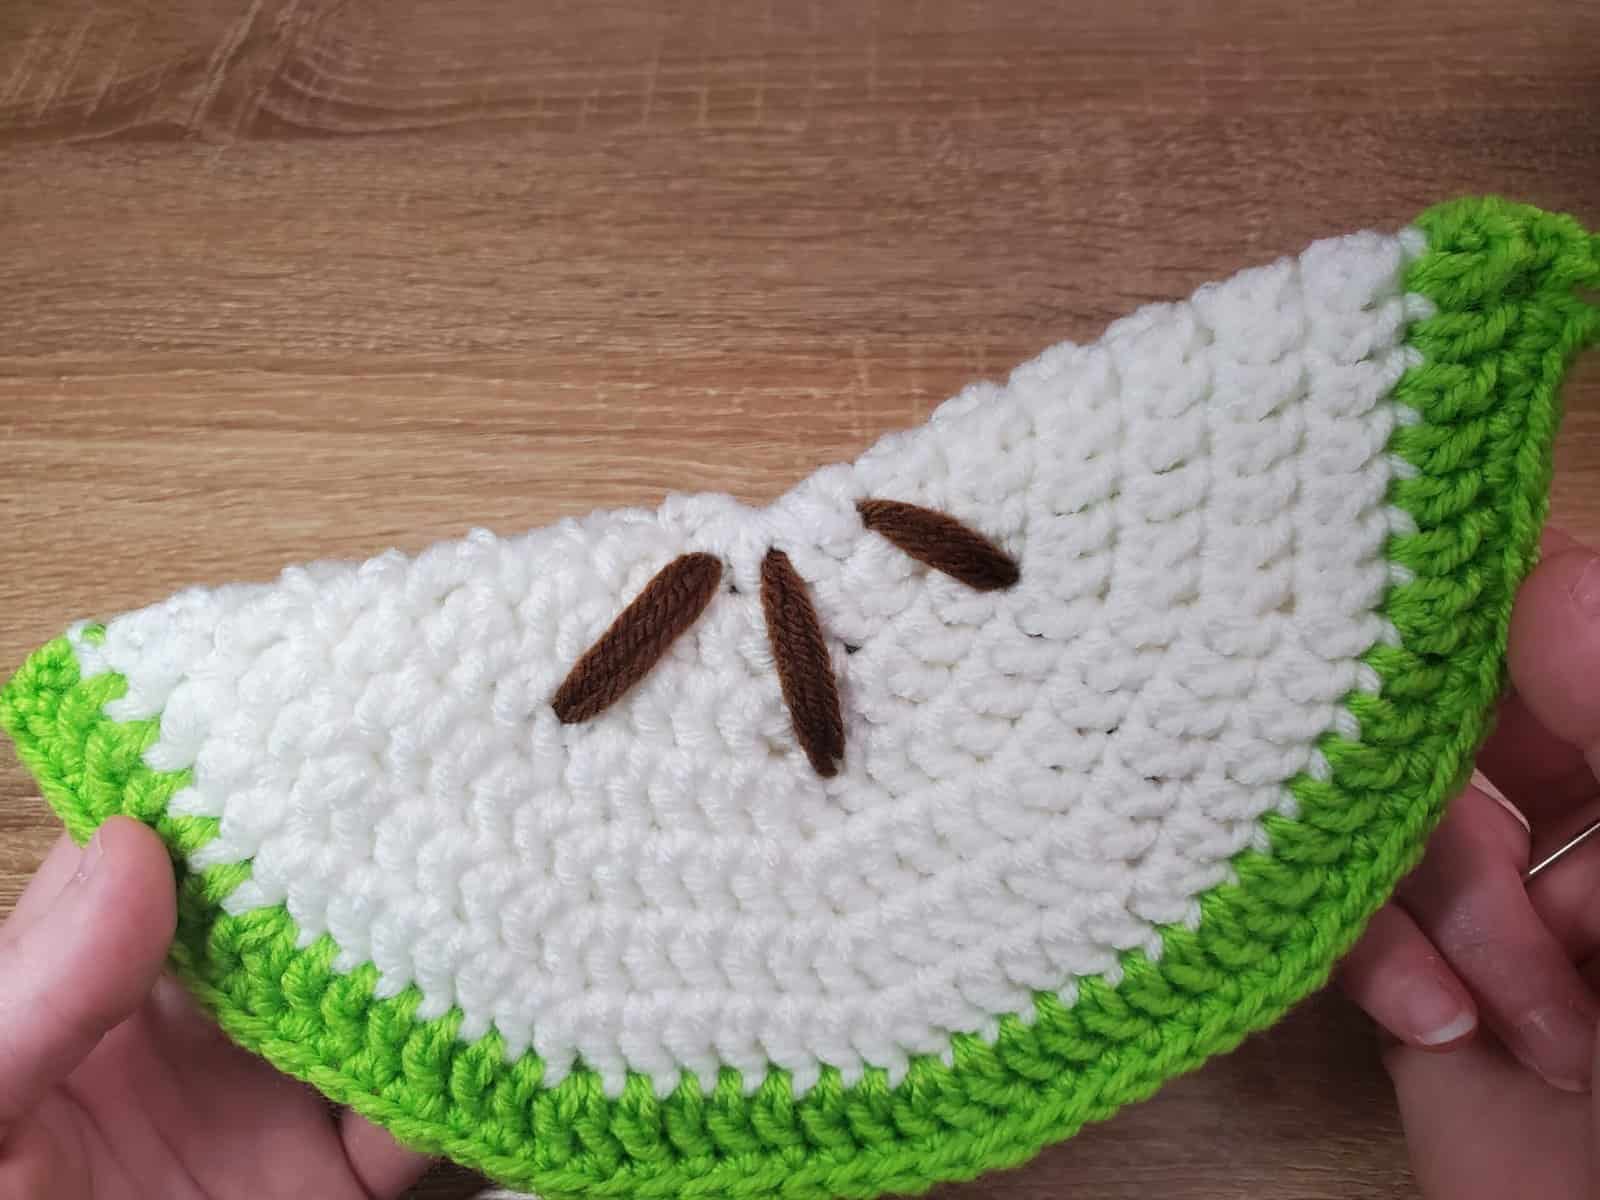
Next, sew your first seed by starting a straight stitch just above R3. Sew three long straight stitches from back to front, always coming up and down through the same stitches.
We’re creating a cluster of three straight stitches to form the seed.
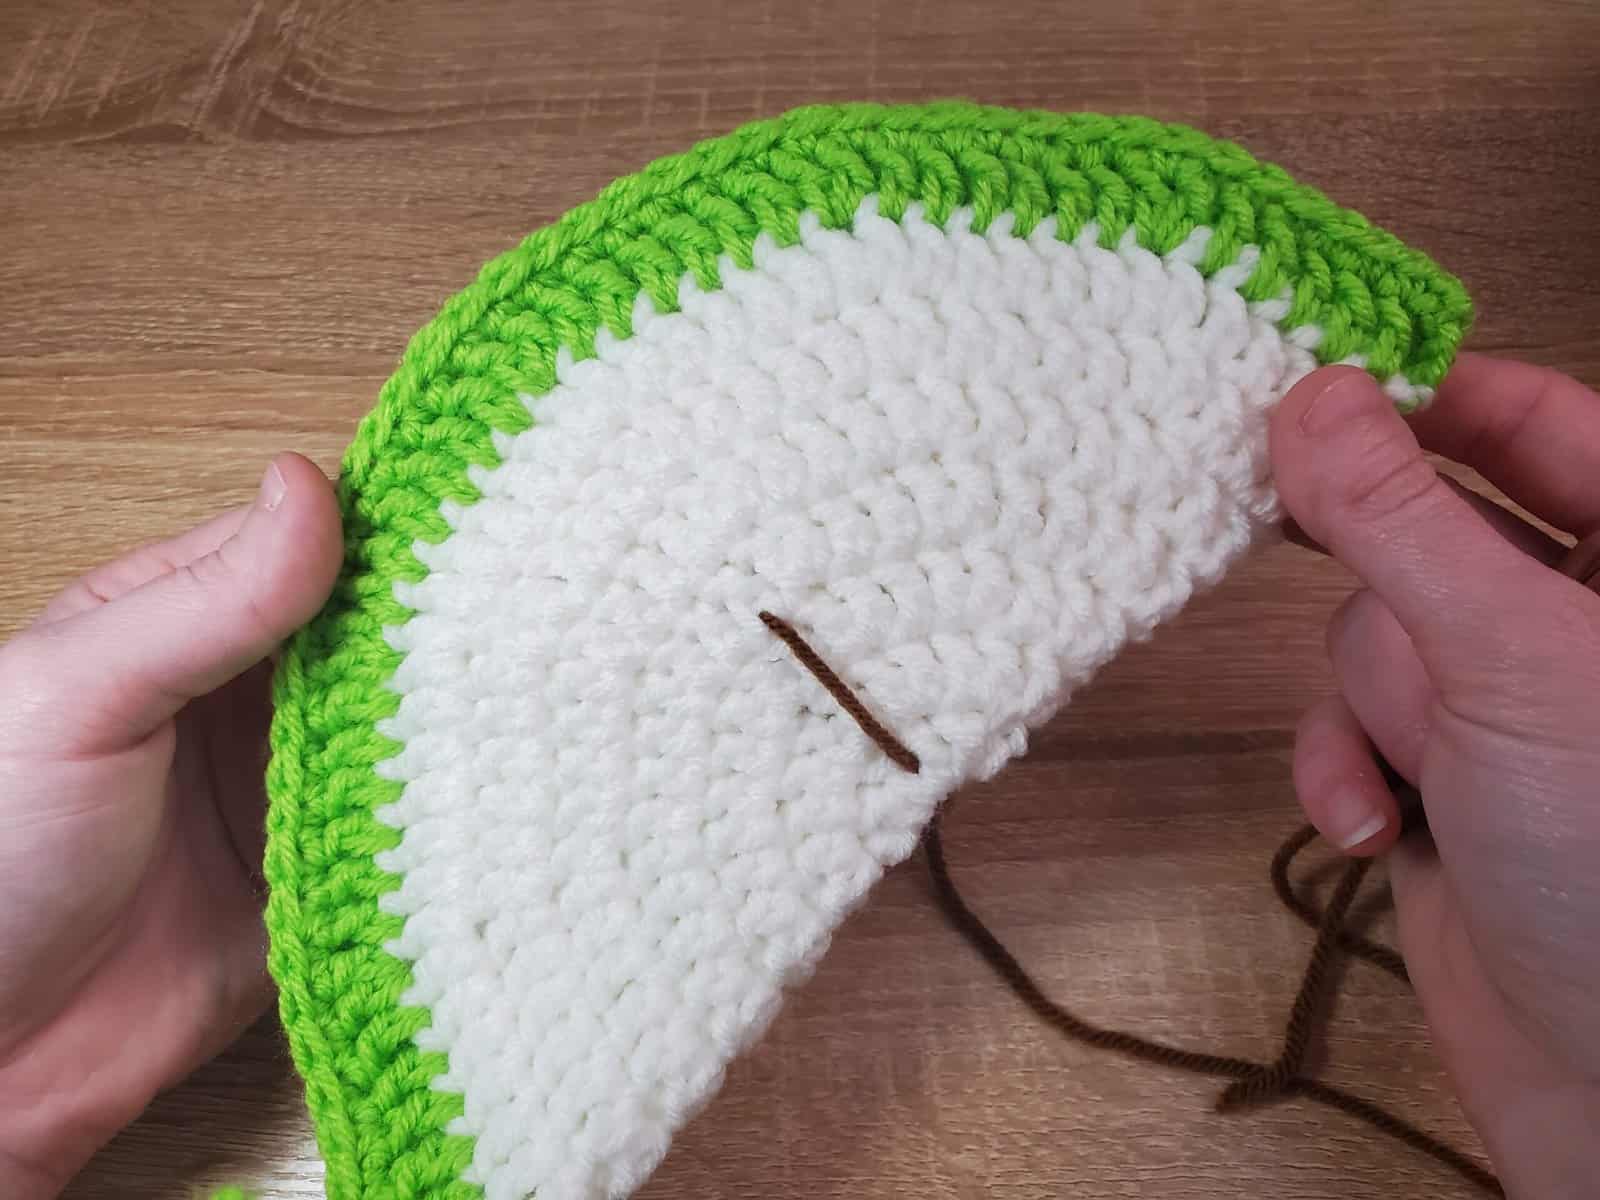
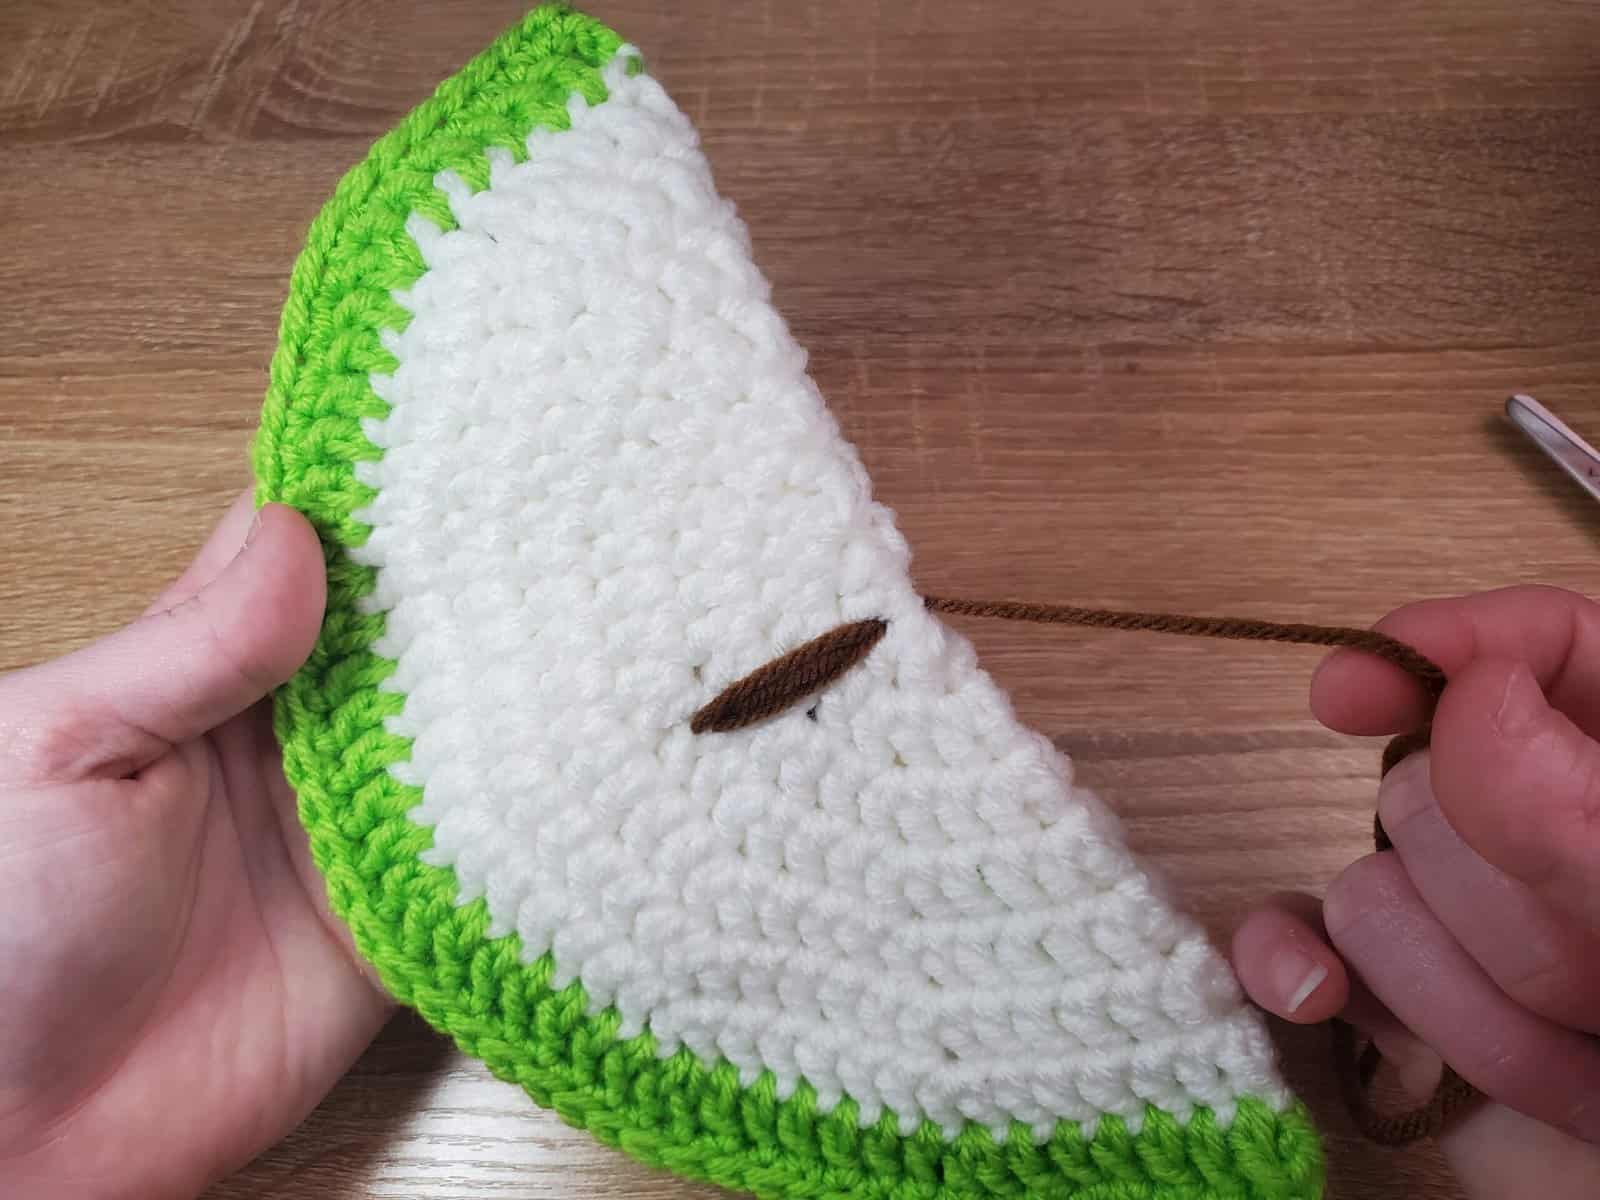
Once you’ve finished the middle seed, the other two stitches are created the same way, but at an angle to the middle stitch. You’ll always start just above R3:
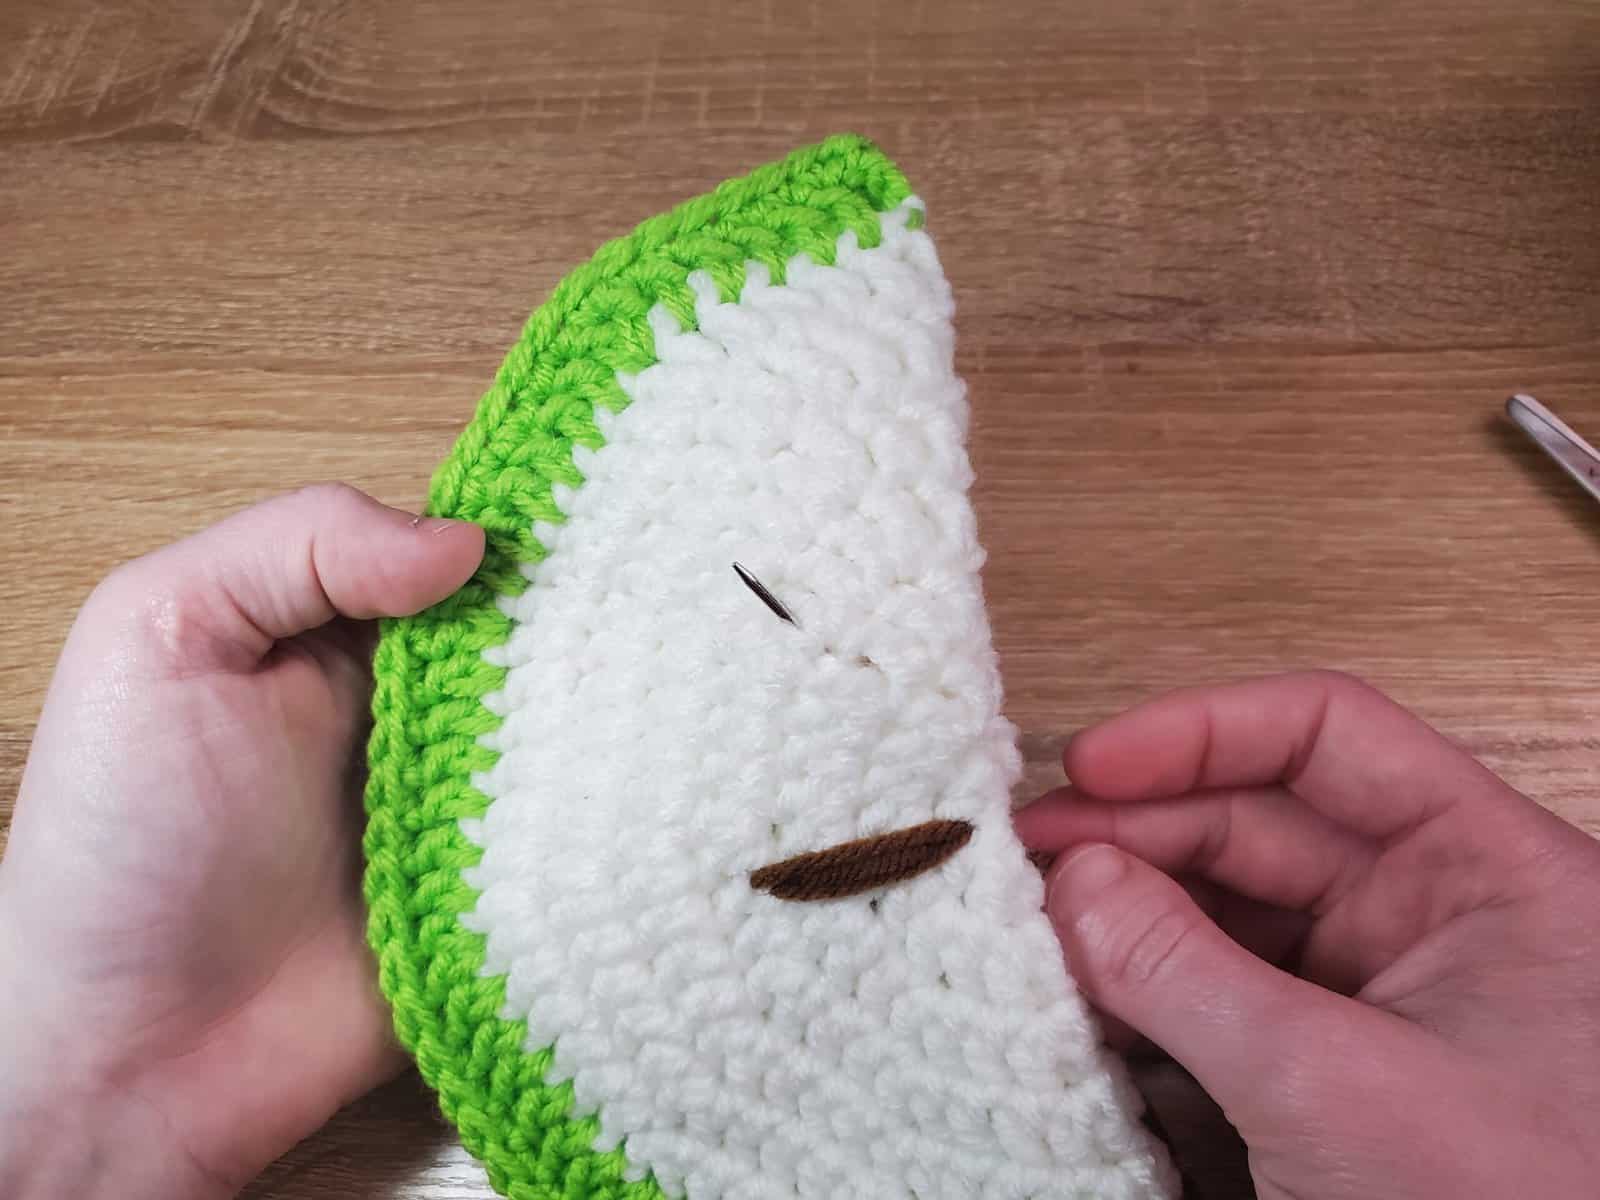
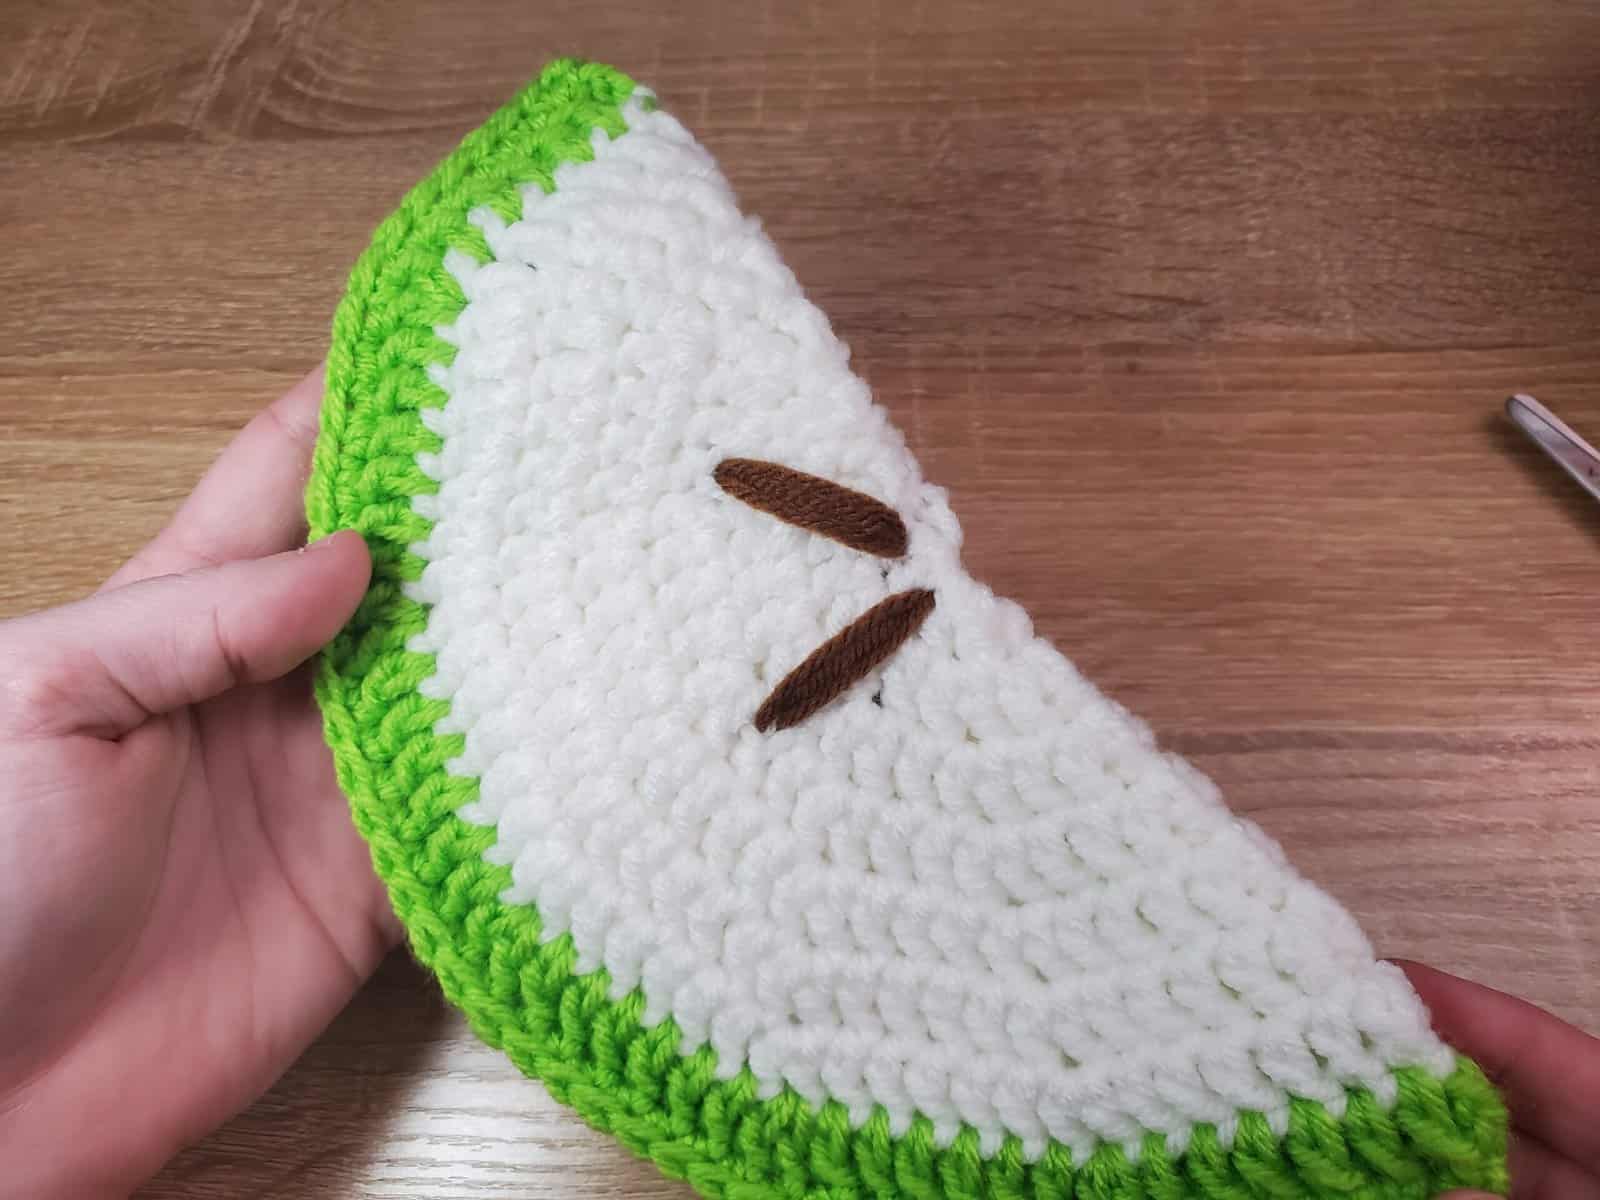
Once done, tie a knot and weave in any remaining yarn.
Complete!
That wraps up this tutorial on making your own lay-flat fruit pot holders. I hope they help you ring in spring with a pop of color!

This is a great project to teach to kids and grandkids – love it!
Great designs and thought of crochet fruit potholders. This is amazing tutorial to learn new patterns and designs that are so unique and adorable.
Stitches
Thanks