Are you a t-shirt hoarder? Do you still have tees that are now older than a middle schooler?
Sometimes, it can be hard to let go of these precious time capsules, because they’re associated with the events and styles in your past, along with the fun memories you made all those years ago.
It is, of course, such a shame to throw them all out. You could make a t-shirt quilt out of them, or frame them. Or perhaps you’d like to try out another way to up-cycle them. Why not turn them into a crochet bed for man’s best friend?
In today’s tutorial, I’ll be walking you through how to repurpose old tee shirts and other household fabrics like pillowcases and fabric remnants to craft your own t-shirt yarn.
Then, I’ve got an easy crochet pattern that whips up quickly and is sure to please your furry friend.
What Is T-shirt Yarn?
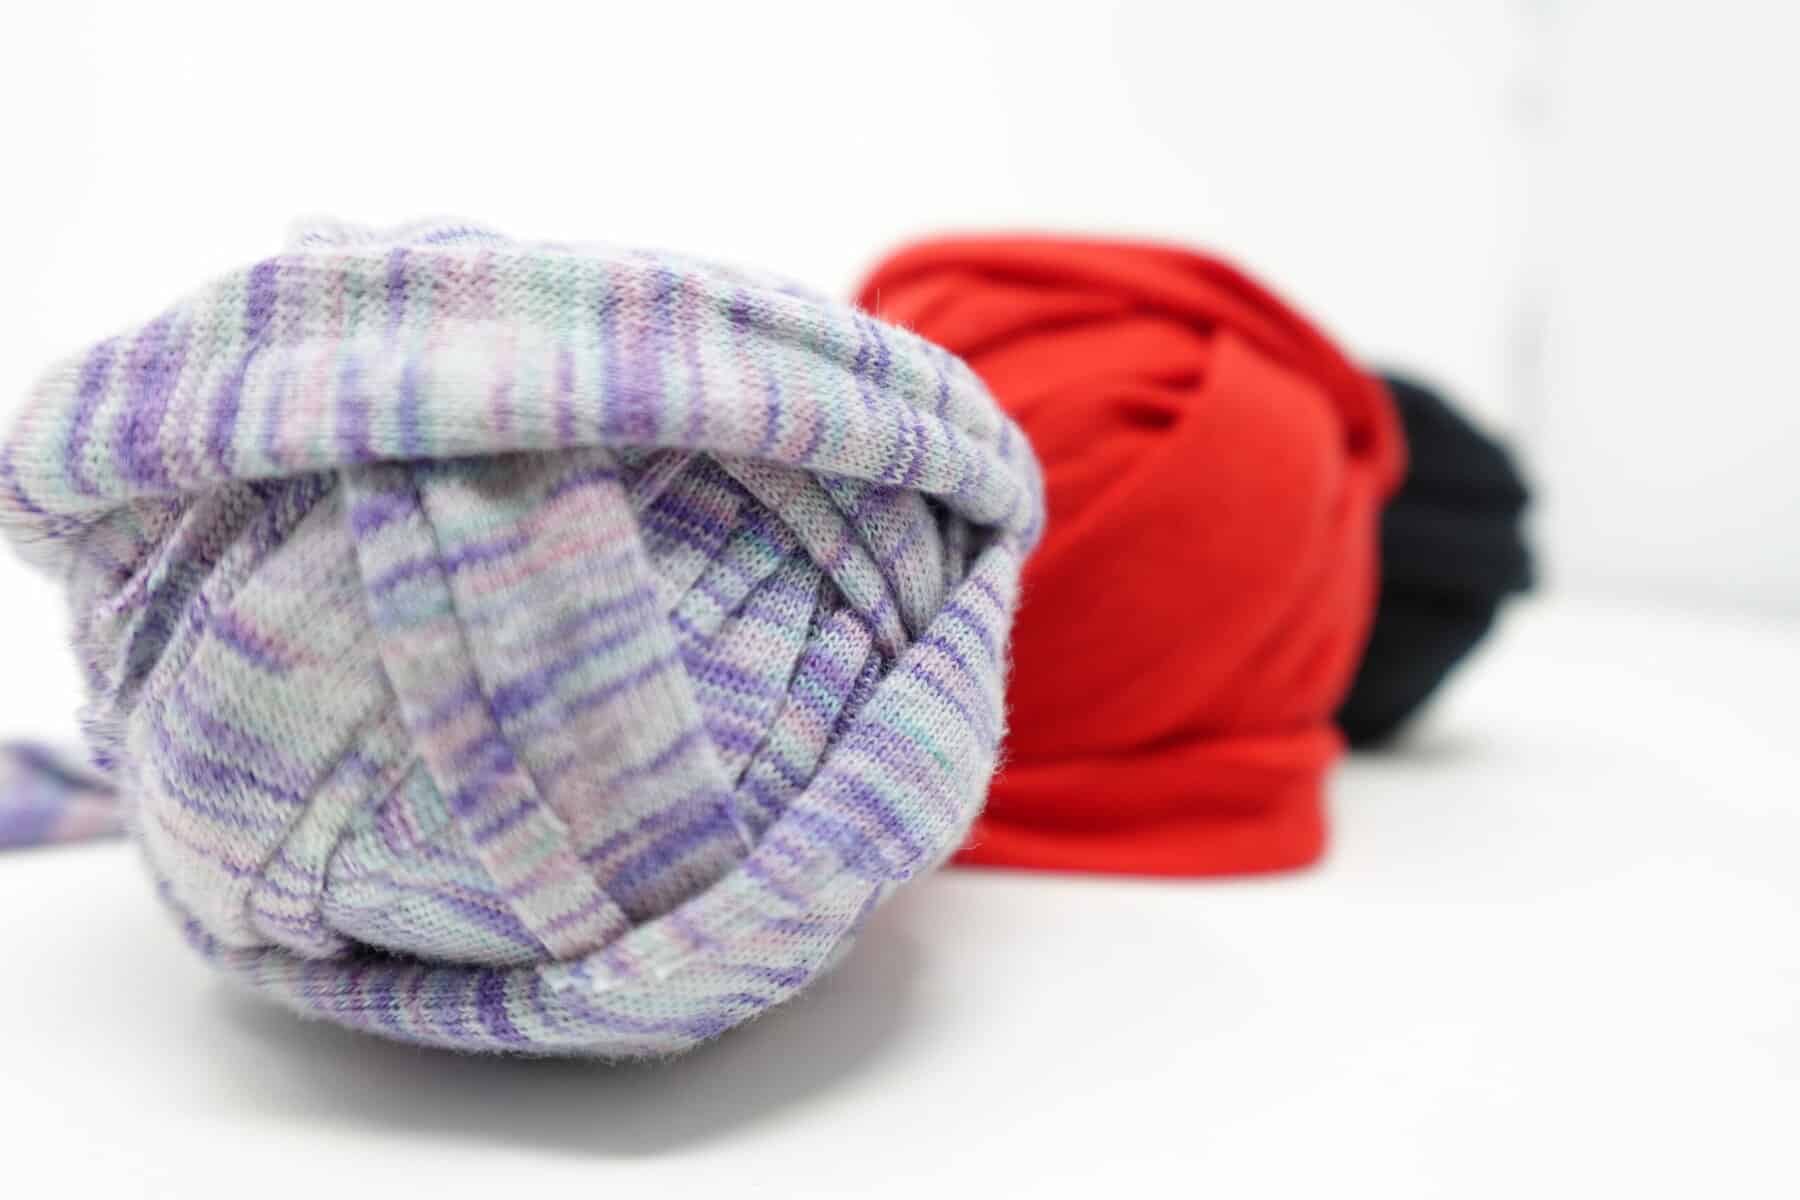
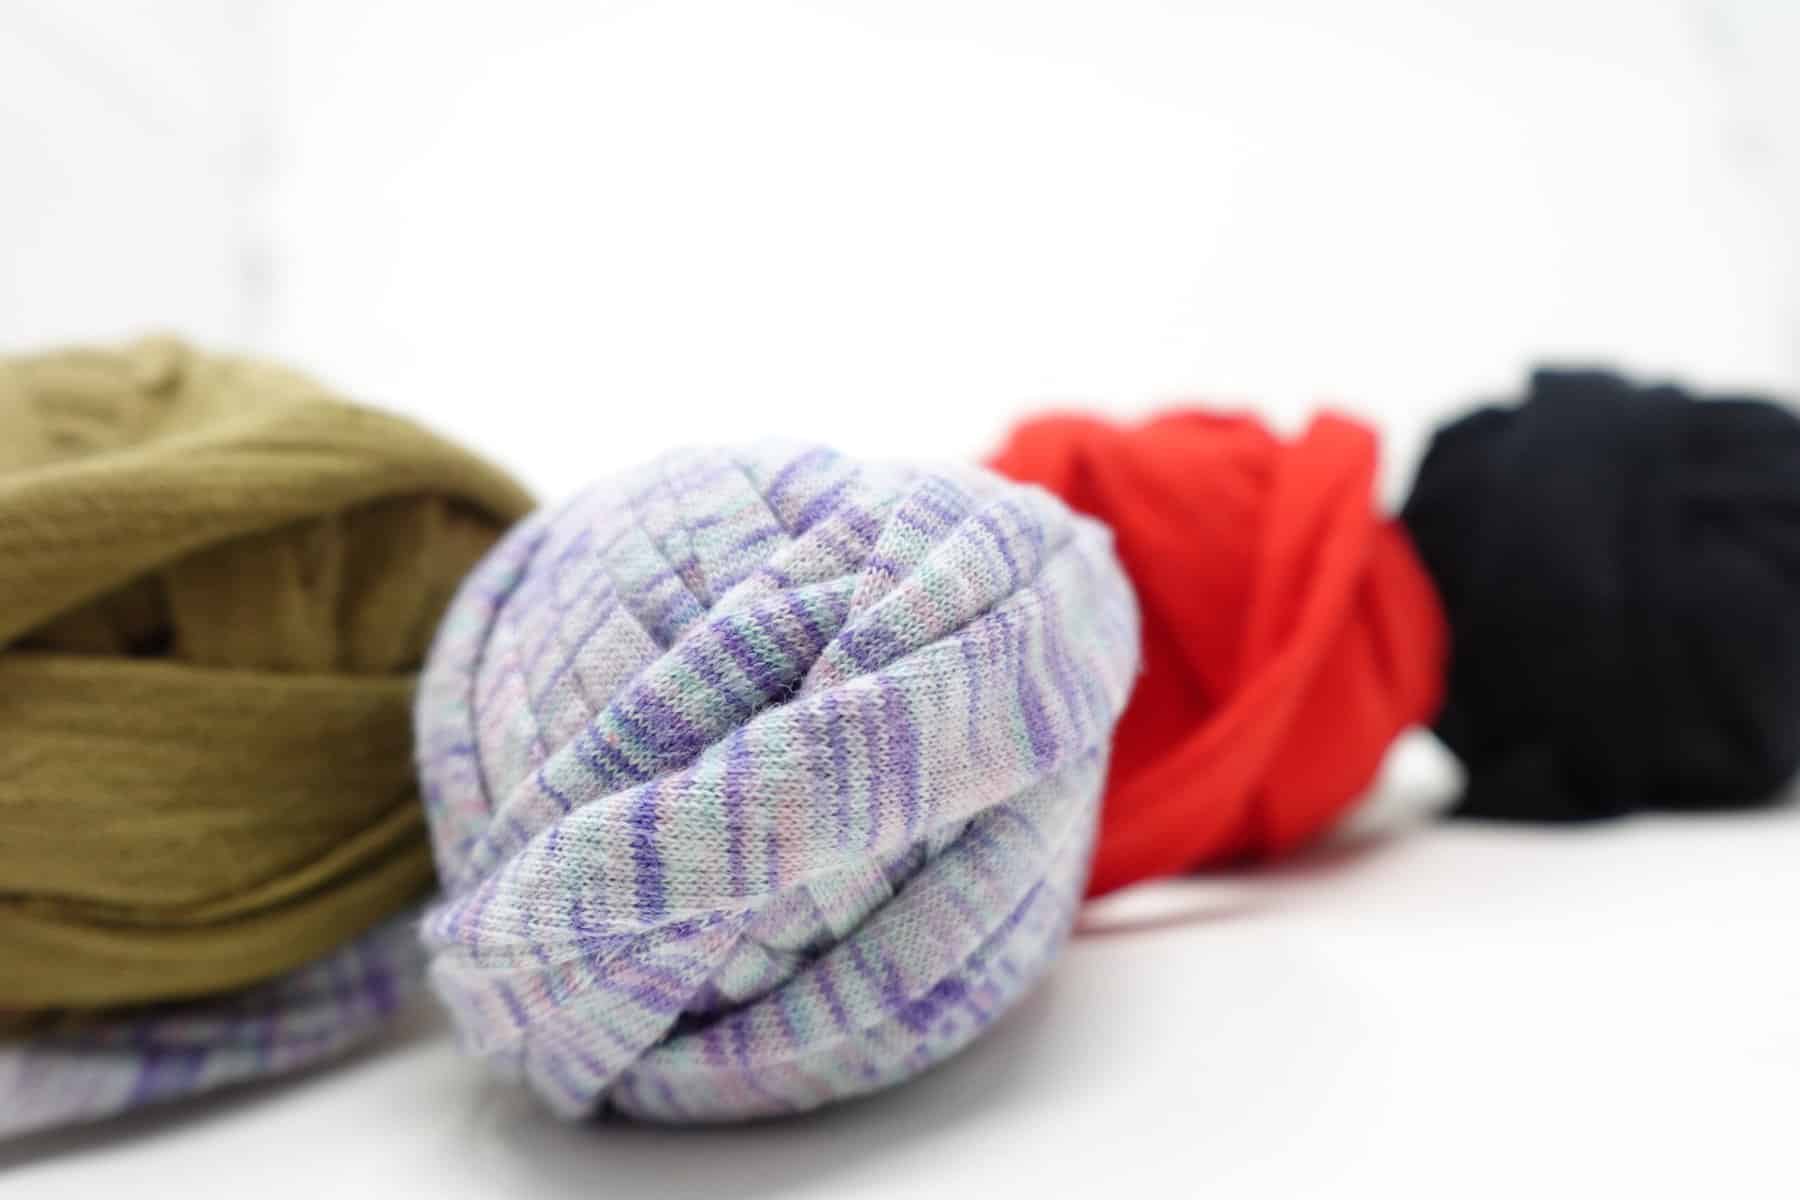
T-shirt yarn goes by a few names, such as jersey yarn, T-yarn, and tarn. Whatever you call it, it’s made by cutting a long, continuous strip of yarn from items such as (obviously) t-shirts, pillowcases, and even bed sheets.
Once the strip has been cut, it gets gently stretched and then wound into a ball. Depending on how much tarn you need, you may have to cut many different items and tie the ends together.
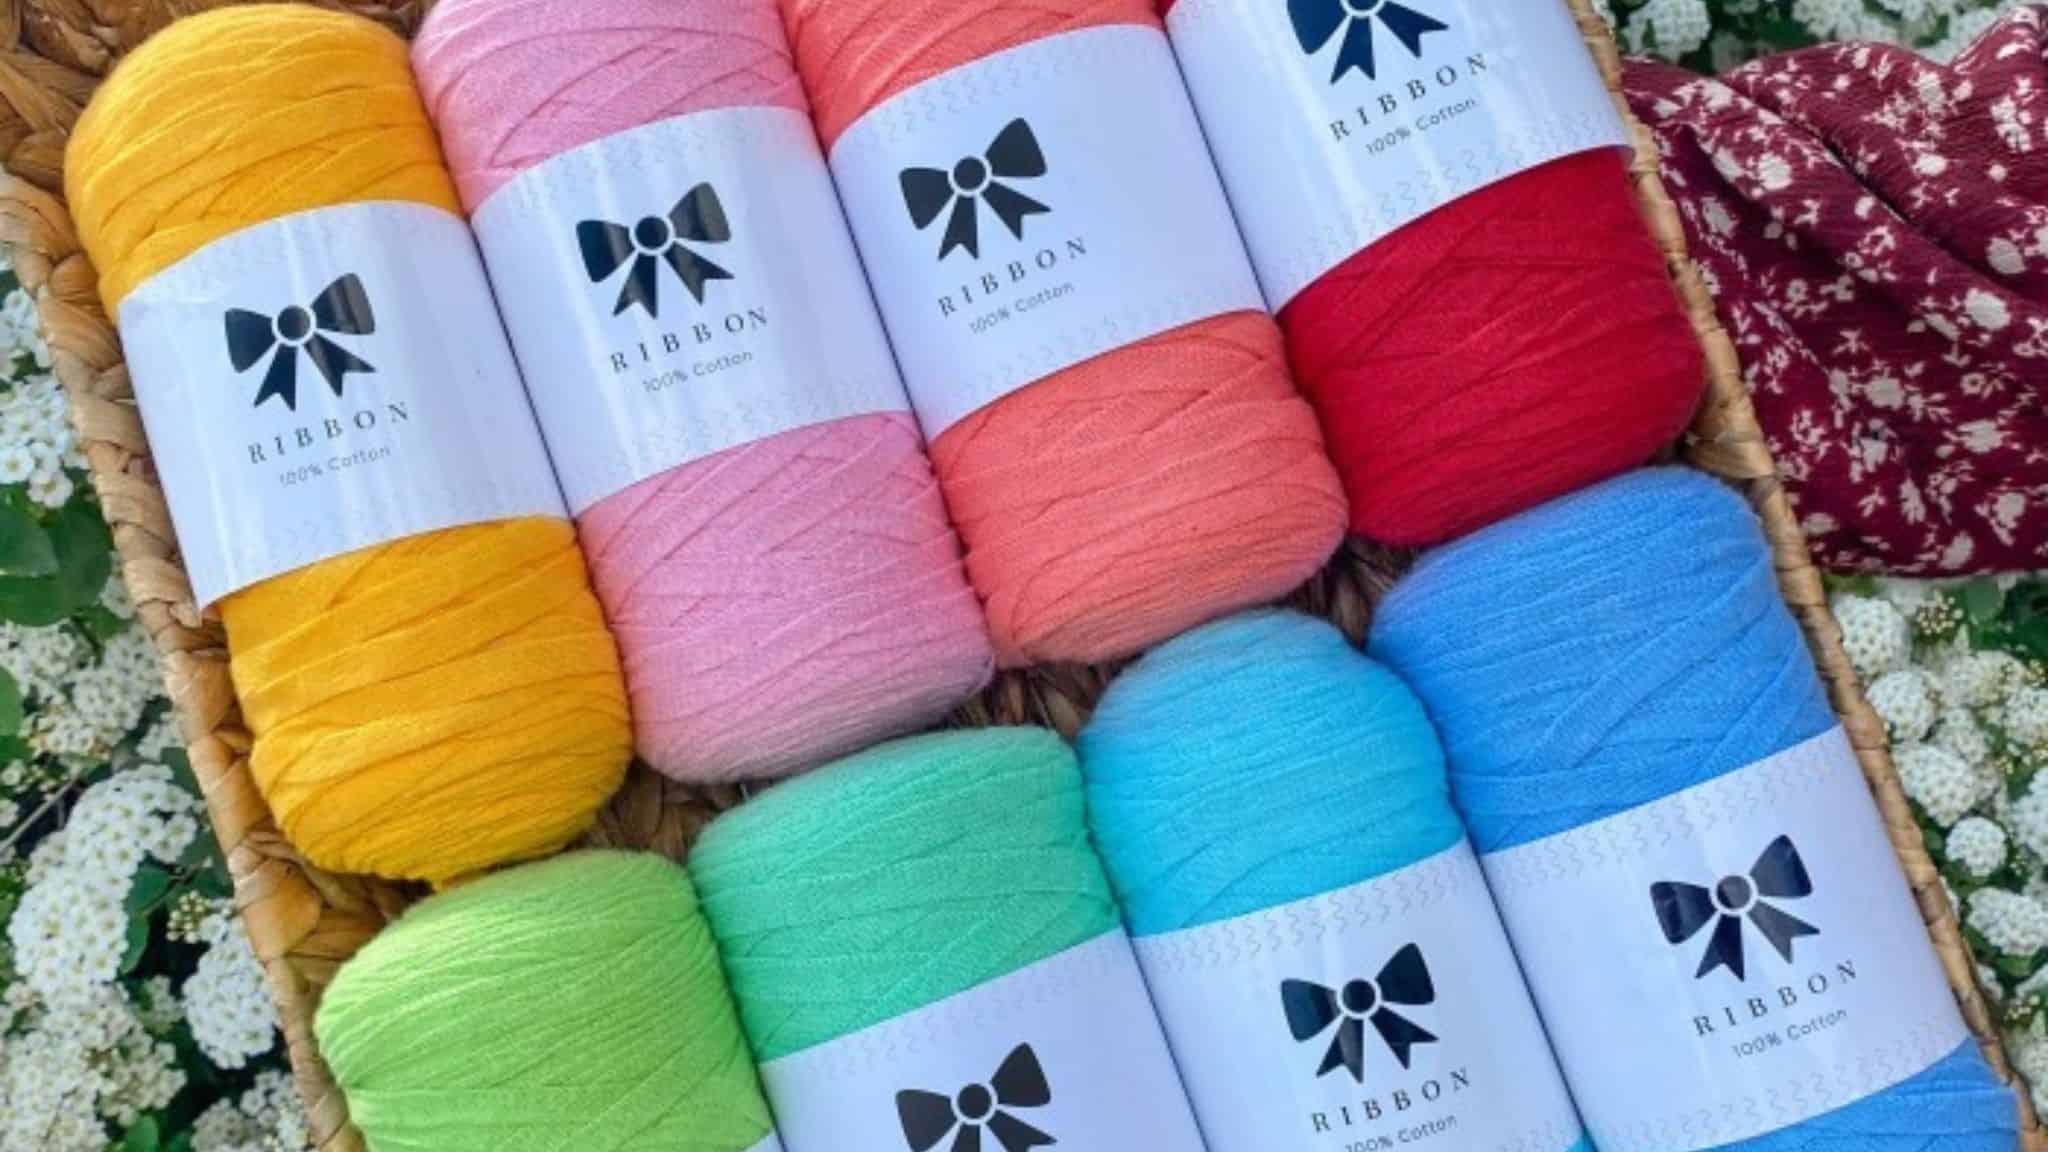
You can even purchase pre-made t-shirt yarn if you’d rather hold on to your t-shirts and pillowcases. I personally love Hobbii Yarn’s “Ribbon” yarn. It’s a 100% cotton yarn (rather than a yarn blend) that is stretchy like a jersey t-shirt.
How To Make T-shirt Yarn
Depending on what you’re working with, there are a couple of ways to cut your fabric to create a long, continuous strip of material.
In today’s tutorial, I’ll be touching on how to create these strips from both pillowcases and t-shirts. If you’re working with remnant fabric or old sheets, I highly recommend checking out the blog Knits for Life’s tutorial, which can be found here.
Making T-shirt Yarn From a T-shirt
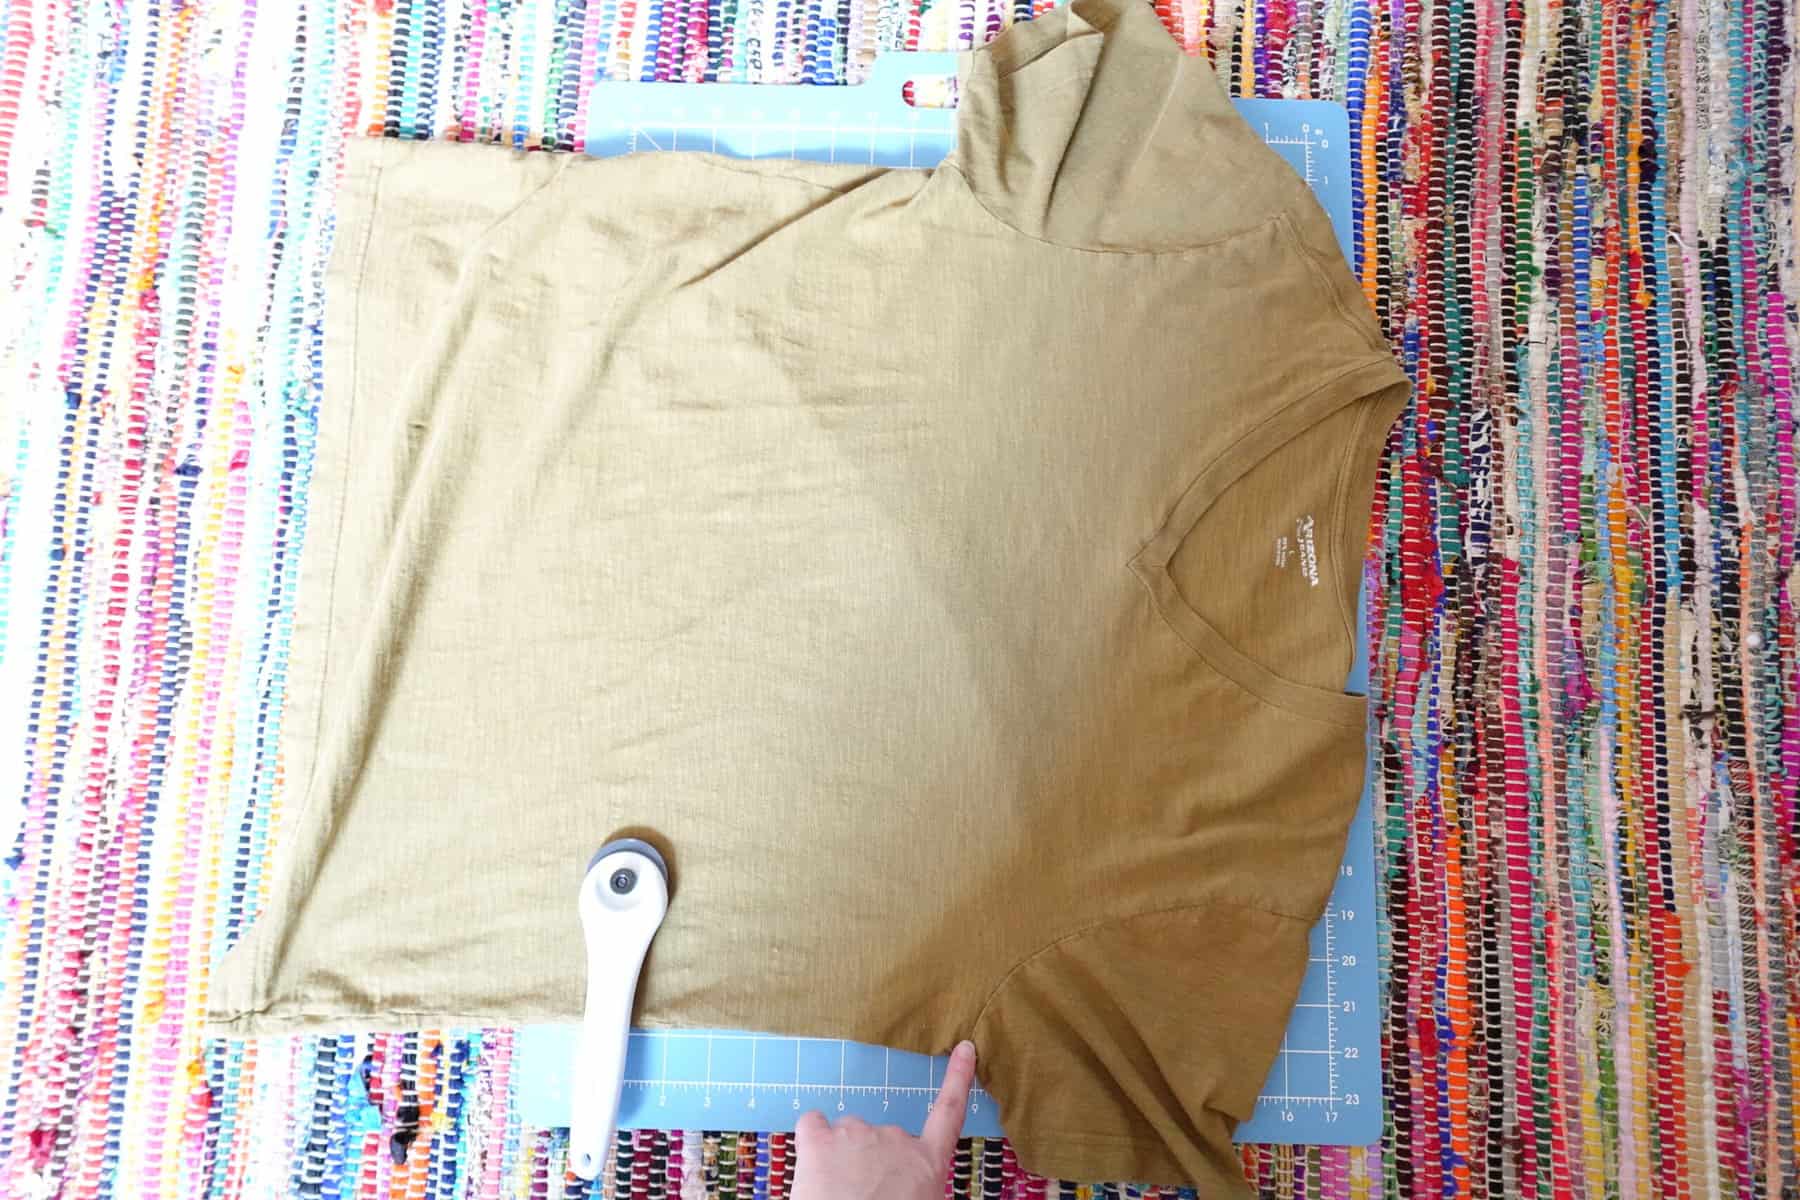
To make a continuous strip of fabric from a t-shirt, we’ll only be working with the bottom tube of the shirt.
1. First, cut the top of the t-shirt off, right underneath the sleeves. You will also need to cut the bottom hem off, too, as this material is usually doubled over and is too thick to work with.
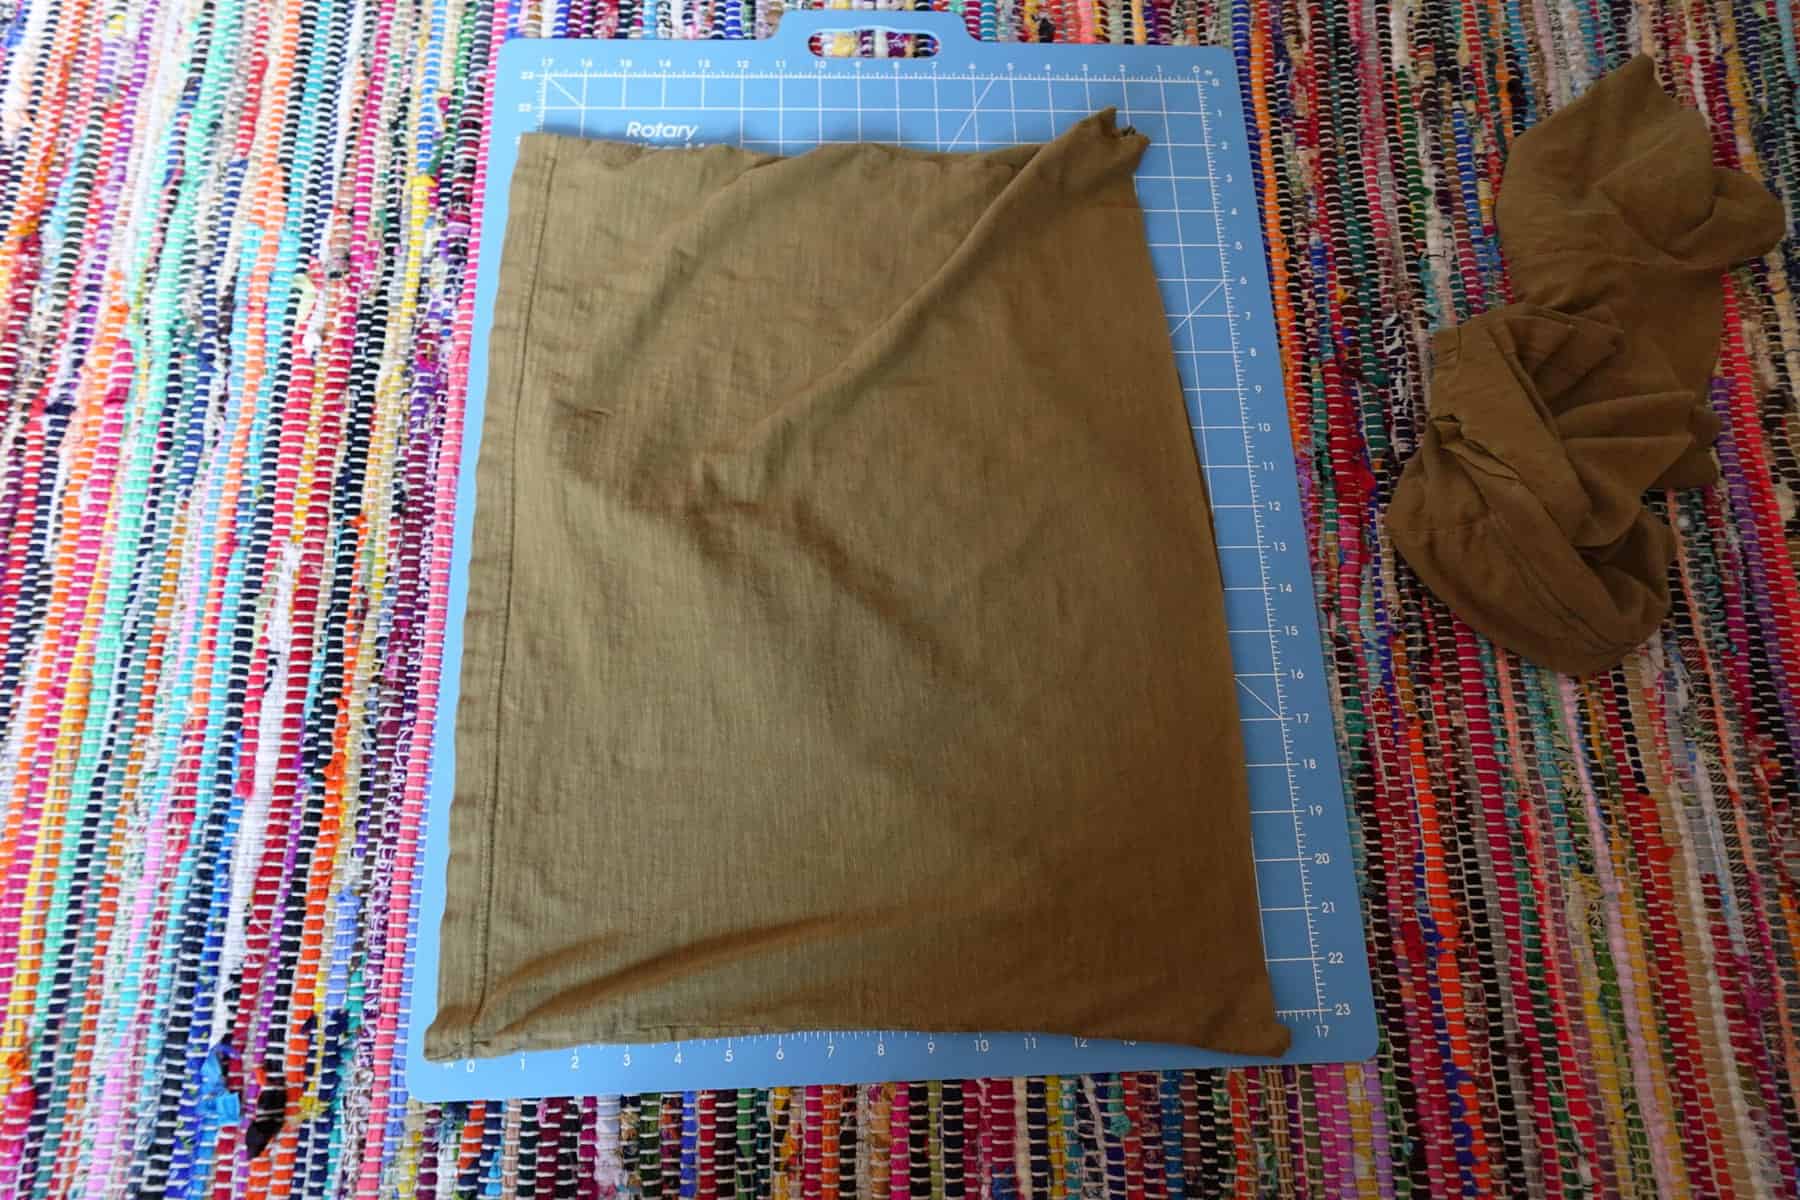
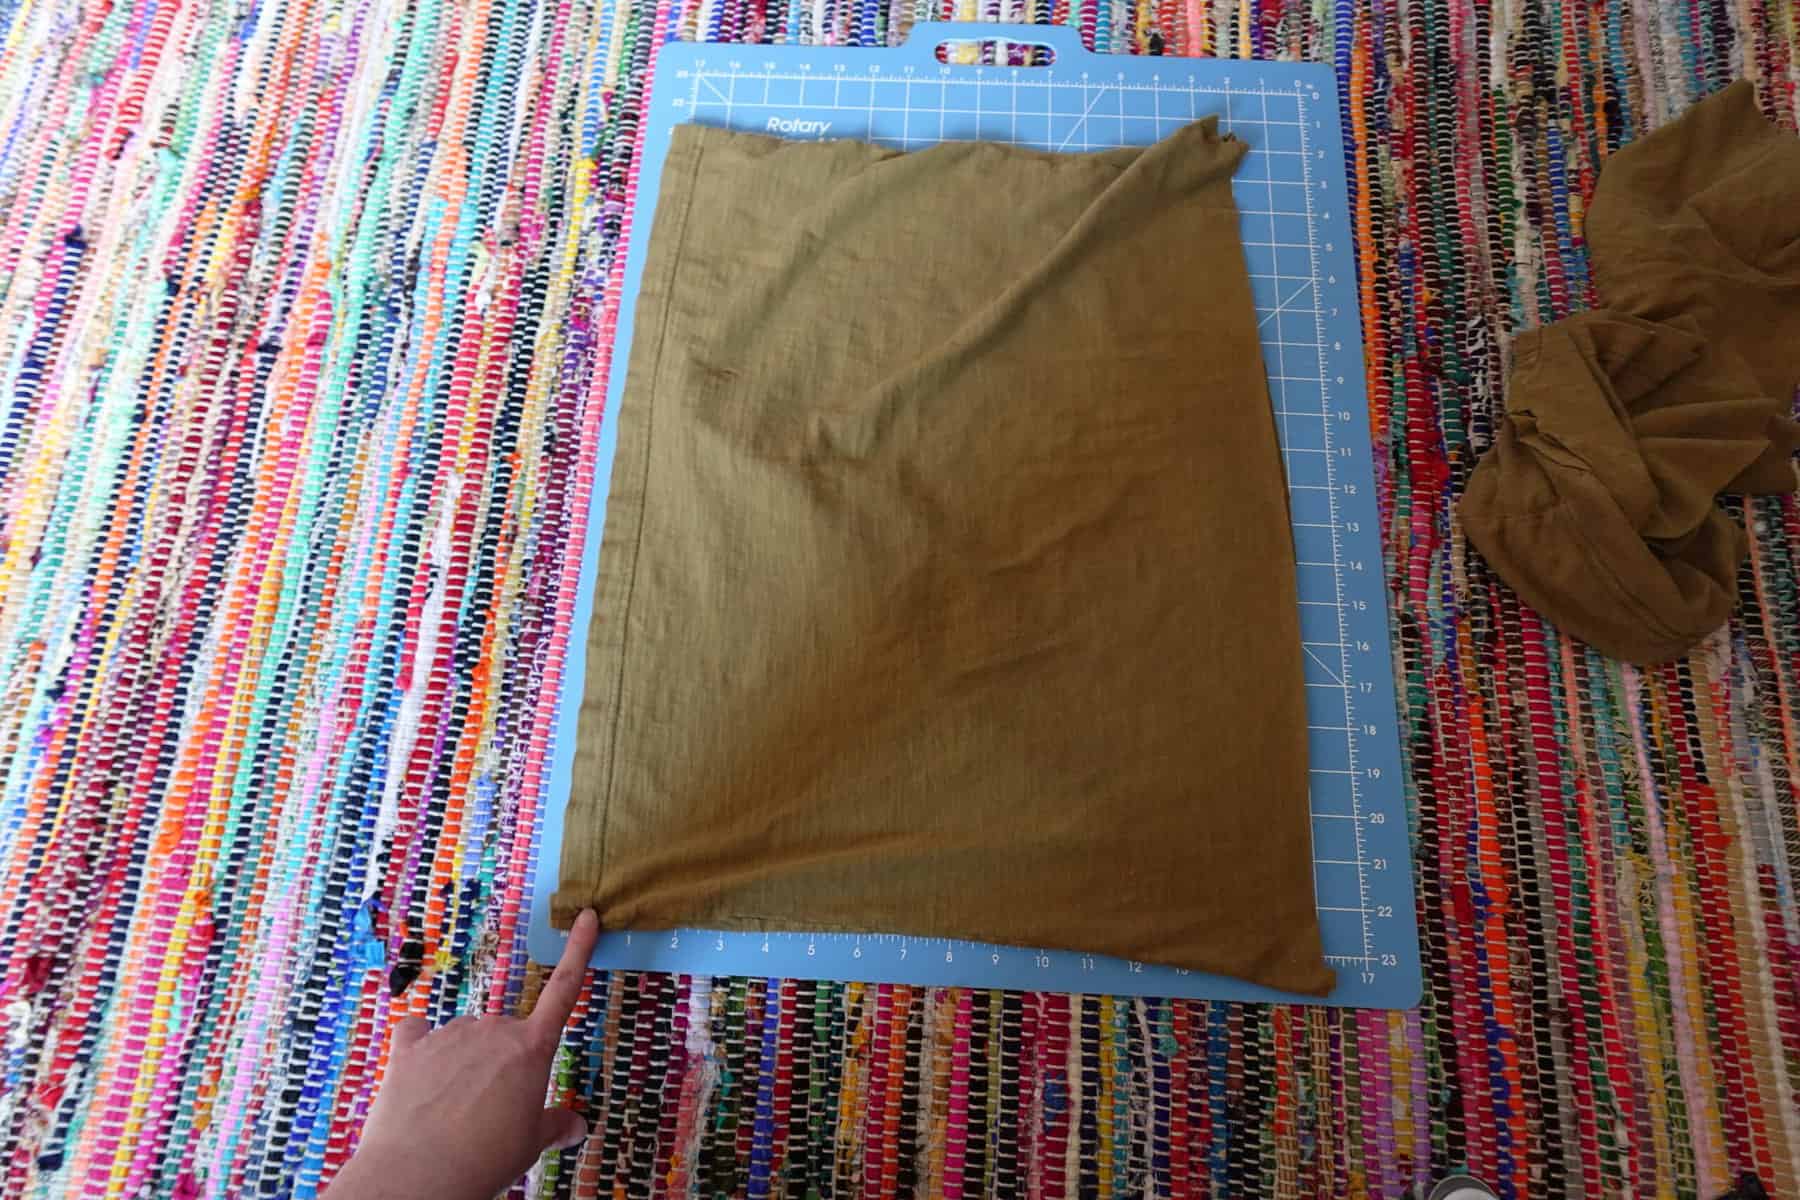
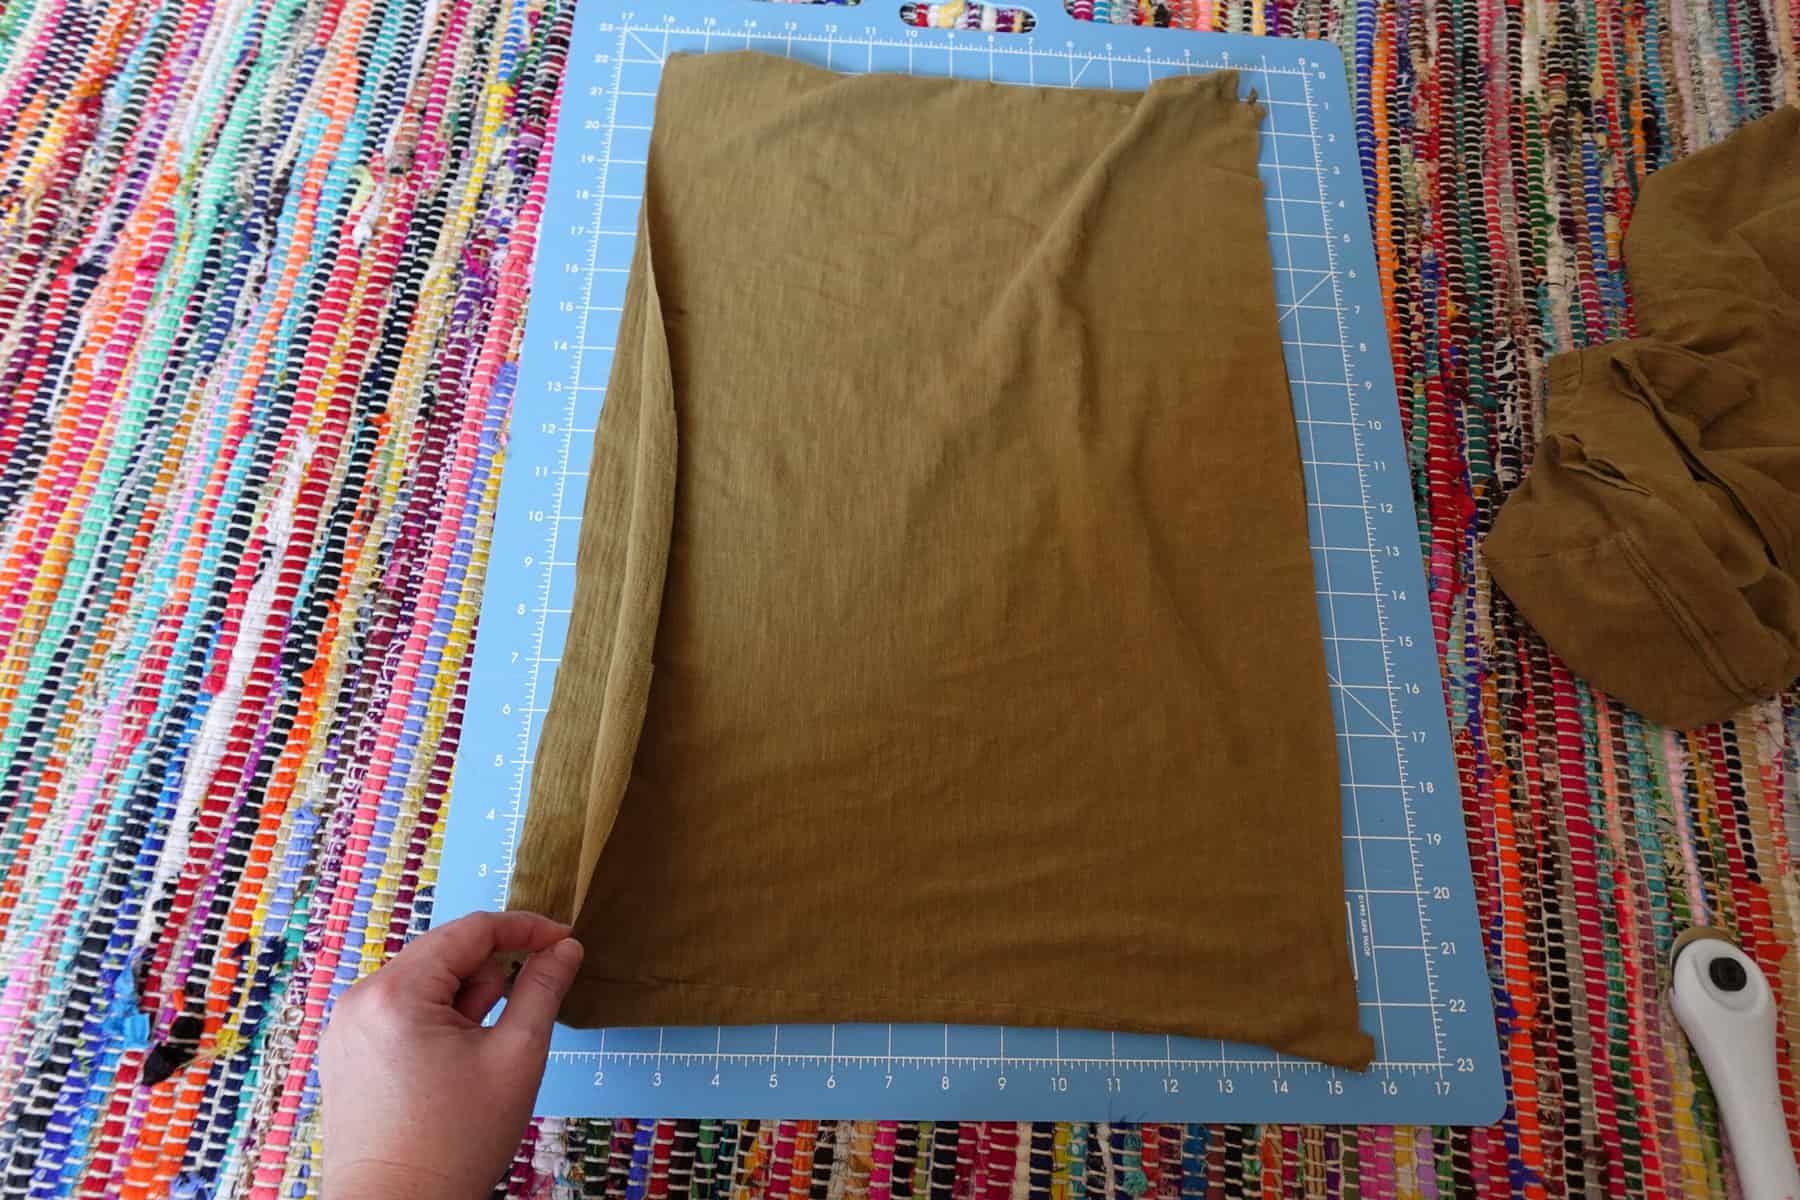
2. Next, starting on one side of the tube we now have, cut approximately 1-inch sections of fabric. Stop about an inch away from the other side of the tube.
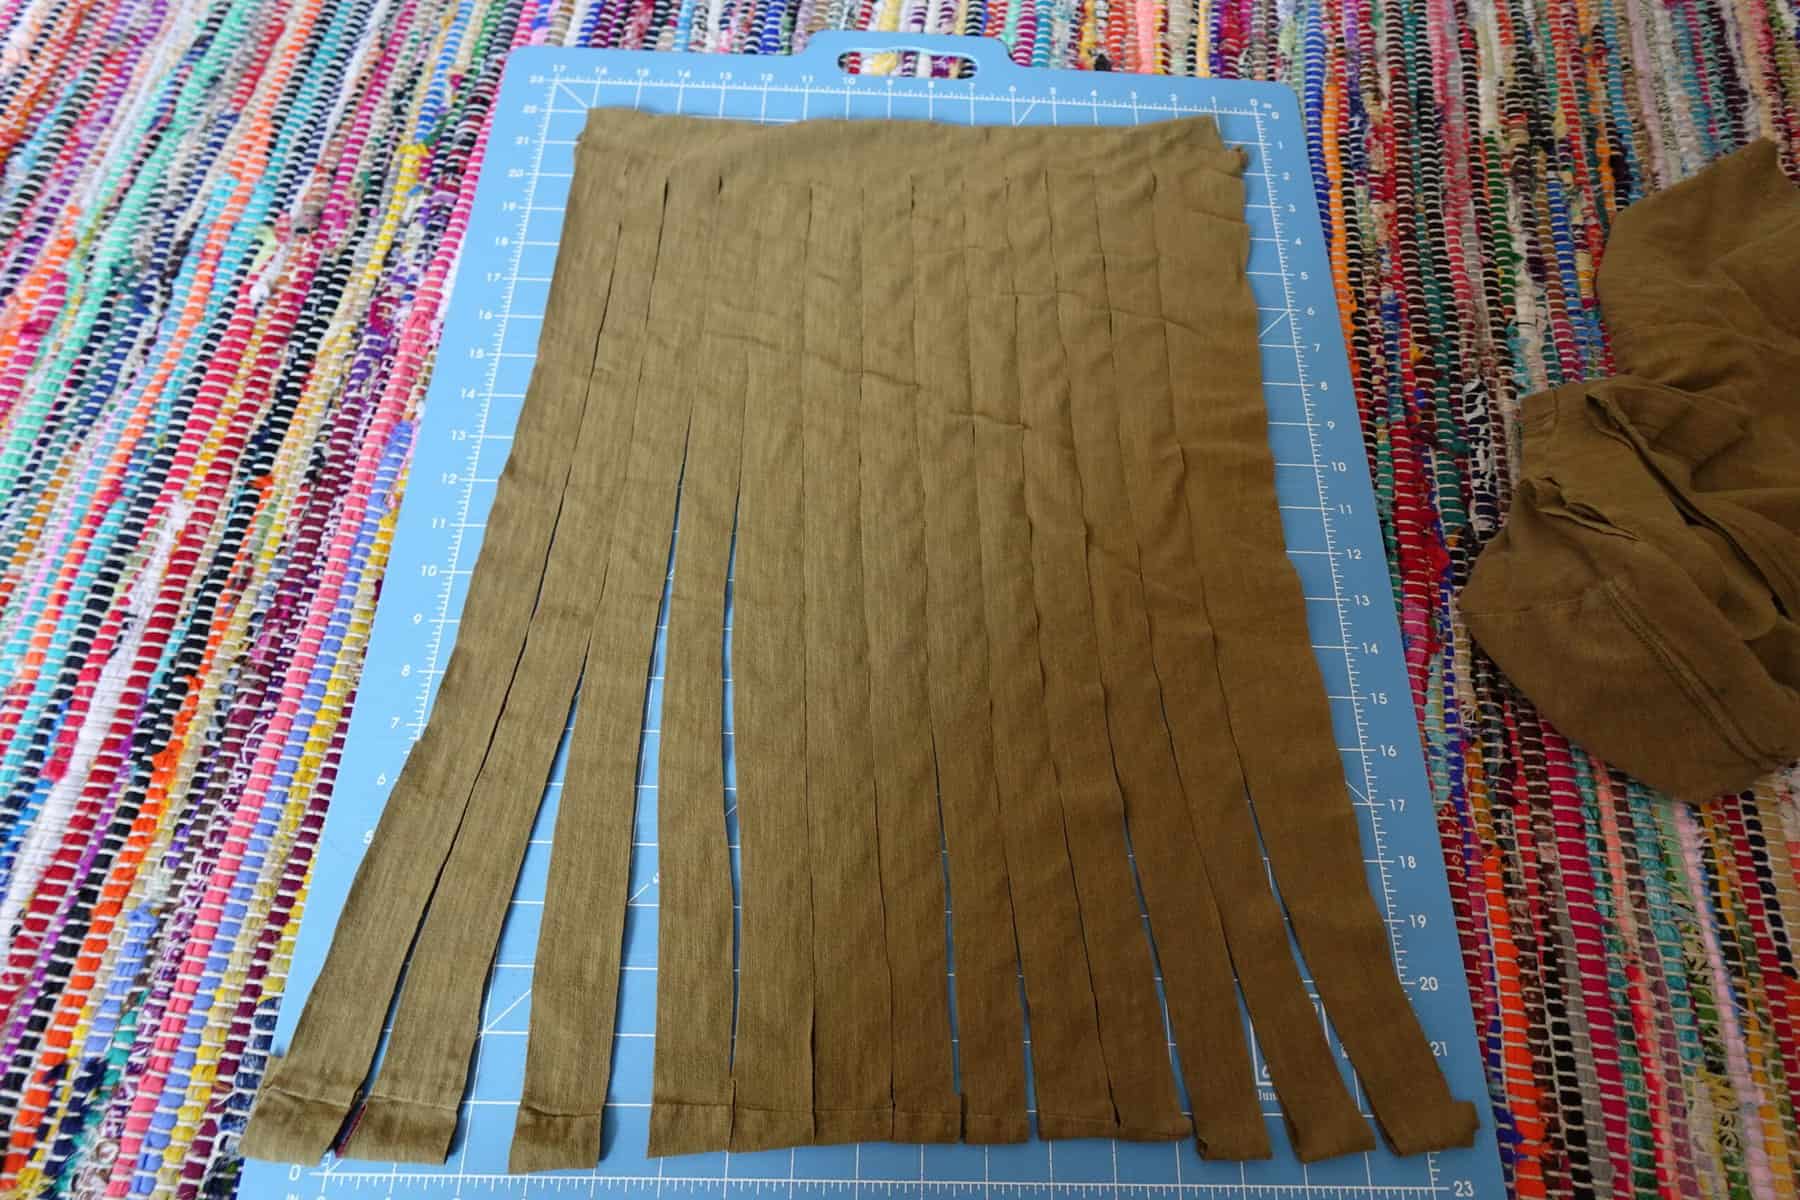
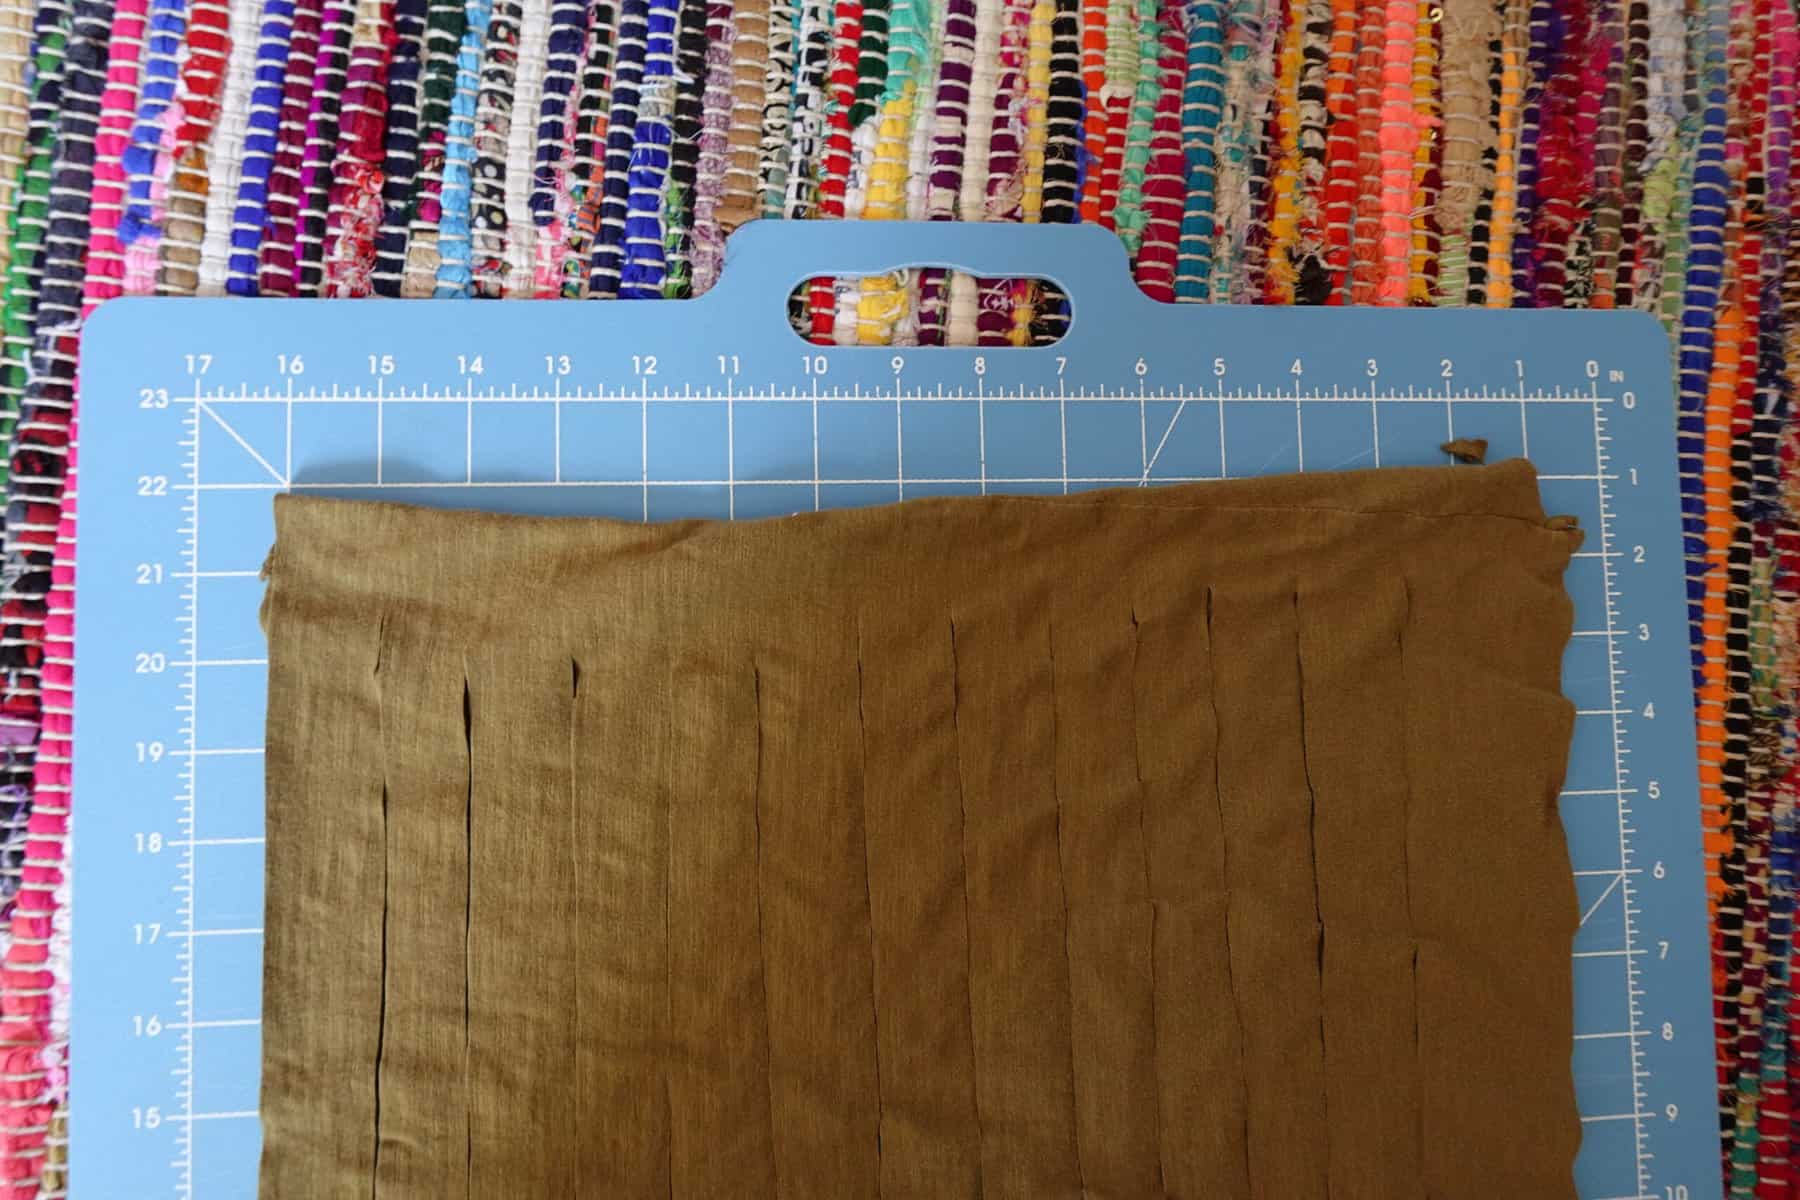
3. Once you’ve cut each section, open up the shirt so you can see the side of the shirt we didn’t cut all the way through. Cut the first leftmost strip to free it from the uncut section.
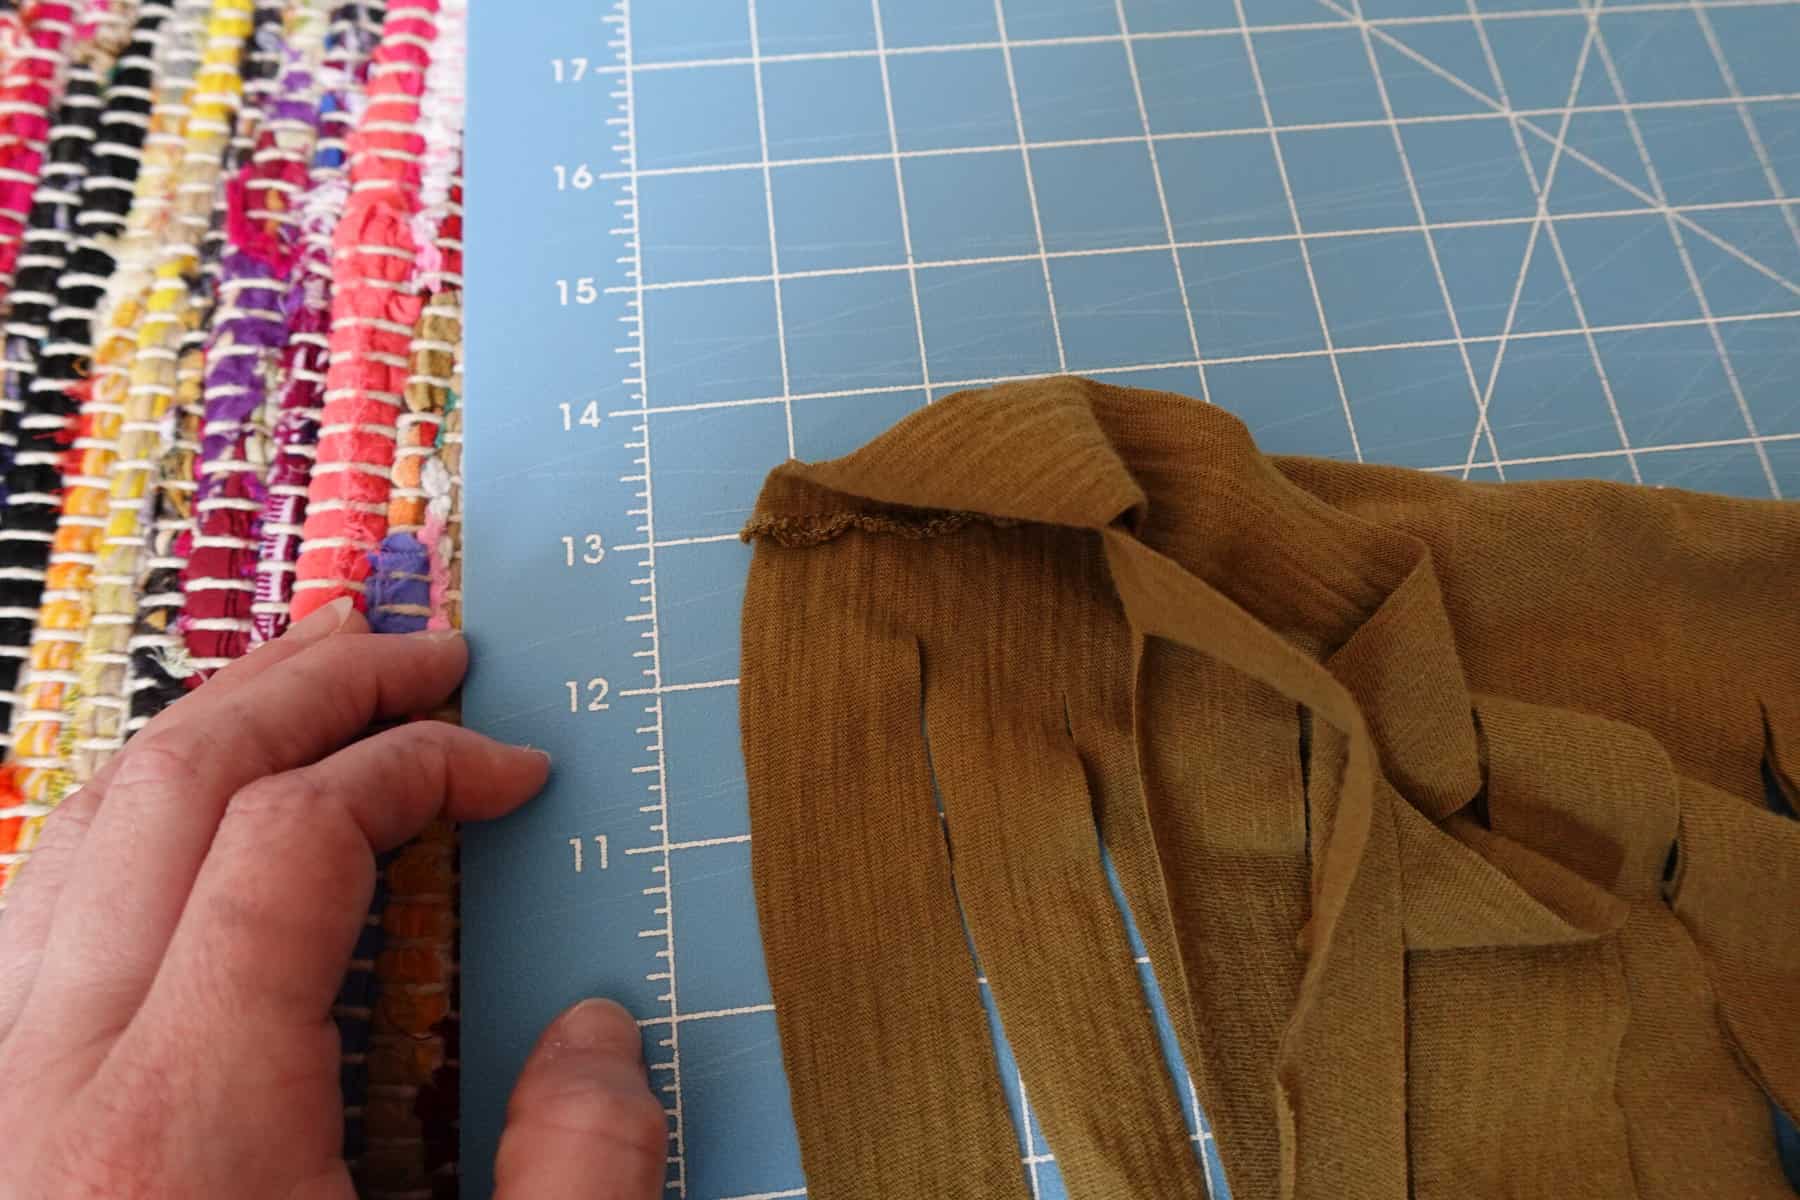
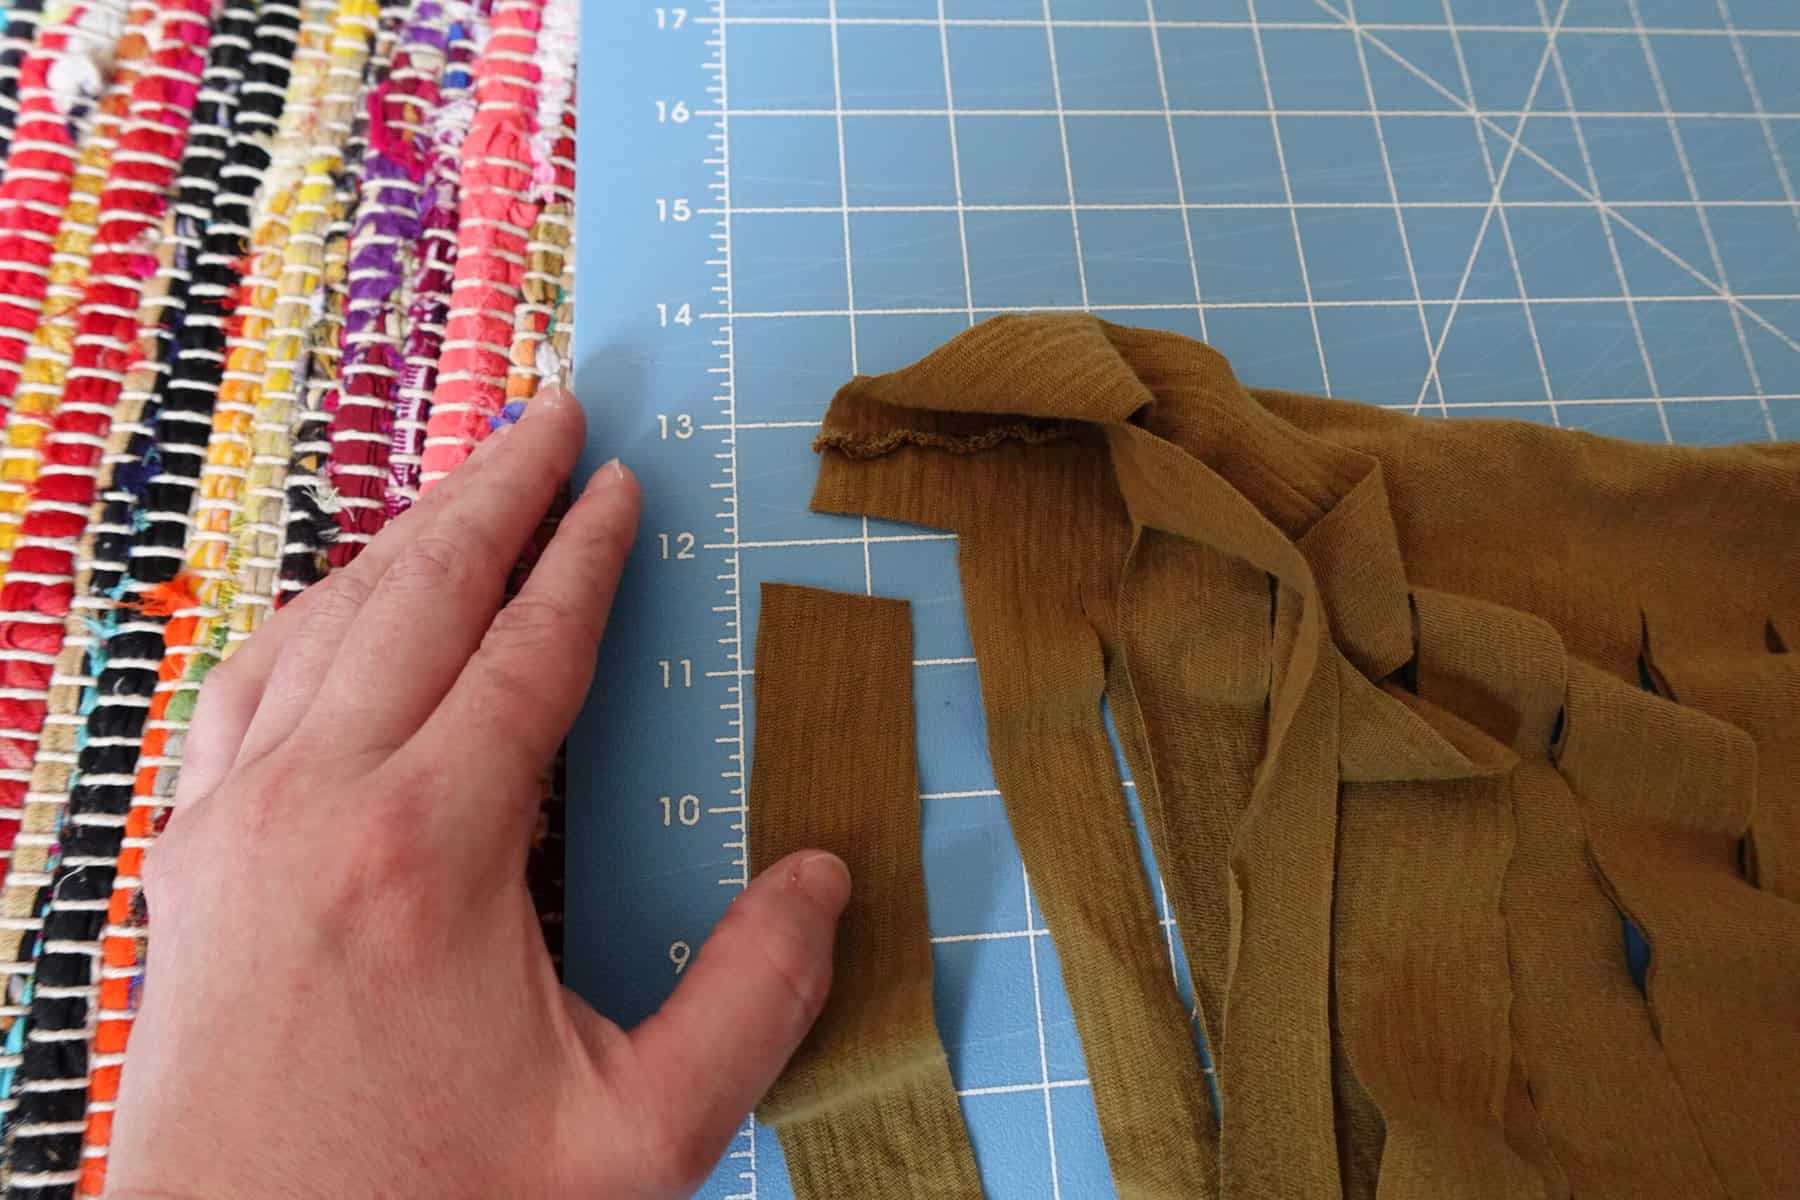
4. Now that we’ve freed the end of the t-shirt yarn strip, we need to cut each strip at an angle. We’re sort of spiralizing the cut so that the first leftmost strip at the top connects to the second strip at the bottom (since we’ve detached the first strip already!).
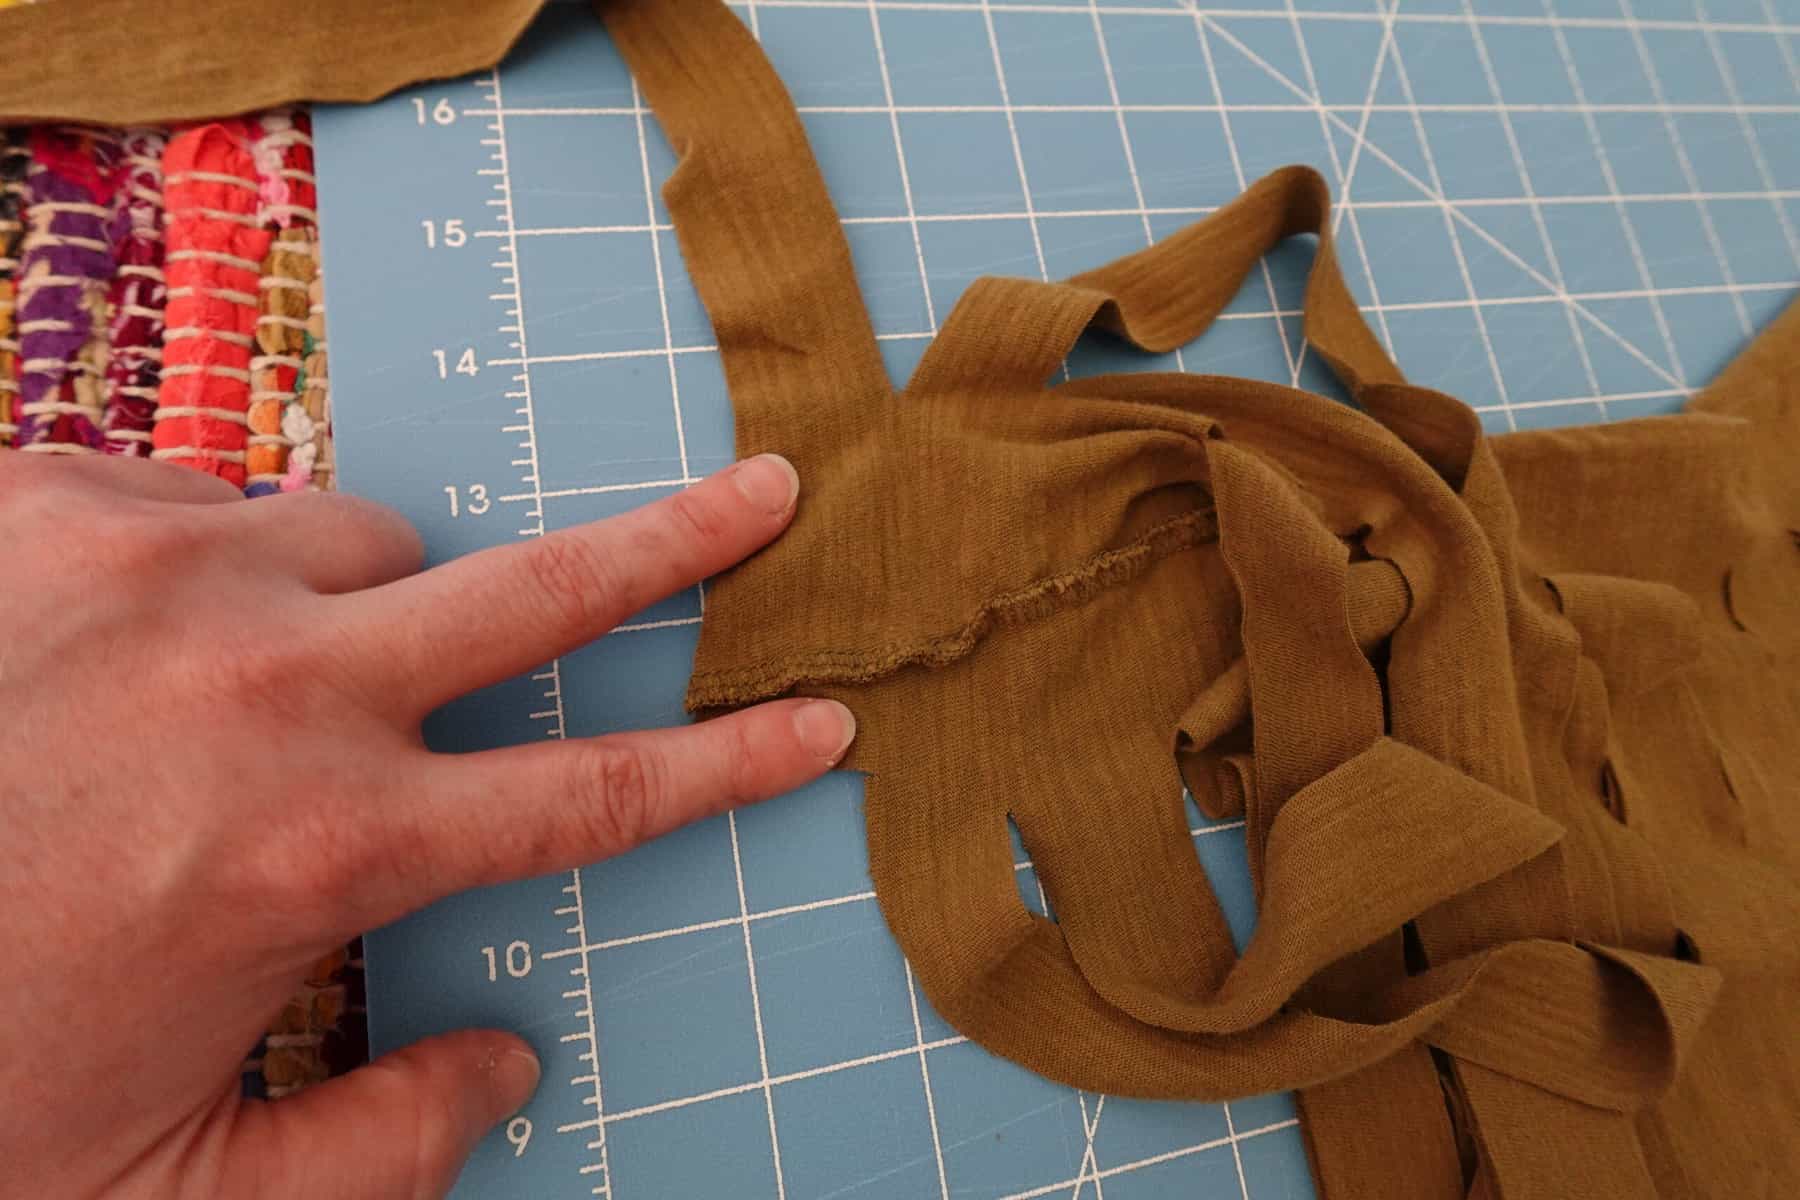
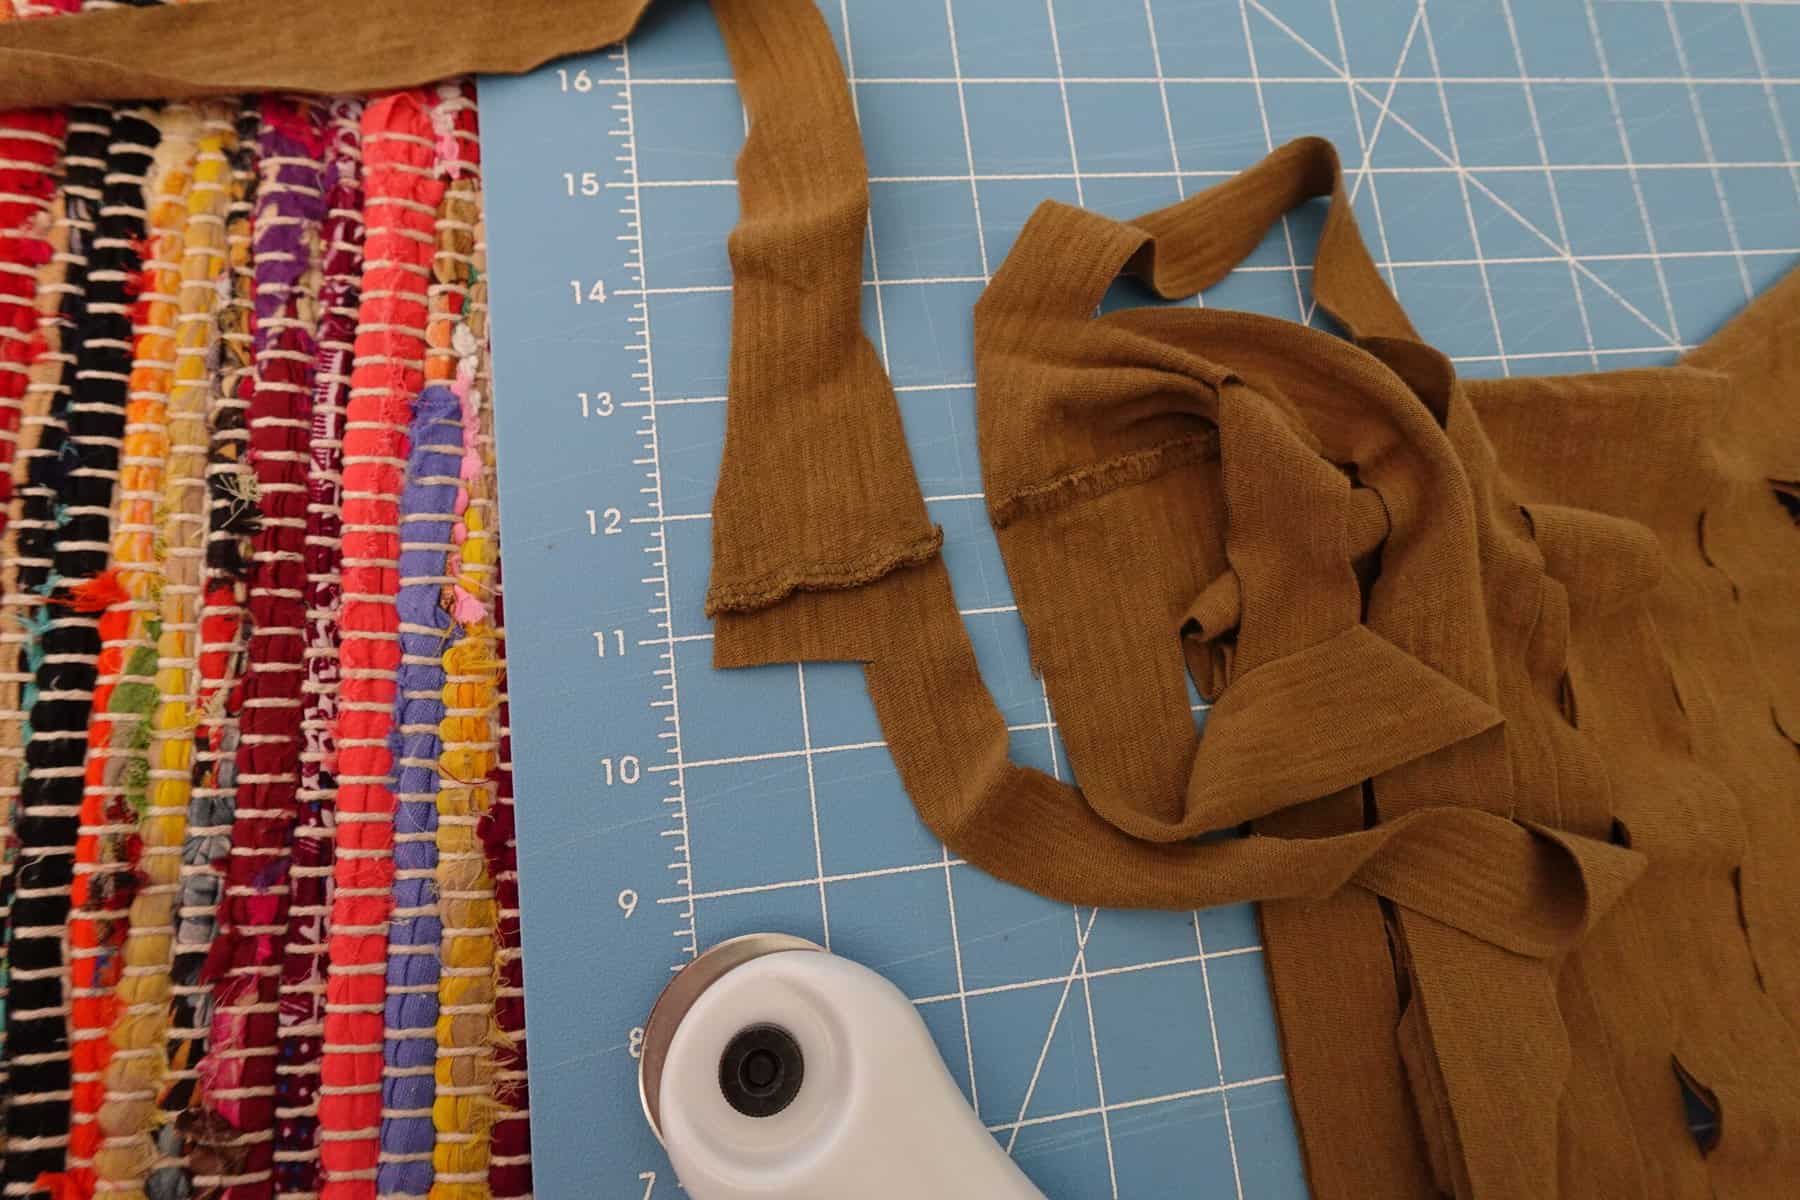
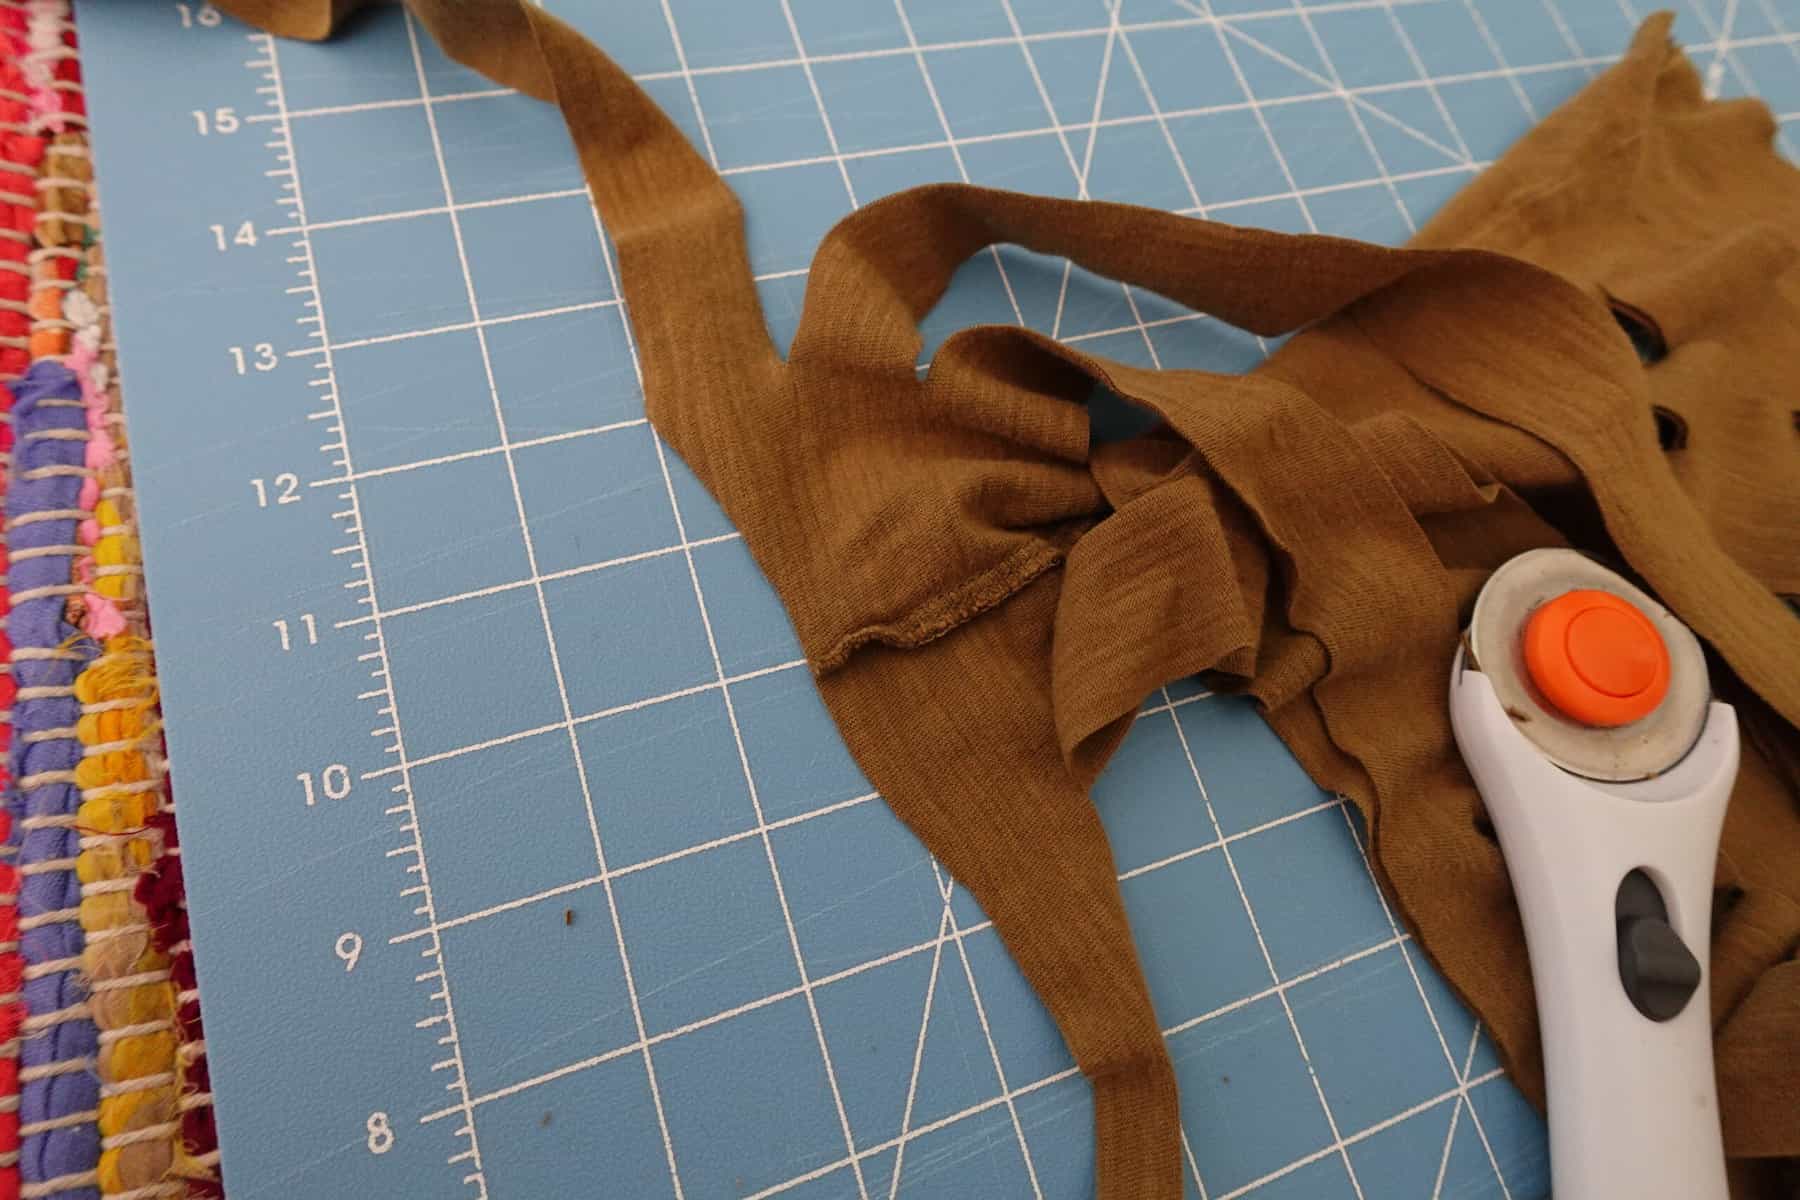
5. Continue cutting at this spiral angle until you reach the end of the shirt.
Gently stretch the tarn and wind it into a ball. If you need more, you’ll cut each shirt the same way. Simply tie the new length of yarn on and continue winding the ball of tarn, or wind each shirt separately (as I’ve done here).
Making T-shirt Yarn From a Pillowcase
I personally prefer making tarn from a pillowcase, since it’s a longer “tube” than a t-shirt. I also always seem to have extra pillowcases lying around from old sheet sets that came with too many pillowcases!
To cut t-shirt yarn from a pillowcase, start by cutting the closed side and the hem at the opening (where the pillow goes in).
Then, just like with the t-shirt, on one of the folded/closed sides, start cutting 1-inch strips, stopping an inch before you reach the other side.
From here, follow steps 3-5 from above!
Creating a Pet Bed
Now that we’ve acquired some t-shirt yarn, let’s turn it into a sweet and simple little bed for your pet.
Something I love about this simple pattern is that you can adjust the size of the bed accordingly for your pet. I’ll be making mine for my cat, but if you have a larger dog, you can continue working the repeat pattern until you reach the size that suits your pet.
Materials Required
| t-shirt yarn (I used 4 t-shirts and a pillowcase to make a bed for a large cat) |
| US size Q/ 16mm crochet hook |
| stitch marker |
| large-eyed tapestry needle |
| scissors |
Getting Started
Make a Magic Loop and place 6 single crochet stitches in the middle.
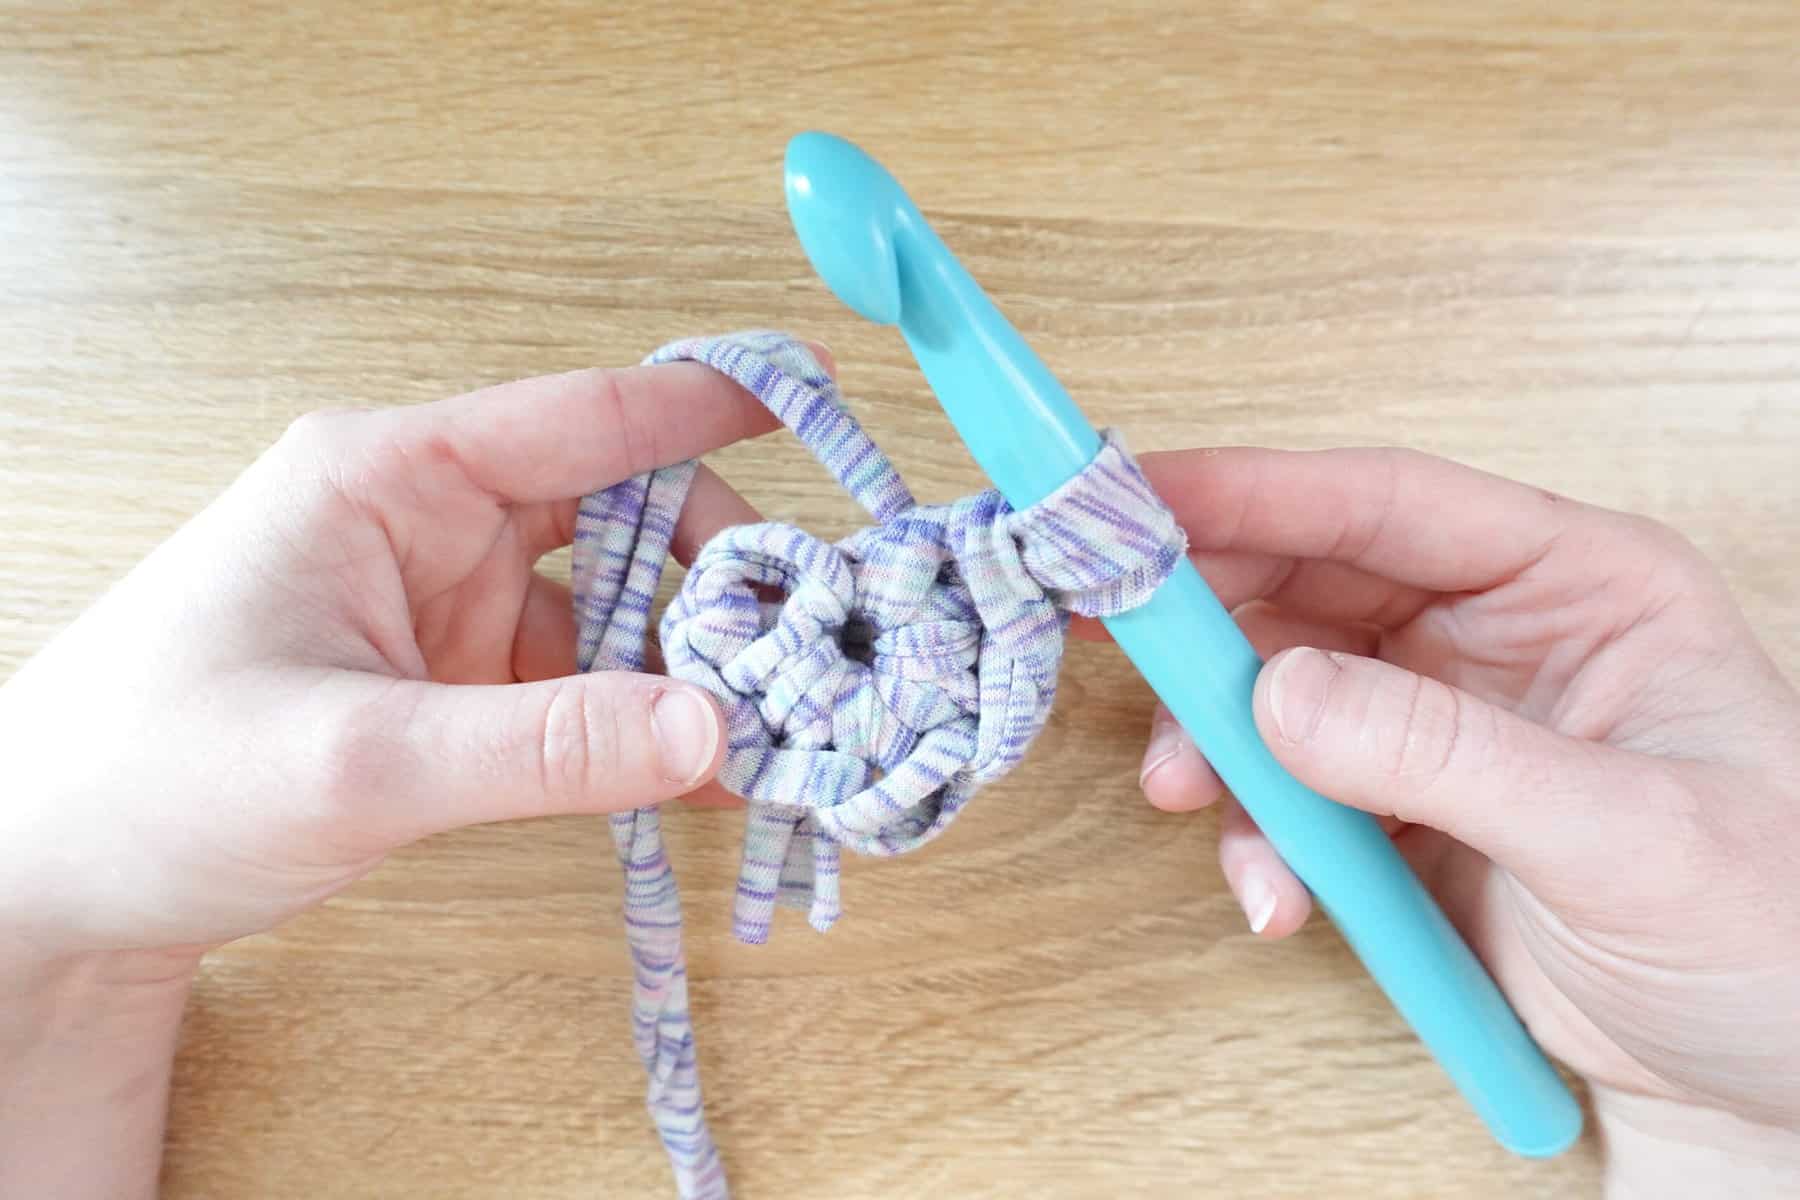
Row 1: increase in each st (12)
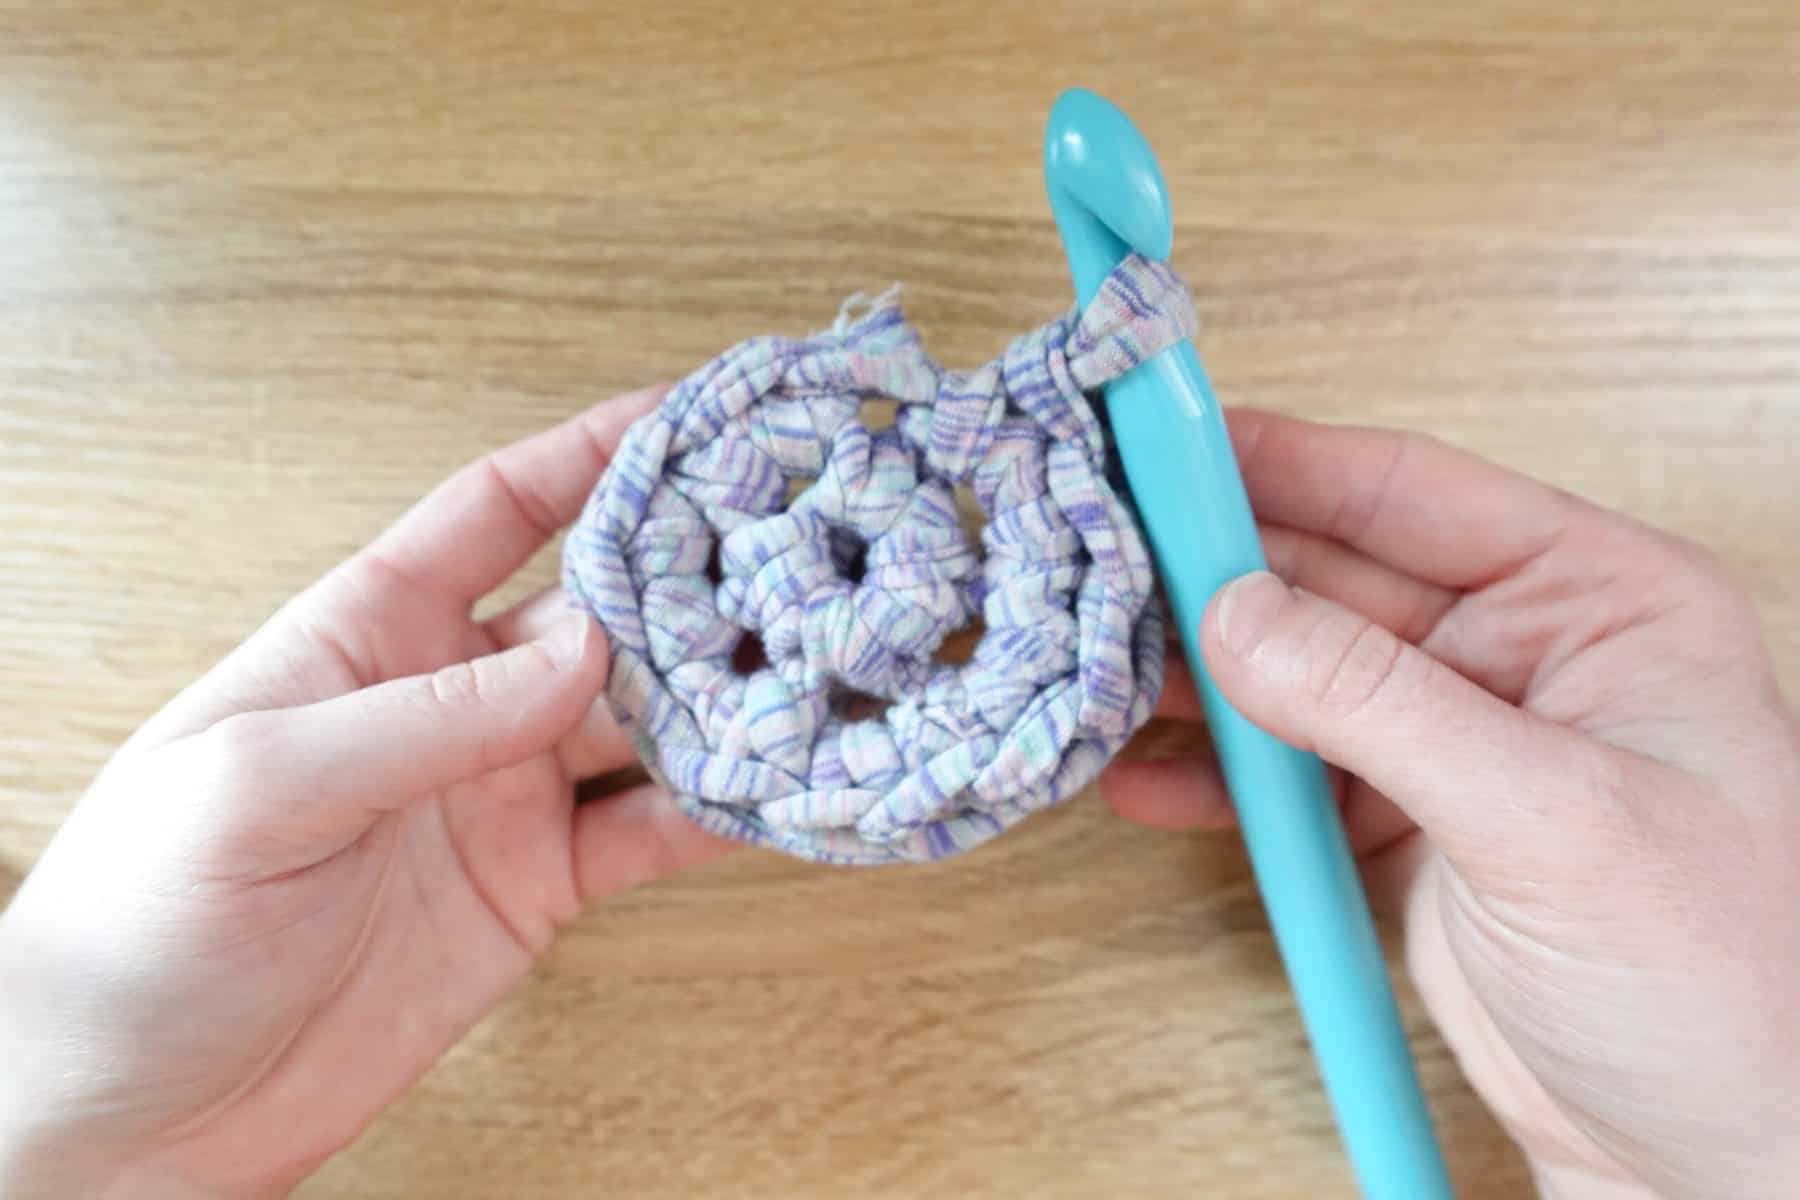
Row 2: *1 single crochet, increase* around (18)
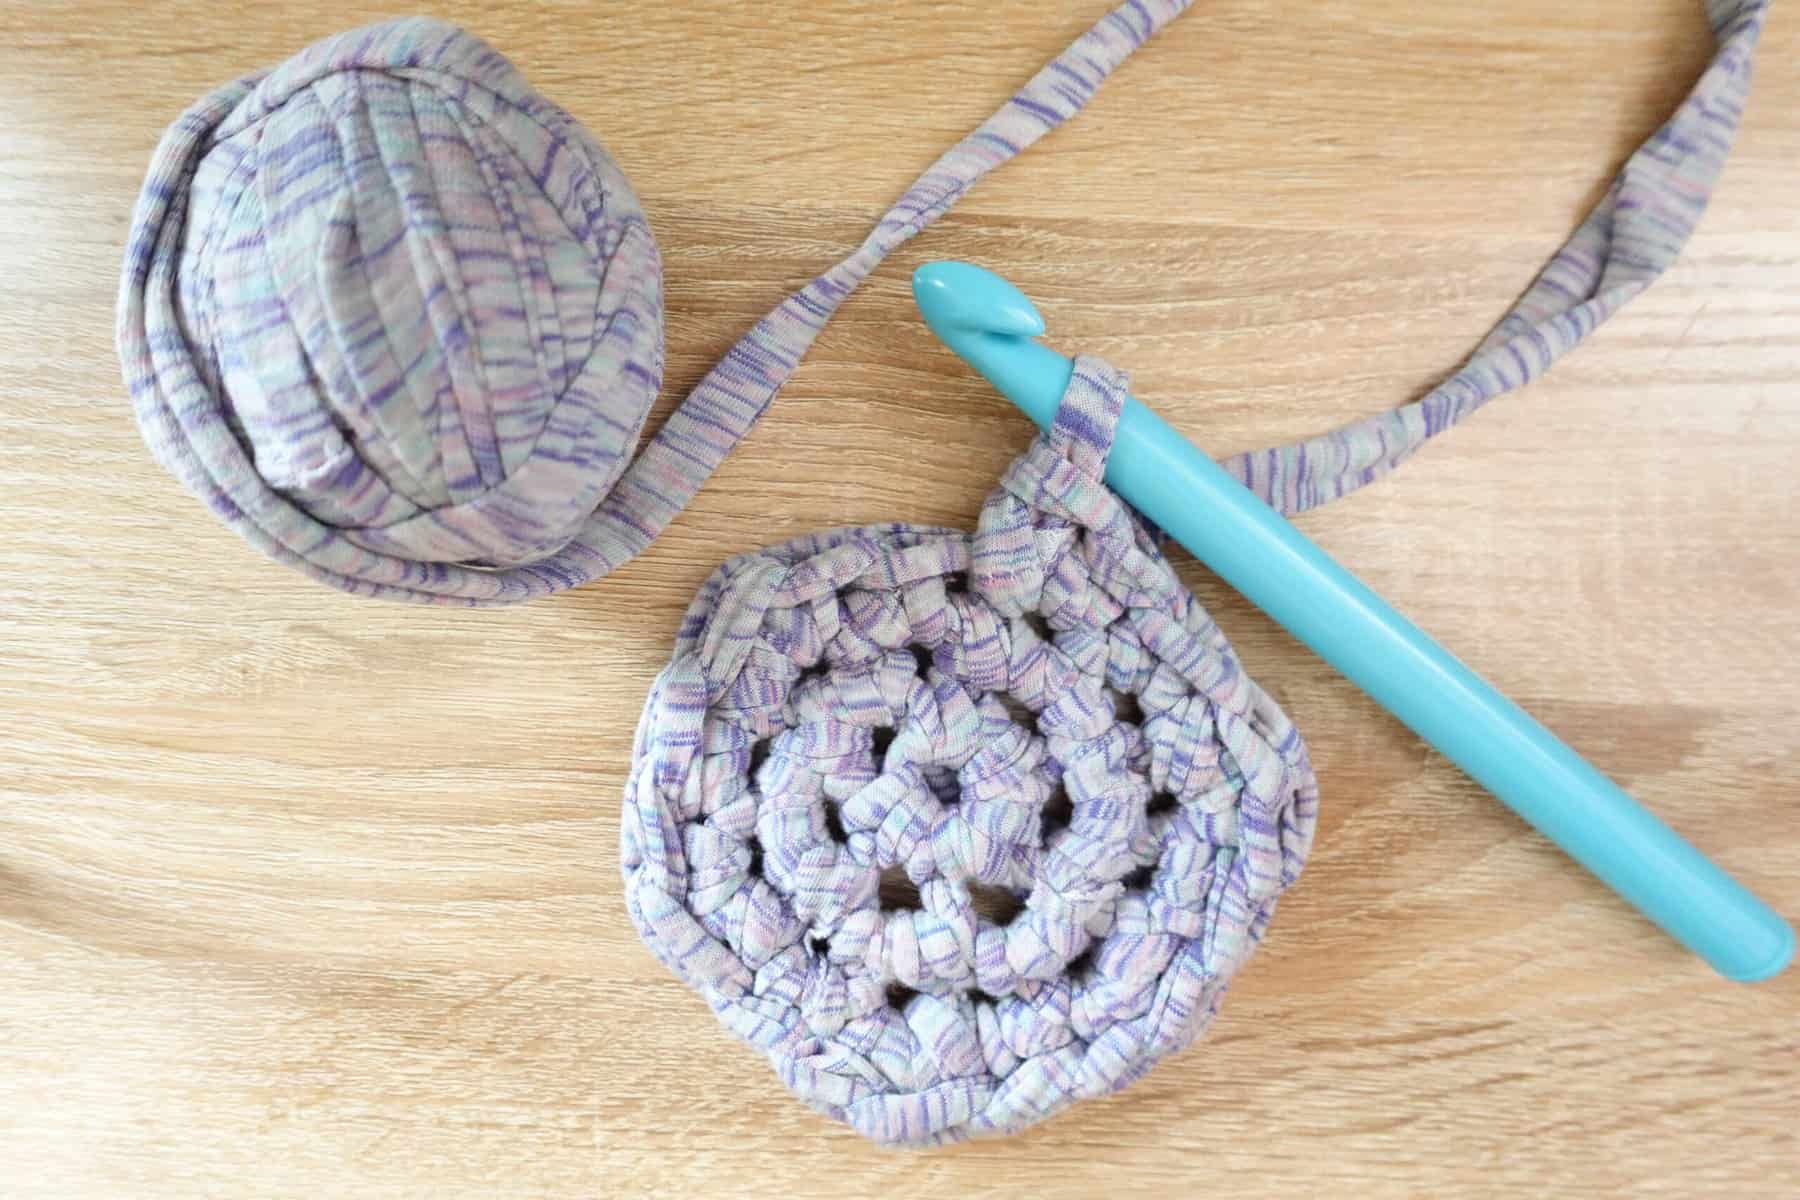
Row 3: *2 single crochet, increase* around (24)
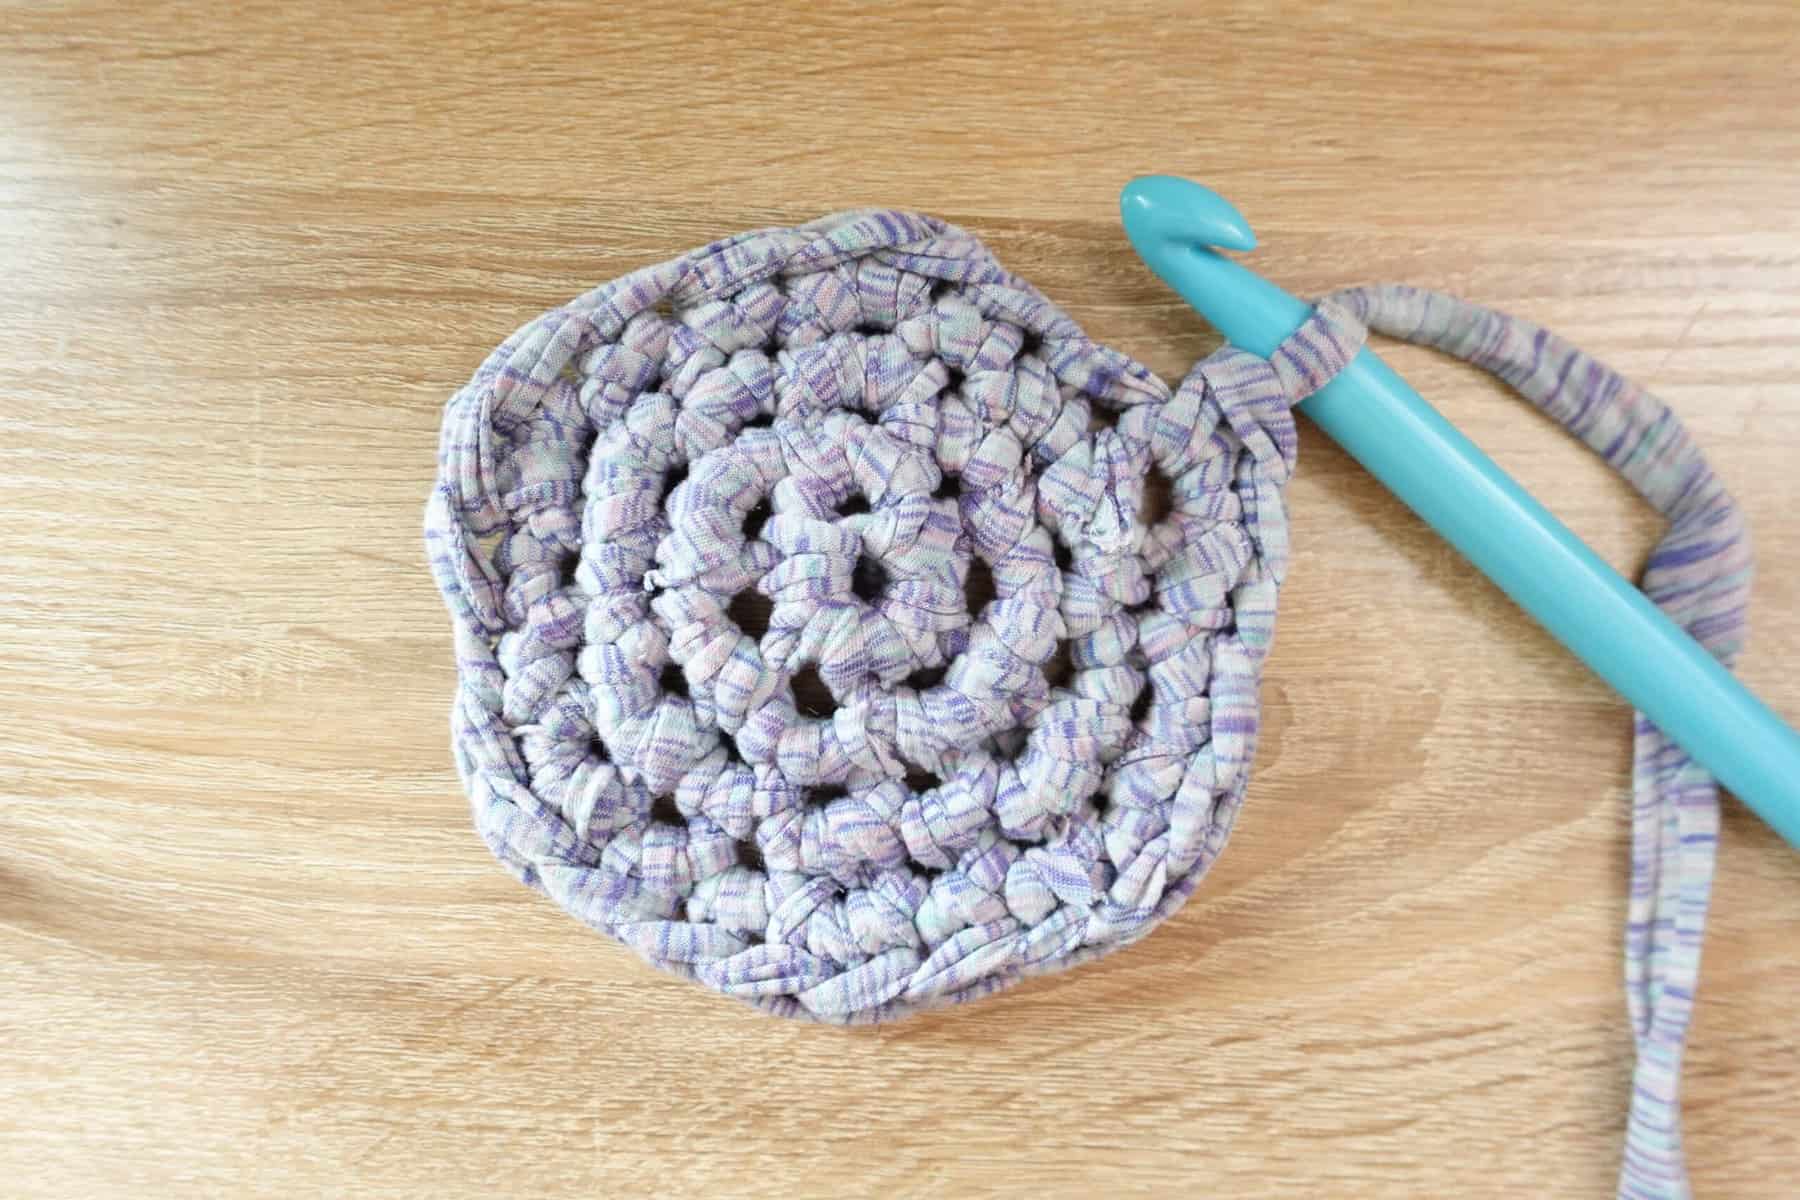
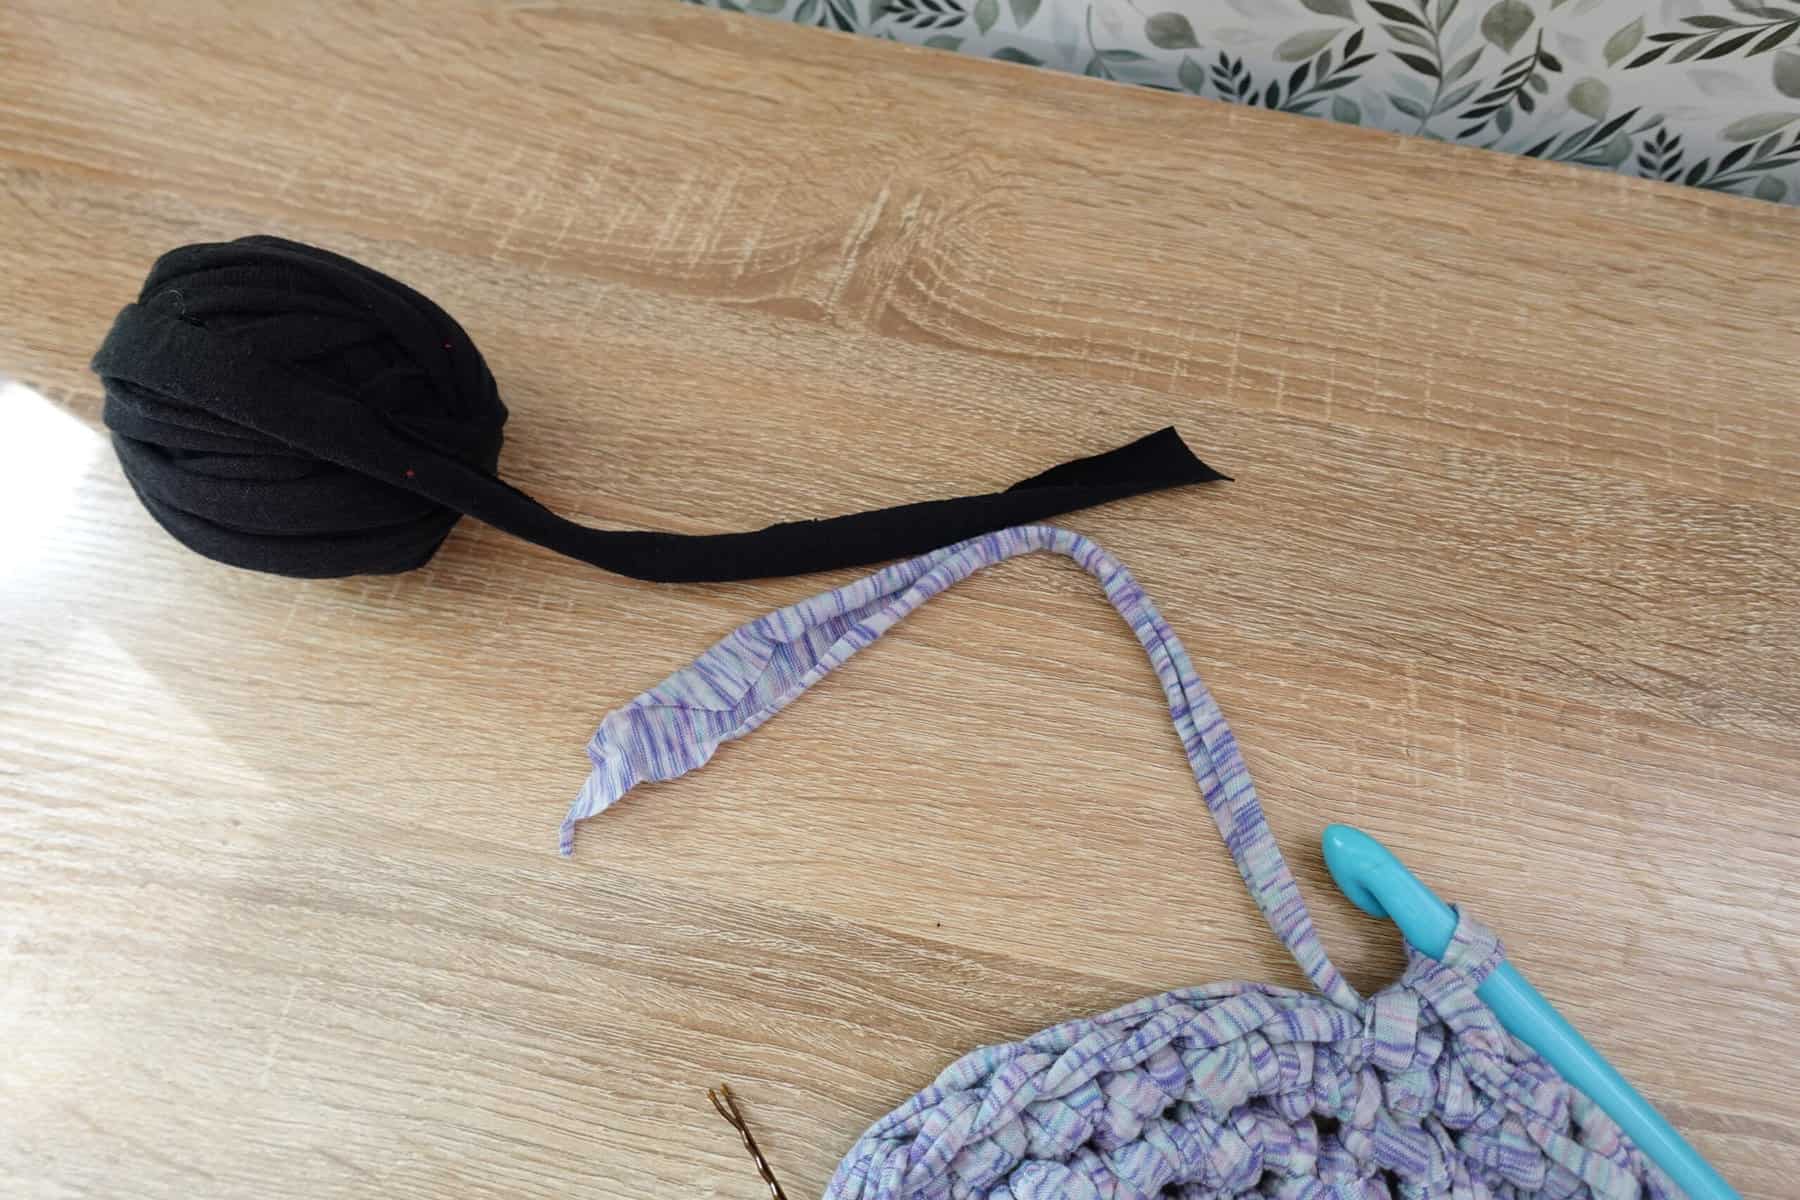
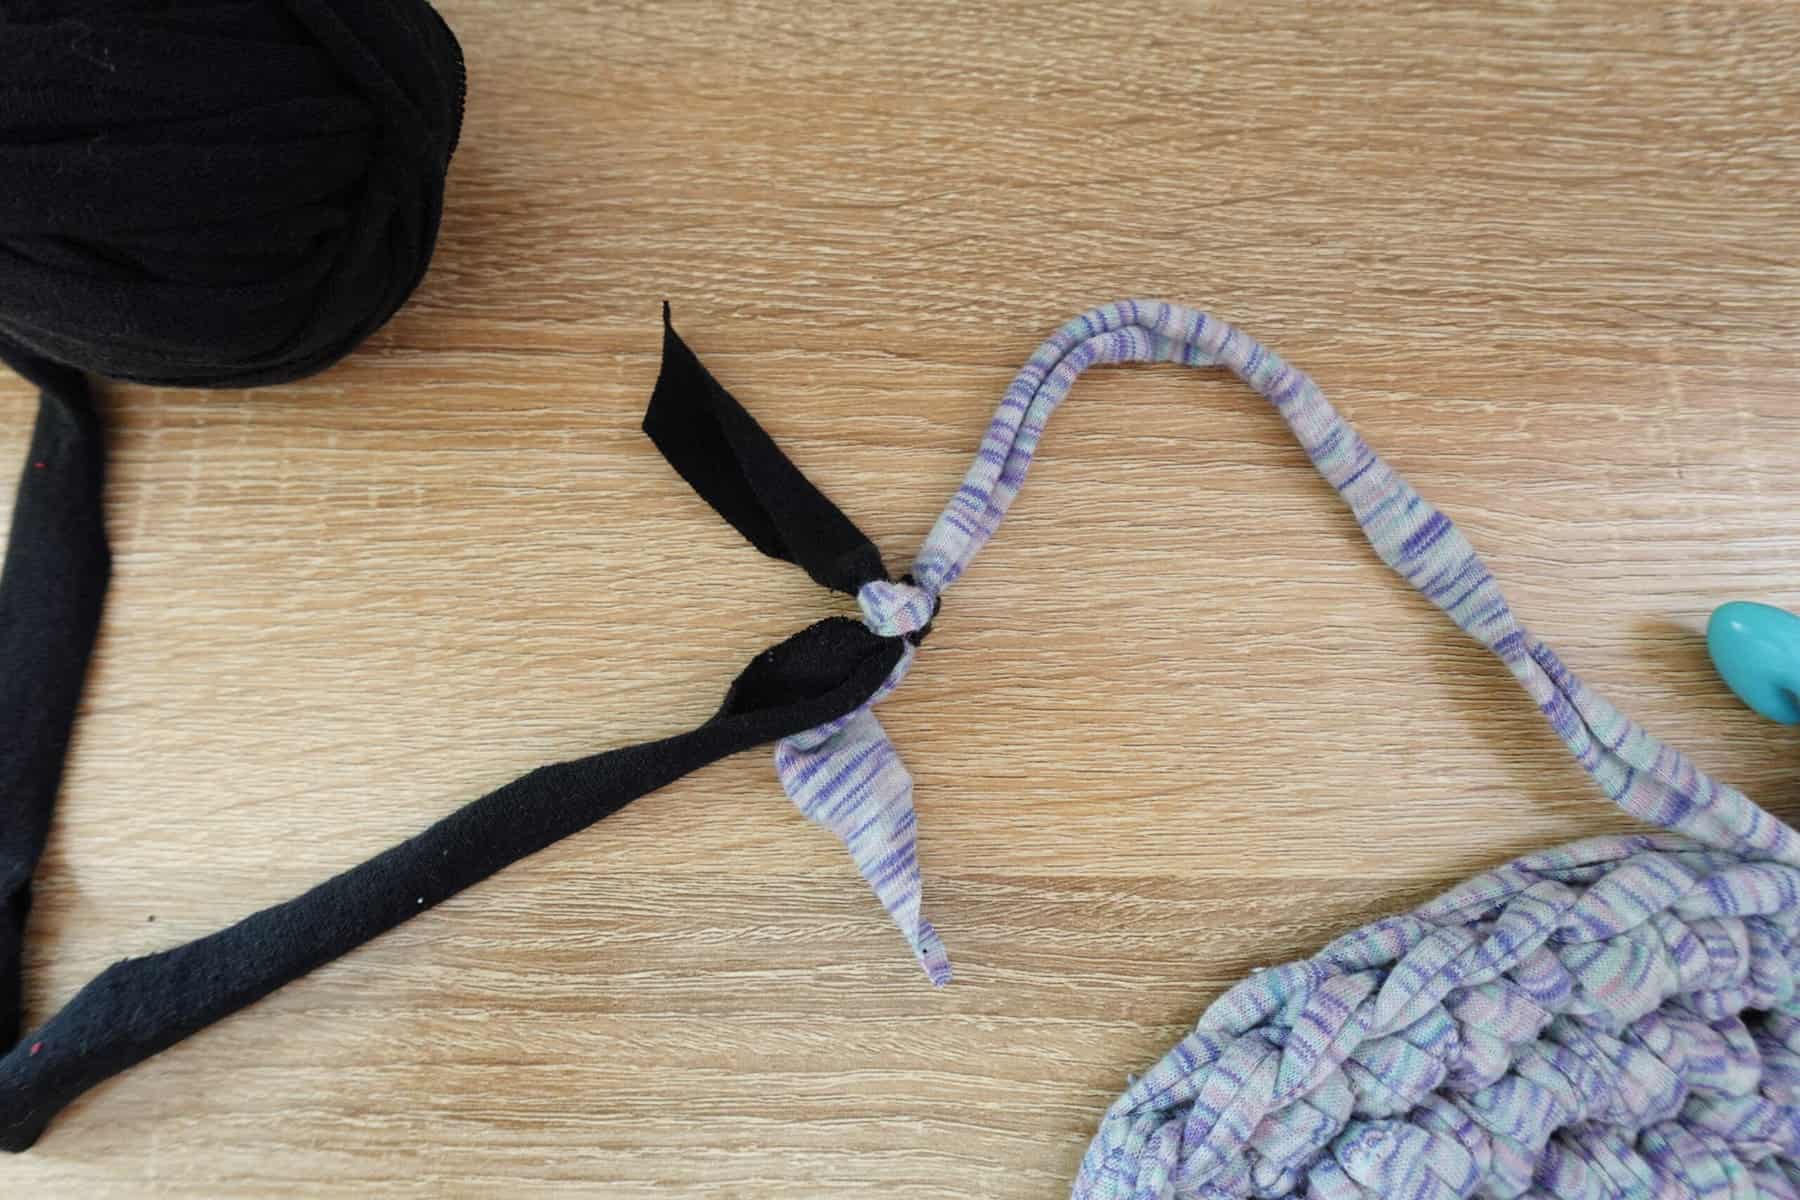
When you run out of one color of tarn, simply tie on the next shirt’s worth, like so:
Continue adding one single crochet stitch before increasing (for example, R3 would be *3 single crochet, increase*) until the bottom of your pet bed measures the right size for your pet to lie down on.
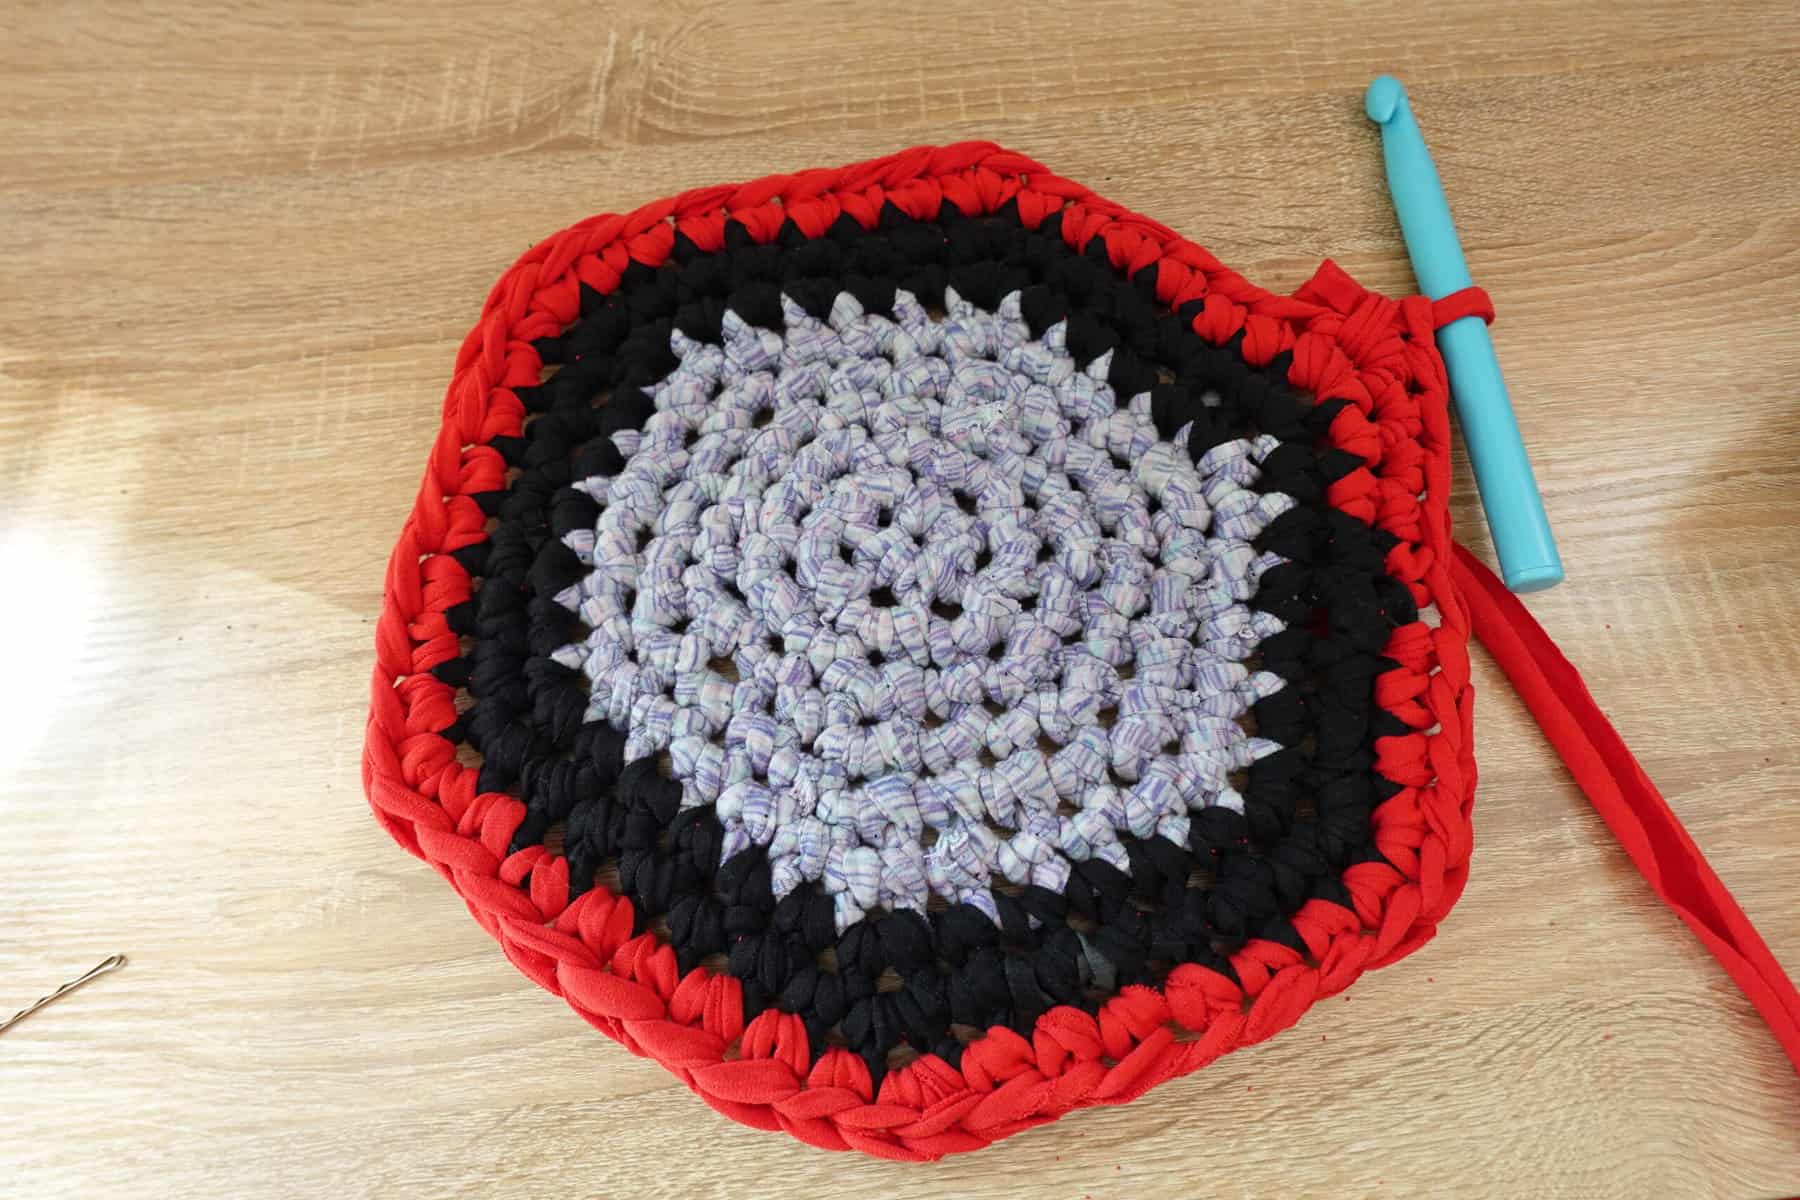
My bed was *7 single crochet, increase* in size before I moved on to the brim!
Adding the Brim
To start the sides of the bed, single crochet in the back loops of the previous row for one row.
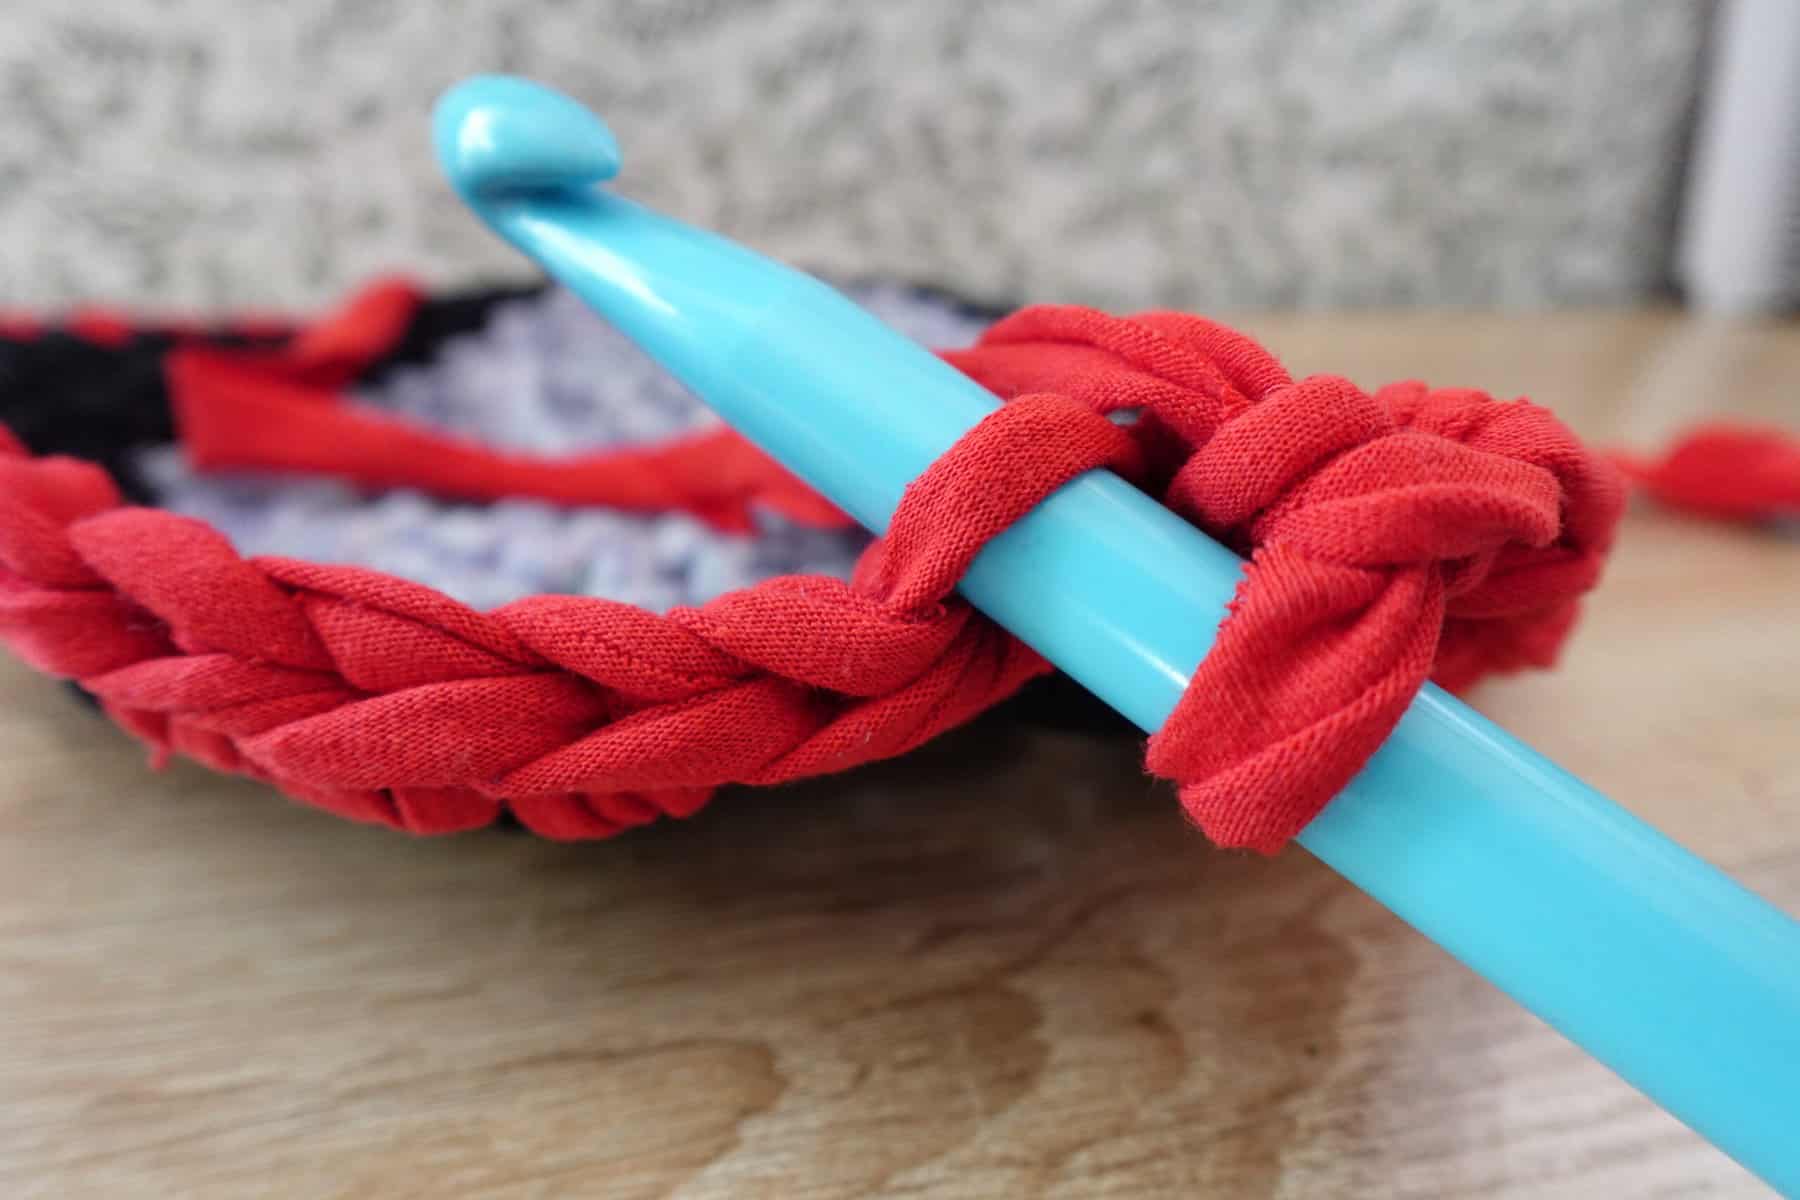
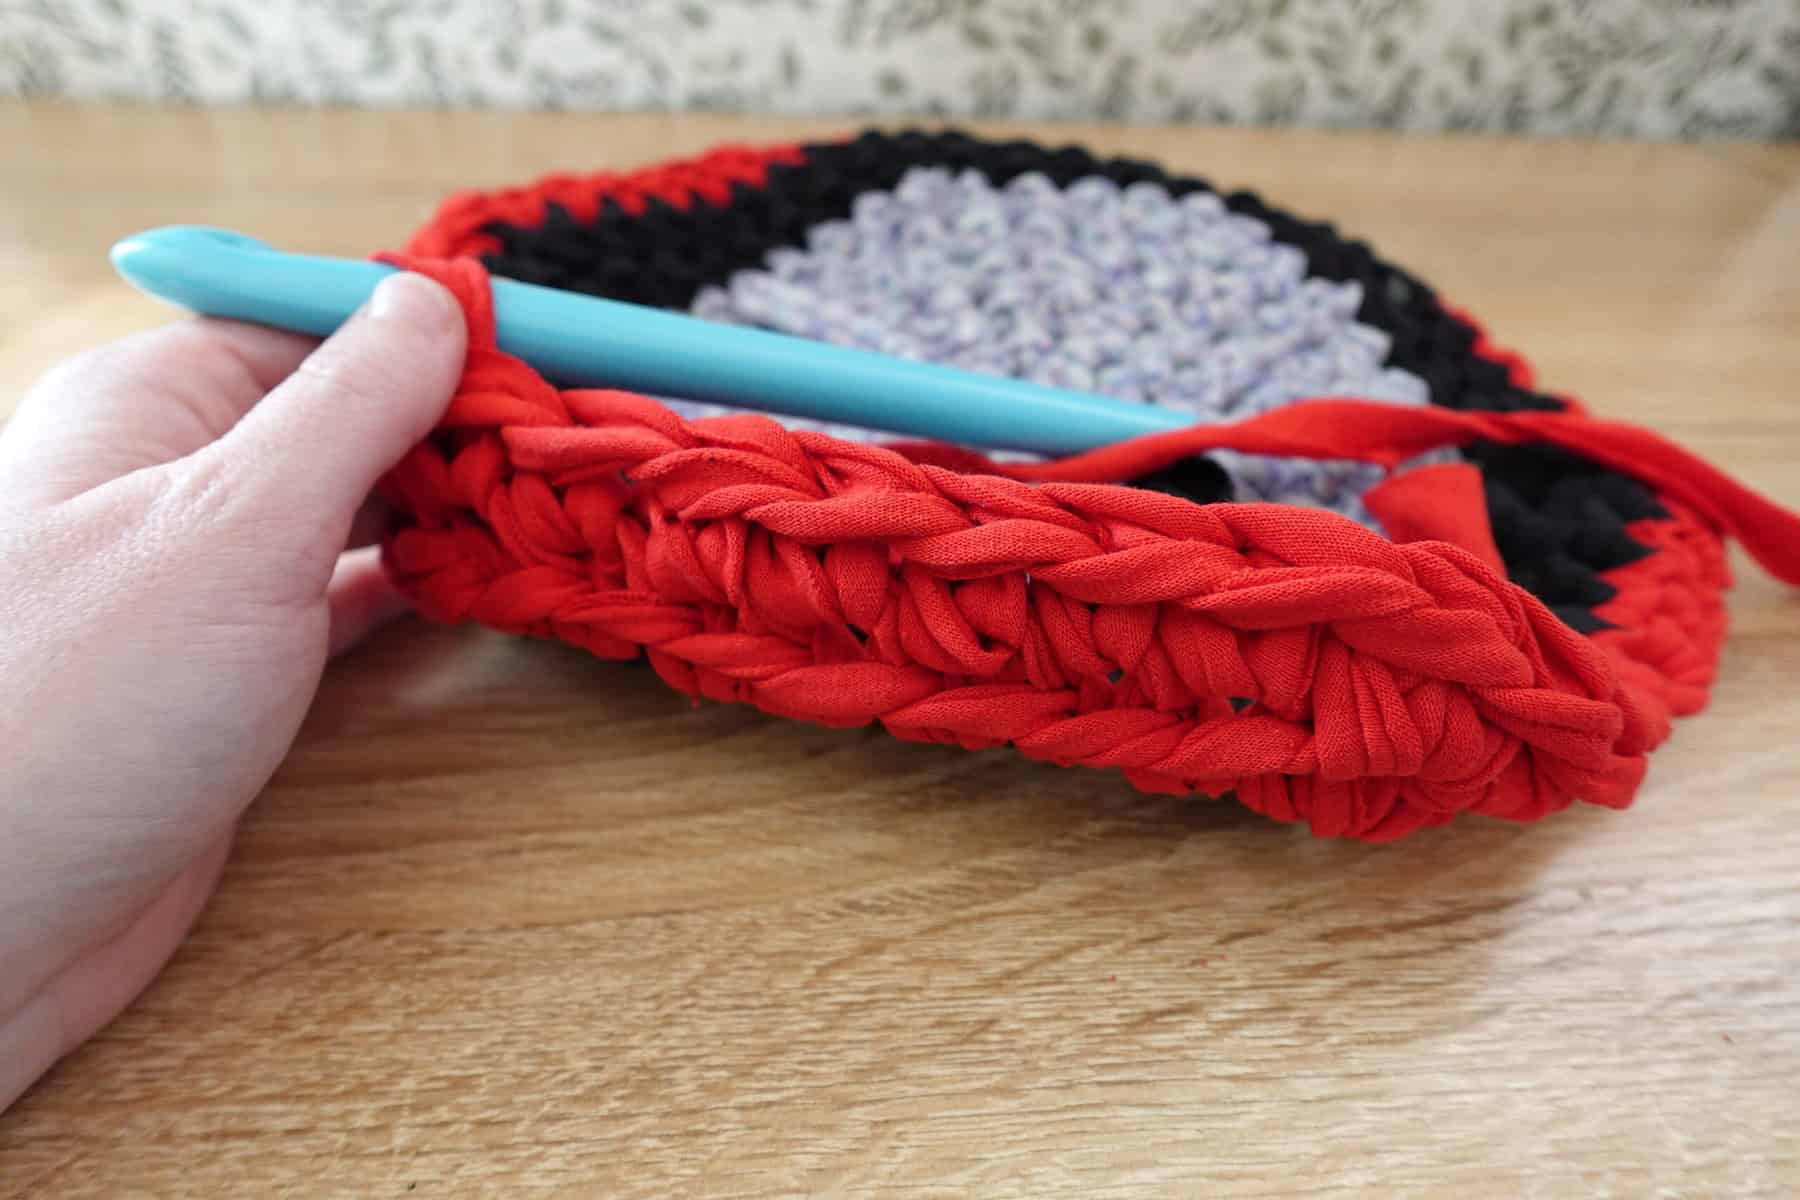
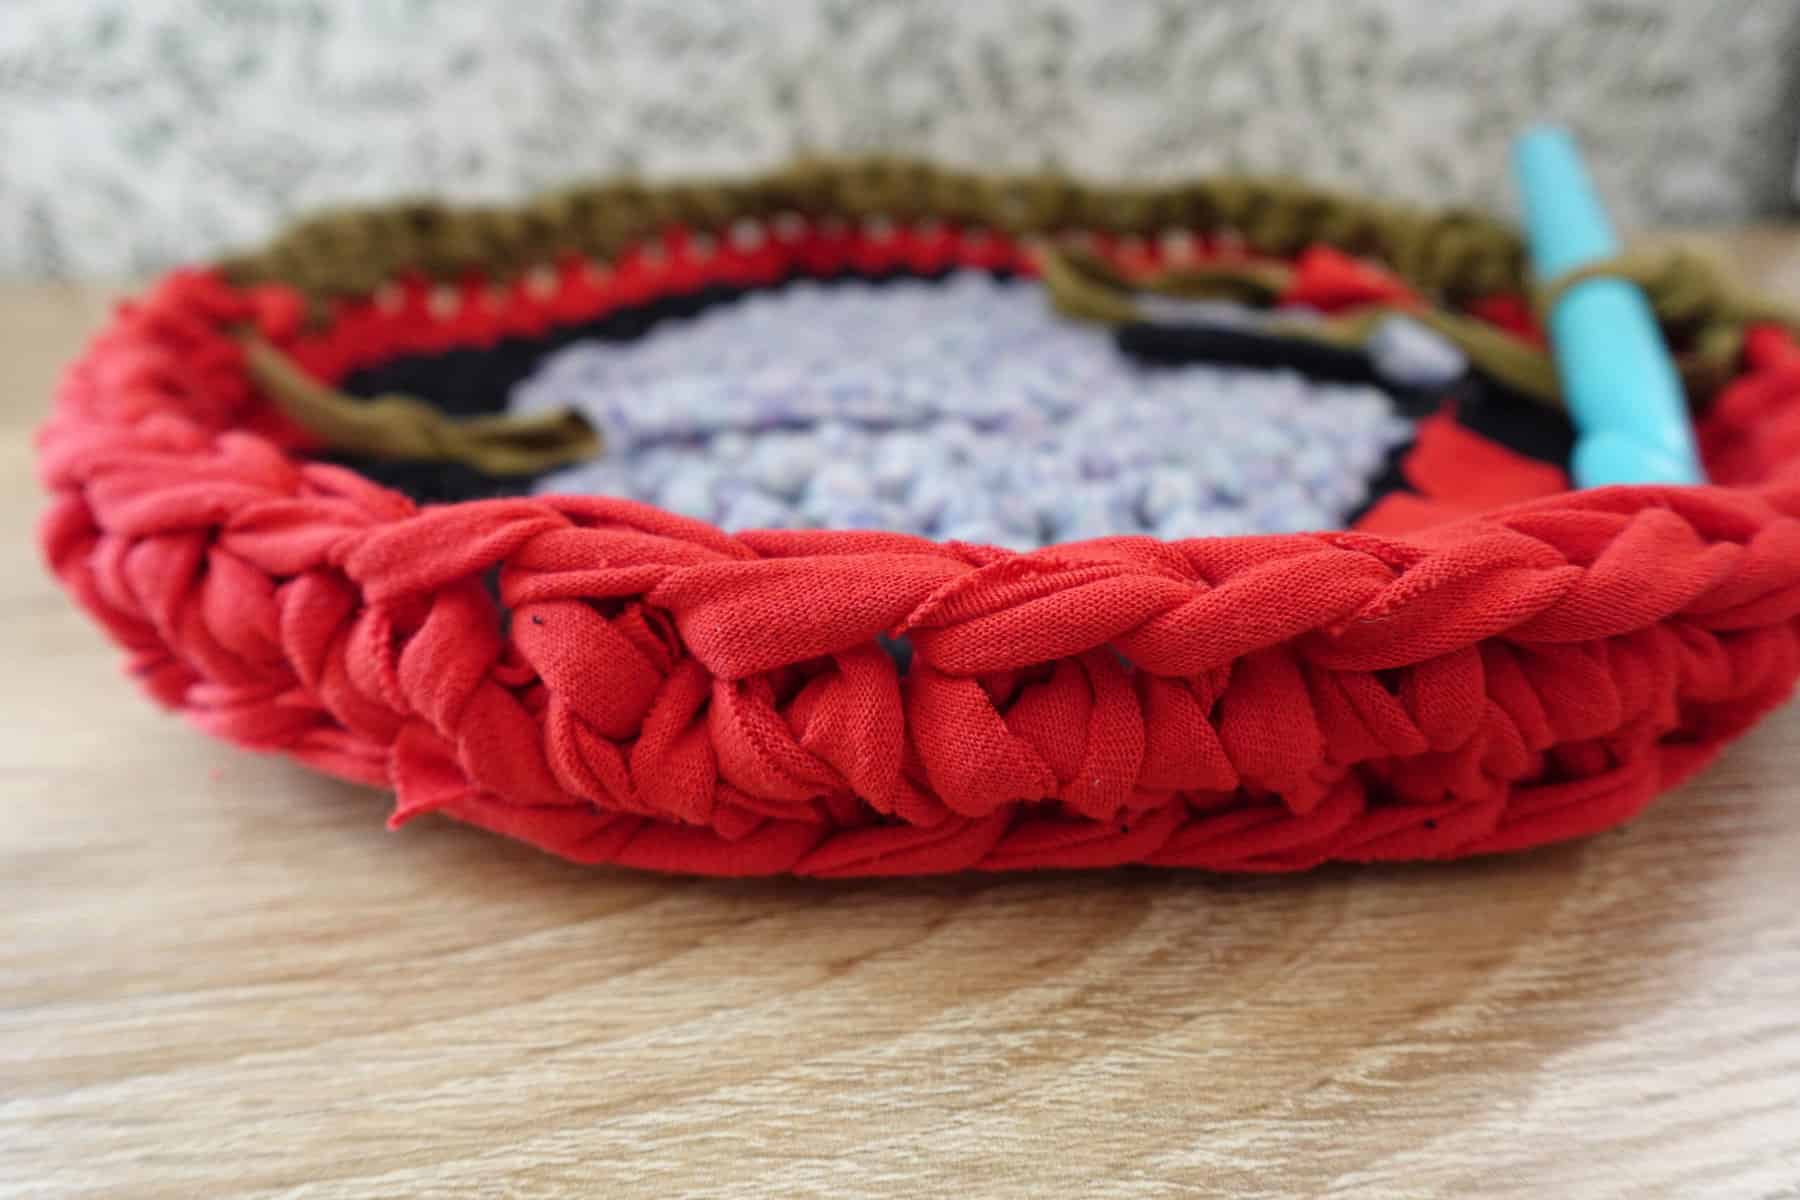
Then, continue single crocheting around and around until your pet’s bed measures the desired dimensions.
I single-crocheted around for 5 rows to build the height of my pet bed. Once the bed is the desired height, fasten it off by slip stitching to the next five stitches, then cutting a tail.
Thread the tail through your large-eyed tapestry needle (you can also use your fingers if you wish) and weave the tail in. I weaved mine in so it wouldn’t show up in the middle of a different colored row.
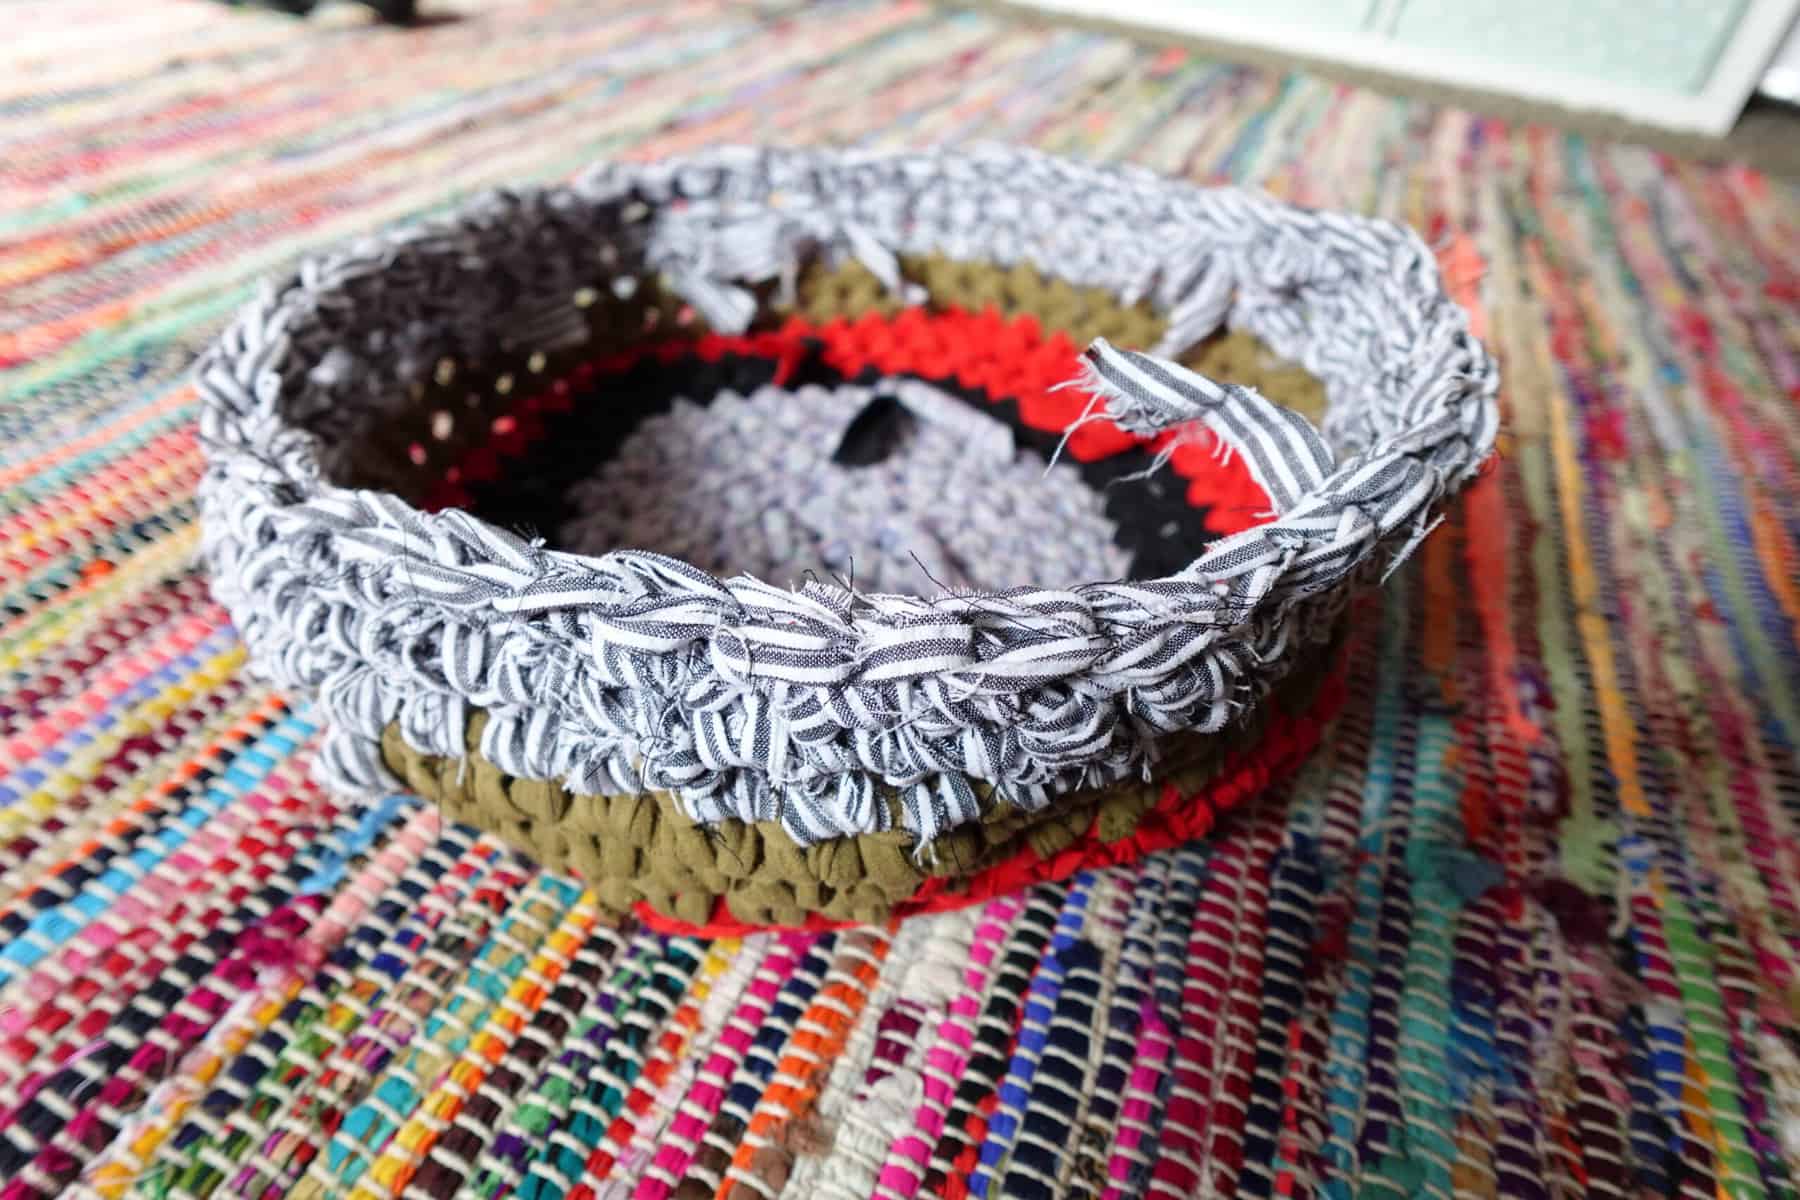
Complete!
Here you can see my cat, Nola, enjoying her brand new t-shirt yarn bed!
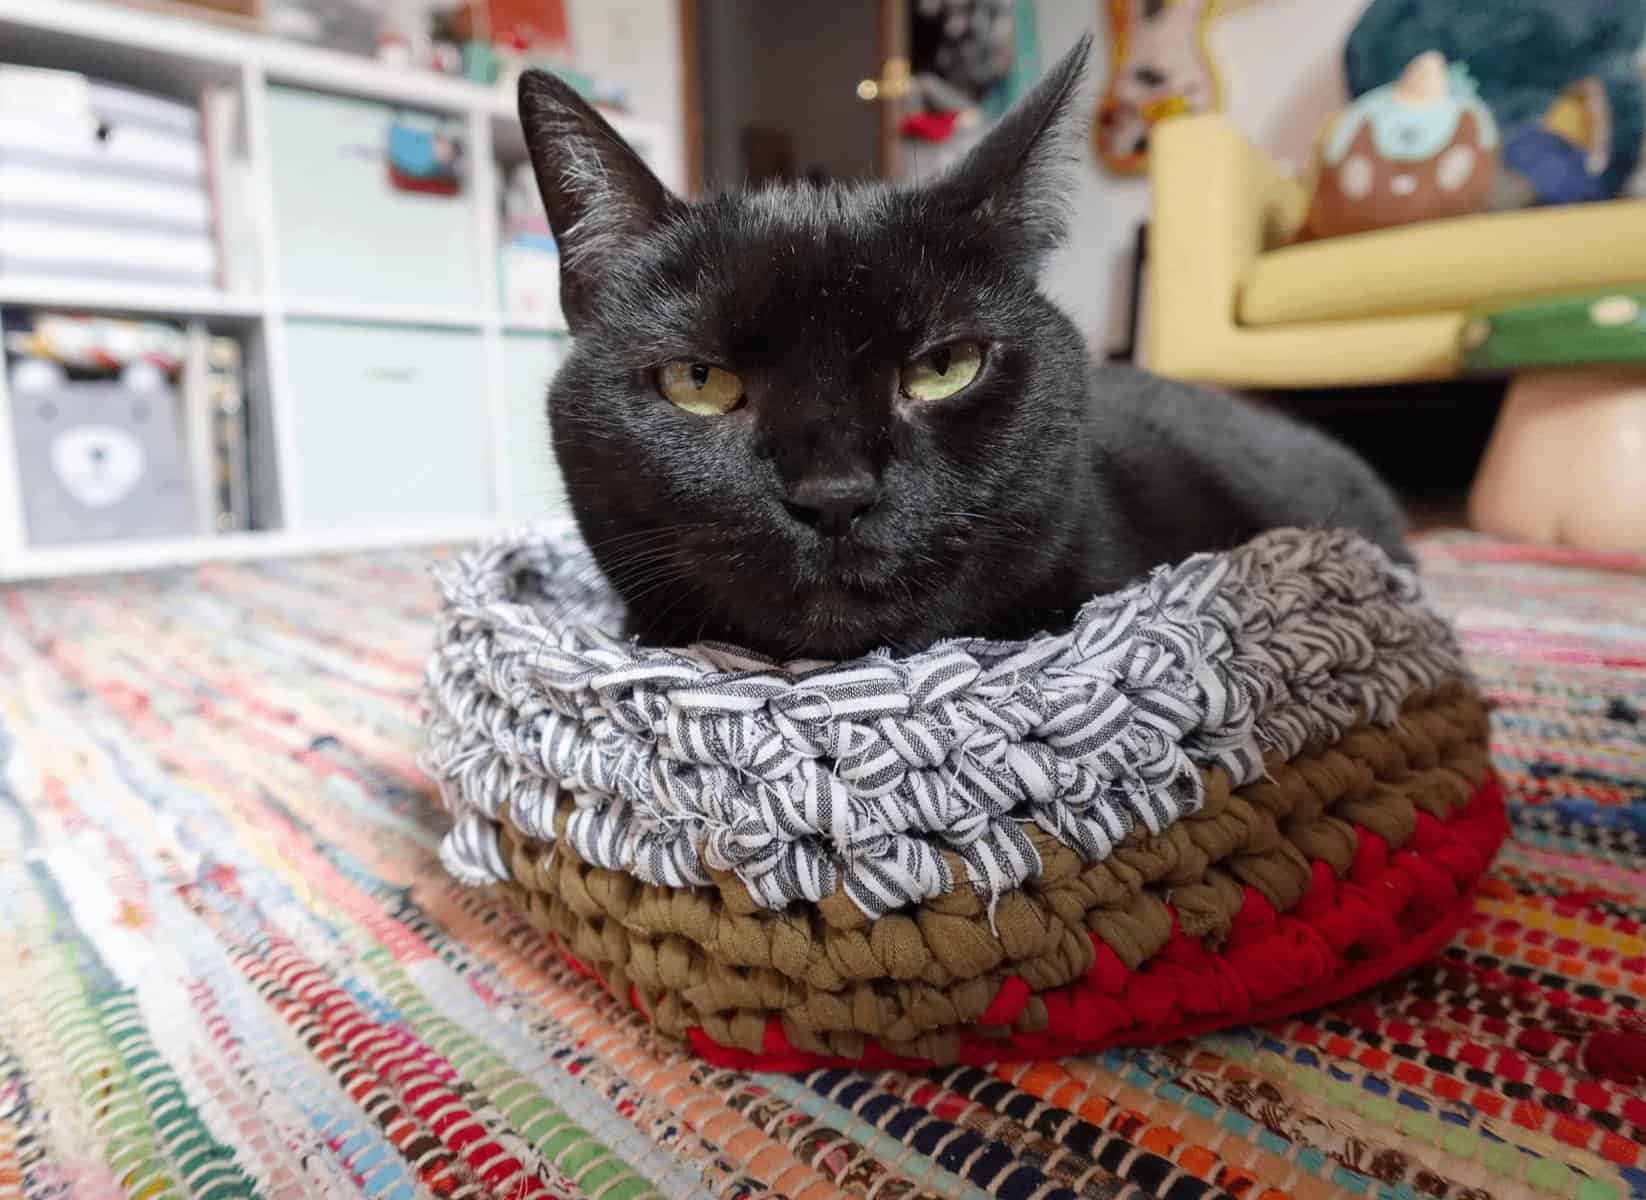
I think she took to it faster than a store-bought bed because all of the old t-shirts and pillowcases I used already smelled like our house.
She’s a picky cat, so this was a huge plus for me! She never likes the pet beds I buy for her, preferring instead to lie on my bed or in my laundry basket.
I hope you enjoyed this tutorial, and I hope you enjoy making a bed for your own canine or feline friends!

How many yards of yarn does this take? Thanks!