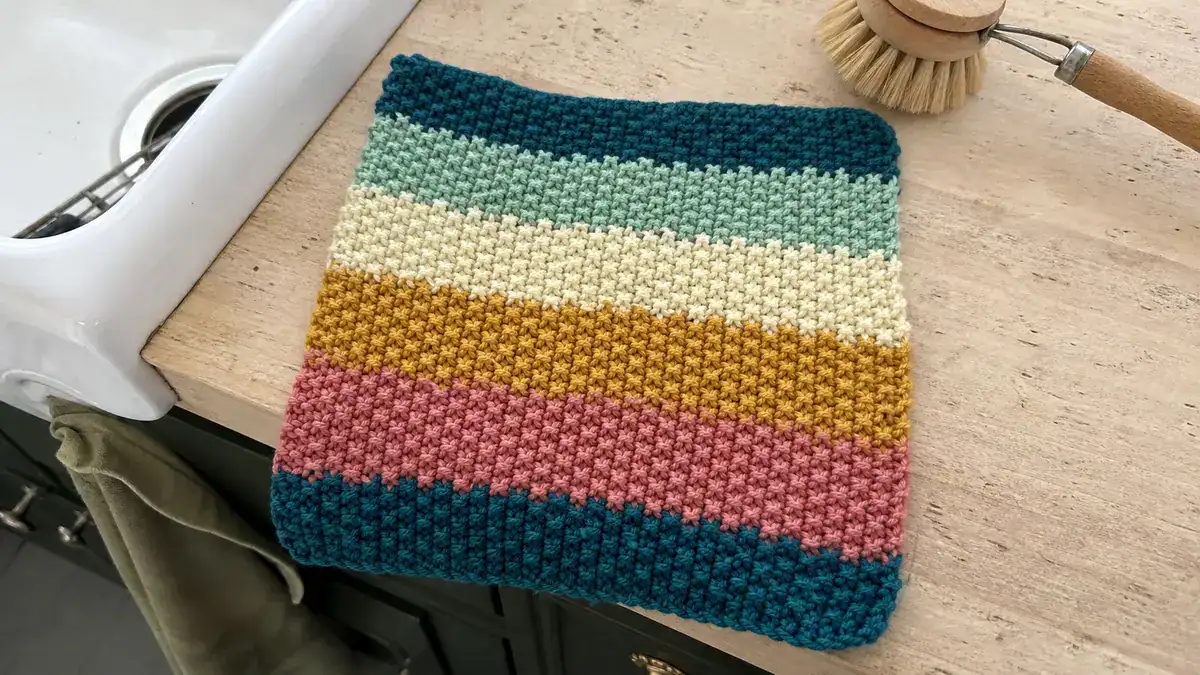
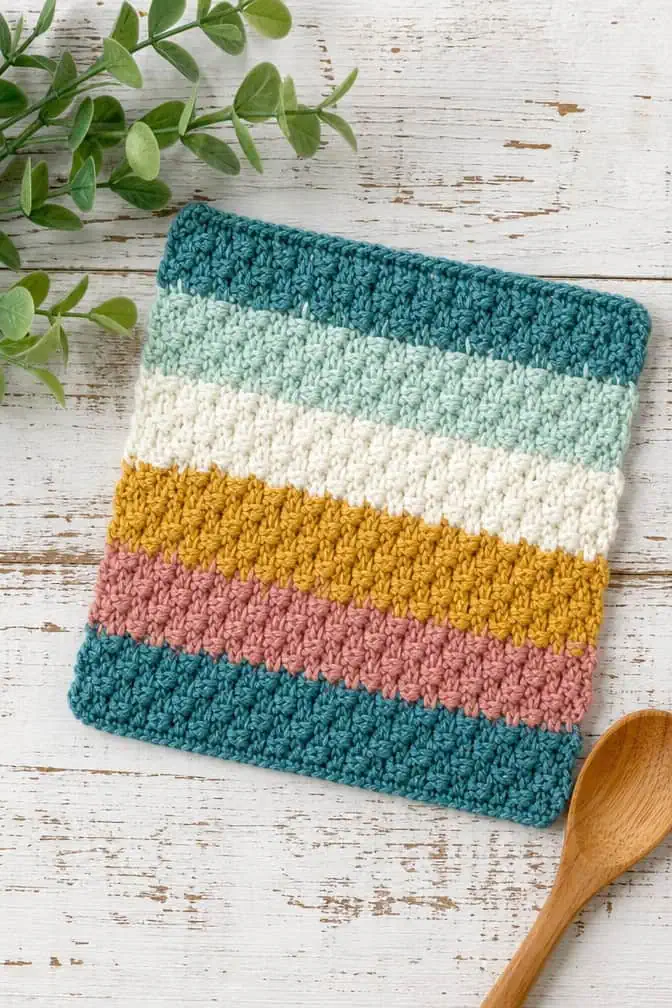
It’s so satisfying to take a messy pile of leftover yarn and create something beautiful and useful. If you have a lot of partially used skeins of cotton yarn in your stash, then the Scrappy Moss Stitch Dishcloth is perfect for you! It’s a great, quick, and environmentally friendly project for your home.
Don't lose this article. Enter your email below, and I'll send it to you right now. Plus a little crochet inspiration from me, straight to your inbox.
Ideal for beginners, this design incorporates the traditional crochet moss stitch (sometimes referred to as the linen stitch). The construction of the moss stitch provides a thick, almost woven texture, which works well for scrubbing dishes and wiping down counters. Additionally, the frequent color changes create a scrappy, eclectic appearance that will surely liven up your kitchen.
Quick Stats:
- Skill Level: Easy
- Finished Size: 8 × 8 inches
- Yarn: Worsted weight cotton, approx. 45 yards total
- Hook: US H/8 (5.0 mm)
Check this post to see the full free pattern with row-by-row stitch counts!
What You’ll Need
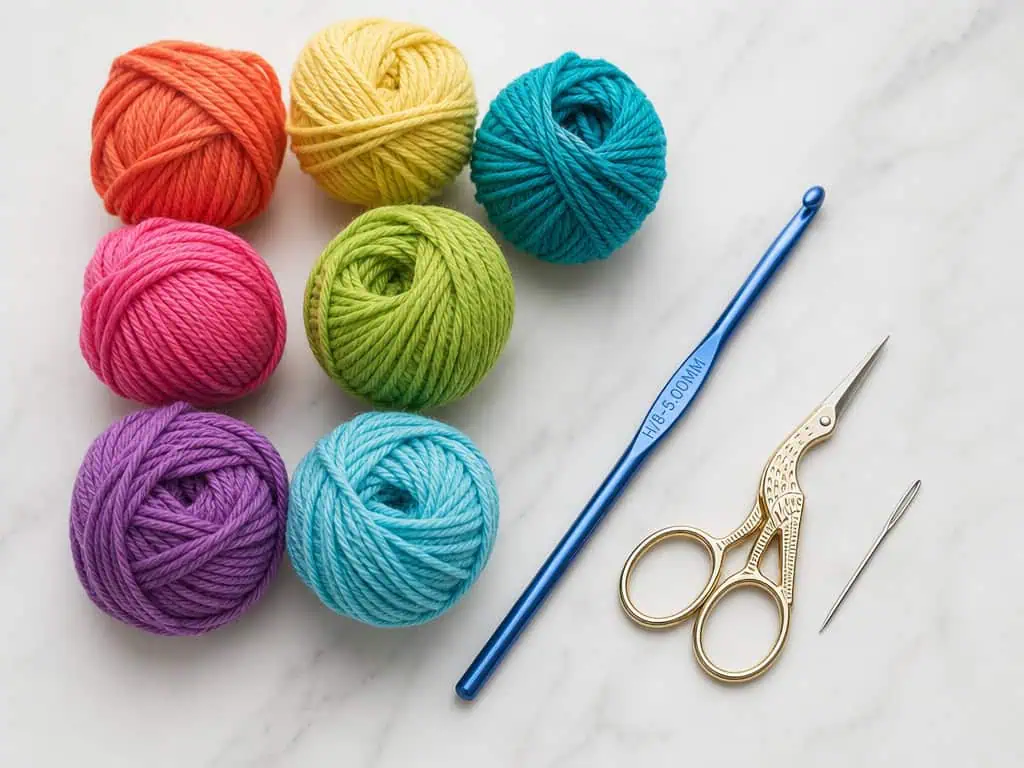
- Yarn: Worsted (4) weight 100% cotton yarn scraps — approximately 45 yards total. (Note: Cotton is highly recommended for dishcloths due to its absorbency and durability.)
- Hook: US H/8 (5.0 mm) crochet hook
- Notions: Yarn needle, scissors
- Gauge: 16 sts and 16 rows = 4 inches (10 cm) in moss stitch
Tips Before You Start
- Managing Ends: Since this is a scrap project, you might have a lot of ends! To save time, crochet over your yarn tails as you work, or use the “magic knot” method when joining new colors.
- Color Planning: Don’t overthink it! The beauty of a scrap project is the random color distribution. Change colors at the end of a row whenever you run out of a scrap.
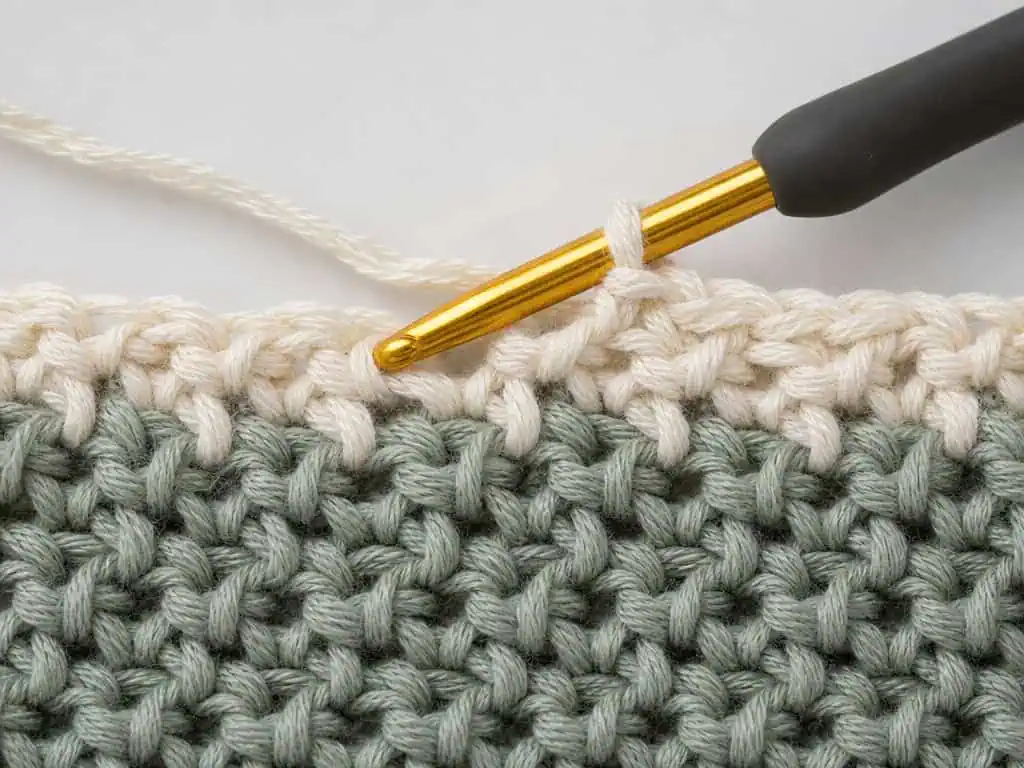
- Stitch Placement: In the moss stitch, you will always be working your single crochets into the chain-1 spaces from the previous row, never into the single crochets themselves.
Pattern Instructions
Special Stitches
Moss Stitch: This pattern builds texture by alternating single crochet stitches with chain-1 gaps. On following rows, single crochet stitches are placed in the chain-1 gaps from the row below.
Notes
- Pattern is worked flat in rows.
- The chain-2 at the beginning of each row counts as 1 single crochet and 1 chain-1 space.
- Stitch counts are given in bold at the end of each row.
Foundation
Ch 34.
Body
Row 1 (RS): Skip 3 and ch, sc in 4th ch. * sc in next ch over skip 1 ch and ch 1, rep from * to the end. (32 sts).
Rows 2-32: Ch 2 (this counts as 1 sc and 1 ch), then turn. Skip the first sc, then make an sc in the next ch-1 space. *Make a ch 1, skip the next sc, and make an sc in the next ch-1 space. Repeat from the asterisk to the end, making your last sc in the turning ch space. (32 sts)
Border
Rnd 1: Ch 1, turn. Sc in each sc and ch-1 space across to the last stitch, (sc, ch 1, sc) in the corner stitch; work 30 sc evenly down the side edge (approx 1 sc per row) to the next corner, (sc, ch 1, sc) in the corner stitch; work 30 sc evenly across the bottom foundation edge to the next corner, (sc, ch 1, sc) in the corner stitch; work 30 sc evenly up the final side edge, (sc, ch 1, sc) in the same space as the first stitch. Join with a sl st to the first sc. (132 sts)
Don't lose this article. Enter your email below, and I'll send it to you right now. Plus a little crochet inspiration from me, straight to your inbox.
Finishing
- Fasten off and weave in all remaining ends securely.
- Wet block to an 8×8 inch square. Blocking is highly recommended for cotton dishcloths as it evens out the edges and opens up the beautiful moss stitch texture.
Make It Your Own
- Size adjustments: Want a larger dishcloth or a matching placemat? Simply chain any even number to start, and crochet until you reach your desired height.
- Matching Set: Make a set of four using a unified color palette (like all pastels or all earth tones) for a cohesive look that still uses up scraps.
- Add a Loop: If you like to hang your dishcloths to dry, add a chain-10 loop at the final corner of your border before fastening off.
Frequently Asked Questions
Is this pattern okay to use acrylic yarn?
You may use acrylic yarn but it is not recommended for dishcloths. Acrylic does not absorb water well, and can melt if it touches hot pots and pans. For kitchen items, the best option is 100% cotton or a cotton-linen blend.
How should I wash crochet cotton dishcloths?
Cotton dishcloths are very sturdy! You can wash them in the washing machine when you wash your towels. You can even tumble dry them on low or medium heat. Your dishcloth will shrink just a tiny bit after the first wash. It will only make your dishcloth stronger and more durable.
What mistakes did I make that caused my edges to curl?
It’s usual for the moss stitch to curl before blocking. If your tension is a bit on the tight side, the fabric may pull inwards. Relaxing the fibres in the cotton by wet blocking will allow the dishcloth to lay flat and smooth.
Share Your Makes!
I love how you all meld the scraps together! Tag me on Instagram or post your finished dishcloths in the Facebook group.
Don’t forget to Pin this pattern!