Featured Articles
-
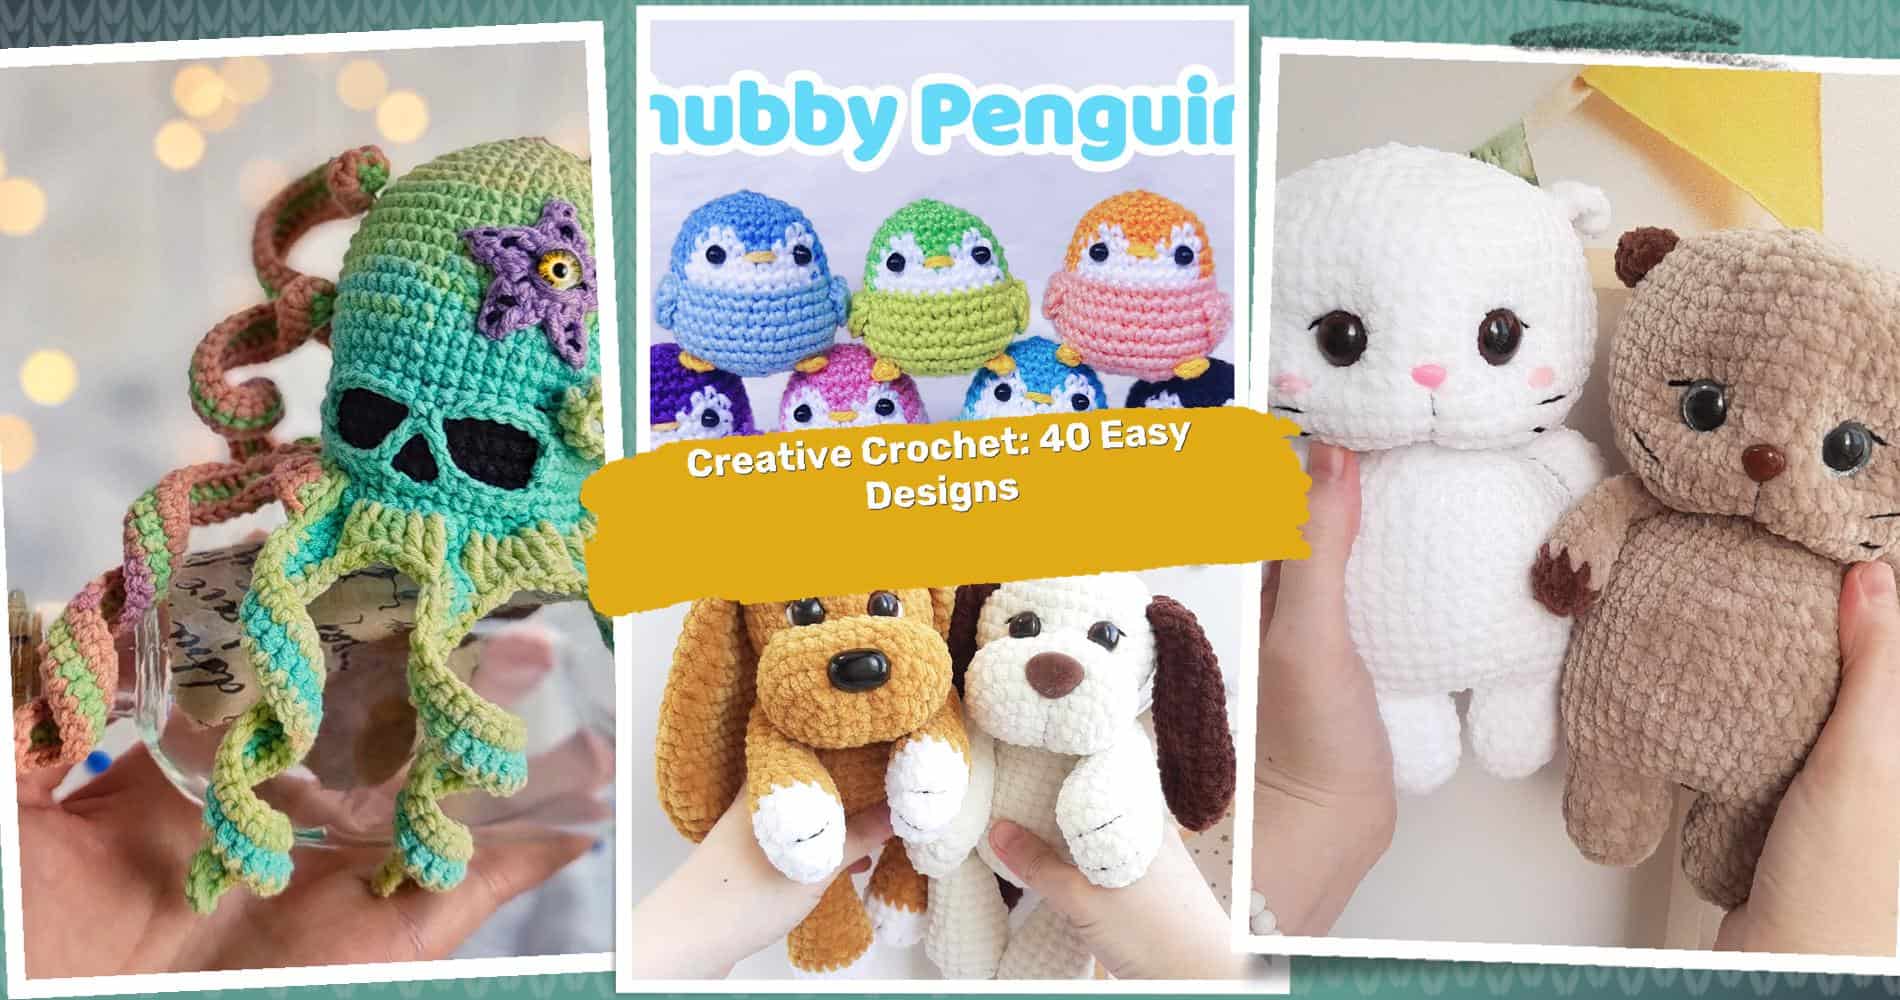
40 Crochet Patterns: Discover Easy and Creative Designs for Every Occasion
Last Updated:
Hello fellow crochet lovers! Delve into the charming world of yarn and hooks with us, as we, two moms completely smitten by the craft, share a treasure trove of 40 exciting and beginner friendly crochet patterns. From the whimsically eerie Kraken to the absolutely adorable Chubby Penguin and Crocheted Puppy, we promise a delightful journey…
-
Glossary of Crochet Stitches
Last Updated:
When you first learn how to crochet, there will be a few basic stitches that you will frequently use. You can create crochet projects of every shape and size using just these basic stitches. If you are more adventurous, though, you will go on to learn a variety of advanced stitches, most of which are…
-
How to Crochet: Everything you need to know
Last Updated:
Prep MATERIALS CHOOSING THE RIGHT YARN CHOOSING THE RIGHT CROCHET HOOK Crochet Hooks HOW TO HOLD YOUR CROCHET HOOK PENCIL HOLD FOR CROCHET HOOK KNIFE HOLD FOR CROCHET HOOK Stitches ROUNDS VS. ROWS SLIPKNOT CHAIN SINGLE CROCHET HALF DOUBLE CROCHET DOUBLE CROCHET TREBLE CROCHET ADVANCED STITCHES Misc INCREASING AND DECREASING WORKING AROUND POSTS WORKING IN…
-
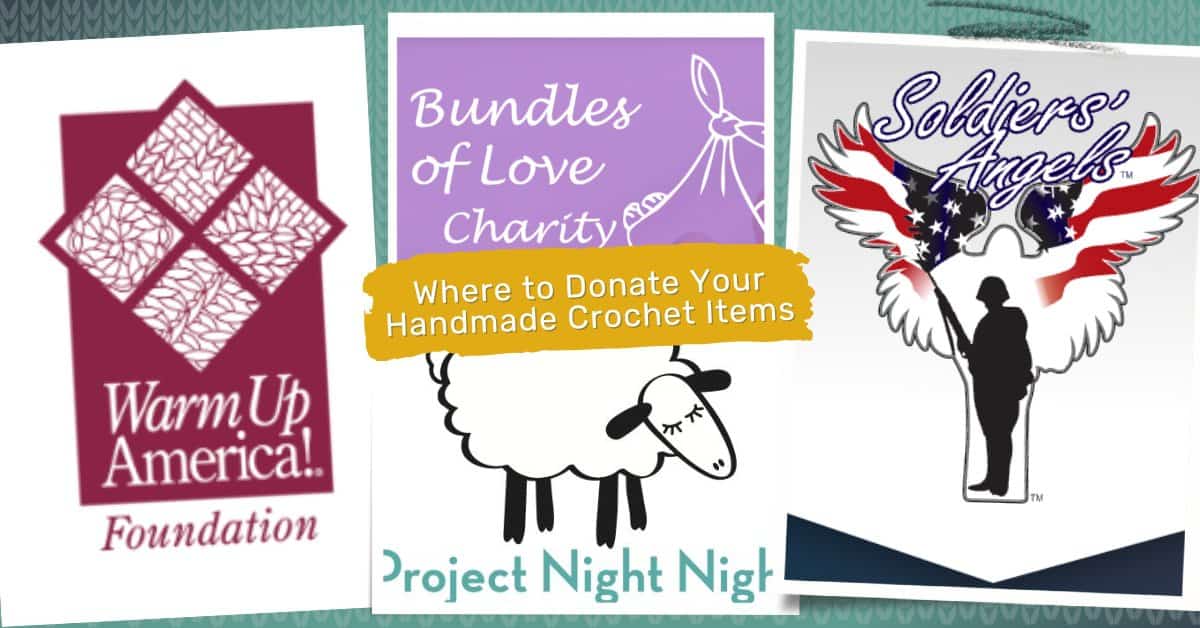
Where To Donate Your Handmade Crochet Items: 9 Places To Check Out
Last Updated:
One of the greatest joys of crochet is that you can use your hands and minimal materials to make gifts that make others smile. When you crochet for charity, you may be helping to save or significantly improve someone’s life. But where should you donate your handmade crochet items? Here are some of our favorite…
-
35+ Crochet Baby Blankets to Inspire Your Crafting
Last Updated:
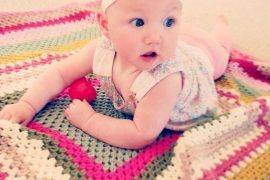
It's so wonderful to crochet baby blankets. You can play with any number of combinations of stitches and colors. You can gift them to friends, donate them to charity or use them as small lapghans in your own home. Today's roundup shares a variety of crochet baby blankets to inspire you to make your own!
-
7 Ways To Modify a Crochet Pattern – Our Helpful Guide
Last Updated:
One of the best things about crochet as an art form is that you can start off with a pattern, and with subtle changes create an end product that is uniquely your own. Crochet is such a versatile craft, and I love that it offers me a chance to be creative without having to start…
Crochet Inspiration
-
Kate Jenkins Crochet Art: Exploring an Edible World
Last Updated:
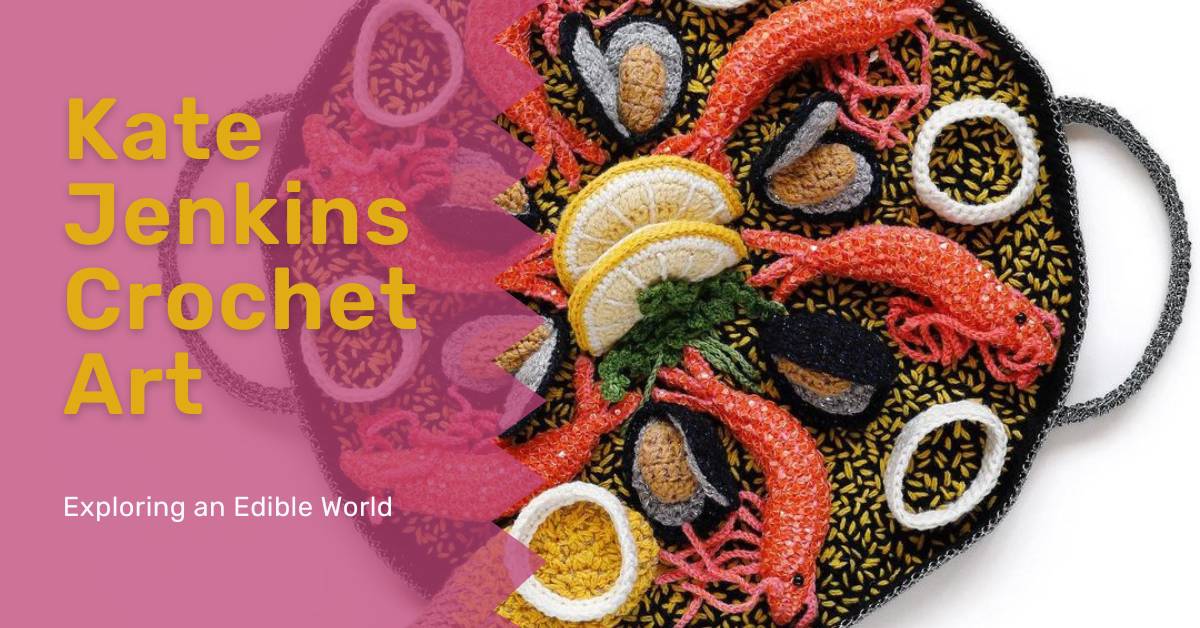
UK knitwear designer and crochet artist Kate Jenkins has created several full installations of crochet food, including a cafe and a dinner party. She also has a home/fashion line and designed the decor for a hotel room. About Crochet Artist Kate Jenkins Kate Jenkins was a UK knitwear designer who sold beautiful knit designs to…
-

Best Crochet TikTok Accounts to Inspire and Delight You
Whether you like high-end luxury fashion, fidget toys and stuffed animals, cute and quick projects, or just a little of everything, we’ve got some amazing creators who are showing us the creativity they put into their crochet every day. CrochetTok is filled with so many truly talented people who are out there making incredible pieces…
-

5 Best Beginner Crochet Kits: Getting Started Made Easy
Crochet is a beloved craft that has been around for centuries. A relaxing and meditative hobby, crochet is an art form that allows you to create beautiful and functional items with just a hook and some yarn. If you’re new to crochet, the first step is to find the best beginner crochet kit to get…
-
20 Beautiful Crochet Umbrellas and Patterns You Will Love!
Last Updated:
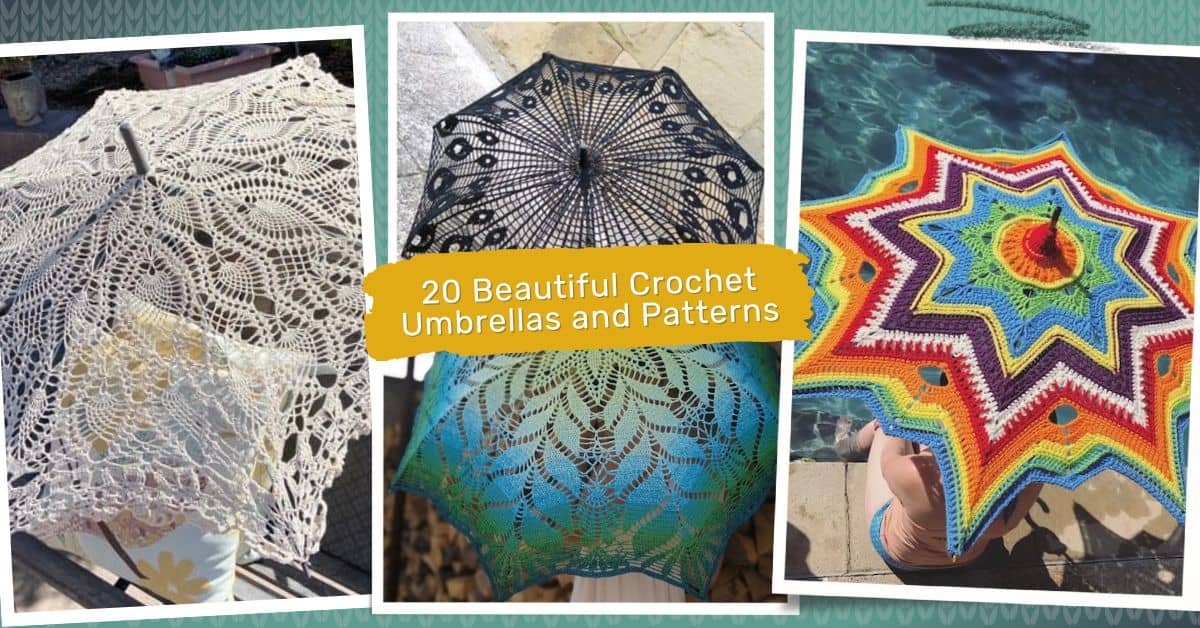
You are going to fall in love with these beautiful crochet umbrellas. And, if you are of a notion, we have fun easy umbrella patterns to make your own too! There is something about a crochet lace umbrella or parasol that screams “romantic”, making these umbrellas perfect for weddings and photographs. These beautiful umbrellas are…
-

23 Most Beautiful Crochet Swimsuits that are Stylish and Fun
Last Updated:
Crochet swimsuits are making a huge splash! Not only are they beautiful but they are also unique and fun! From teeny tiny bikinis to boy shorts and one-piece suits, you have to admit they are stylish! In this collection, we have gathered a few of our very favorites that we want to share with you.…
-
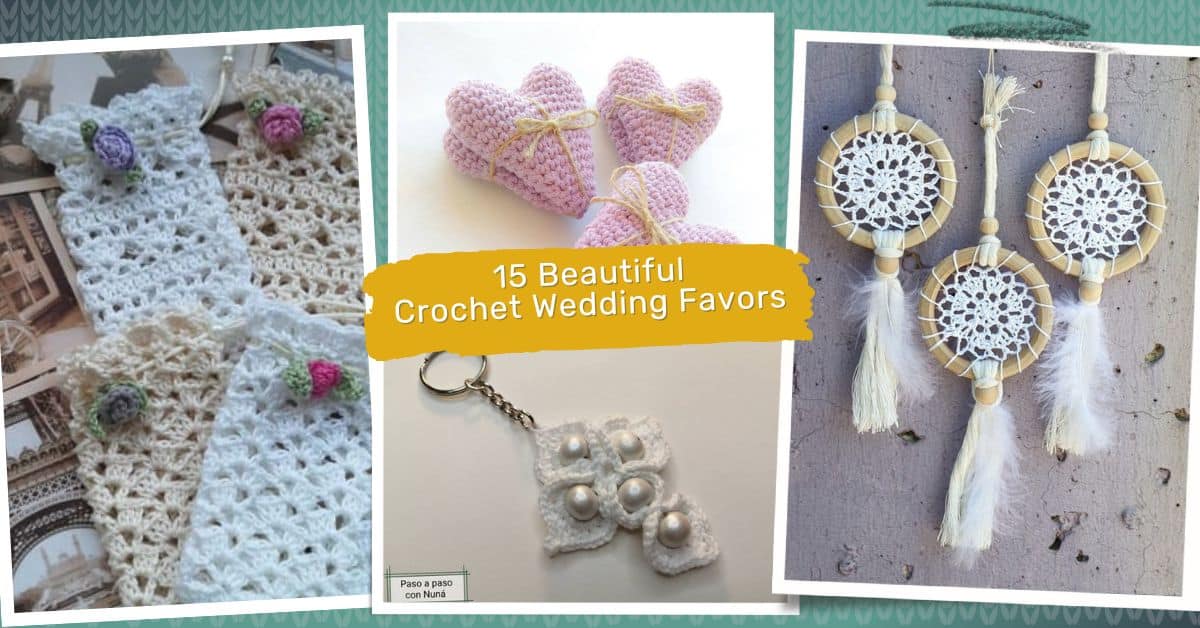
15 Beautiful Crochet Wedding Favors for Your Wedding Guests
Last Updated:
When it comes to wedding favors, you want them to be beautiful, unique, and thoughtful. What can be better than gorgeous handmade crochet wedding favors?! In this collection, we are featuring a few of our very favorites. These beautiful wedding favors are perfect for not only your bridal party, but also your wedding guests. It’s…
Crochet Tutorials
-
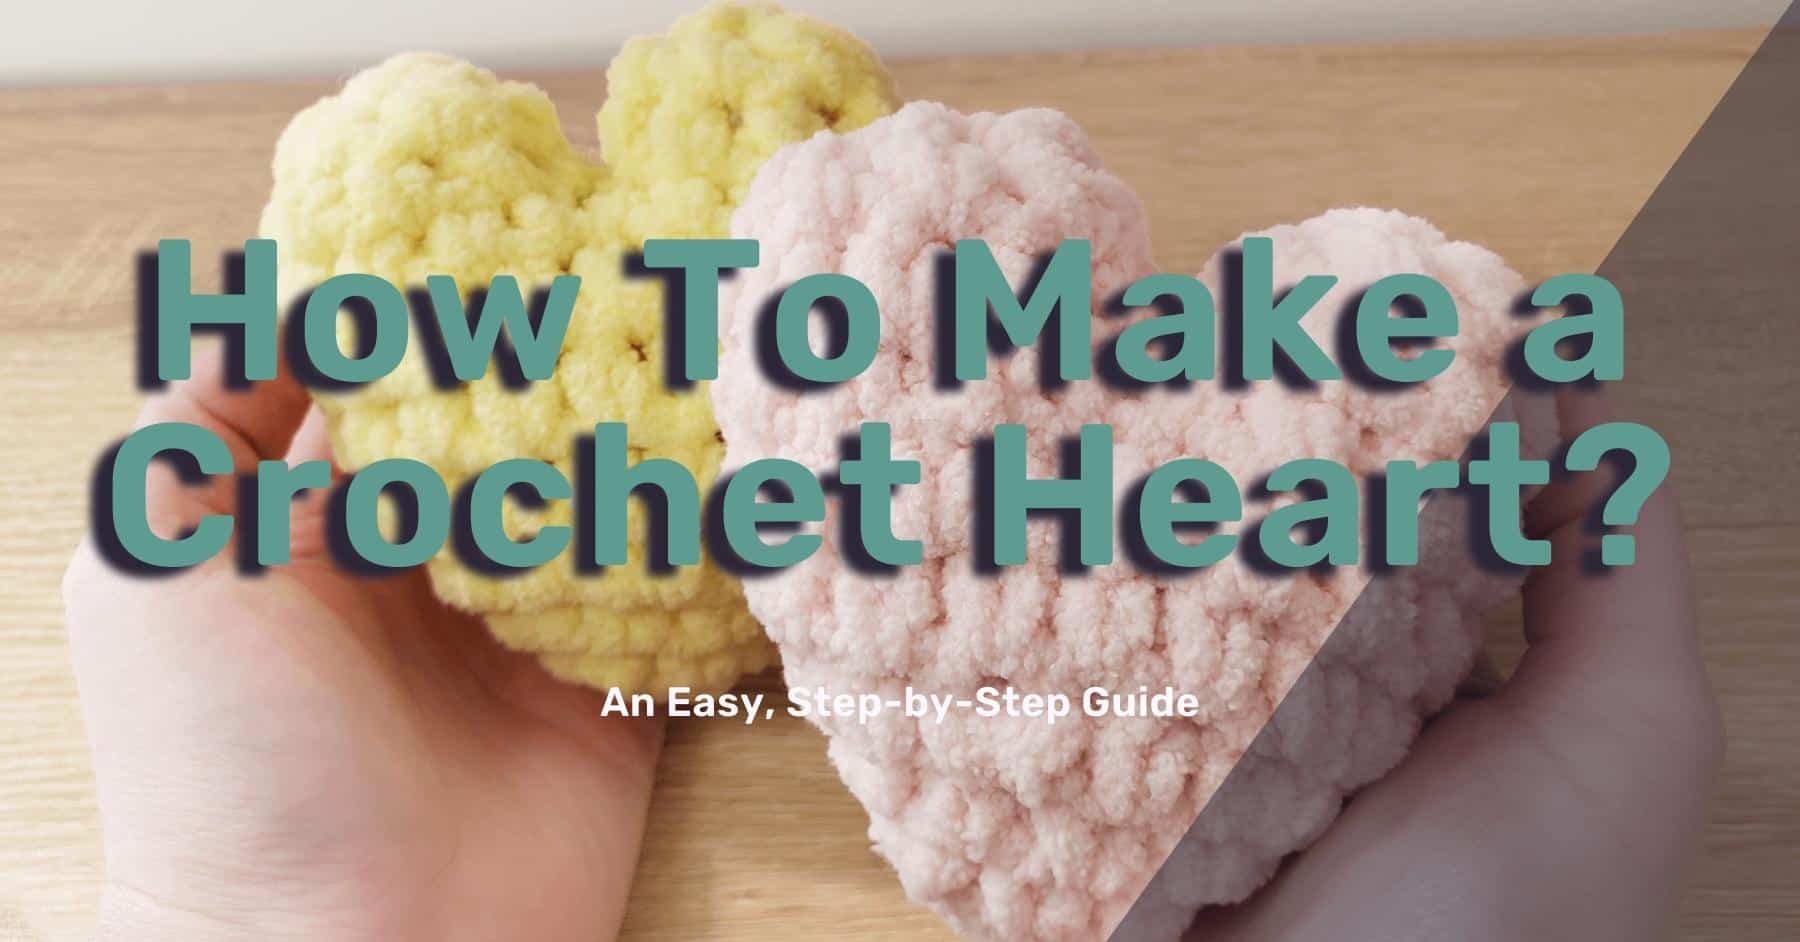
How To Make a Crochet Heart – An Easy, Step-by-Step Guide
Last Updated:
With Valentine’s Day just around the corner, my thoughts always turn to how I can make extra special Valentine’s Day gifts for my loved ones! When I used to be a classroom teacher, I would whip up a few of these super cute and fluffy heart plushies for the students in my homeroom class. I…
-

12 Free Christmas Crochet Patterns – Creative Projects
Last Updated:
For the twelve days leading up to Christmas 2022, I created a “Twelve Days of Crochet” advent calendar. Each holiday season project was geared to be able to complete in a few hours, so they’re really friendly patterns for beginners, and all were festive themed so they can be used as handmade gifts or decorations!…
-
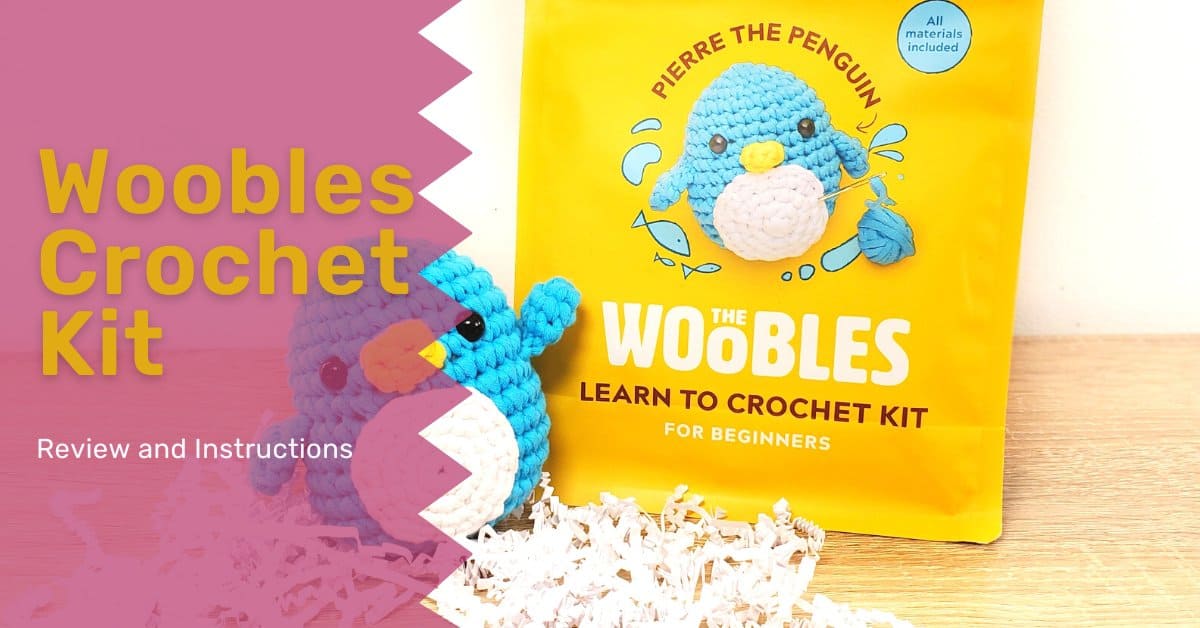
Woobles Crochet Kit Review – We Check Out the Pros and the Cons
Last Updated:
Twenty-two or so years ago, I remember picking up my first crochet hook – it was actually my mother’s. I recall watching her clumsily make granny squares and blankets one year for Christmas gifts, and had even helped her pick out a pretty variegated yarn for my Christmas blanket. I loved watching the hook twirl…
-
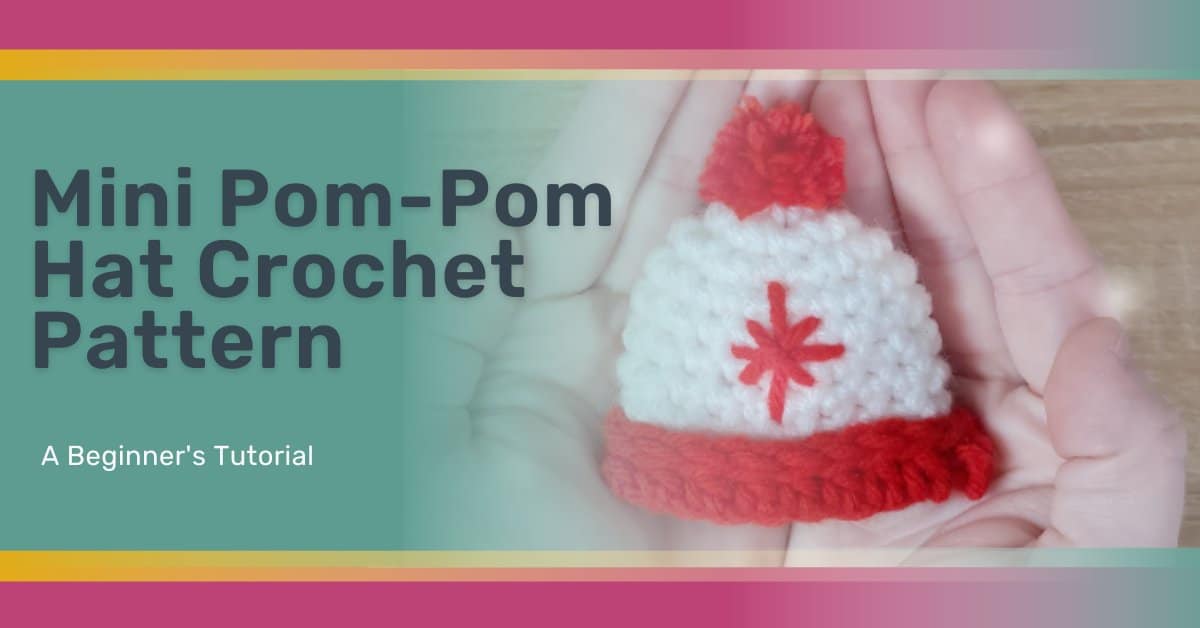
Mini Pom-Pom Hat Crochet Pattern: Free Festive Crafting!
Last Updated:
We’ve made it to the last day of our Twelve Days of Christmas Crochet! Thanks for sticking with us through it all – be sure to check out all of the previous makes if you haven’t been working along with us throughout the last 12 days. Our last project is a mini pom-pom hat! This…
-

Christmas Snowflake Globe Ornament: Free Crochet Pattern
Last Updated:
Hello everyone! Thanks for joining in on our Twelve Days of Christmas Crochet. We’re on Day Three of our holiday crochet countdown and today’s make is a crochet globe ornament with a pretty snowflake embroidery pattern! If you’ve tuned in to previous days, you may recognize the snowflake motif, as it’s the same one used…
-
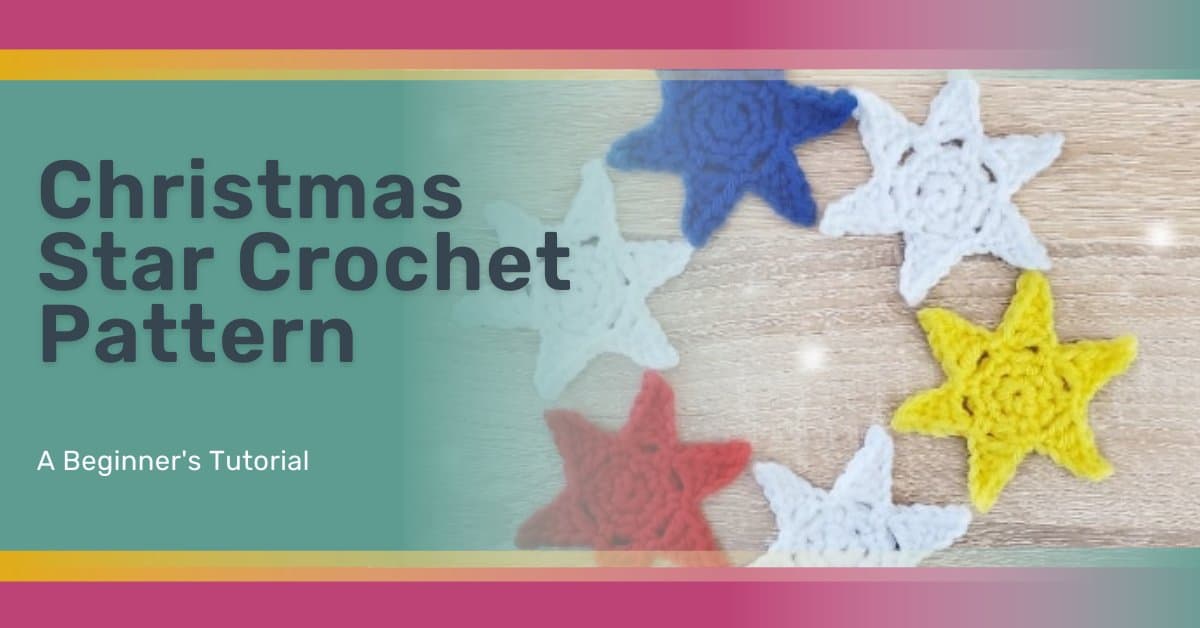
Free Christmas Star Crochet Pattern: Festive Crafting!
Last Updated:
Welcome to Day Four of our Twelve Days of Christmas Crochet countdown! Today, our make is a pretty six-pointed star. You can whip up a whole batch and string them as a garland, add them to your tree, or affix them to the top of presents! They work up incredibly quickly. Materials Required Today’s make…
Crochet Patterns
-
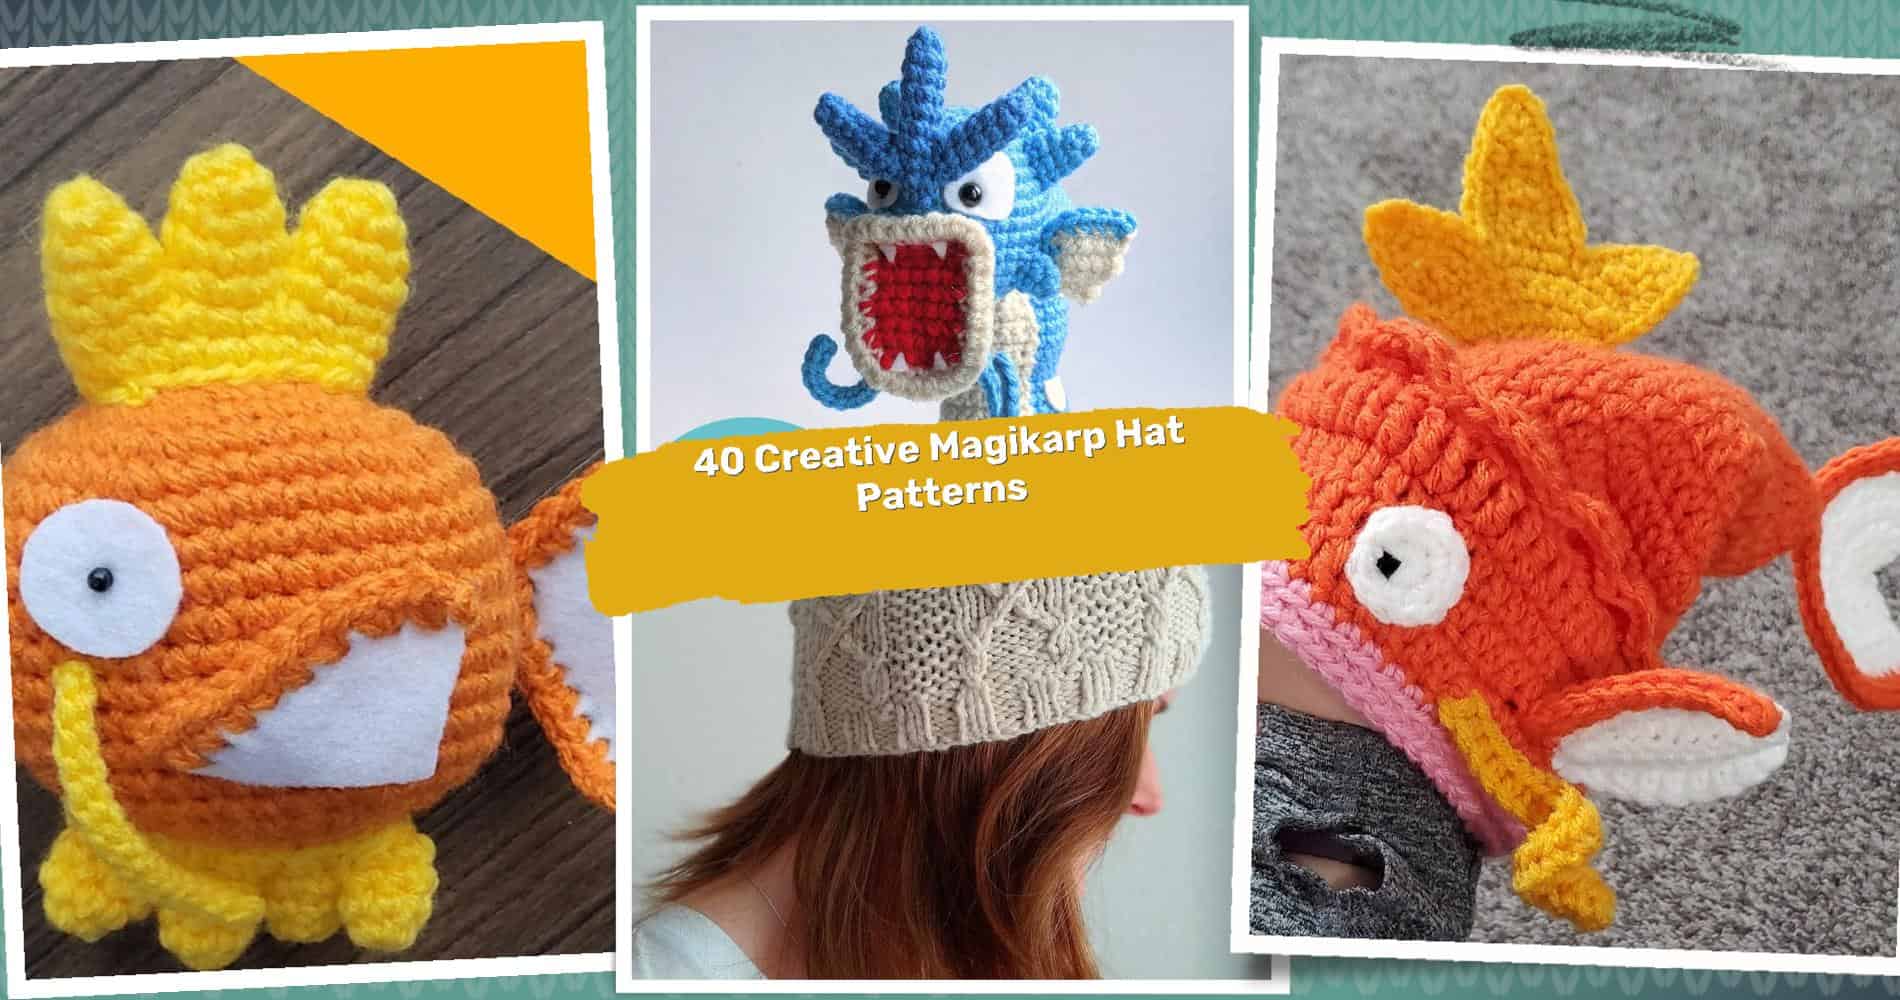
40 Magikarp Hat Crochet Patterns: Unleash Your Creativity Today!
Last Updated:
Hello fellow crochet enthusiasts and artful yarn benders! As two moms who absolutely adore crocheting, we’re thrilled to share our latest find: a treasure trove of 40 Magikarp Hat Crochet Patterns, giving a whimsical twist to our favorite pastime. From the adorable Crafty Magikarp Amigurumi Pattern to the fierce Pokemon Gyarados Crochet Amigurumi Pattern, and…
-
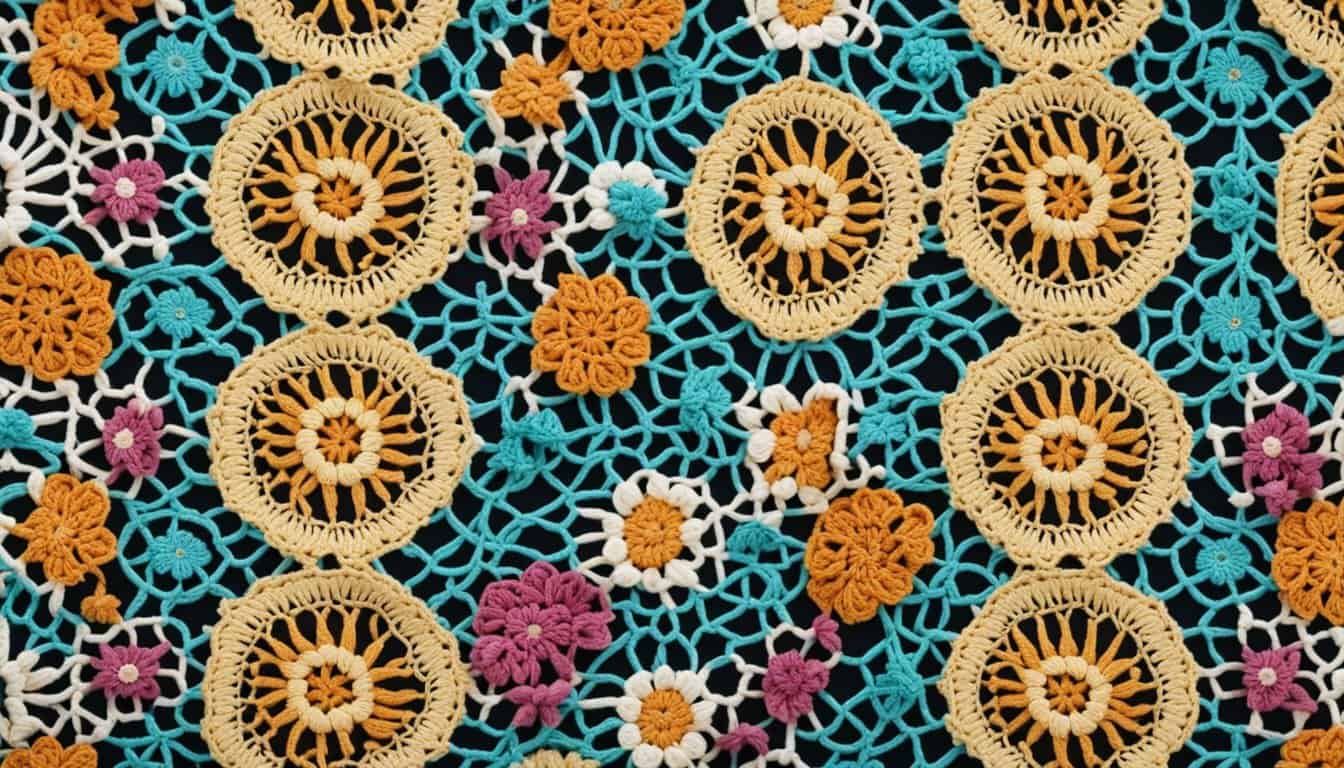
40 70s Crochet Patterns: Rediscover the Charm of Vintage Crafts!
Last Updated:
Hello crochet aficionados and retro fashion fans! We’re ecstatic to share with you 40 groovy crochet patterns straight from the vibrant vibes of the 70s, each one offering a timeless appeal that will add a touch of nostalgia to your modern wardrobe. Prepare your hooks for a journey through iconic styles and textures that celebrate…
-
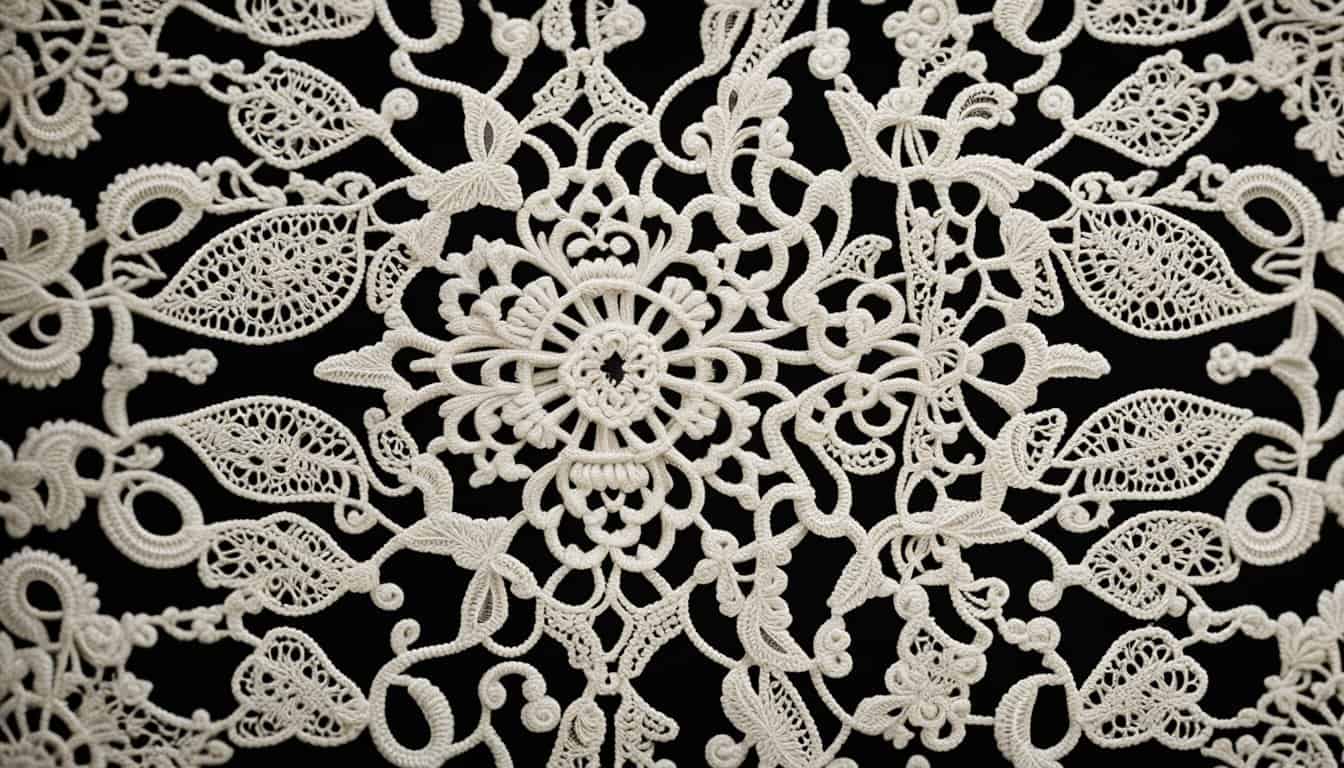
31 Irish Crochet Patterns: Unleash Your Creativity with Traditional Designs
Last Updated:
Hello cherished community of crochet enthusiasts! We’re two moms who revel in the time-honored craft of Irish crochet, and we’re delighted to share a handpicked selection of 31 Irish Crochet Patterns that overflow with creative potential. We invite you on a captivating journey through these patterns, each woven with the enchanting heritage and elegance that…
-
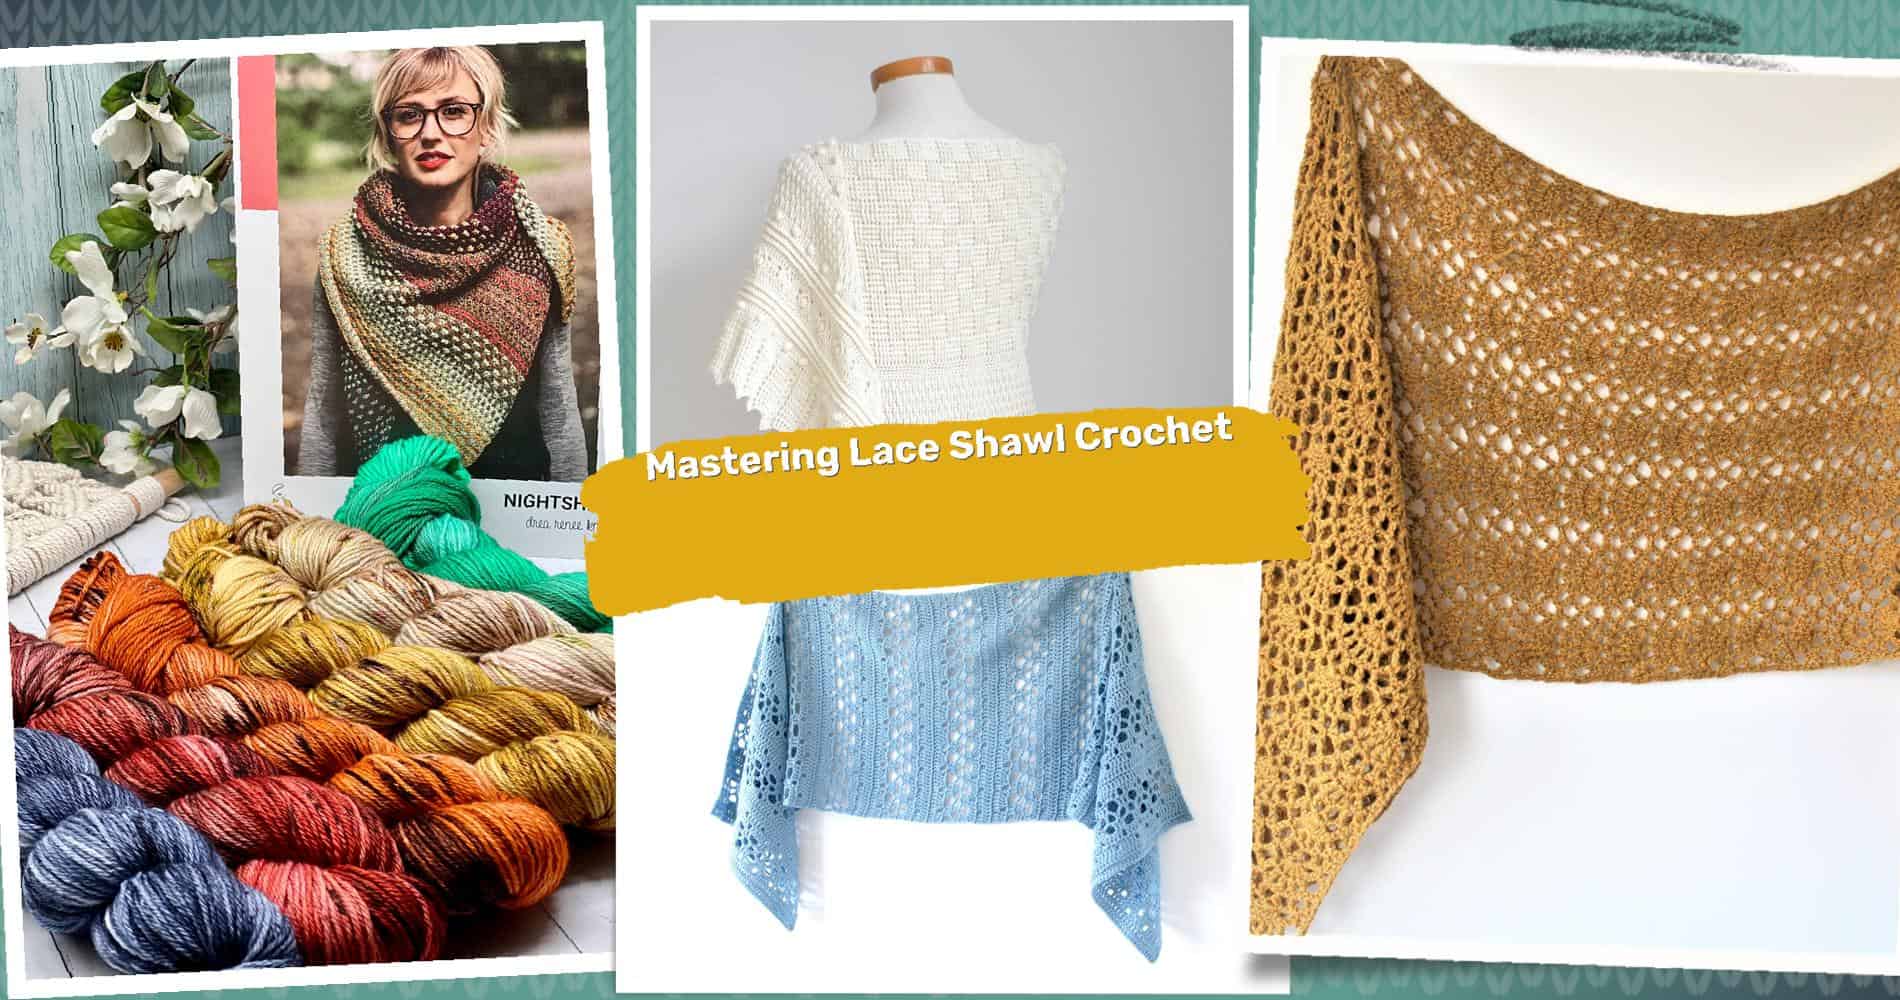
40 Lace Shawl Crochet Patterns: Master the Art of Delicate Design
Last Updated:
Hello fellow crochet lovers, we’re two moms with an unbridled passion for lace shawls! We’re thrilled to share our favorite “40 Lace Shawl Crochet Patterns: Master the Art of Delicate Design,” featuring beauties like the “Andrea Mowry Nightshift Shawl Kit in Multicolor,” the “BIBLIO Crochet Shawl Pattern: Textured Lace Wrap,” and the “Lacy Transpire Sideways…
-
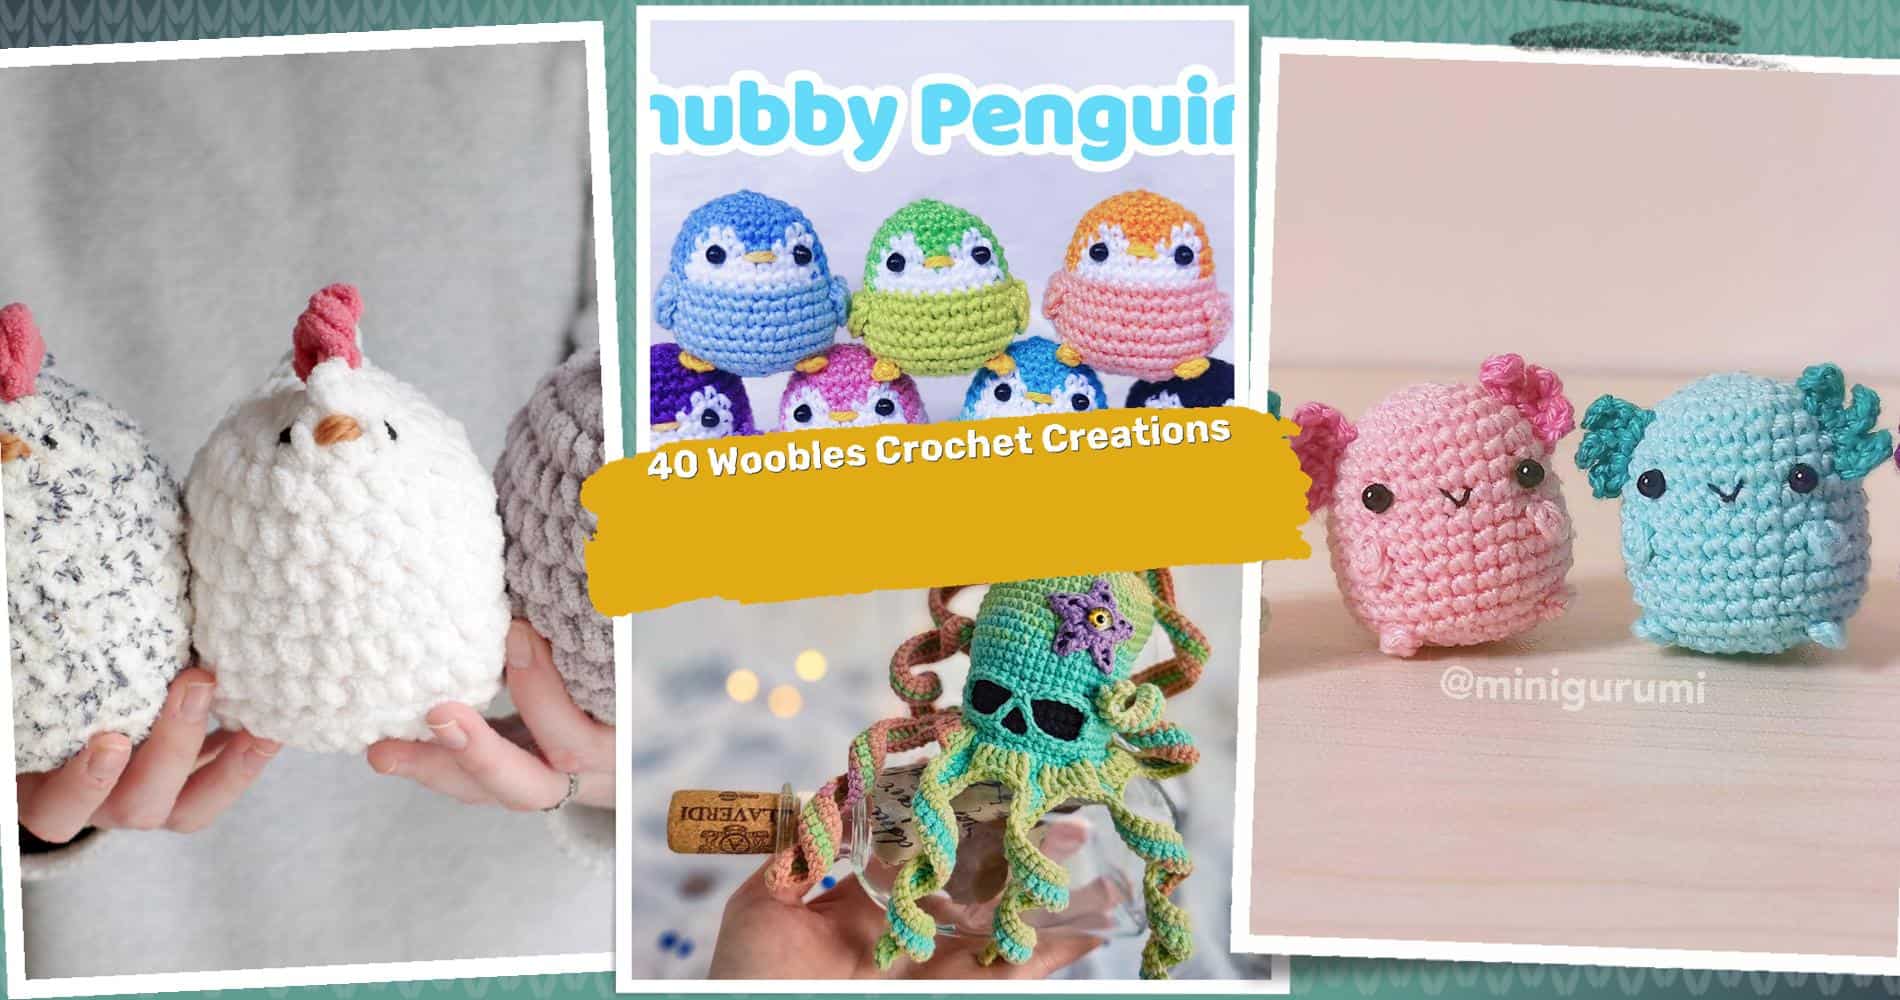
40 Woobles Crochet Patterns: Unleash Your Creativity Today!
Last Updated:
Hello Fellow Crochet Lovers! We are two moms with a shared passion for crochet, constantly on the lookout for exciting new patterns. Today, we’re thrilled to bring you “40 Woobles Crochet Patterns” – an amazing collection that includes such gems as “Cute Mabel Chicken”, “Chubby Penguin Amigurumi”, and even a “Creepy Crochet Octopus”. Ready to…
-
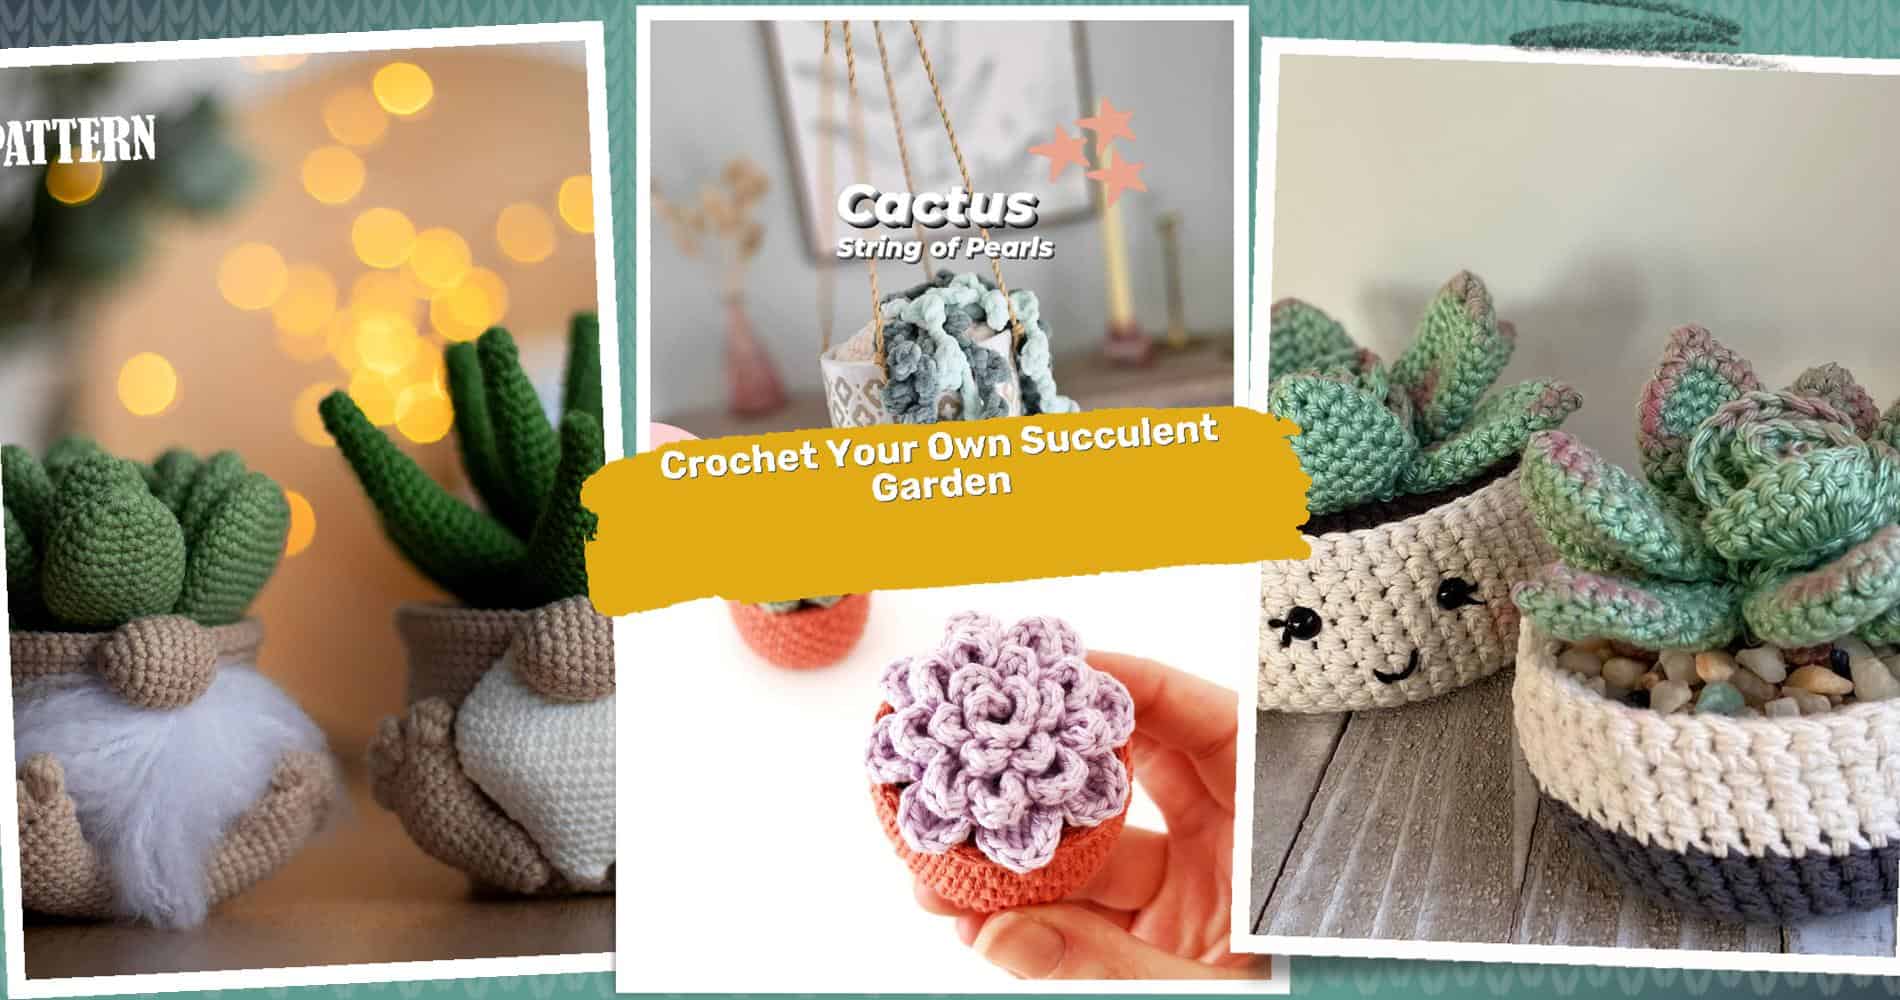
26 Succulent Crochet Patterns: Create Your Own Indoor Garden Today!
Last Updated:
Greetings to all the crochet lovers out there! We’re a couple of mommas brimming with enthusiasm for everything crochet and indoor plants, and we’re thrilled to unveil our handpicked collection of 26 succulent crochet patterns. Dive in and get ready to be inspired to craft a verdant oasis right in your living room! Crochet Gnome…
