What Is Bobble Stitch?
Bobble stitch is a fantastically textured stitch that is fairly accessible to beginning crocheters, as it is constructed using chain, single crochet, and double crochet stitches.
It creates little “bobbles” or clusters of crocheted fabric that can be alternated to create a pattern or textured design.
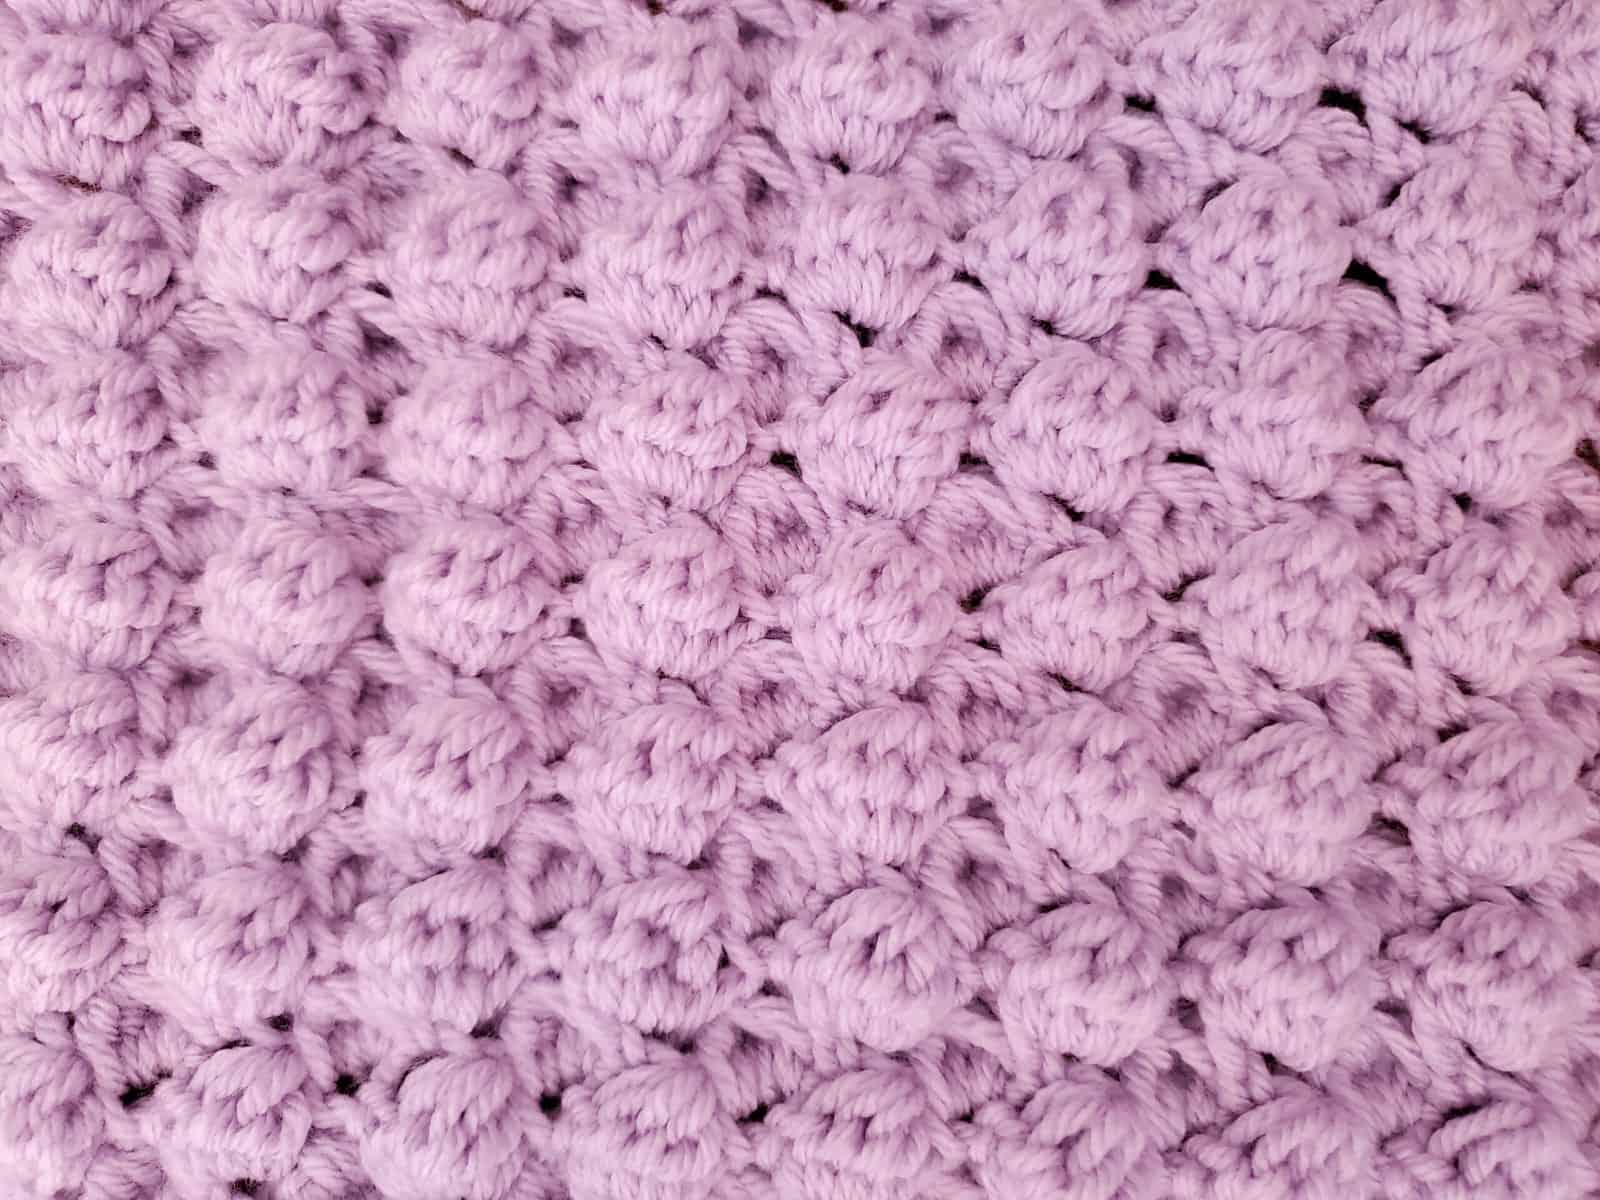
The bobble crochet stitch is a stitch that can actually be worked in a number of different ways. What all of the methods have in common is that you work multiple stitches together into the same stitch, beginning each of them but not completing any of them until the very last step.
The result is a set of stitches that are joined together at both the bottom and the top, creating a textured ball of a stitch called a “bobble.”
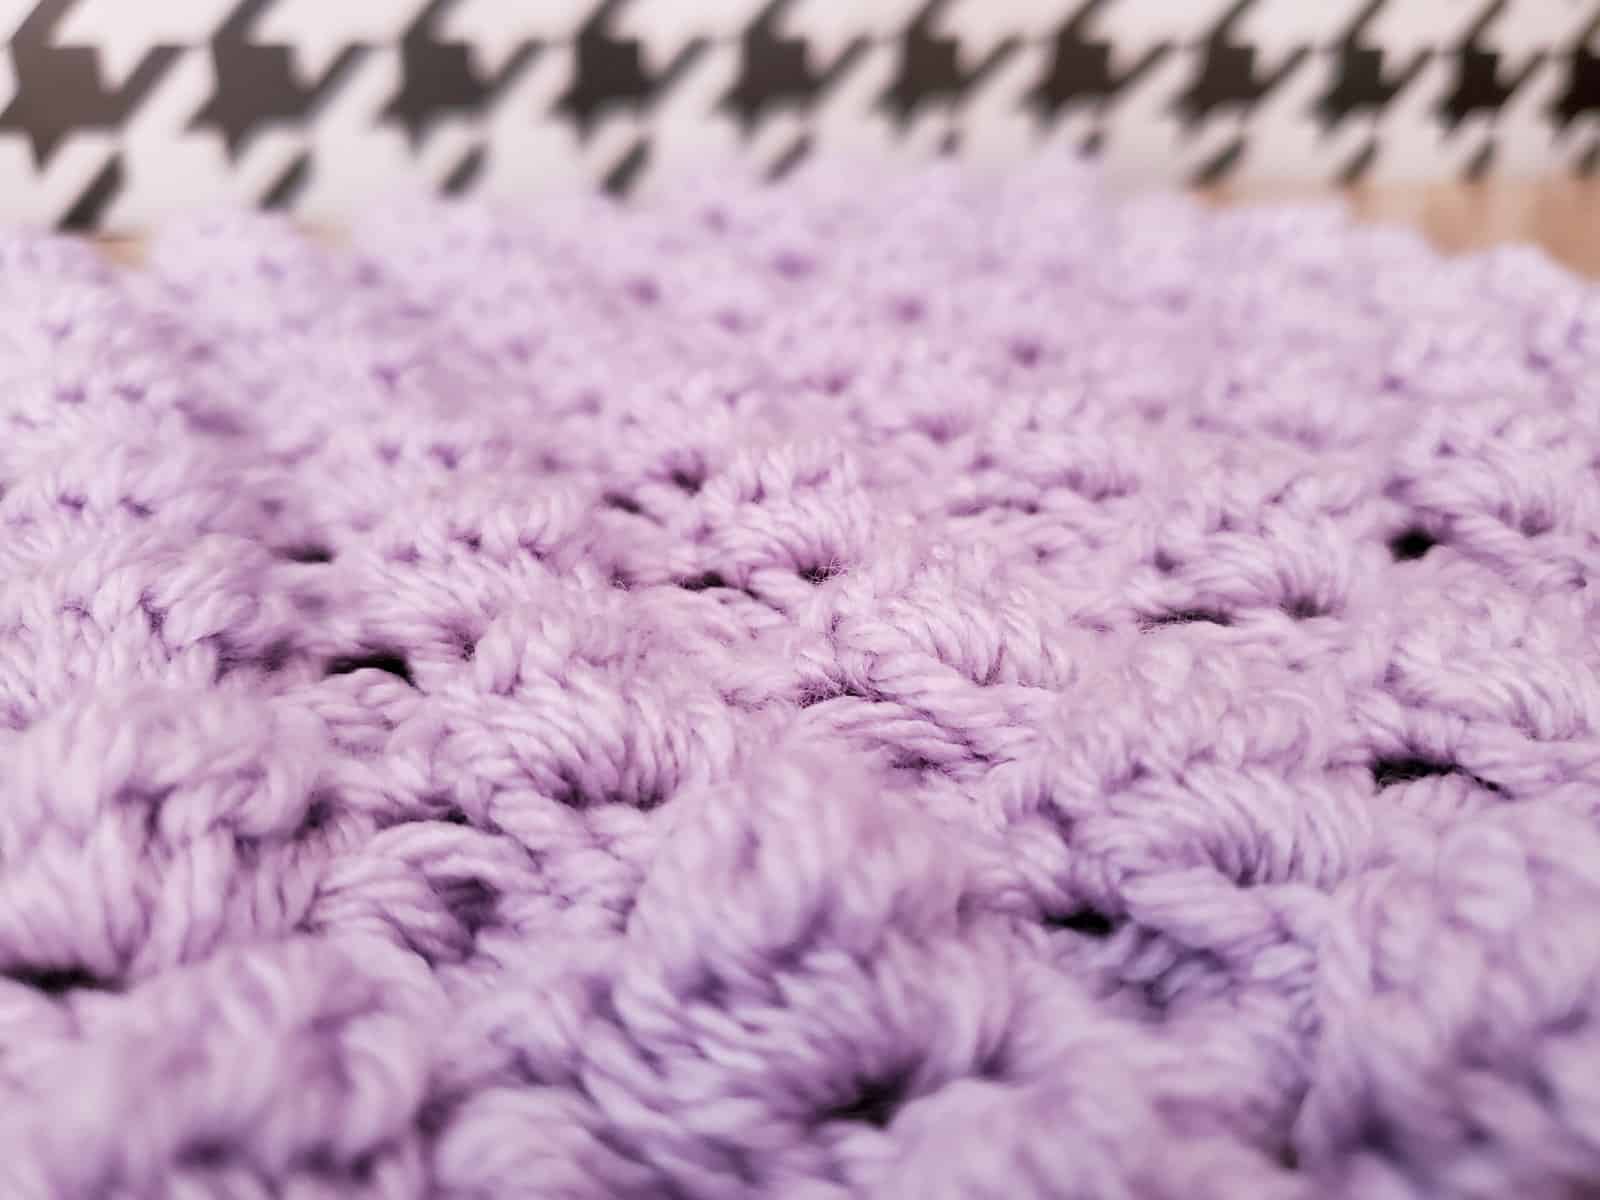
Bobble stitches can be created with different amounts of double crochet stitches in the bobble, which creates different-sized clusters.
In this tutorial, I’ll walk you through how to create a five-double crochet bobble!
To Bobble, or Popcorn?
When I was still a beginning crocheter, I often would confuse popcorn stitch with bobble stitch, since they’re both made as a cluster of double crocheted stitches. You may be wondering which is which and which to use for your project.
Bobble stitch and popcorn stitch both involve two repeating rows of stitches that create clusters of fabric on your work.
However, rather than pulling all of the clusters to the front of your work, bobble stitch alternates rows and tends to puff out on the opposite side of the fabric that you’re currently working on.
Popcorn stitches, on the other hand, are all pulled toward the front of your work.
Here’s a comparison of the front or right of both my swatch of popcorn stitch and bobble stitch:
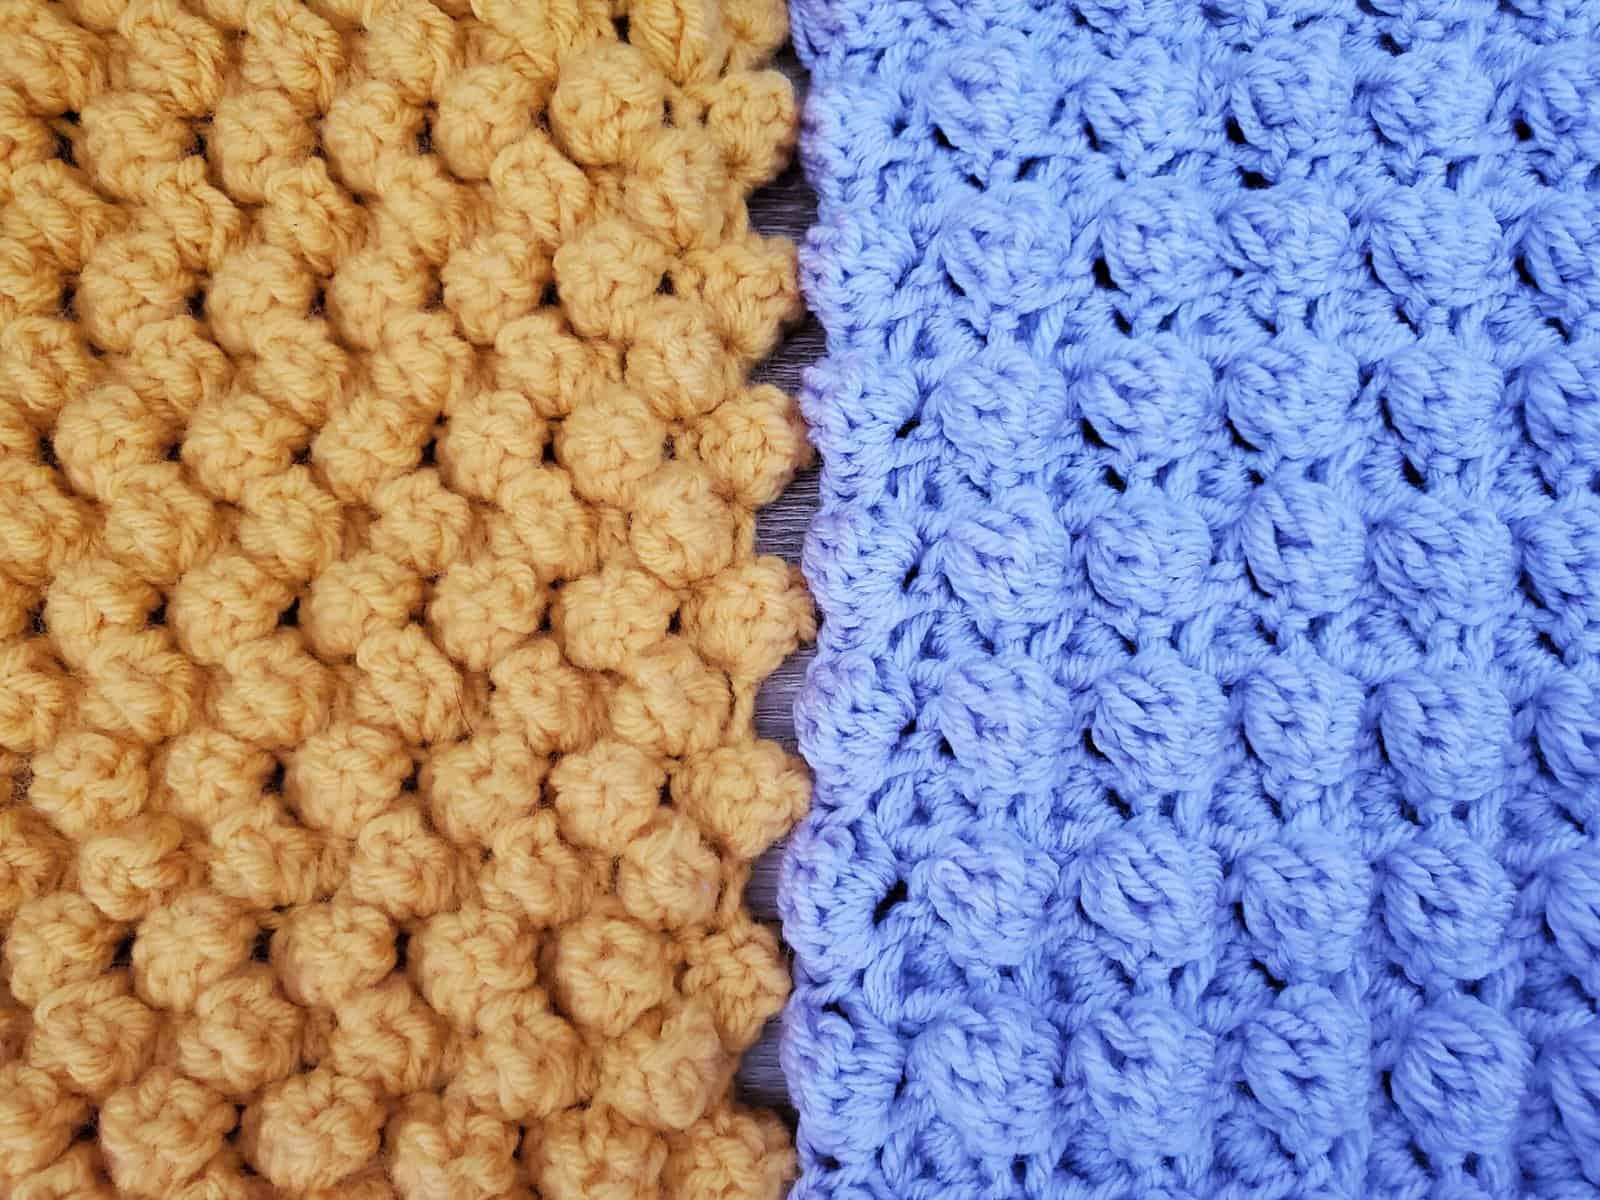
They look fairly similar on the right side, but the differences become pretty easy to spot on the wrong side of the work:
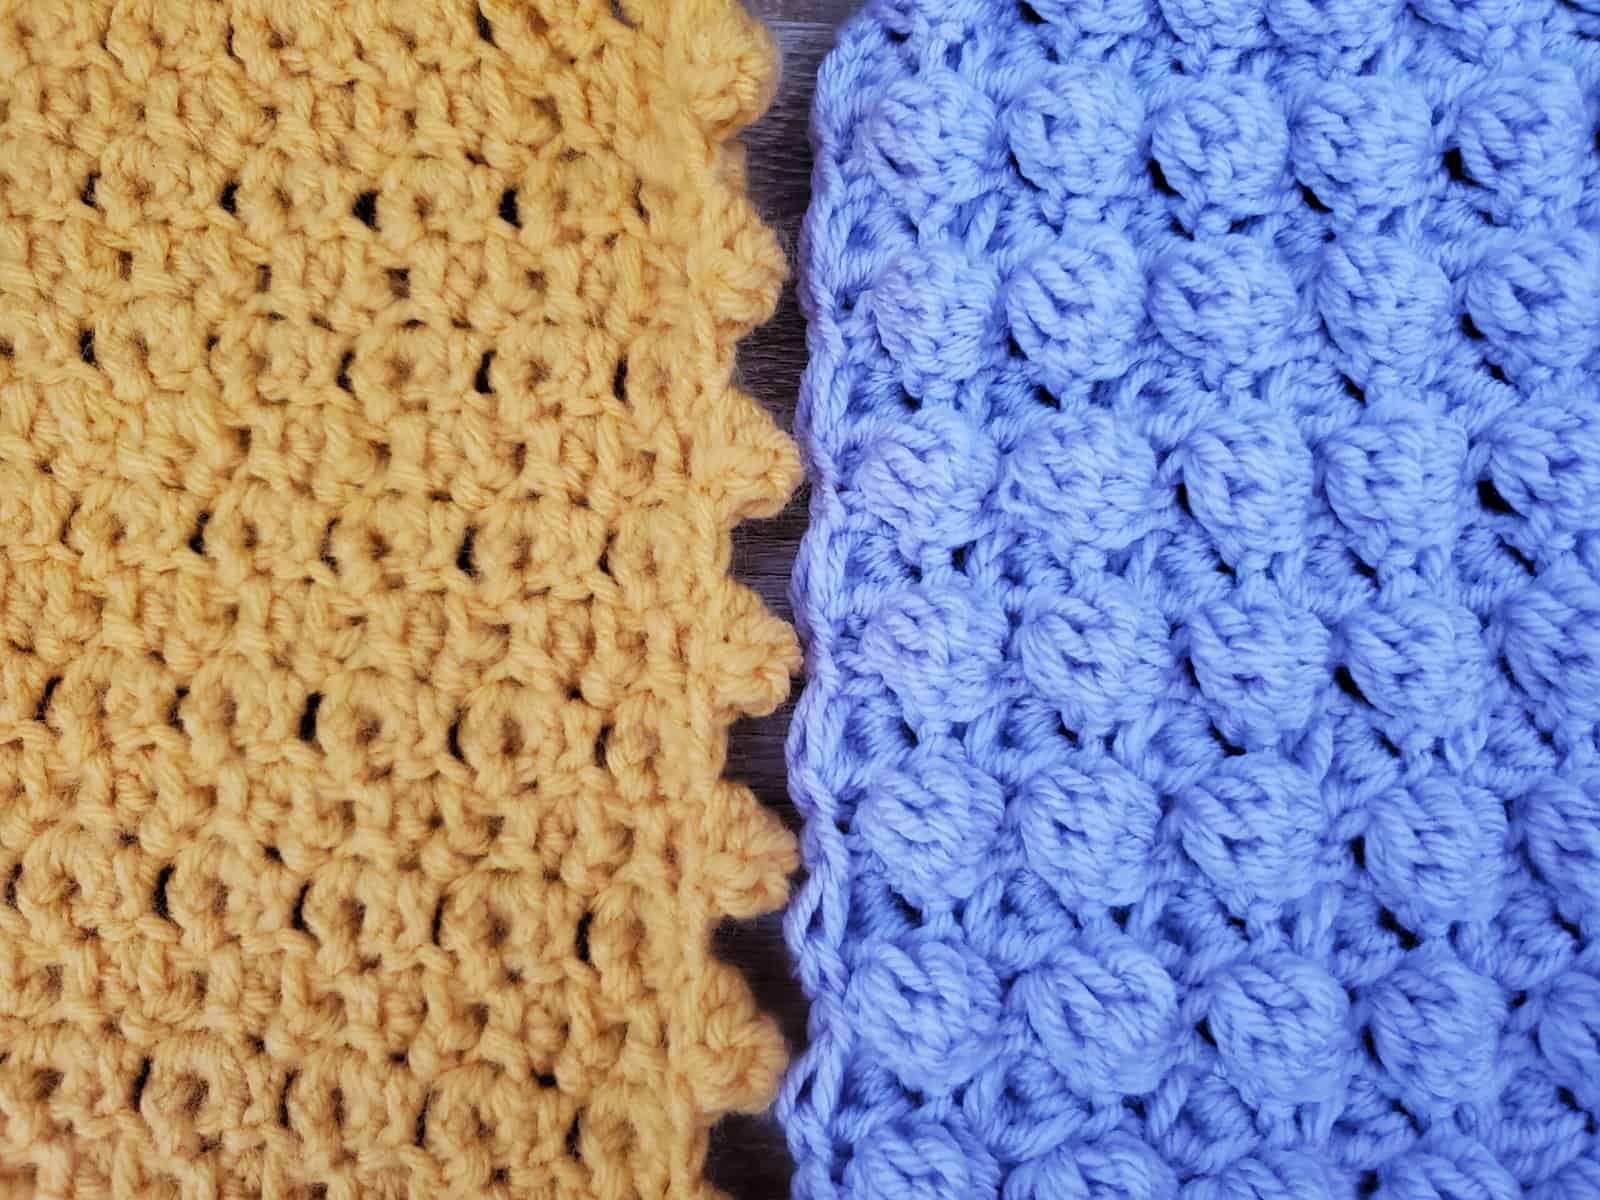
As you can see, the bobble stitch fabric looks virtually the same on the right side versus the wrong side, whereas the popcorn swatch is radically different!
In my opinion, this makes bobble stitch a great double-sided fabric option for blankets and scarves.
I personally prefer to use popcorn stitch on projects that either involve sewing to hide the wrong side or work in the round so the right side is always out.
I also find that popcorn stitch is incredibly dense in comparison to bobble stitch. If you like the texture of popcorn stitch, but desire a fabric with more drape and flexibility, I highly recommend bobble stitch instead.
Of course, you can choose whichever you prefer. Variety is the spice of life, after all!
Getting Started
To begin, chain an odd number of stitches + 2 to turn. My sample swatch of bobble stitch is 15 + 2 stitches total.
Important note: Make sure to chain loosely. If your foundation chain is created too tightly, your work will curl. I recommend either chaining loosely or using at least one number size larger hook to chain.
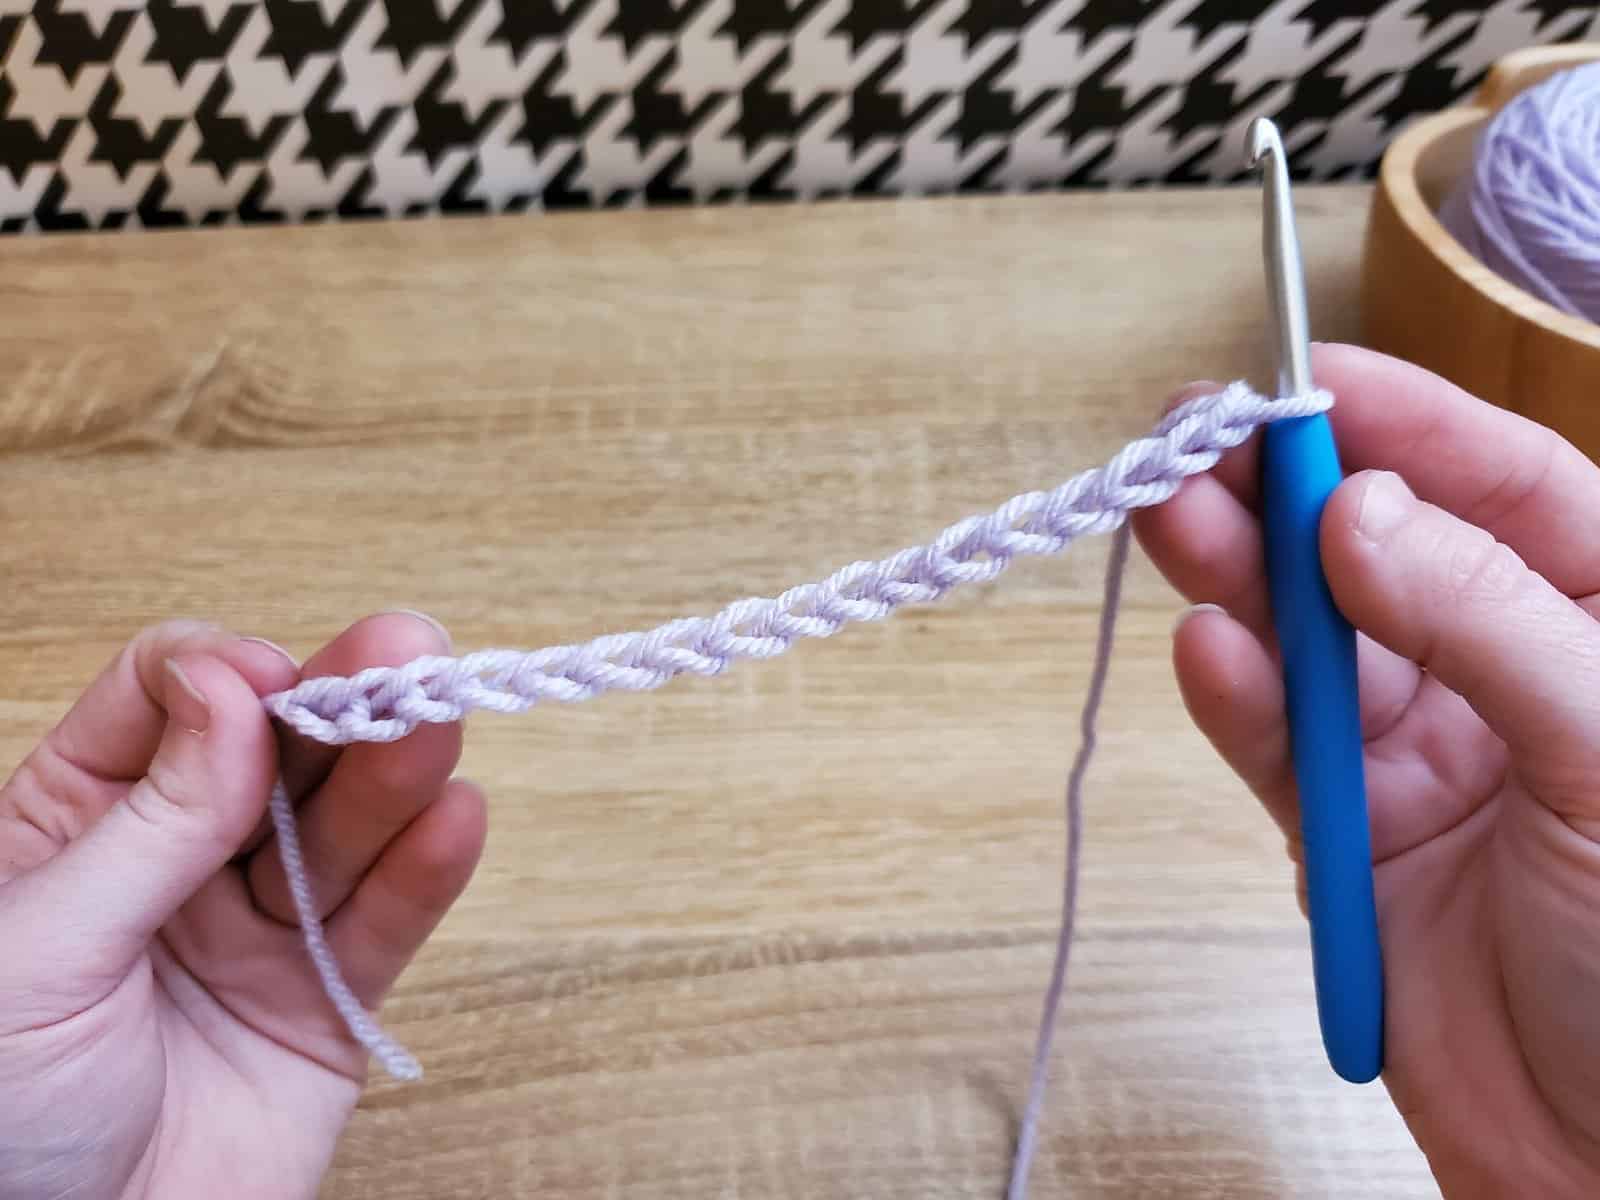
The first stitch we’ll be making is a bobble stitch – the chain 2 to turn the row counts as the first double crochet in our cluster. We’ll be placing the rest of the stitches of this first bobble into the 3rd chain from the hook.
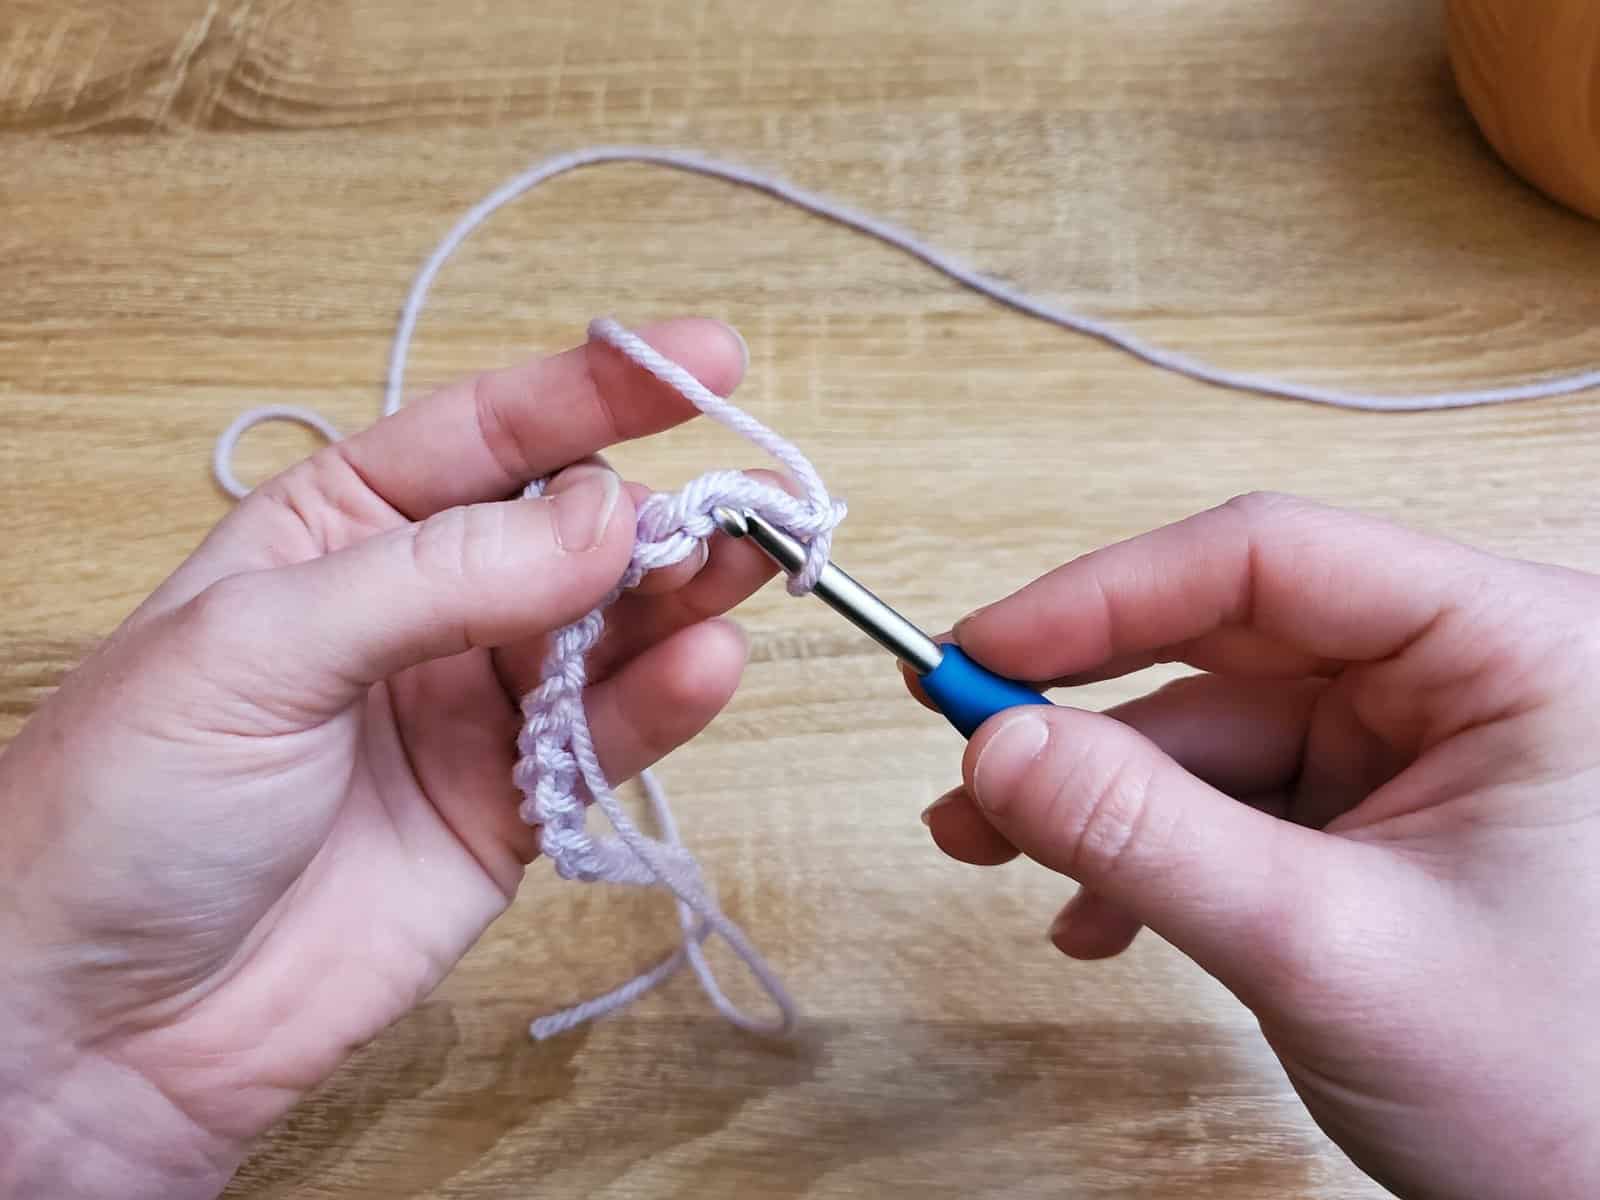
Yarn over and insert your hook into the 3rd chain from hook (which will count as the first double crochet of your first bobble). Yarn over and pull up a loop. Yarn over and pull through the first two loops on the hook.
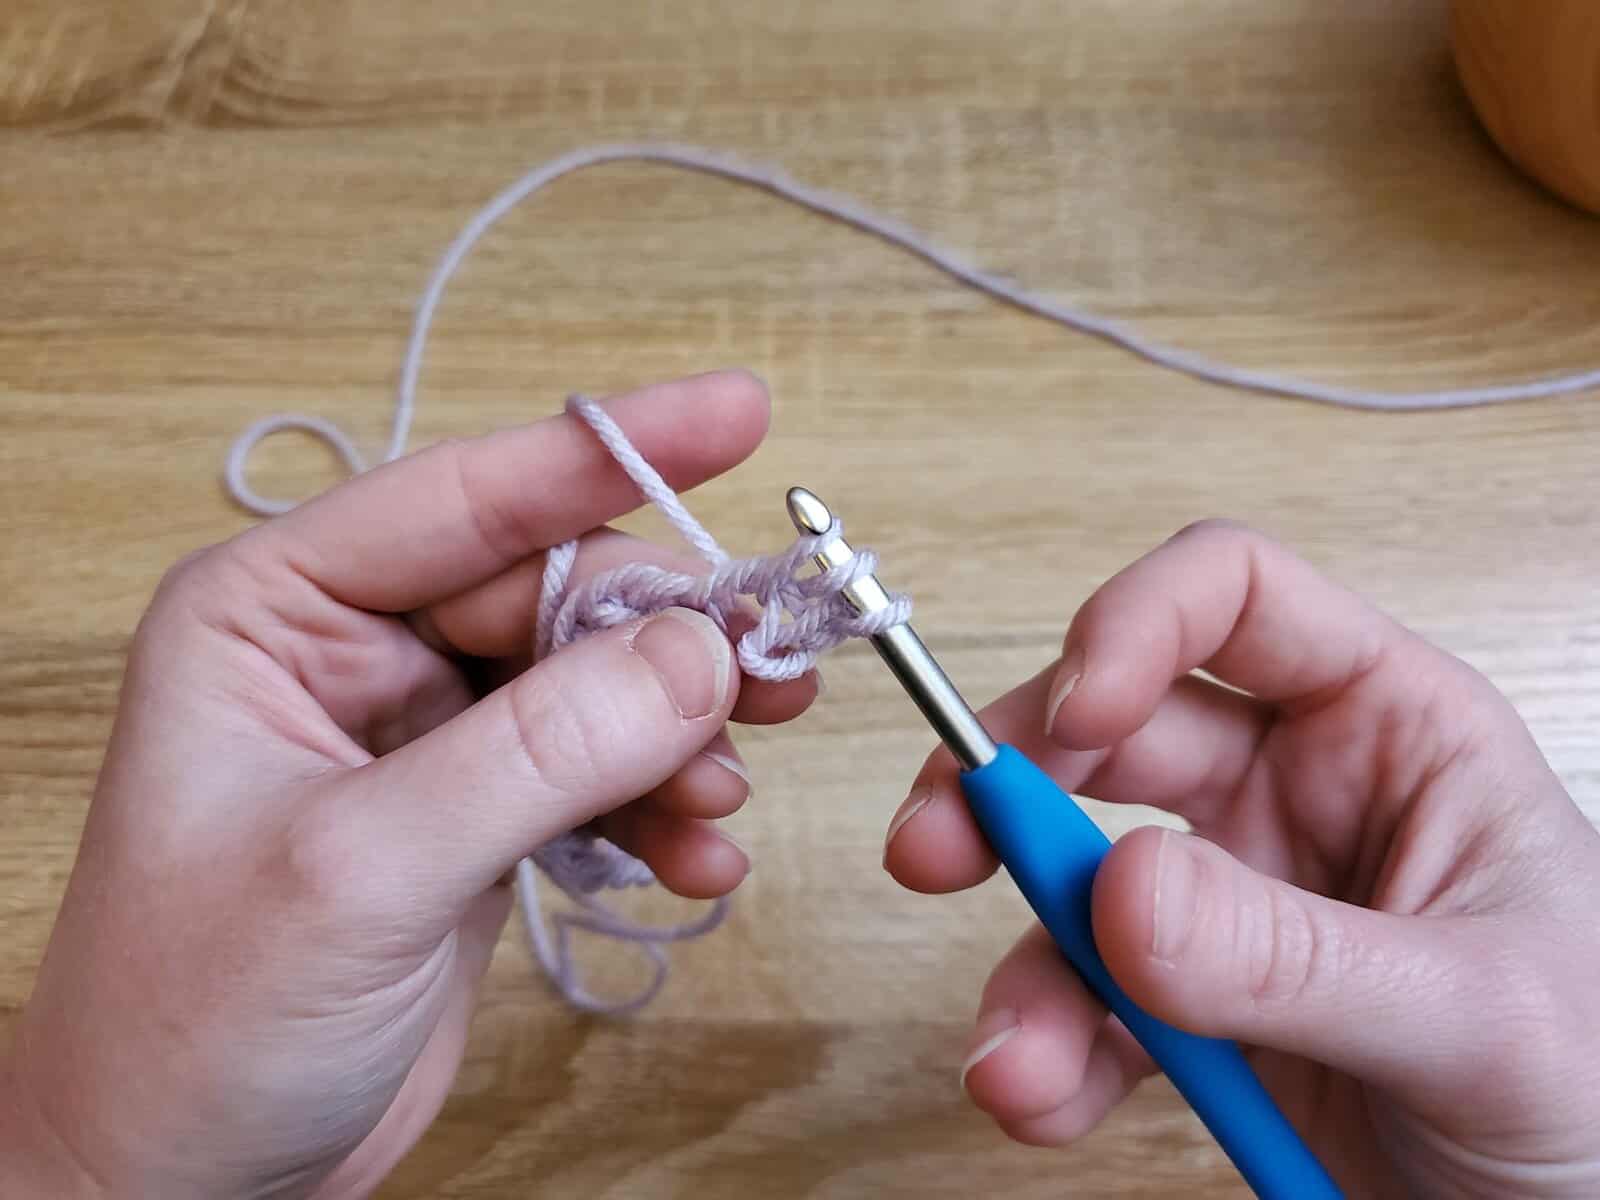
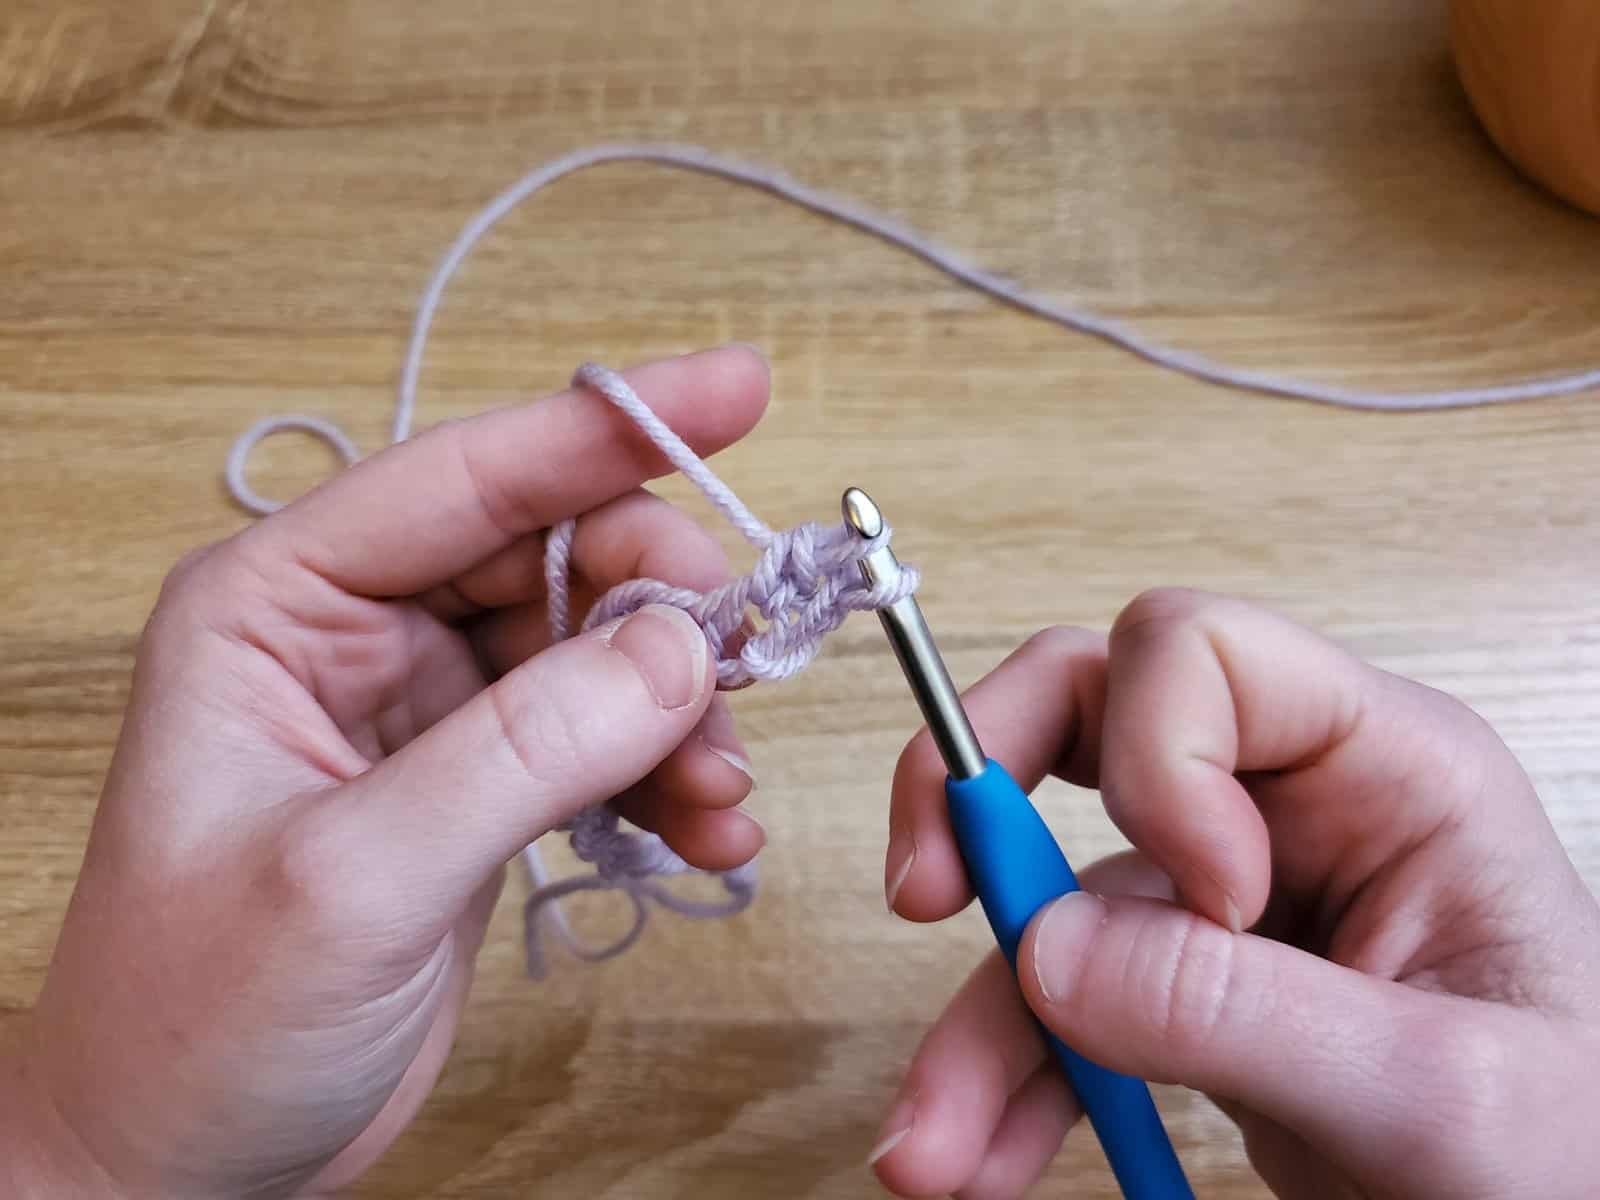
Yarn over and insert the hook into the same stitch. Yarn over and pull up a loop. Yarn over and pull through the first two loops on the hook.
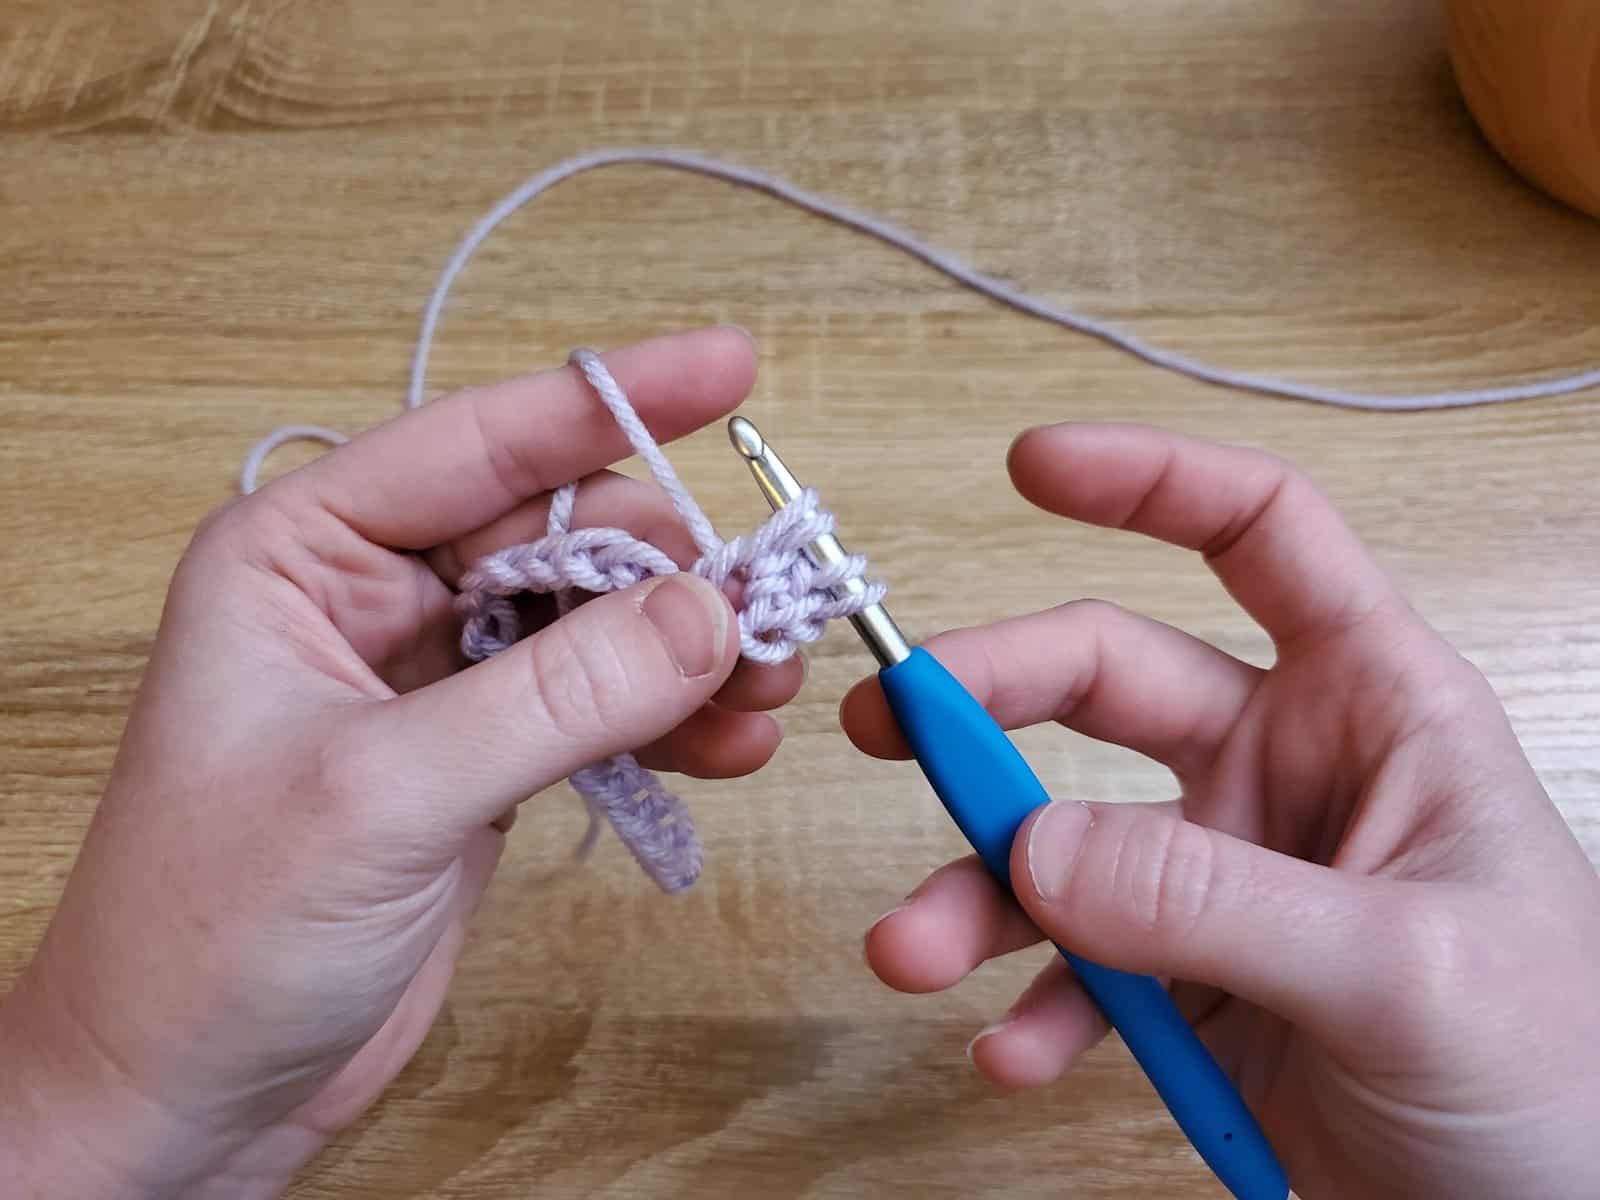
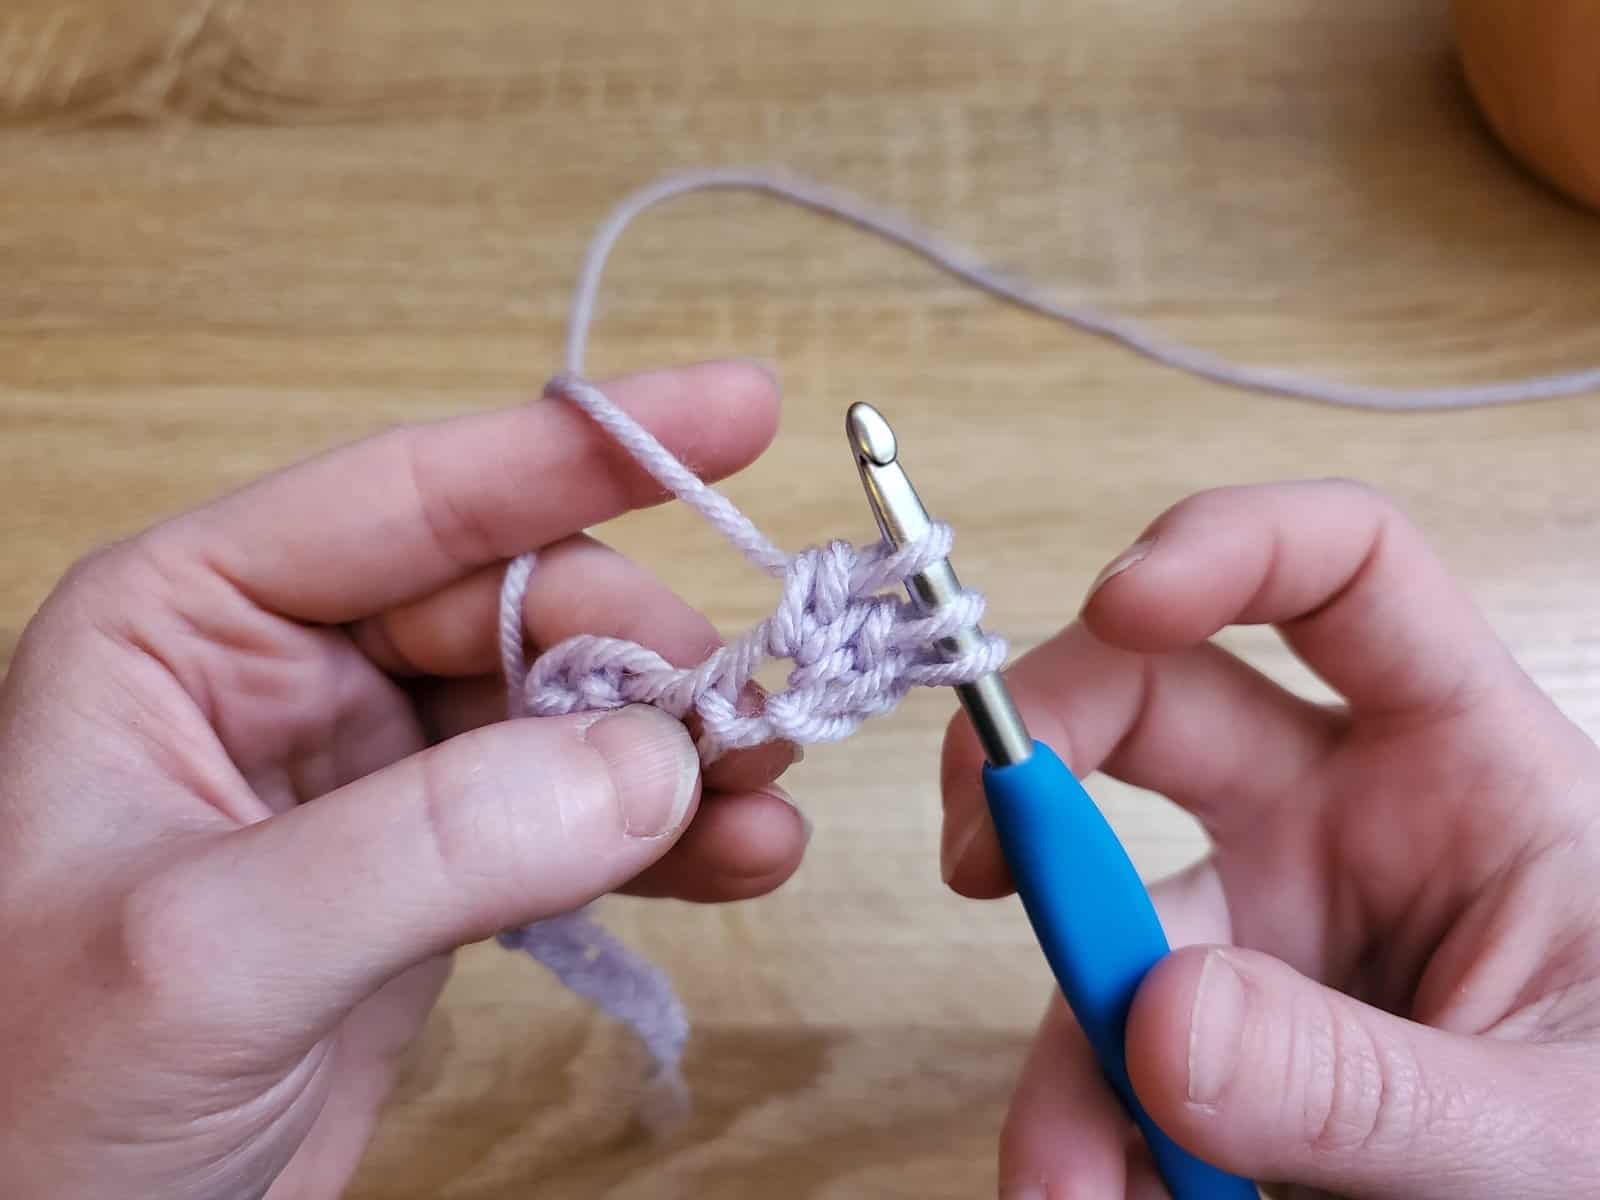
Repeat the previous step until you have worked 5 stitches into the same stitch – since the first stitch in this row includes the chain 2 to turn, you’ll only have technically worked 4 stitches.
All other bobbles will be made by working 5 stitches in the same space.
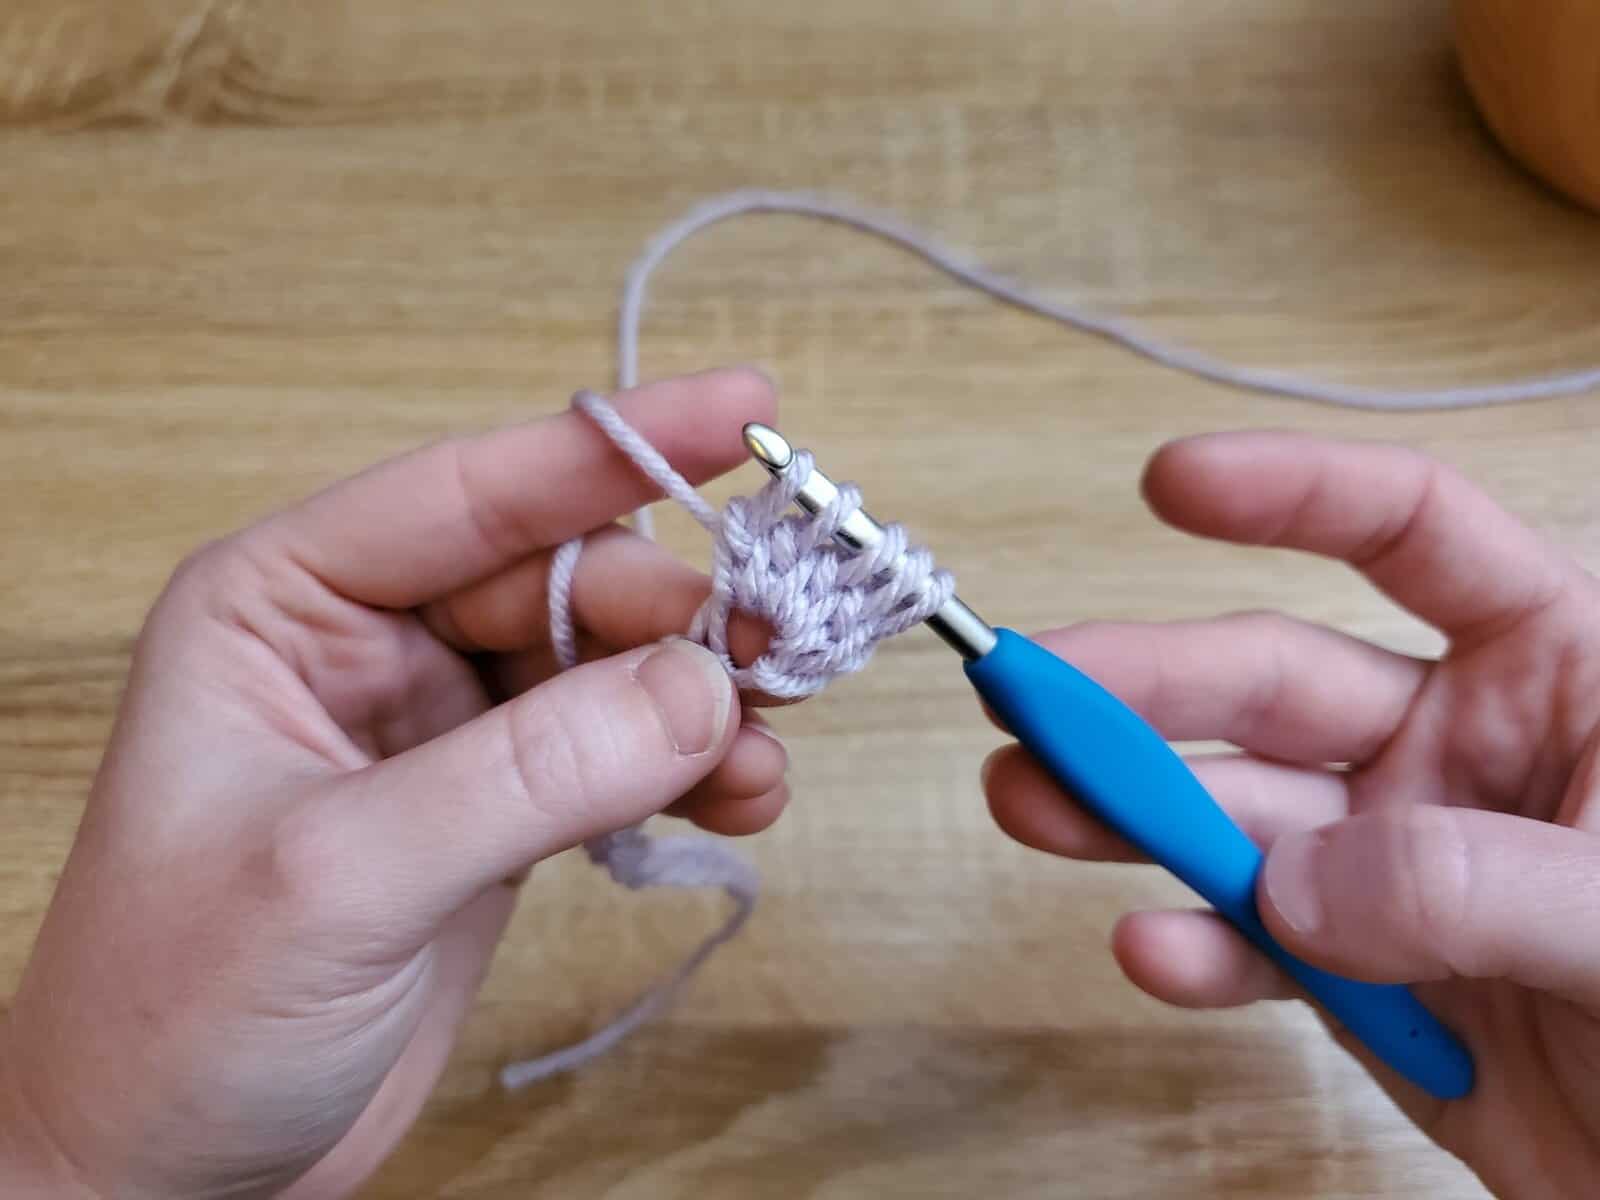
Yarn over and pull through all of the loops on the hook.
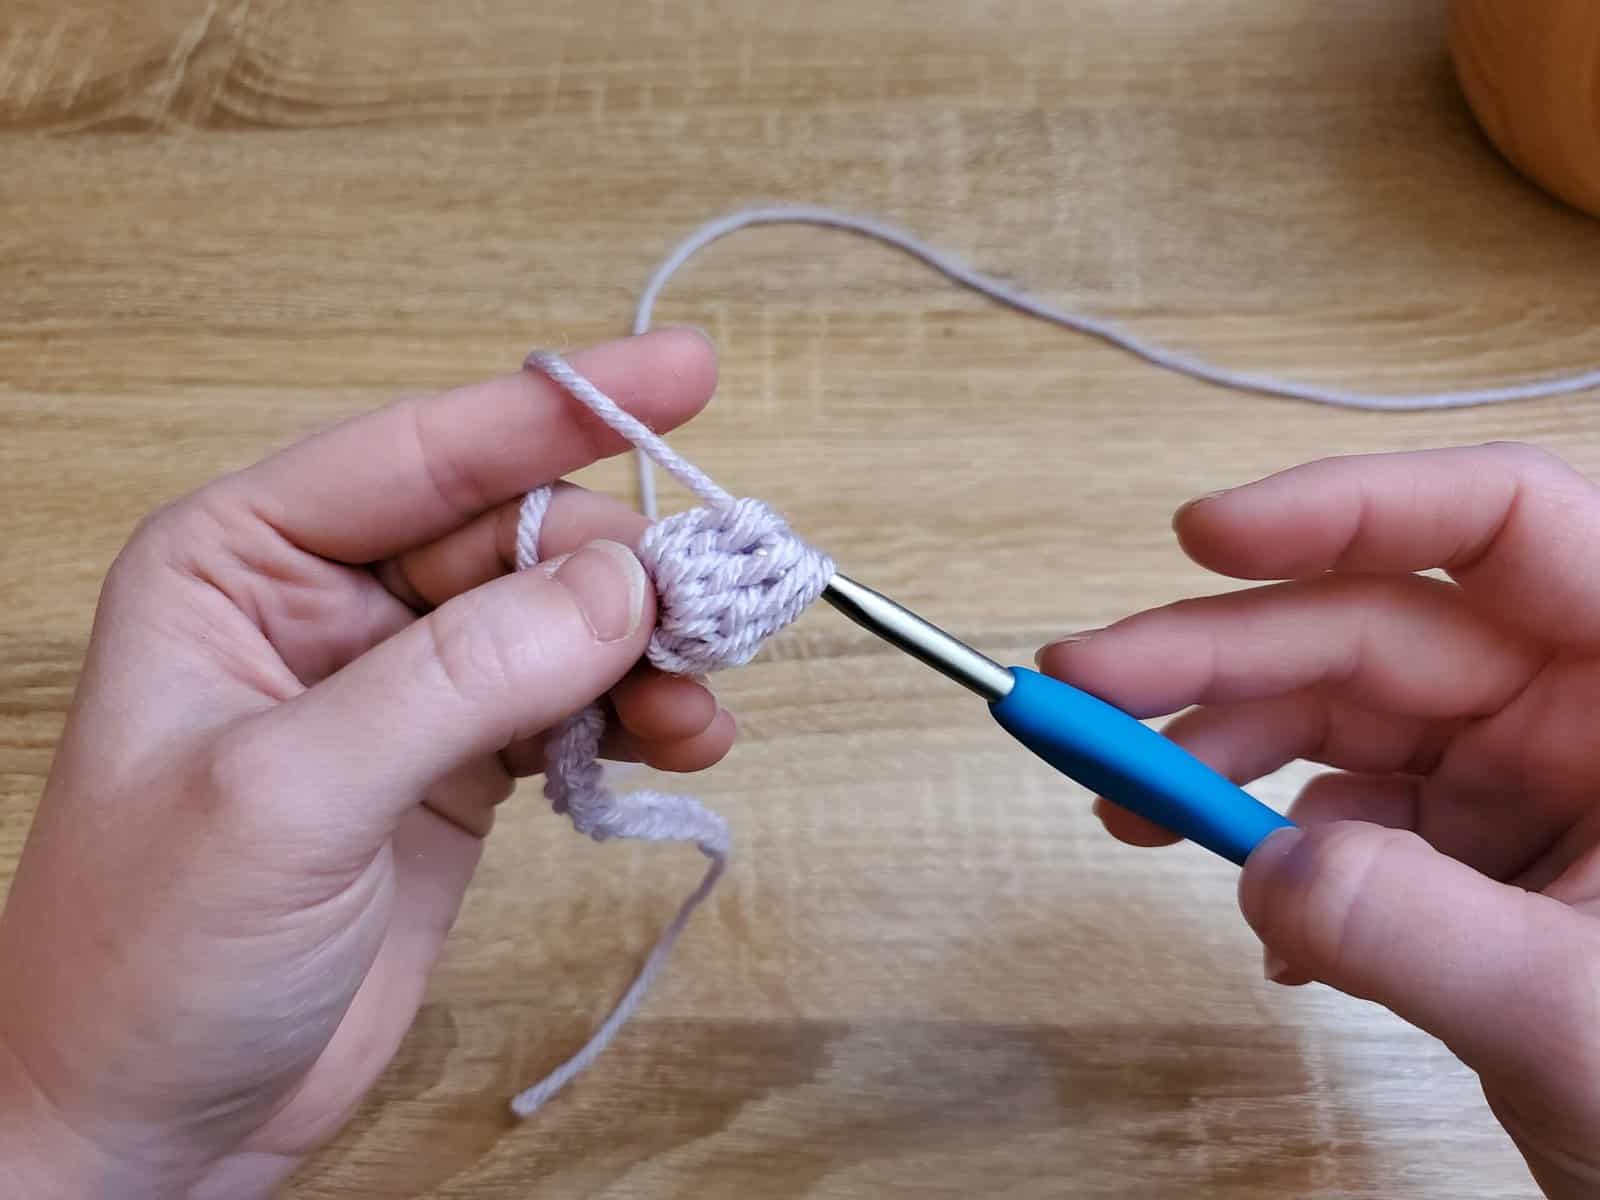
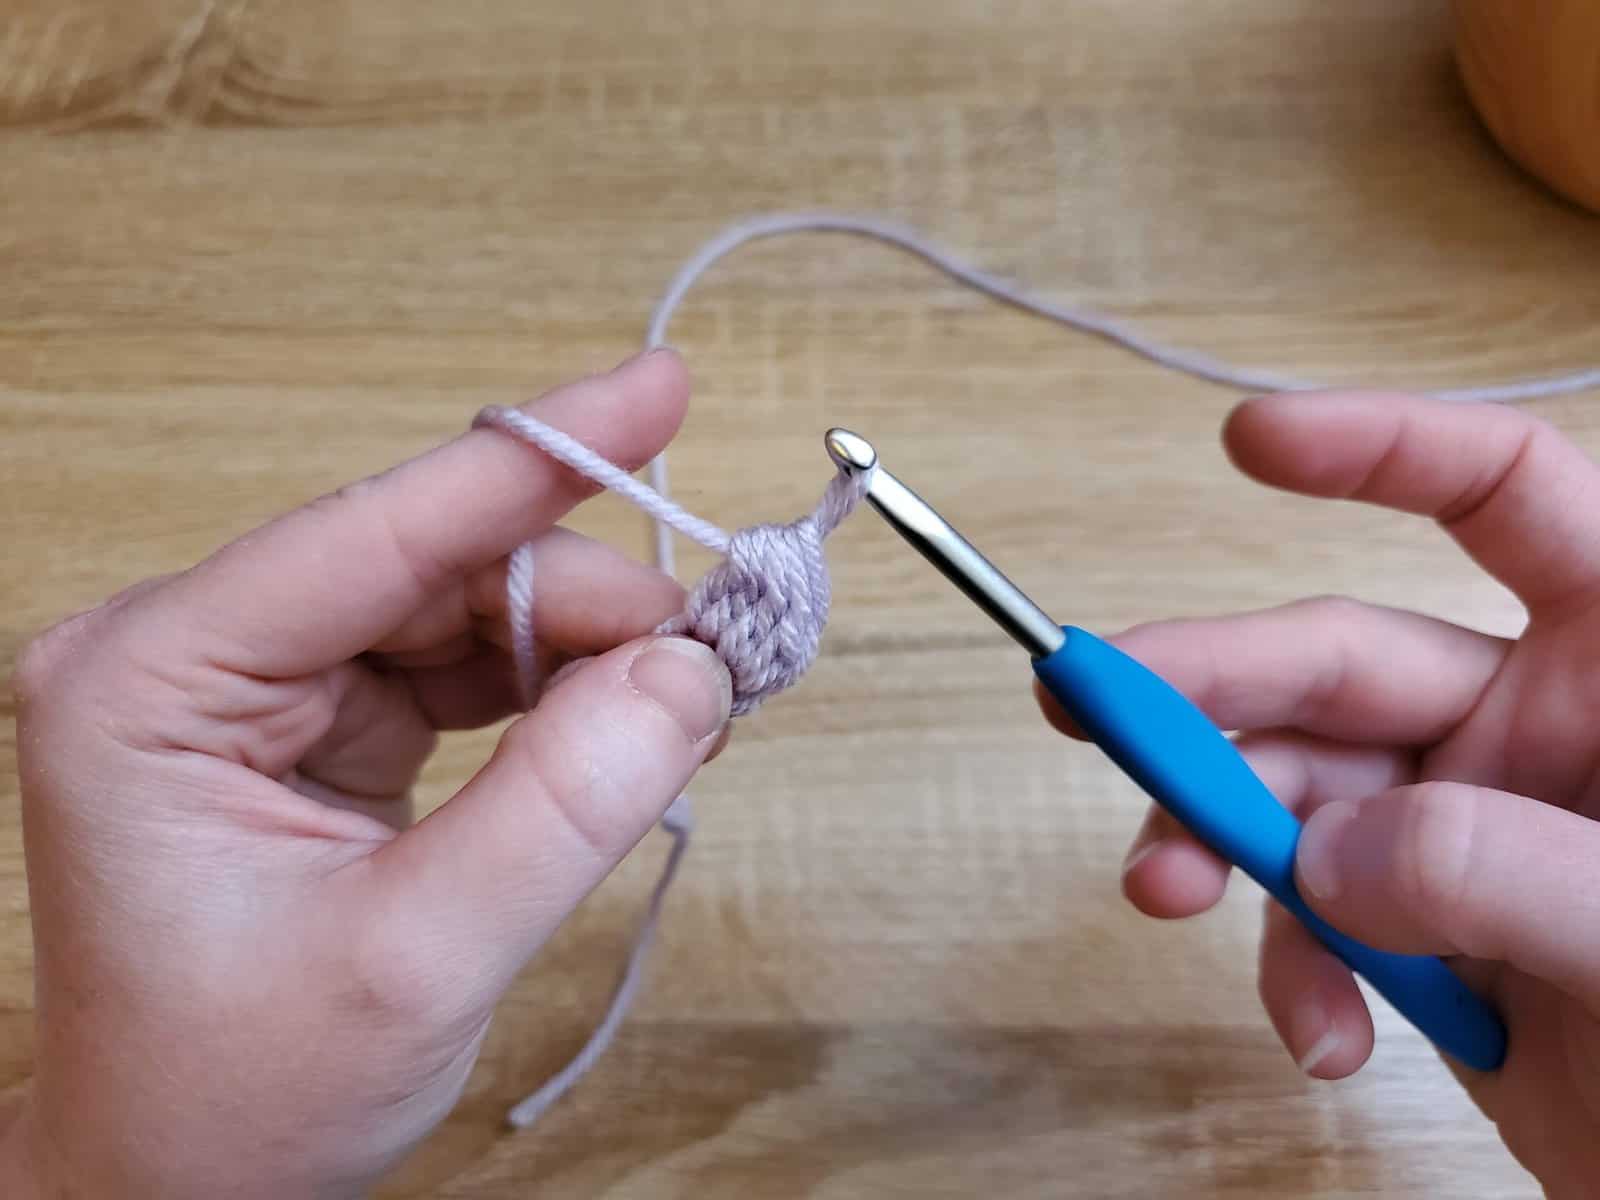
Chain one. This helps to secure the bobble closed and also gives you a place to work into in the next row.
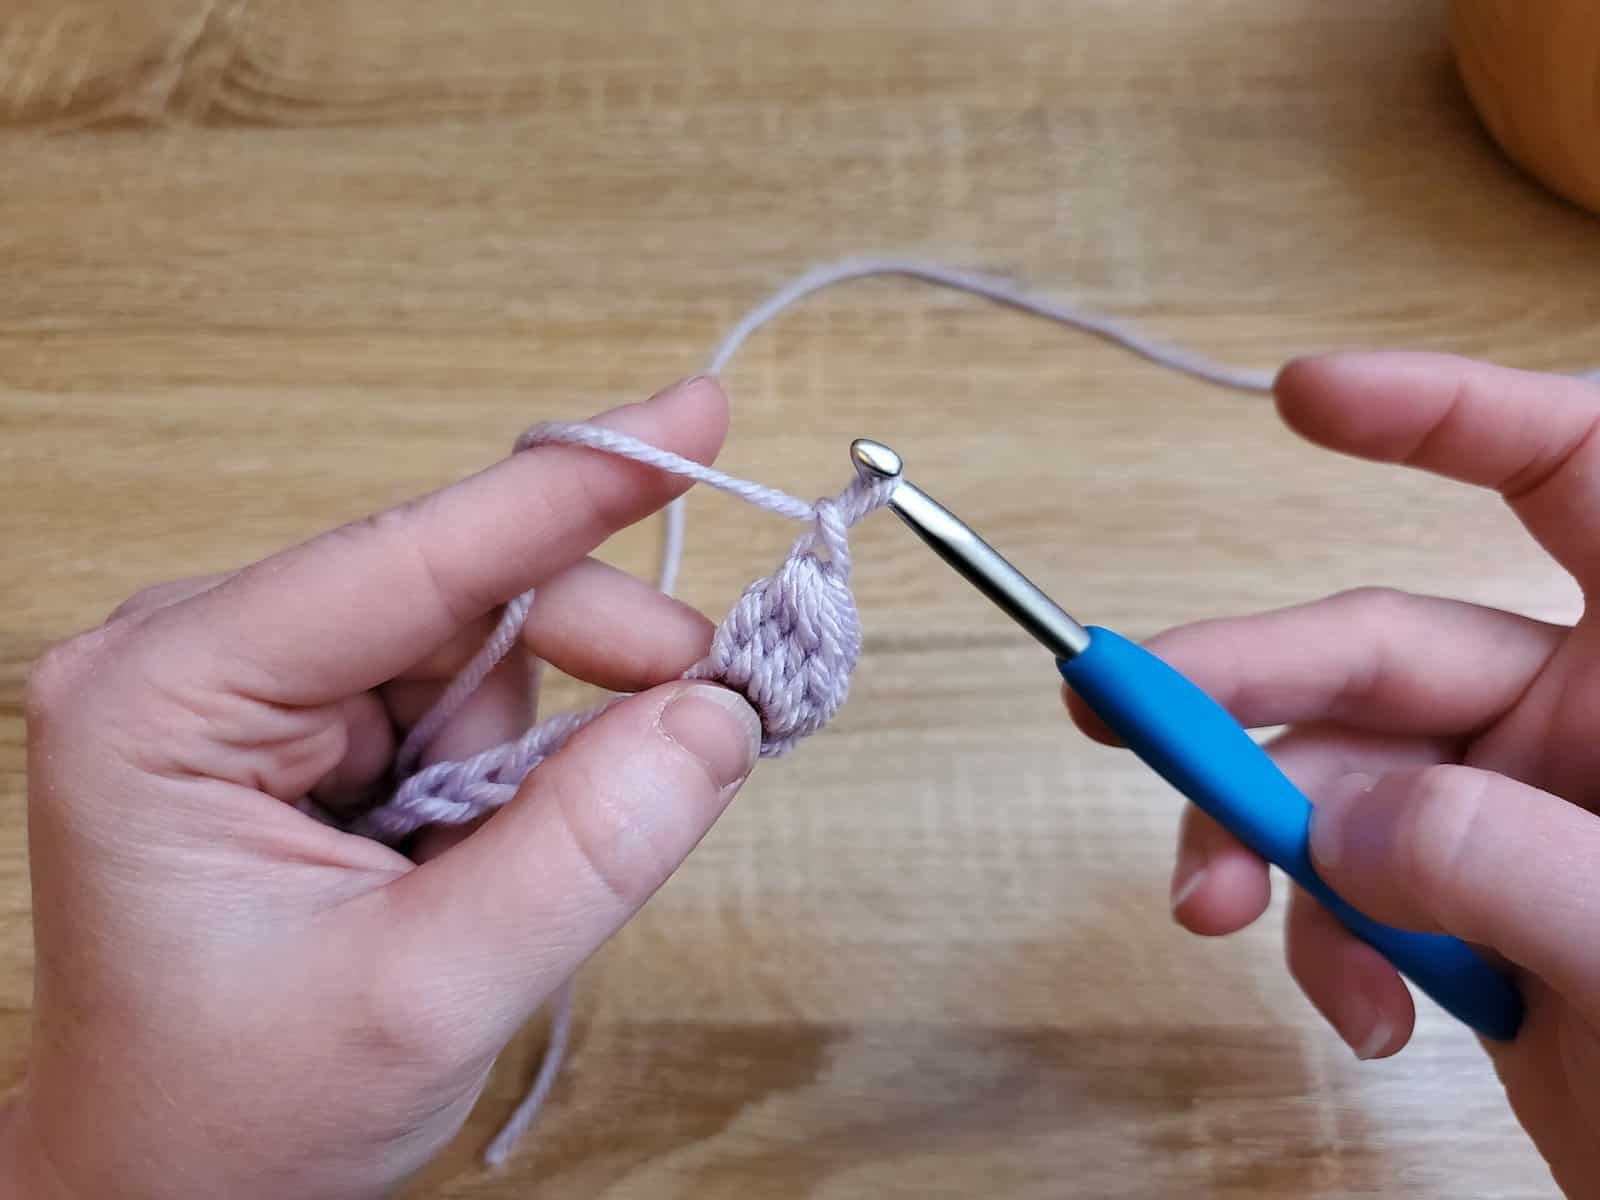
Single crochet in next stitch.
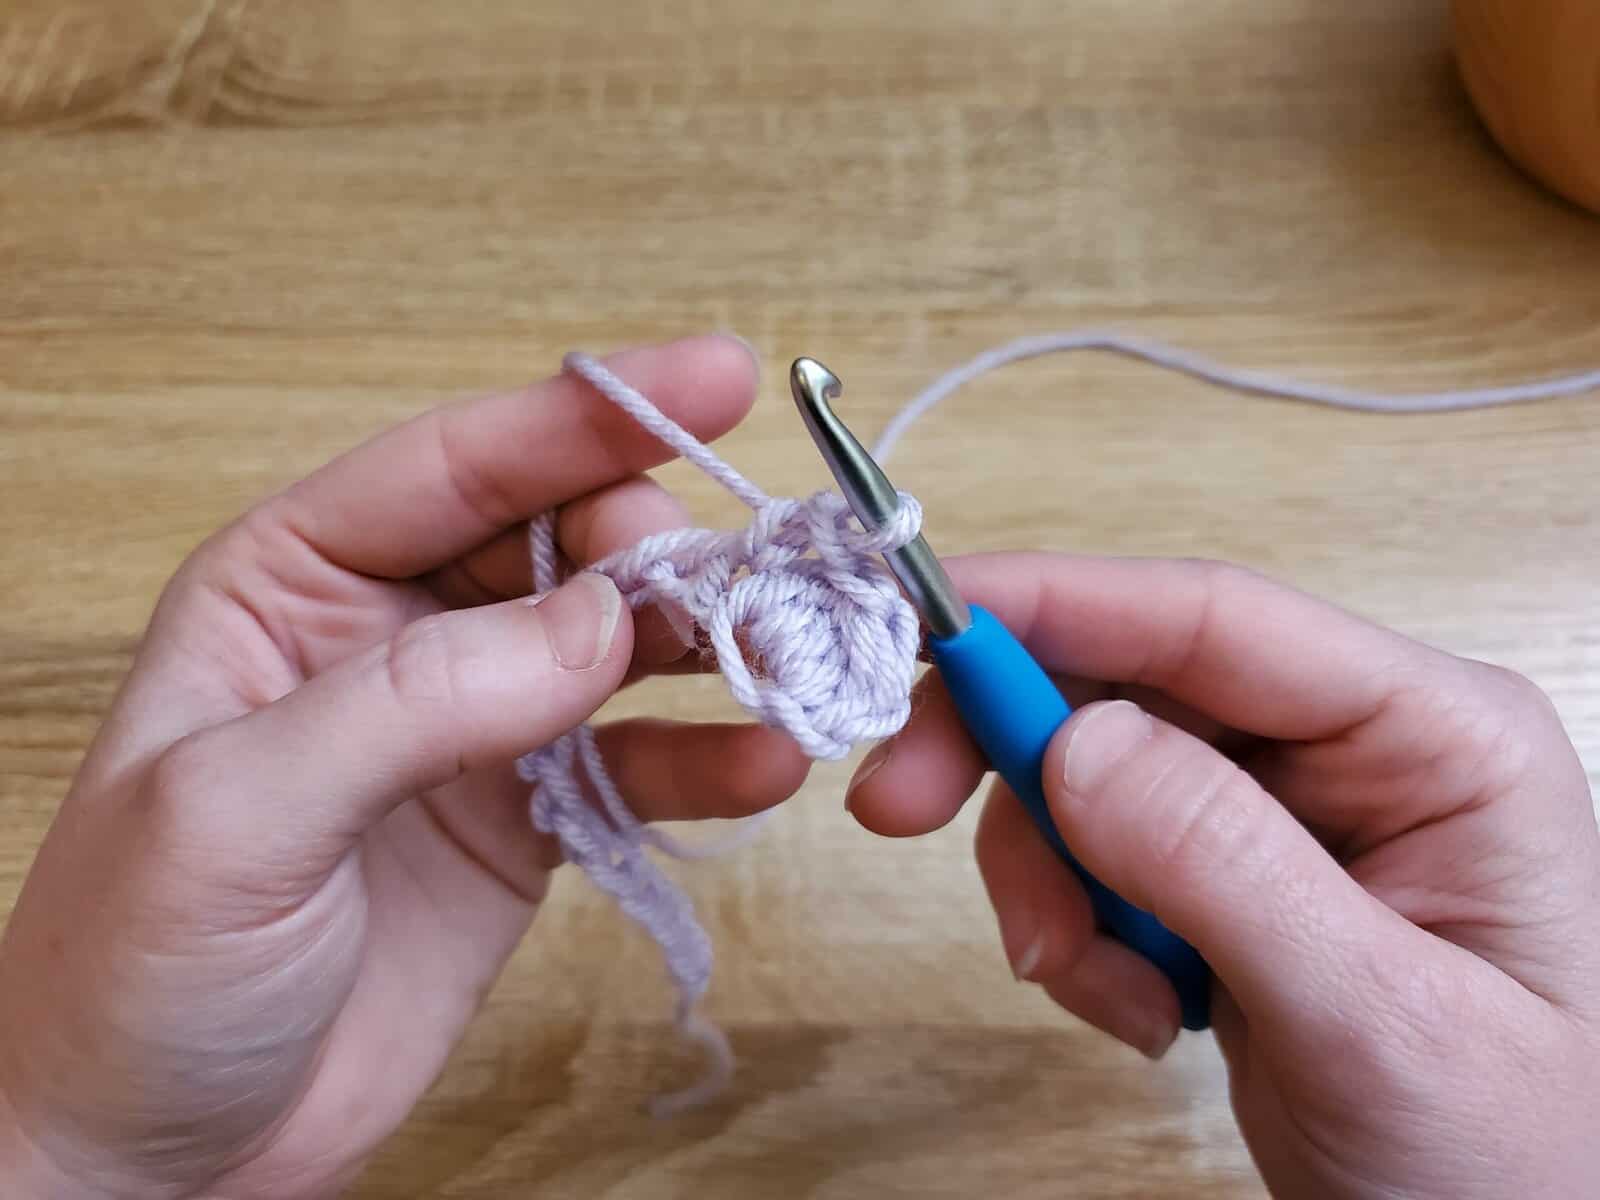
Proceed across the row, working one crochet bobble stitch then one single crochet stitch all the way across. End with a bobble stitch.
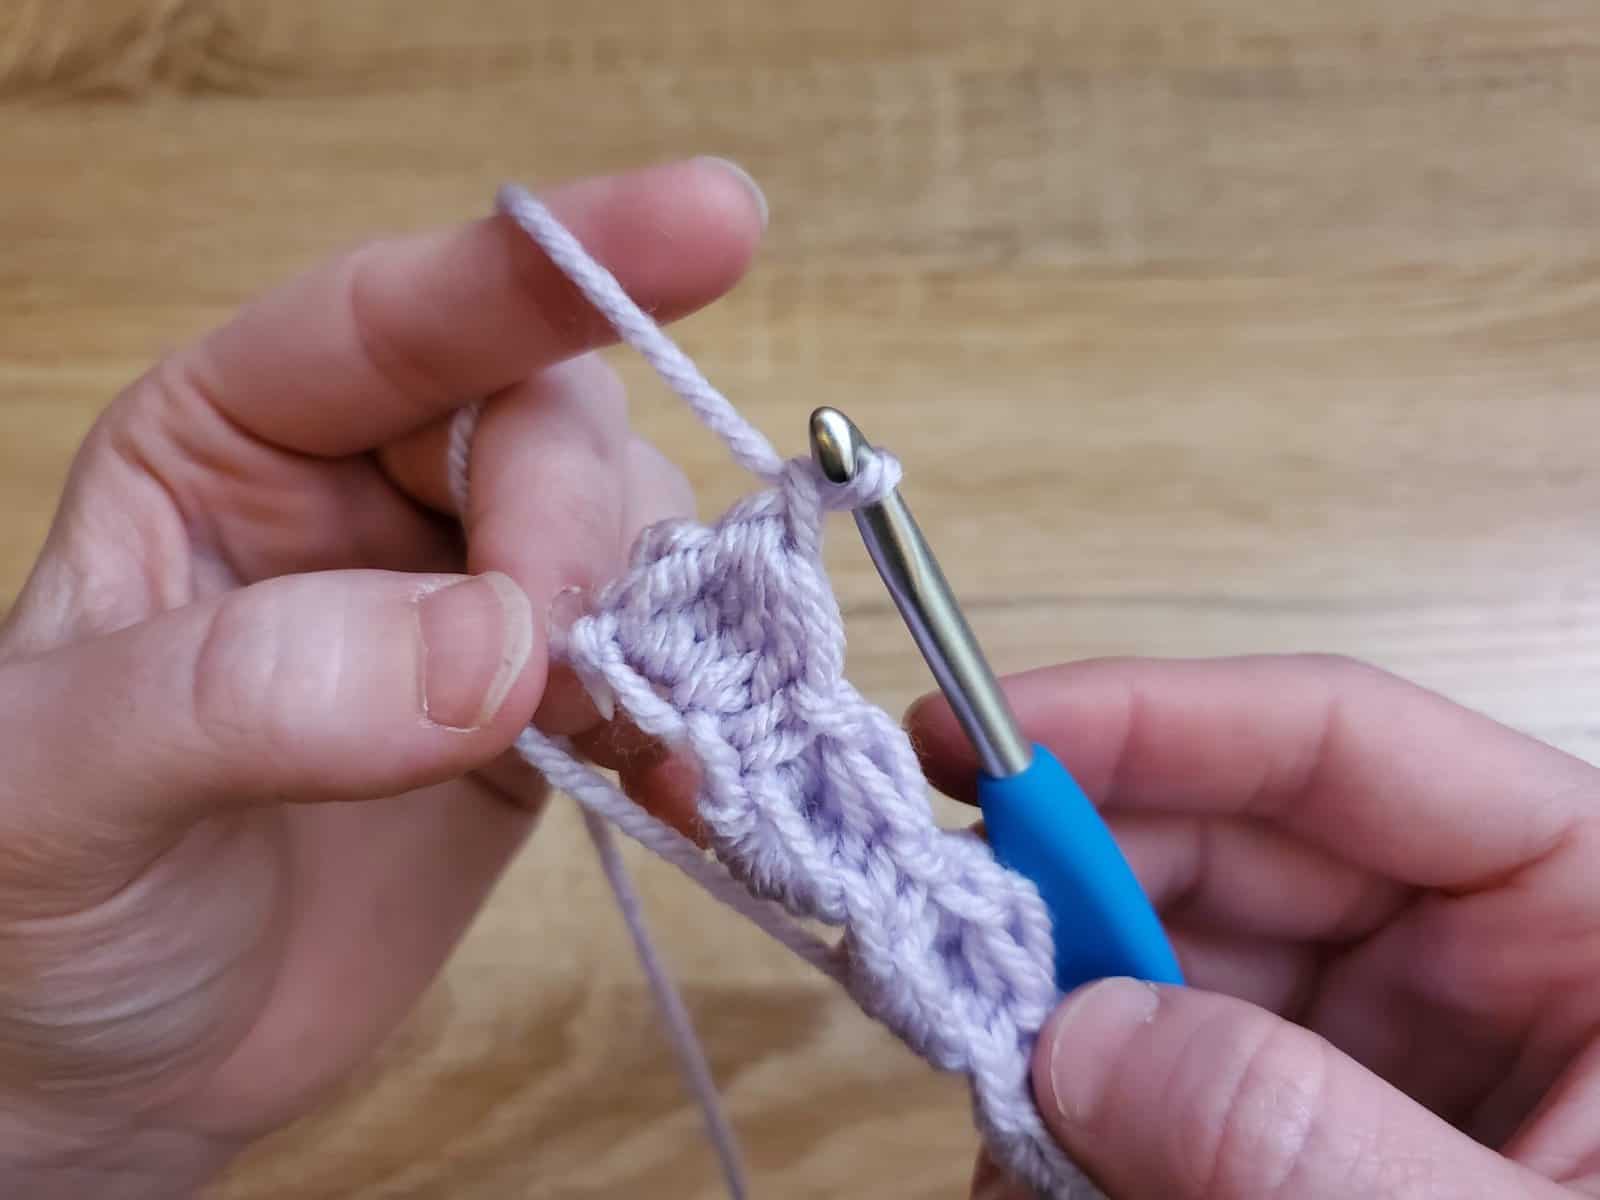
Row 2
Chain one to turn. Single crochet in the first stitch, which is the chain one at the top of the first bobble.
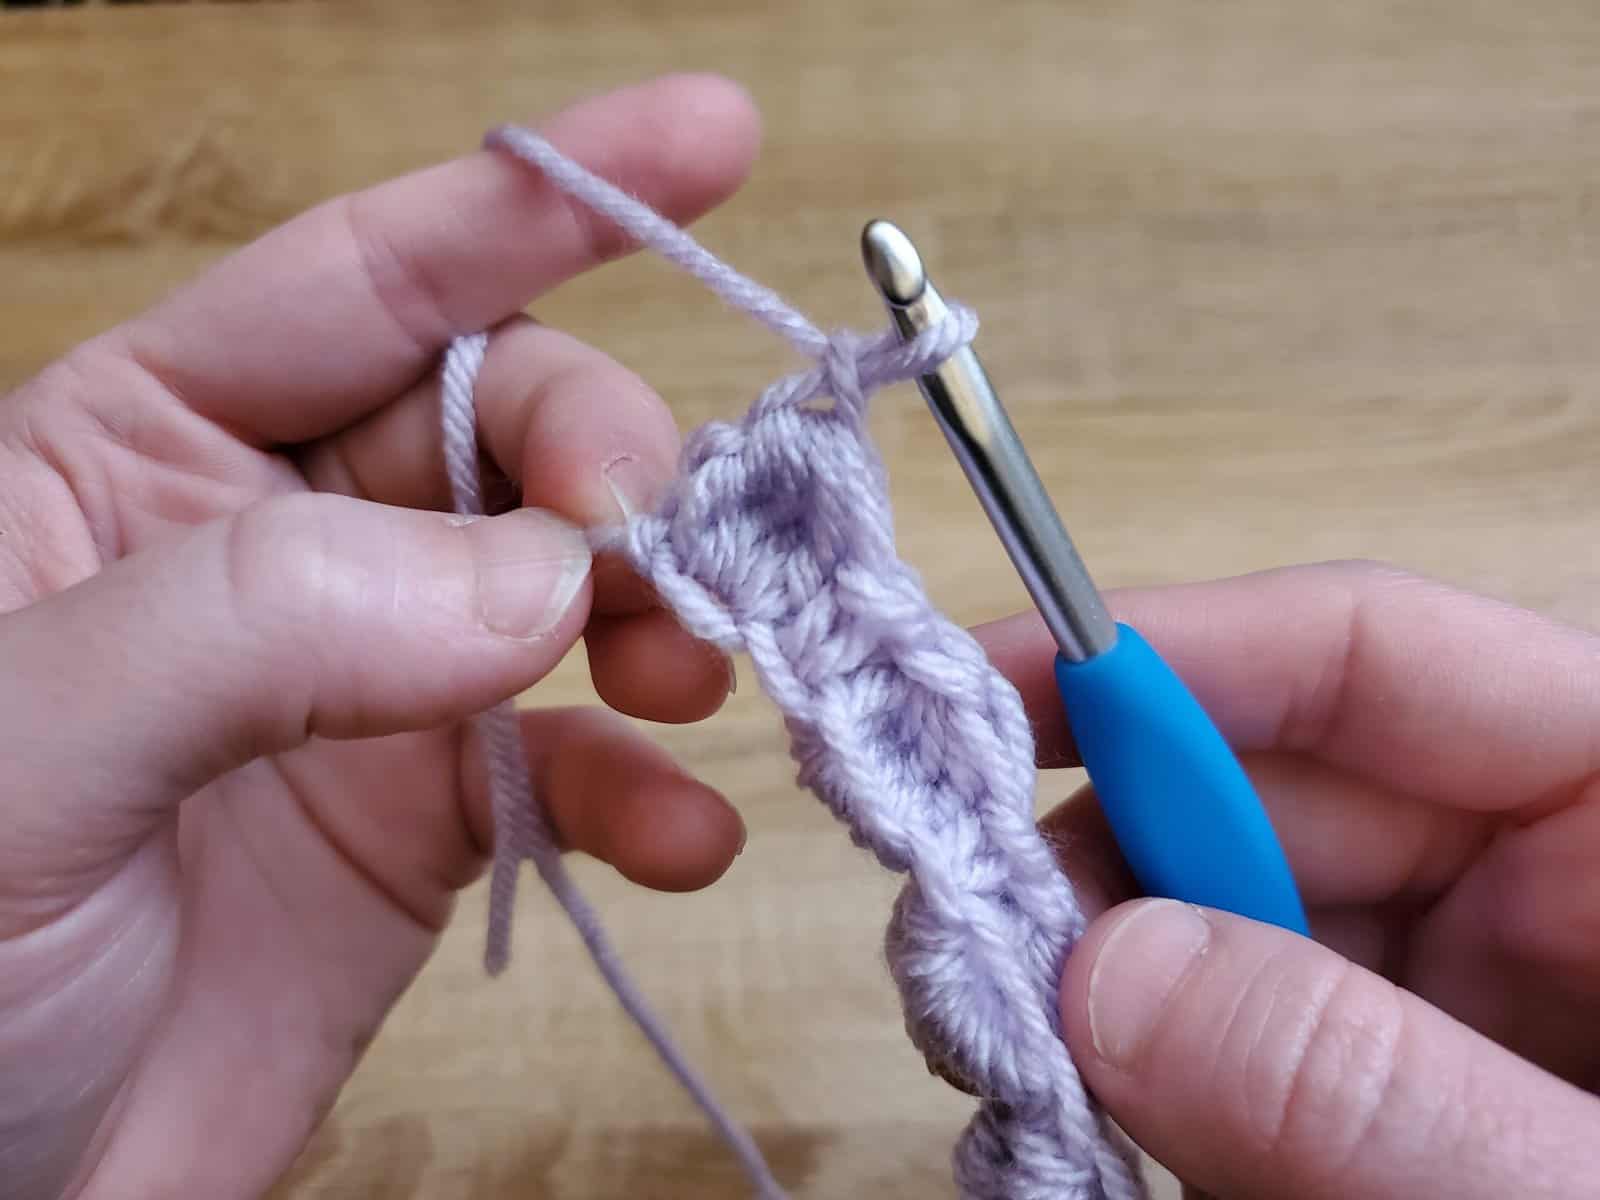
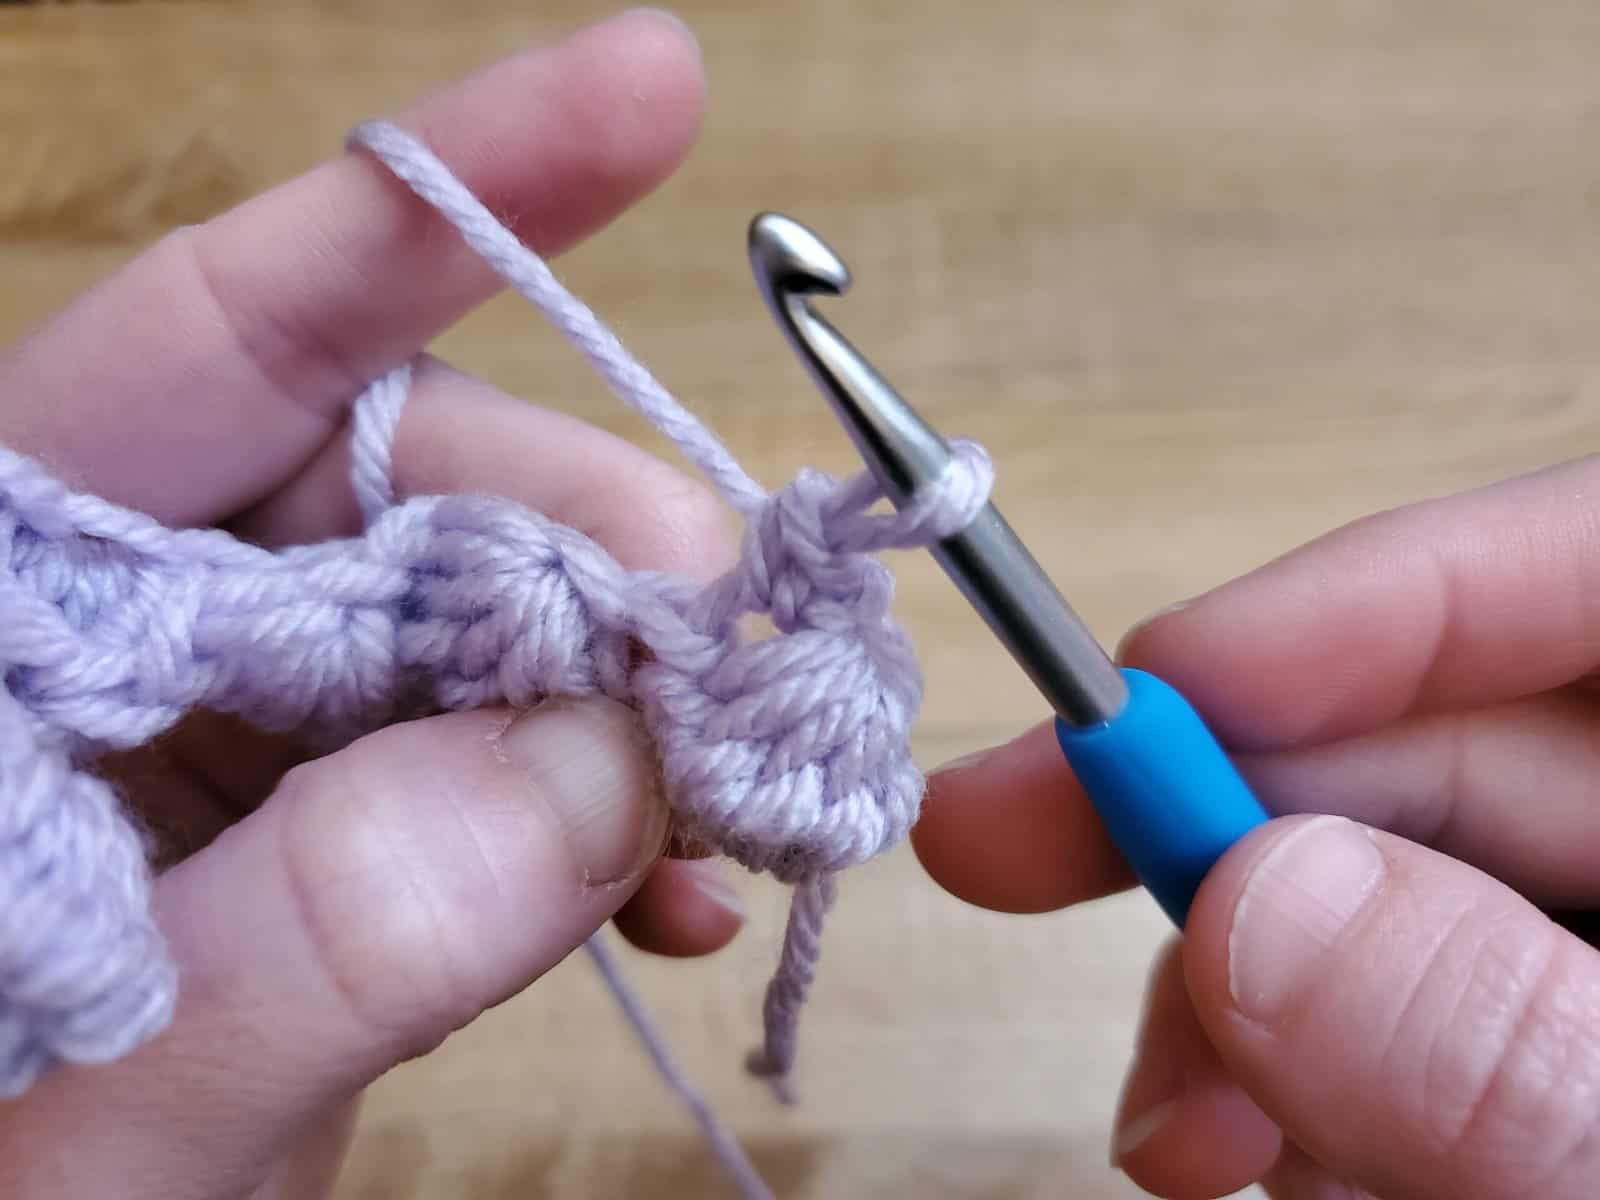
Work a bobble into the next single crochet (between the bobbles in the row below).
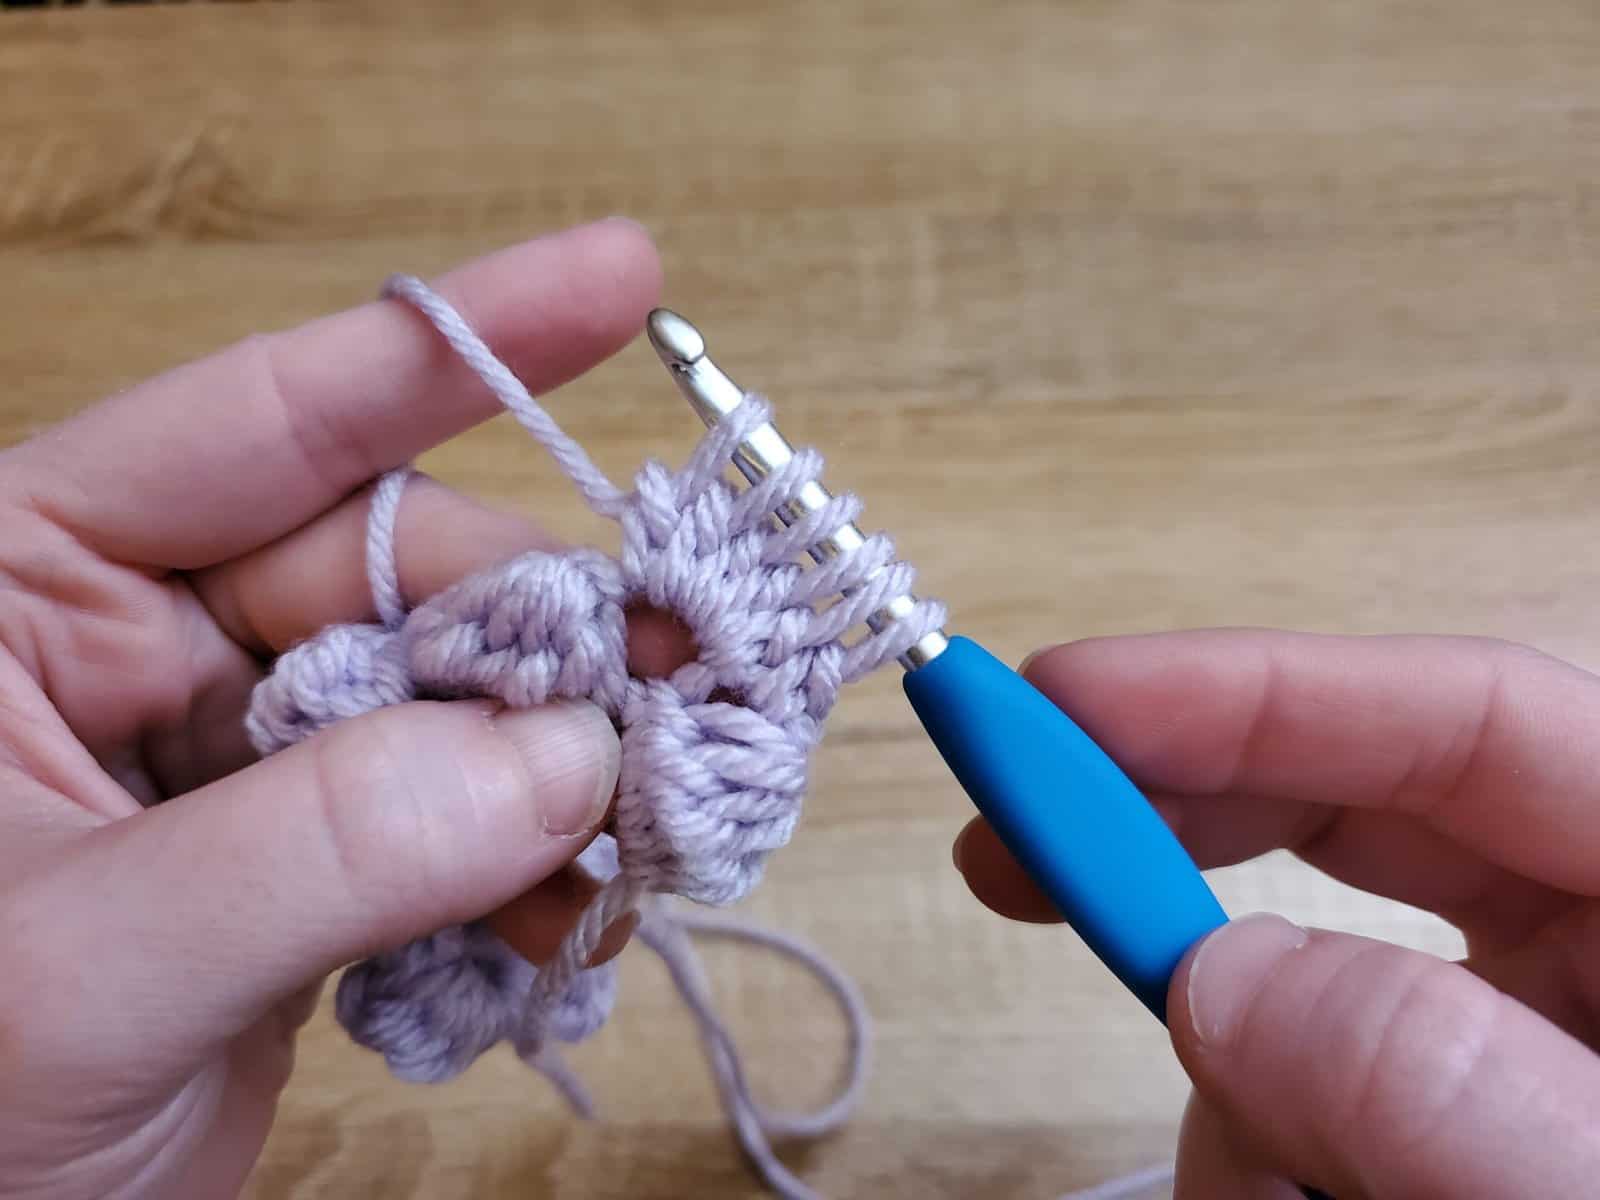
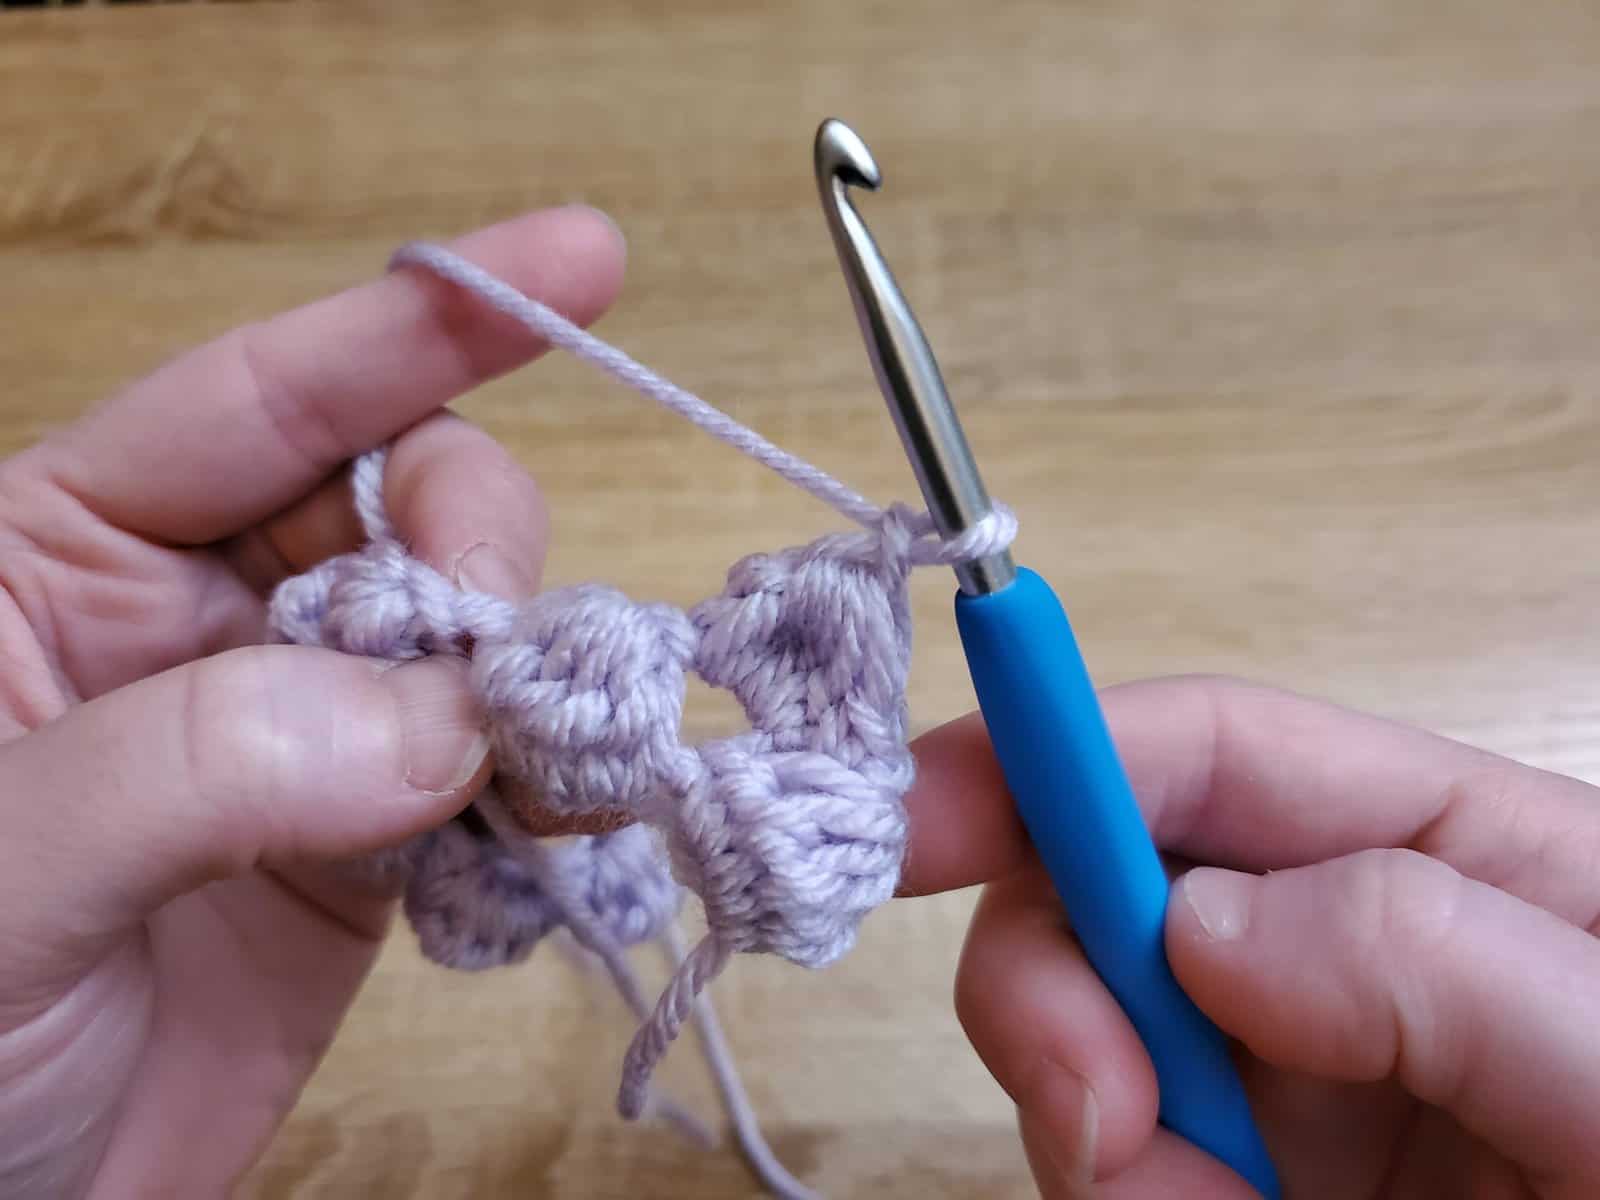
Work across the row, putting single crochet stitches into the top of each bobble from the previous row and bobble stitches into each single crochet stitch from the previous row.
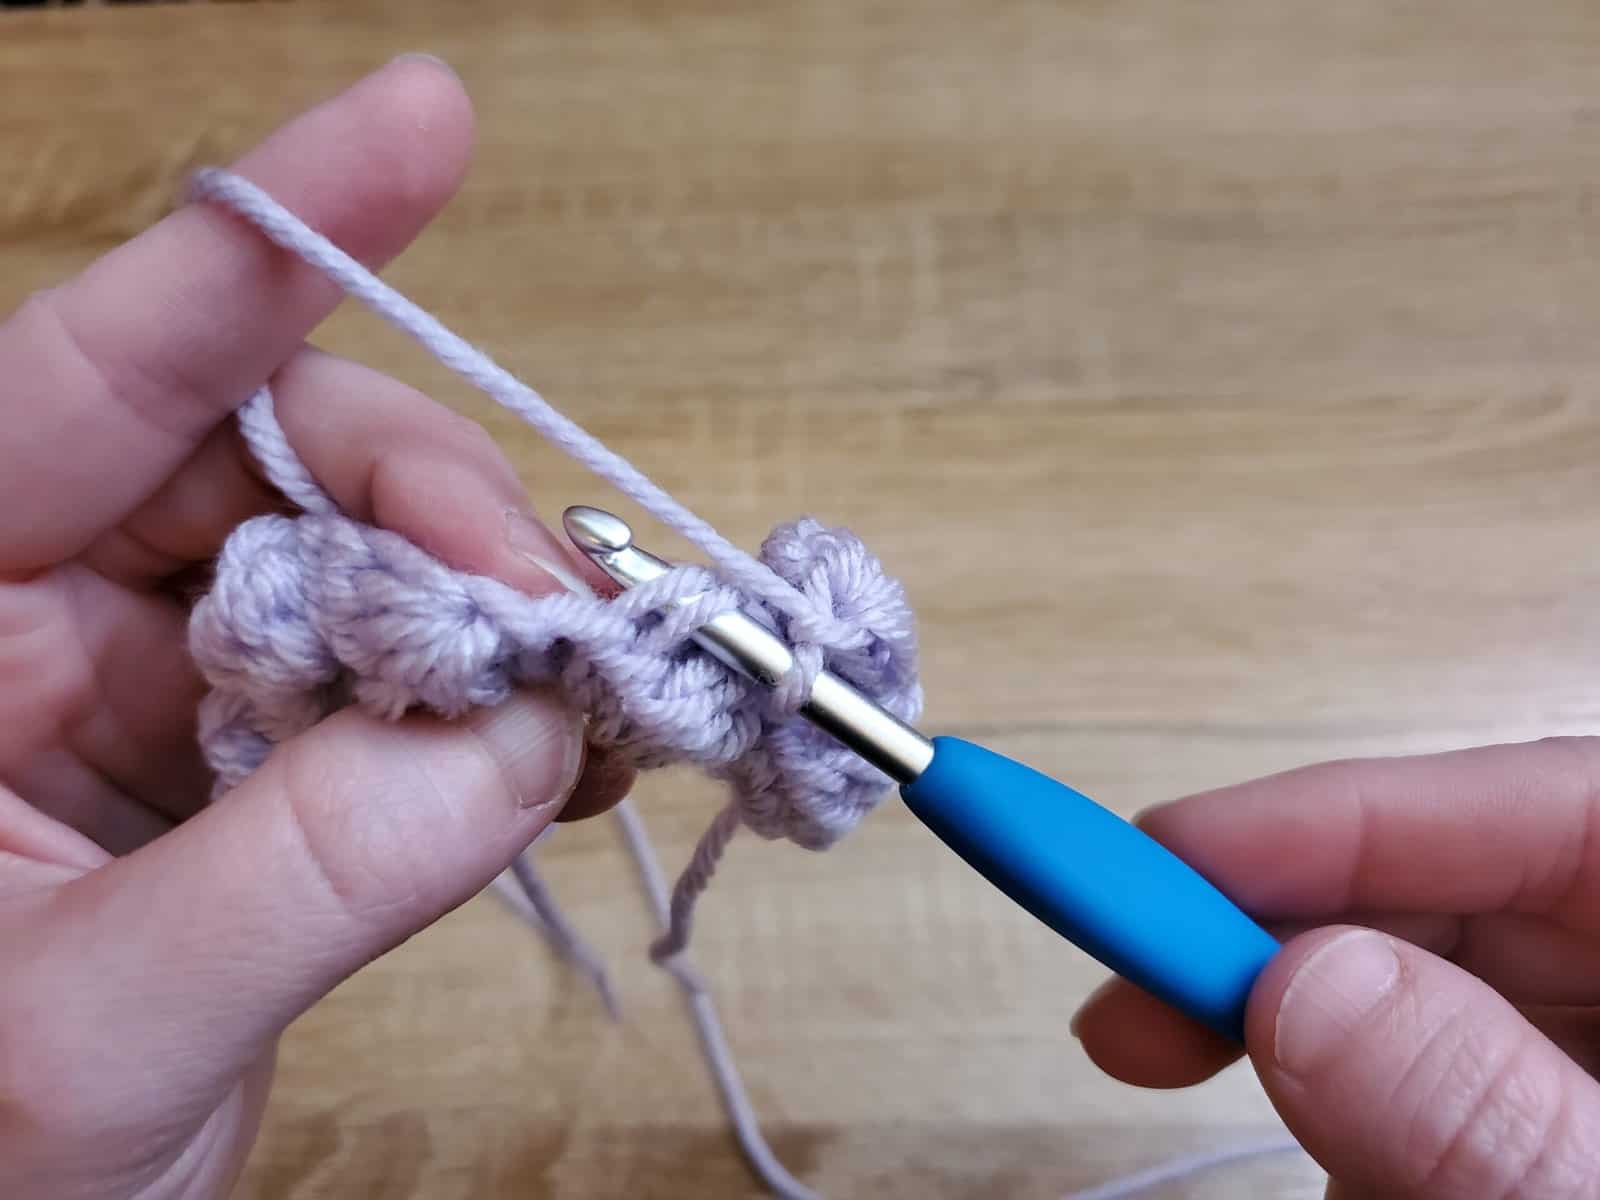
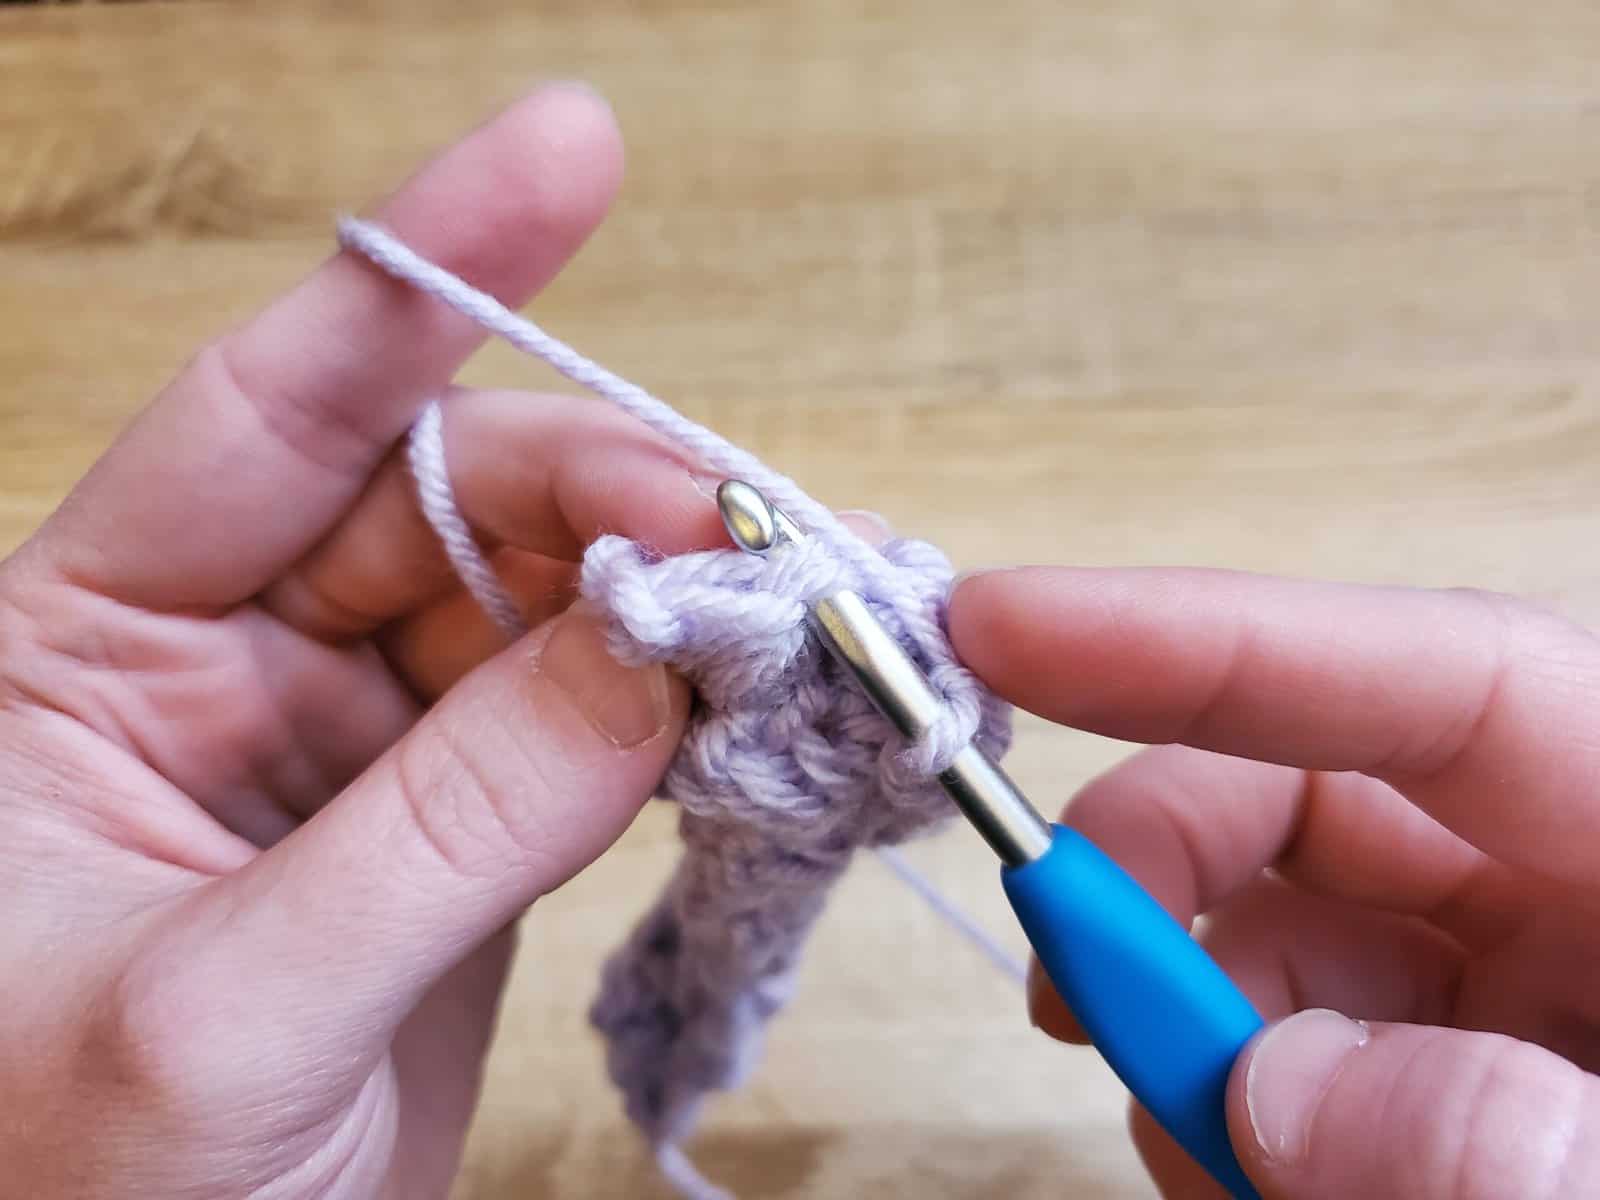
Continue across the row, ending with a single crochet stitch in the last stitch of the row.
Continuing the Pattern
To start the next row, all you’ll need to do is chain 2 and then begin forming your first bobble in the single crochet of the last row.
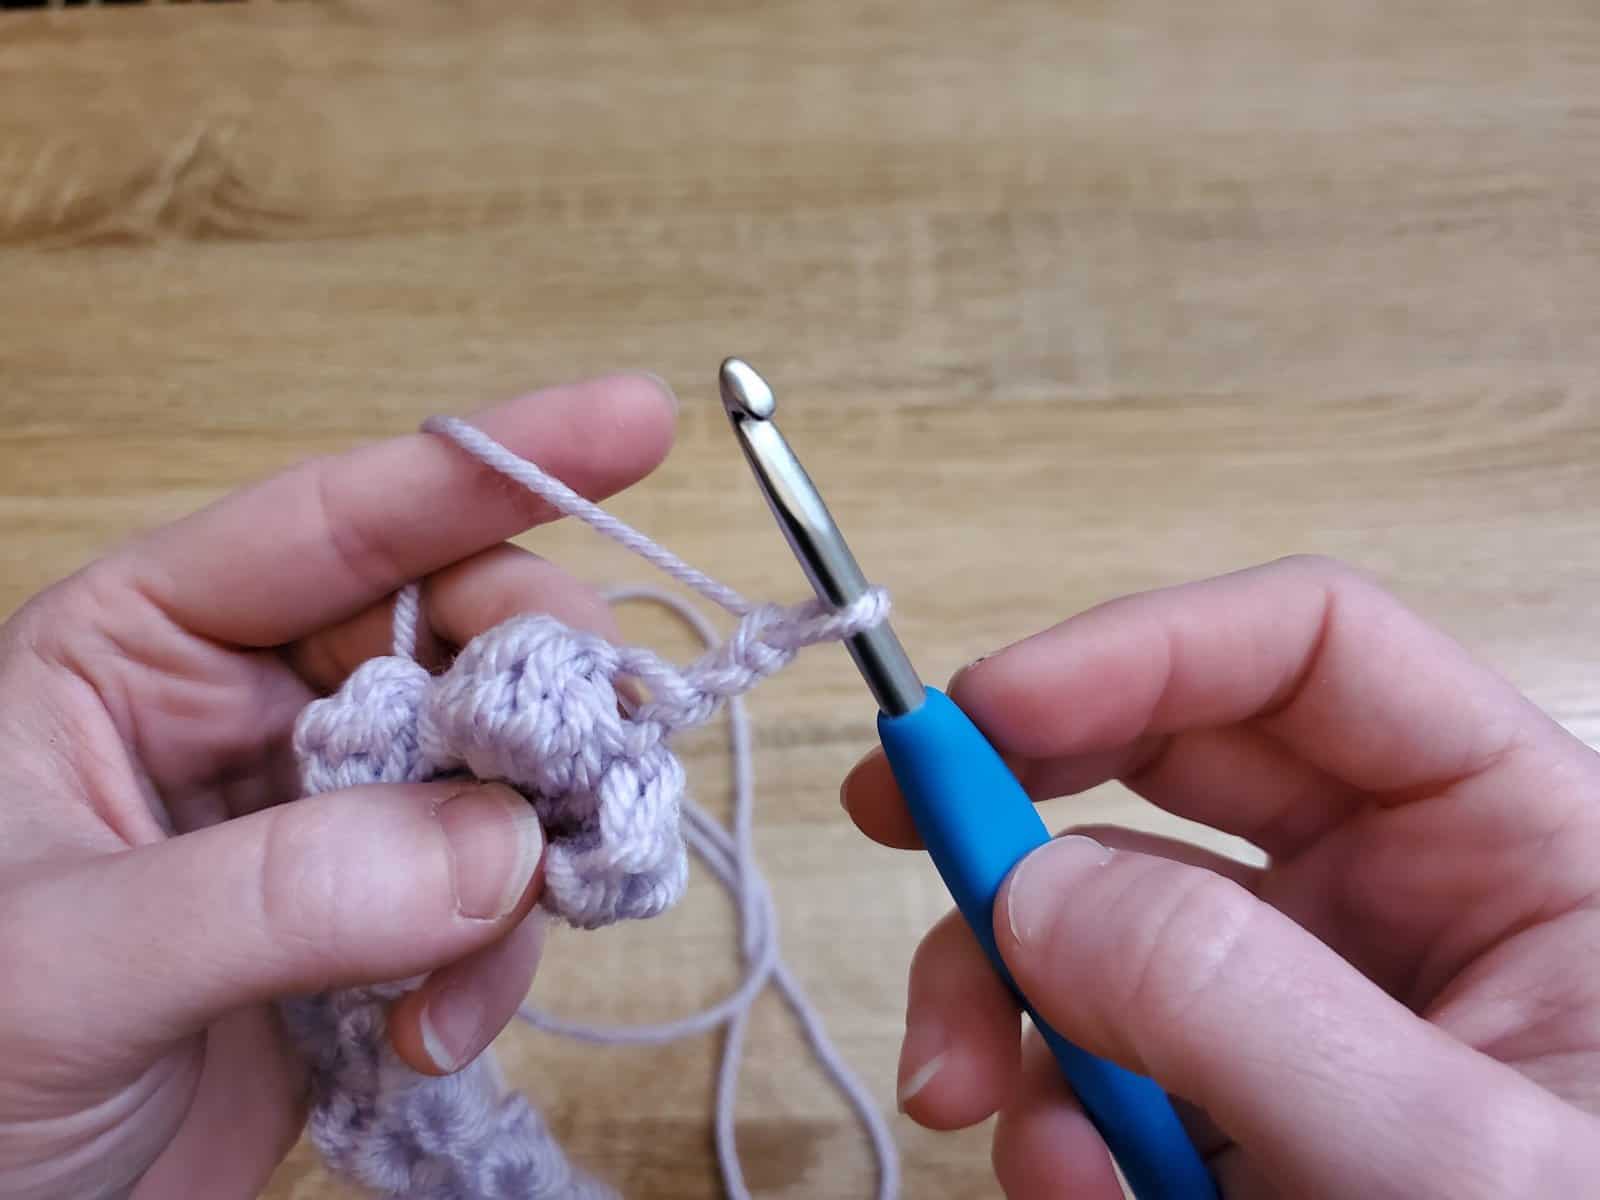
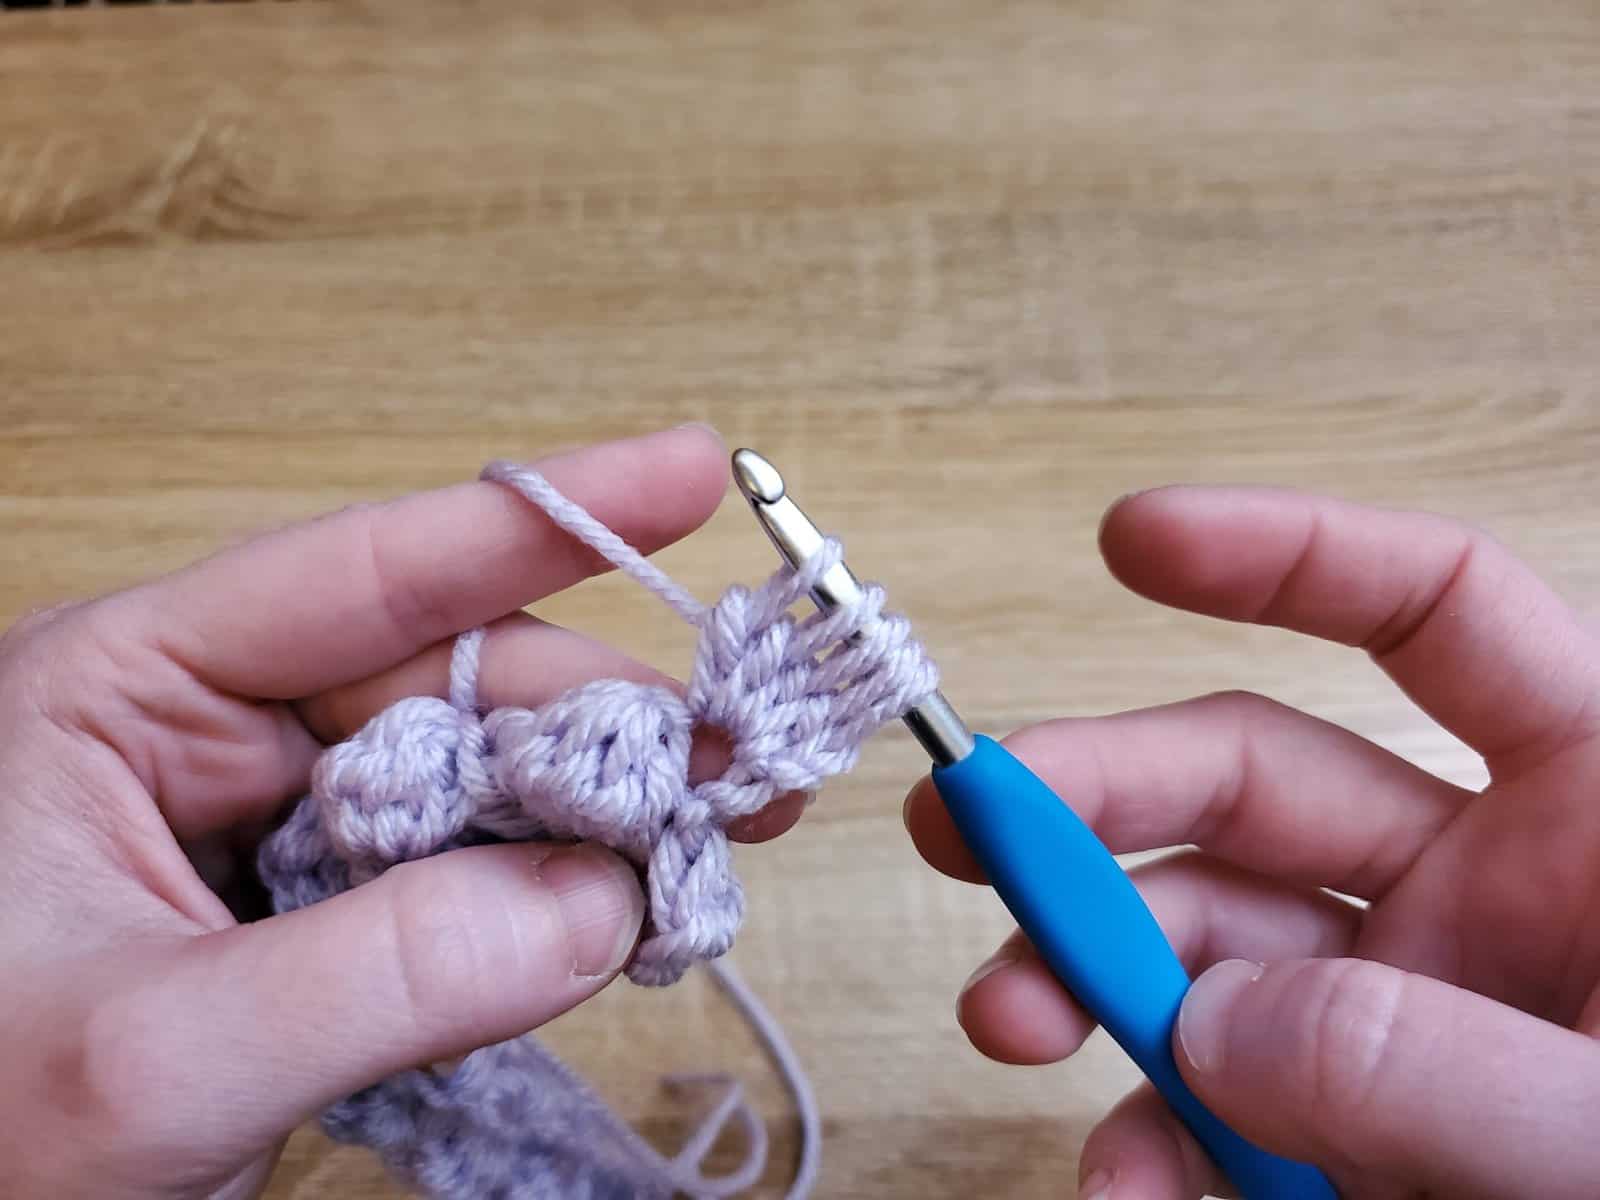
Continue creating rows this way, with staggered bobbles made by always working the bobbles into the single crochet stitches between the bobbles of the previous row.
And there you have it: the classic bobble stitch!

