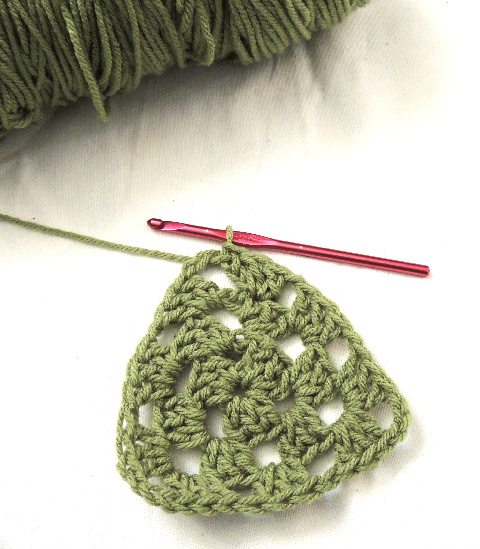
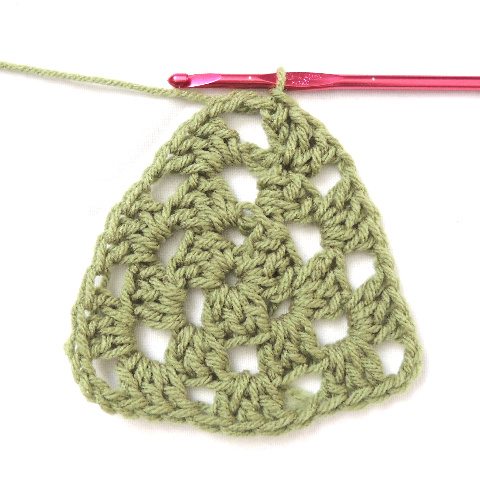
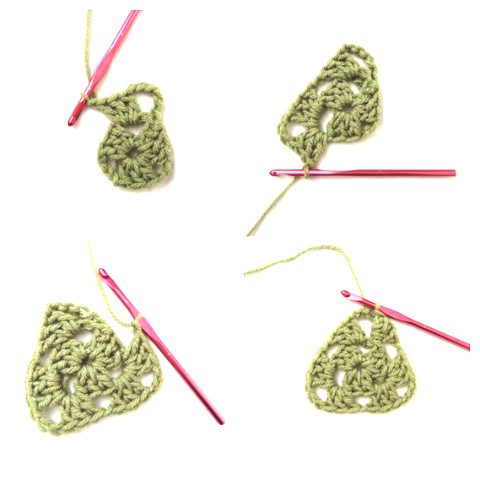
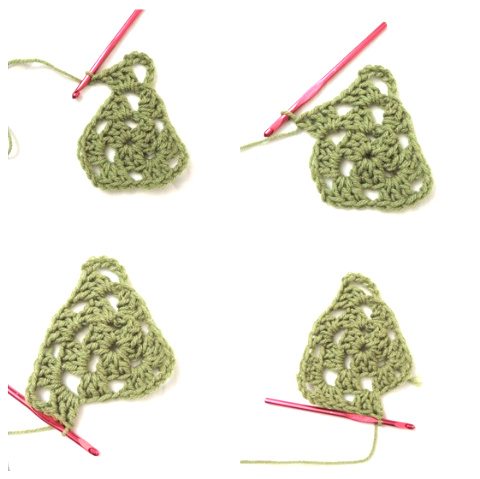
Last week I shared how to crochet a granny circle. This week I want to share another tutorial that I originally wrote for the Crochet Today blog – how to crochet a granny triangle worked in the round.
Step One:
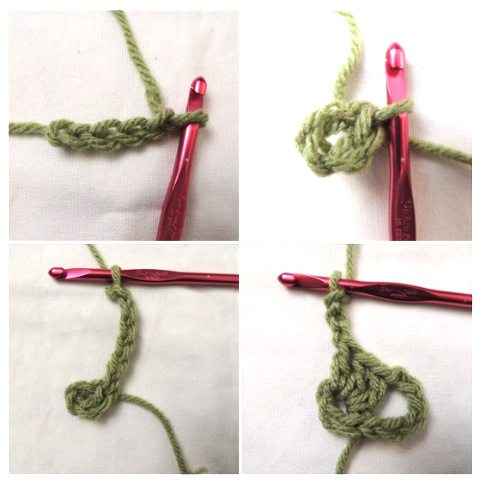
Make a foundation chain of four stitches.
Step Two:
Close with a slip stitch to make a ring.
Step Three:
Chain 6 (counts as first dc and first corner).
Step Four:
You will be working into the center of the ring (similar to how you would start a classic granny square). Do 3 dc, chain 3.
Step Five:
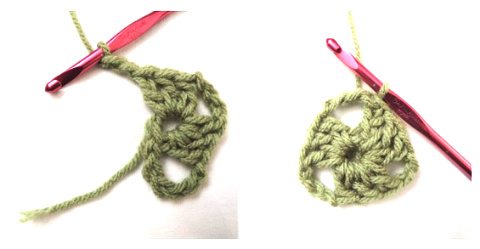
Repeat Step Four.
Step Six:
2 dc. Sl st into the 3rd chain of the chain you made in Step Three. This is the end of the first round of your granny triangle.
Step Seven:
Repeat Step Three.
Step Eight:
Working in the first ch 3 space (the same area that you’ve just done a chain 6) do 3 dc, ch 1.
Step Nine:
In next corner space: 3 dc, ch 3, 3 dc, ch 1
Step Ten:
Repeat Step Nine.
Step Eleven:
You are now working back into the first corner space. Do 2 dc then join with sl st to third chain of the ch 6 created in Step Seven. This finishes the next round of the granny triangle.
Step Twelve:
Repeat Step Three.
Step Thirteen:
Repeat Step Eight.
Step Fourteen:
In next chain space: 3 dc, ch 1.
Step Fifteen:
Repeat Step Nine.
Step Sixteen:
Repeat Step Fourteen.
Step Seventeen:
Repeat Step Nine.
Step Eighteen:
Repeat Step Fourteen.
Step Nineteen:
Repeat Step 11. This closes the round of the granny triangle.
To keep growing your triangle bigger you will essentially repeat steps 12-19. The triangle grows with each round so you will have more chain spaces on the sides (so step 14 gets repeated more often on each end, just like it does in a granny square). The corners remain the same; they are always two clusters of 3 dc with a ch 3 between them.

